GF454 - Food Warmers BUFFALO - Free user manual and instructions
Find the device manual for free GF454 BUFFALO in PDF.
| Brand | Buffalo |
| Model | GF454 |
| Product type | Heated display cabinet |
| Category | Plate Warmers |
| Dimensions (H x W x D) | 500 x 595 x 390 mm |
| Weight | 16 kg |
| Power supply | 230 V, 50 Hz |
| Power | 350 W |
| Current | 1.52 A |
| Temperature range | 30 °C to 90 °C |
| Capacity | Approximately 30 plates |
| Heating time (0 to 90 °C) | 27 minutes |
| Main material | Stainless steel |
| Sliding glass doors | 2 |
| Display glass | Yes, inclined |
| Shelves included | 3 |
| Water tank | 0.5 L |
| Adjustable thermostat | Yes |
| Indicator lights | Green (on), red (temperature reached) |
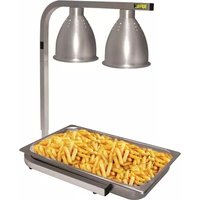
| Intended use | Keeping food warm (not for cooking) |
| Safety | Earthing, stop before cleaning, mandatory cooling |
| Recommended cleaning | Lukewarm soapy water, no high-pressure cleaner |
| Repairability | By a qualified technician or Buffalo agent |
| Compliance | CE, WEEE |
Frequently Asked Questions - GF454 BUFFALO
User questions about GF454 BUFFALO
0 question about this device. Answer the ones you know or ask your own.
Ask a new question about this device
Download the instructions for your Food Warmers in PDF format for free! Find your manual GF454 - BUFFALO and take your electronic device back in hand. On this page are published all the documents necessary for the use of your device. GF454 by BUFFALO.
USER MANUAL GF454 BUFFALO
natural_image
Exterior view of a stainless steel-walled office oven with mesh grating and two black objects on the side (no visible text or symbols)NL Warmhoudkast
Handleiding
PT Vitrina quente
Cleaning, Care and Maintenance .... 3
Troubleshooting 3
Technical Specifications 3
Electrical Wiring 4
Compliance 4
NL
Inhoudsopgave
Veiligheidstips 5
Inleiding 5
Verpakkingsinhoud 5
Installatie 6
Werking 6
- Position the appliance on a flat, stable surface.
- When positioning the appliance, maintain a distance of 20cm (7 inches) between the appliance and walls or other objects for ventilation. Increase this distance if the obstacle is a heat source.
- A service agent/qualified technician should carry out installation and any repairs if required. Do not remove any components or service panels on this product.
- Consult Local and National Standards to comply with the following:
• BS EN Codes of Practice
- Fire Precautions
• IEE Wiring Regulations
• Building Regulations
• Health and Safety at Work Legislation
• DO NOT immerse the Pie Warmer in water, or use jet/pressure washers to clean it.
• Always switch off and disconnect the power supply to the appliance before cleaning.
- Always allow the Pie Warmer to cool down before cleaning, maintaining or moving to avoid the risk of burns.
• DO NOT use the appliance for anything other than its intended use.
- This appliance must only be used in accordance with these instructions and by persons competent to do so.
• This appliance is not suitable for use by children.
- Keep all packaging away from children. Dispose of the packaging in accordance to the regulations of local authorities.
- If the power cord is damaged, it must be replaced by an BUFFALO agent or a recommended qualified technician in order to avoid a hazard.
Introduction
Please take a few moments to carefully read through this manual. Correct maintenance and operation of this machine will provide the best possible performance from your BUFFALO product.
Pack Contents
The following is included:
- P i e W a r m e r
- Sliding glass door x 2
-
Glass display panel
-
Wire rack x 3
• Element Guard - Water Reservoir
BUFFALO prides itself on quality and service, ensuring that at the time of packaging the contents are supplied fully functional and free of damage.
Should you find any damage as a result of transit, please contact your BUFFALO dealer immediately.
Installation
To install the Pie Warmer:
I. Remove the Pie Warmer from the packaging. Make sure that all protective plastic film and coatings are thoroughly removed from its surfaces.
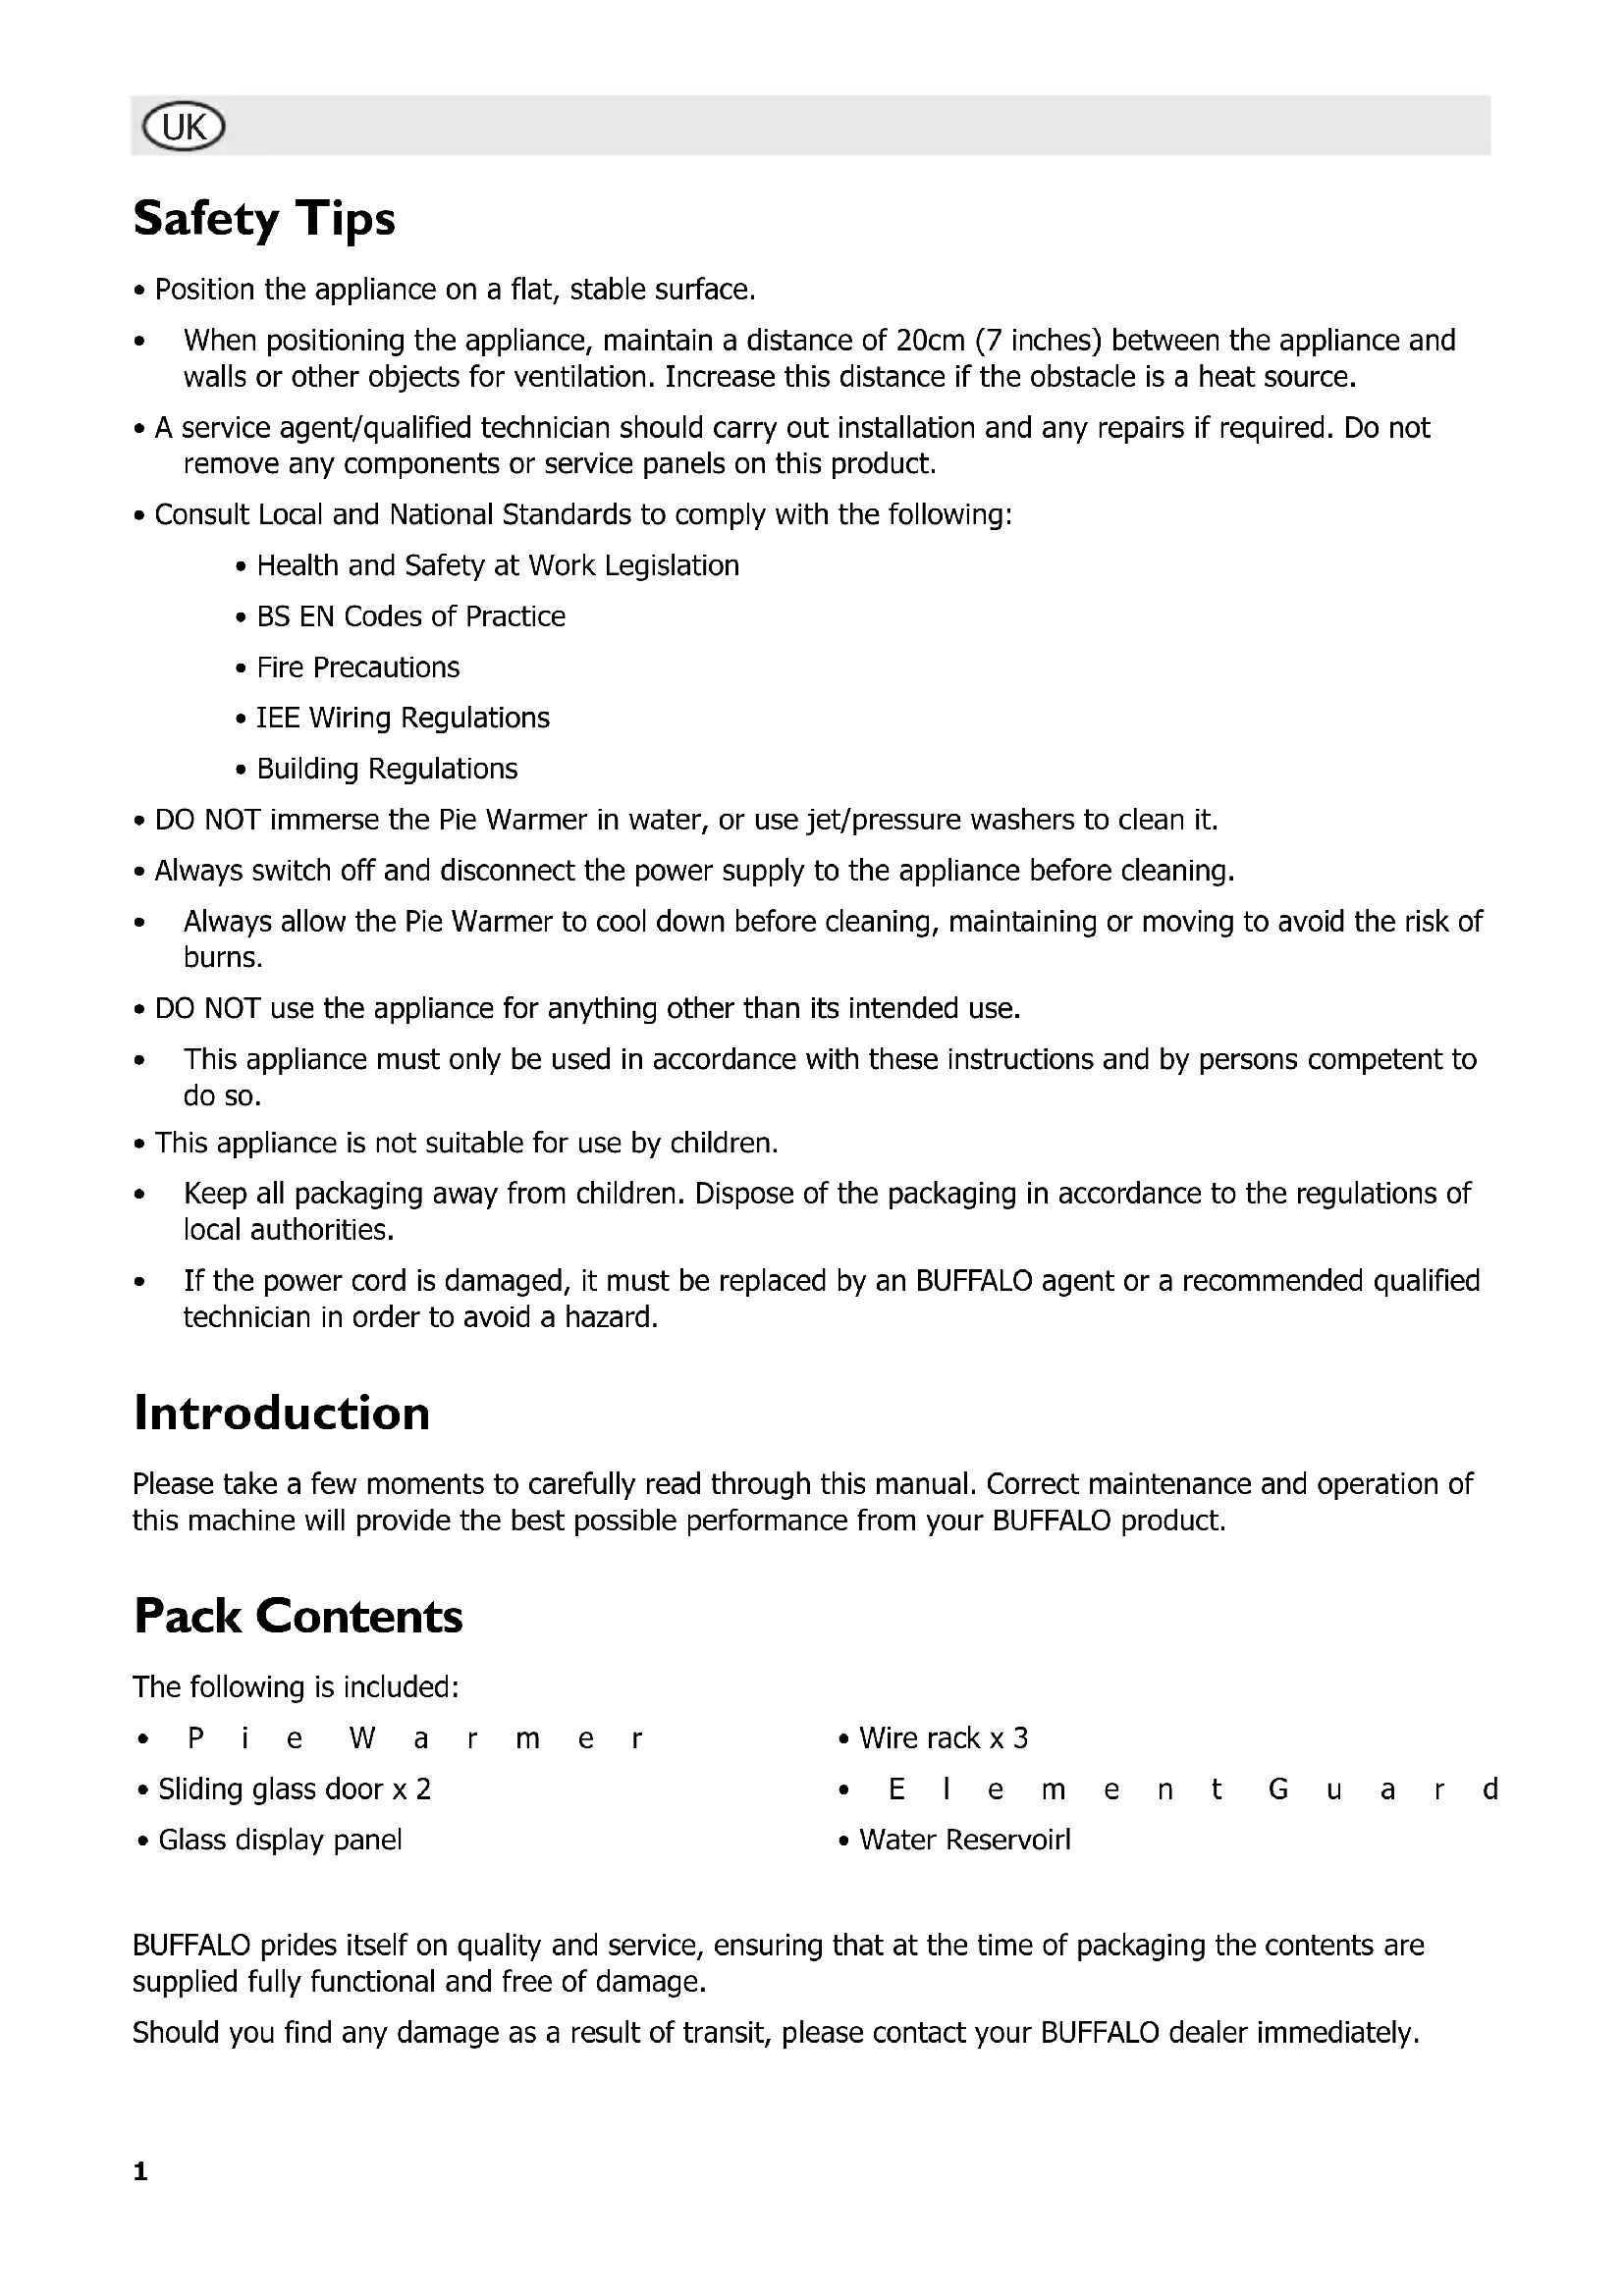
2. Take the glass display panel and raise it at an angle into the upper track at the rear of the unit [Fig. 1].
3. Once at the top of the track, position the bottom of the glass above the lower track [Fig. 2].
4. Carefully lower the glass into the bottom track [Fig. 3].
text_image
Diagram illustrating four steps of document folding or reordering, with arrows indicating direction and a control panel showing left/right movement.Fig. 1
- Slide the wire racks into the bracket on the inner side of the Pie Warmer.
- Insert the two sliding door panels in the same manner as the display panel. Ensure the handles are located towards the outside edges of the appliance [Fig. 4].
- Connect the plug to a suitable mains socket and turn on the power supply.
Operation

Note: This appliance is for maintaining temperature only. It is NOT suitable for cooking products or heating products from cold.
I. Add water (0.5L) to the water reservoir
2. Set the thermostat to the desired temperature.
3. The unit will cycle on and off to maintain the set temperature.
The green indicator light and illuminated interior lamp shows when the unit is switched on. The red indicator light shows when the desired temperature has been reached.

Note: The appliance has a maximum temperature setting of 90^ C.
Cleaning, Care and Maintenance
• Always turn Off the appliance and disconnect from the power supply before cleaning.
- Allow the appliance to cool before cleaning.
- The inner body of the appliance should be wiped down at the end of each day's operation. Additional cleaning may be required depending on frequency of use.
- Warm soapy water is recommended for cleaning. Cleaning agents may cause damage or leave harmful residues when used for a prolonged period on stainless steel.
- A BUFFALO dealer or qualified technician should carry out repairs if required.
Troubleshooting
If your BUFFALO Pie Warmer develops a fault, please check the following table before making a service call.
| Fault Probable | Cause Action | |
| The unit is not heating up and the green indicator light is Off | The unit is not switched on Check | the unit is plugged in correctly and switched on |
| Plug and lead are damaged Call BUFFALO agent or qualified technician | ||
| Fuse in the plug has blown Replace the plug fuse | ||
| Power supply Check power supply | ||
| Internal wiring fault Call BUFFALO agent or qualified technician | ||
| The unit heats up but the red indicator light is Off | Indicator light is faulty Call BUFFALO agent or qualified technician | |
| The unit is not heating up or heats up slowly and the indicator light is On | Incorrect operation Ensure: | • thermostat has been set correctly• doors are closed• thermostat sensor bulb has not been removed or damaged |
| Thermostat failure Call BUFFALO agent or qualified technician | ||
| Element failure | Call BUFFALO agent or qualified technician | |
Technical Specifications
| Model | Voltage | Power | Current | Dimensions h x w x d (mm) | Weight (kg) | Approx. Pie Capacity | Heat up Time (to 90°C) | Operating Temperature Range |
| GF454 | 230 50Hz | 350W | 1.52A | 500 x 595 x 390 | 16 | 30 | 27 minutes | 30 - 90°C |
| GF455 | 230, 50Hz | 650W | 2.85A | 582 x 755 x 390 | 23 | 60 | 28 minutes | 30 - 90°C |
Electrical Wiring
This appliance is supplied with a 3 pin, moulded, BS1363 plug and lead, with a 13 amp fuse as standard.
The plug is to be connected to a suitable mains socket.
This appliance is wired as follows:
• Live wire (coloured brown) to terminal marked L
• Neutral wire (coloured blue) to terminal marked N
- Earth wire (coloured green/yellow) to terminal marked E
This appliance must be earthed, using a dedicated earthing circuit.
If in doubt consult a qualified electrician.
Electrical isolation points must be kept clear of any obstructions. In the event of any emergency disconnection being required they must be readily accessible.
Compliance
The WEEE logo on this product or its documentation indicates that the product must not be disposed of as household waste. To help prevent possible harm to human health and/or the environment, the product must be disposed of in an approved and environmentally safe recycling process. For further information on how to dispose of this product correctly, contact the product supplier, or the local authority responsible for waste disposal in your area.
BUFFALO parts have undergone strict product testing in order to comply with regulatory standards and specifications set by international, independent, and federal authorities.
BUFFALO products have been approved to carry the following symbol:

All rights reserved. No part of these instructions may be produced or transmitted in any form or by any means, electronic, mechanical, photocopying, recording or otherwise, without the prior written permission of BUFFALO. Every effort is made to ensure all details are correct at the time of going to press, however, BUFFALO reserve the right to change specifications without notice.
Veiligheidstips
text_image
Symbolic image showing a trash bin with crossed lines and the letters 'C' and 'E' below, likely representing a recycling or certification icon.text_image
Symbolic image showing a recycling bin with crossed lines and a minus sign, alongside the letters 'C' and '€'.text_image
Symbolic image showing a trash bin with crossed lines and the letters 'C' and 'E' below, likely representing a recycling or waste management concept.DECLARATION OF CONFORMITY
- Conformiteitsverklaring • Déclaration de conformité • Konformitätserklärung • Dichiarazione di conformità •
- Declaración de conformidad • Declaração de conformidade • Överensstämmelseförsäkran •
- Overensstemmelseserklæring • Konformitetserklæring • Selvitys vaatimustenmukaisuudesta •
Equipment Type • Uitrustingstype • Type d'équipement • Gerätetyp • Tipo di apparecchiatura • Tipo de equipo • Tipo de equipamento • Pie Warmer Enhetstyp • Udstyrstype • Type utstyr • Laitteen tyyppi:
EMC Directive 2004/108/ECLVD Directive 2006/95/EC
EN55014-1:2006+A1:2009+A2:2009,
EN61000-3-2:2006+A1:2009+A2:2009
EN61000-3-3:2008, EN55014-2:1997+AI:2001
+A2:2008, EN60335-1:2002+A11:2004+A1:2004
+A|2:2006+A2:2006+A|3:2008+A|4:2010+A|5:2001,E
N60335-2-49:2003+AI:2008, EN62233:2008
BUFFALO
Fourth Way
Avonmouth
Bristol
BSII 8TB
United Kingdom
I, the undersigned, hereby declare that the equipment specified above conforms to the above Directive(s) and Standard(s).