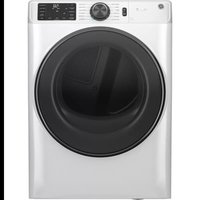
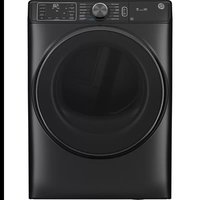
GFA28DSVN - Tumble drier GE - Free user manual and instructions
Find the device manual for free GFA28DSVN GE in PDF.
User questions about GFA28DSVN GE
0 question about this device. Answer the ones you know or ask your own.
Ask a new question about this device
Download the instructions for your Tumble drier in PDF format for free! Find your manual GFA28DSVN - GE and take your electronic device back in hand. On this page are published all the documents necessary for the use of your device. GFA28DSVN by GE.
USER MANUAL GFA28DSVN GE
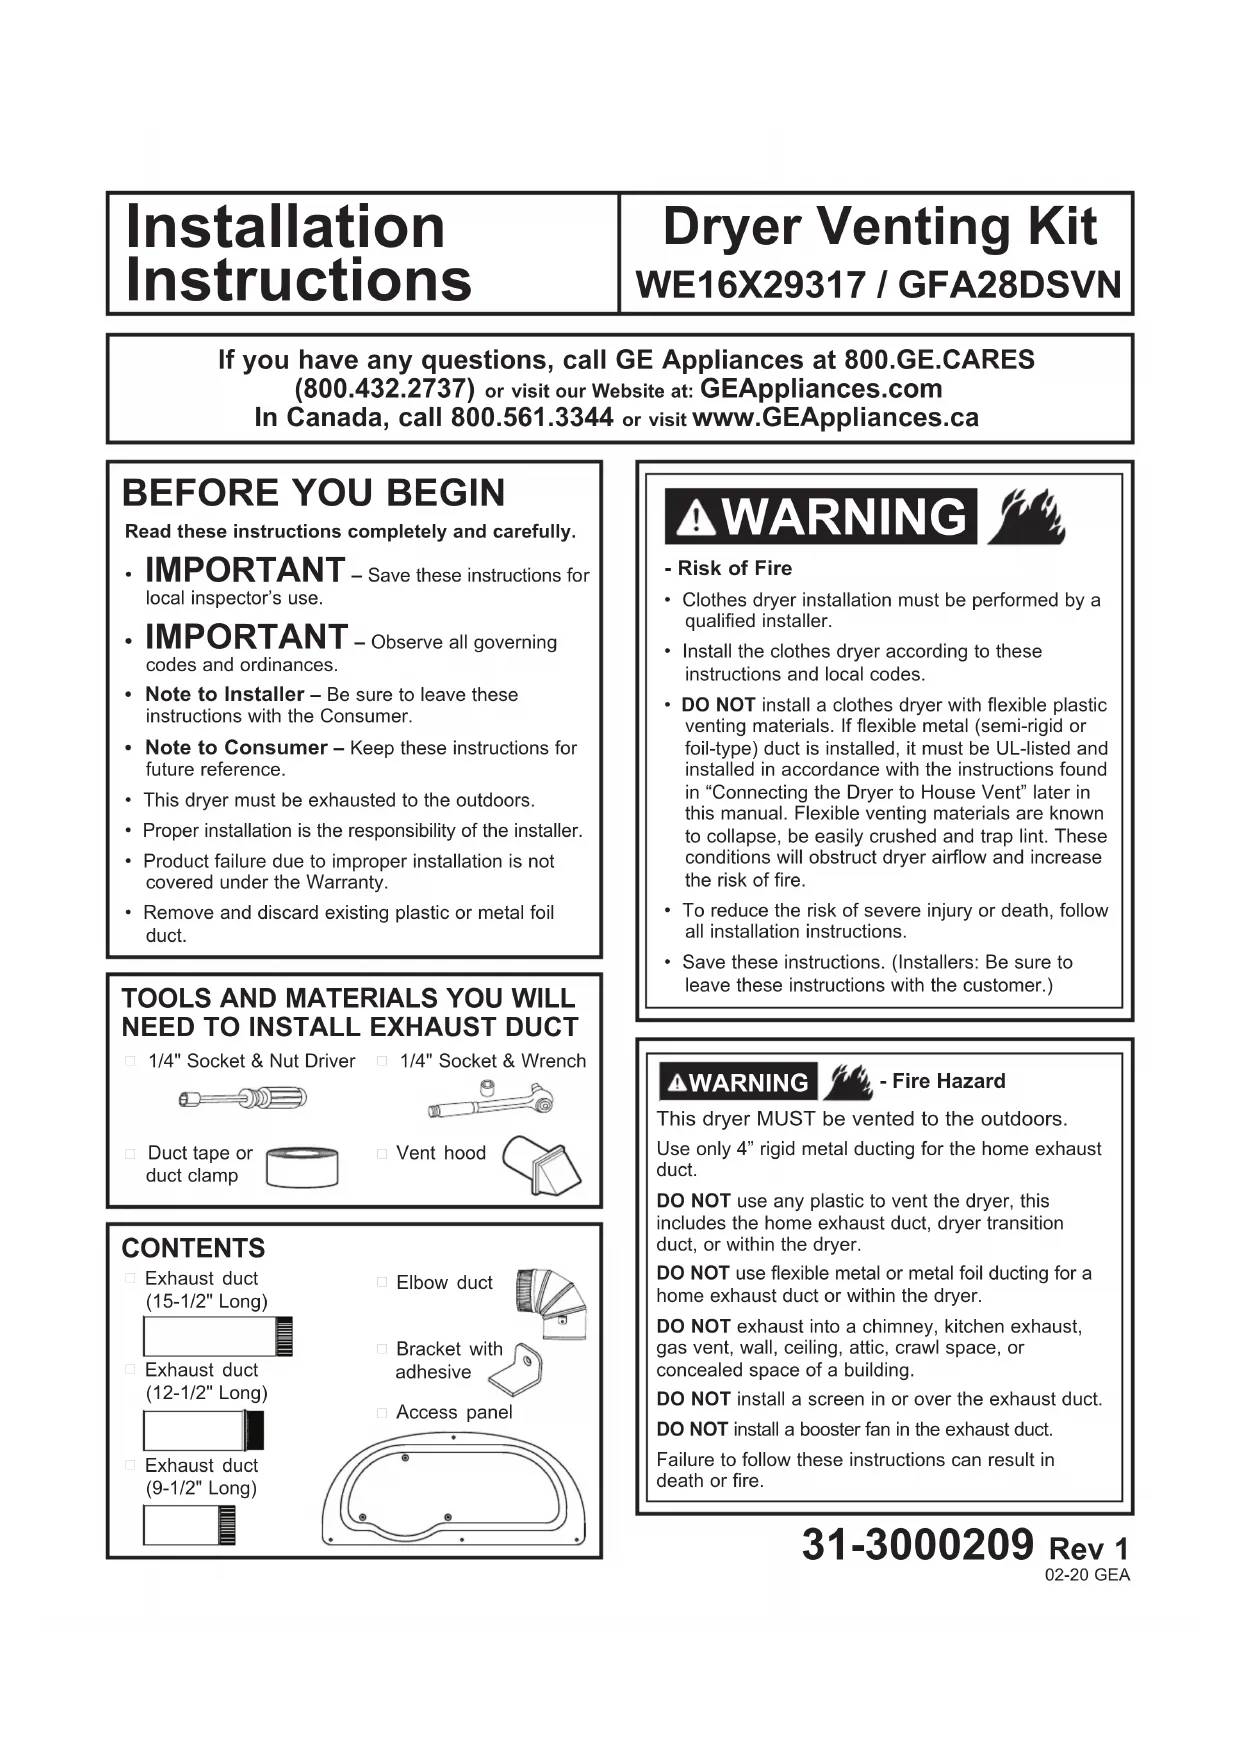
If you have any questions, call GE Appliances at 800.GE.CARES (800.432.2737) or visit our Website at: GEAppliances.com In Canada, call 800.561.3344 or visit www.GEAppliances.ca
Read these instructions completely and carefully.
- IMPORTANT – Save these instructions for local inspector’s use.
- IMPORTANT – Observe all governing codes and ordinances.
- Note to Installer – Be sure to leave these instructions with the Consumer.
- Note to Consumer – Keep these instructions for future reference.• This dryer must be exhausted to the outdoors.• Proper installation is the responsibility of the installer. • Product failure due to improper installation is not covered under the Warranty.• Remove and discard existing plastic or metal foil duct.- Risk of Fire• Clothes dryer installation must be performed by a qualified installer.• Install the clothes dryer according to these instructions and local codes.• DO NOT install a clothes dryer with flexible plastic venting materials. If flexible metal (semi-rigid or foil-type) duct is installed, it must be UL-listed and installed in accordance with the instructions found in “Connecting the Dryer to House Vent” later in this manual. Flexible venting materials are known to collapse, be easily crushed and trap lint. These conditions will obstruct dryer airflow and increase the risk of fire.• To reduce the risk of severe injury or death, follow all installation instructions.• Save these instructions. (Installers: Be sure to leave these instructions with the customer.) WARNING Dryer Venting Kit
WE16X29317 / GFA28DSVN
Installation Instructions 02-20 GEA 31-3000209 Rev 1 TOOLS AND MATERIALS YOU WILL NEED TO INSTALL EXHAUST DUCT
Duct tape or duct clampThis dryer MUST be vented to the outdoors.Use only 4” rigid metal ducting for the home exhaust duct.DO NOT use any plastic to vent the dryer, this includes the home exhaust duct, dryer transition duct, or within the dryer.DO NOT use flexible metal or metal foil ducting for a home exhaust duct or within the dryer.DO NOT exhaust into a chimney, kitchen exhaust, gas vent, wall, ceiling, attic, crawl space, or concealed space of a building.DO NOT install a screen in or over the exhaust duct.DO NOT install a booster fan in the exhaust duct.Failure to follow these instructions can result in death or fire.- Fire Hazard WARNING
Exhaust duct (15-1/2" Long)
Exhaust duct (12-1/2" Long)
Exhaust duct (9-1/2" Long)
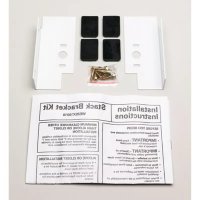
Bracket with adhesiveCONTENTS2 Installation Instructions SIDE VENTING Disconnect dryer from electrical supply. Wear gloves and arm guards. Close the back opening with the access panel included in this kit. Failure to do so may result in fire, electrical shock or lacerations. - Fire Hazard WARNING
- Remove and discard existing plastic or metal foil duct and replace with UL-listed duct.• Remove any lint from the wall exhaust opening.Internal Duct Opening Wall Check that exhaust hood damper opens and closes freely.• Remove the 4 screws that secure the access panel and save. Remove the access panel.• Detach and remove the right or left side knockout as desired. Remove the screw that secures the dryer exhaust duct and save. Pull the exhaust duct out of the dryer.Remove 4 screws and saveAccess Panel SIDE VENTING (cont.)
- Locate the 12-1/2” exhaust duct and elbow duct from this kit and assemble together. Apply duct tape around the joint to eliminate leaks between ducts.• Insert and connect the elbow/exhaust duct assembly to the blower housing and orient the elbow for either left or right venting.12-1/2"Right VentingLeft VentingLeft KnockoutRight knockoutRemove screw and saveExhaust Duct• Locate the bracket from the kit.• Remove the adhesive liner from the bottom of the bracket and position it behind the elbow duct tab.• Press down firmly to secure the bracket to the bottom of the dryer.• Using one of the screws from earlier, secure the elbow duct tab to the bracket.Elbow Duct TabBracketSaved Screw3 Installation Instructions SIDE VENTING (cont.) For LEFT venting:• Locate the 15-1/2” exhaust duct from this kit.• Insert exhaust duct through knockout opening on the LEFT side of dryer.• Assemble exhaust duct to elbow duct.• Wrap the joint with duct tape to avoid air leaks.For RIGHT venting:• Locate the 9-1/2” exhaust duct from this kit.• Insert exhaust duct through knockout opening on the RIGHT side of dryer.• Assemble exhaust duct to elbow duct.• Wra
e to avoid air leaks.Right Venting
Venting• Install the new access panel from this kit.• Secure access panel with 4 screws saved from earlier.
NEVER LEAVE THE BACK OPENING WITHOUT
THE ACCESS PANEL. BOTTOM VENTING Dryer Exhaust to the bottom of cabinet for Gas and Electric models WITHOUT Built-In Pedestal™. Disconnect dryer from electrical supply. Wear gloves and arm guards. Close the back opening with the access panel included in this kit. Failure to do so may result in fire, electrical shock or lacerations. - Fire Hazard WARNING
- Remove the 4 screws that secure the access panel and save. Remove the access panel.Remove 4 screws and saveAccess Panel• Remove the screw that secures the dryer exhaust duct and save. Pull the exhaust duct out of the dryer.Remove screw and saveExhaust Duct• Detach and remove the bottom knockout.Botom Knockout4 Installation Instructions BOTTOM VENTING (cont.) BOTTOM VENTING (cont.)
- Locate the 12-1/2” exhaust duct and elbow duct from this kit and assemble together. Apply duct tape around the joint to eliminate leaks between ducts. 12-1/2"
- Install the new access panel from this kit.
- Secure access panel with 4 screws saved from earlier.