10090 - Iron HAMILTON BEACH - Free user manual and instructions
Find the device manual for free 10090 HAMILTON BEACH in PDF.
Download the instructions for your Iron in PDF format for free! Find your manual 10090 - HAMILTON BEACH and take your electronic device back in hand. On this page are published all the documents necessary for the use of your device. 10090 by HAMILTON BEACH.
USER MANUAL 10090 HAMILTON BEACH
SAVE THESE INSTRUCTIONS
OTHER CONSUMER SAFETY INFORMATION
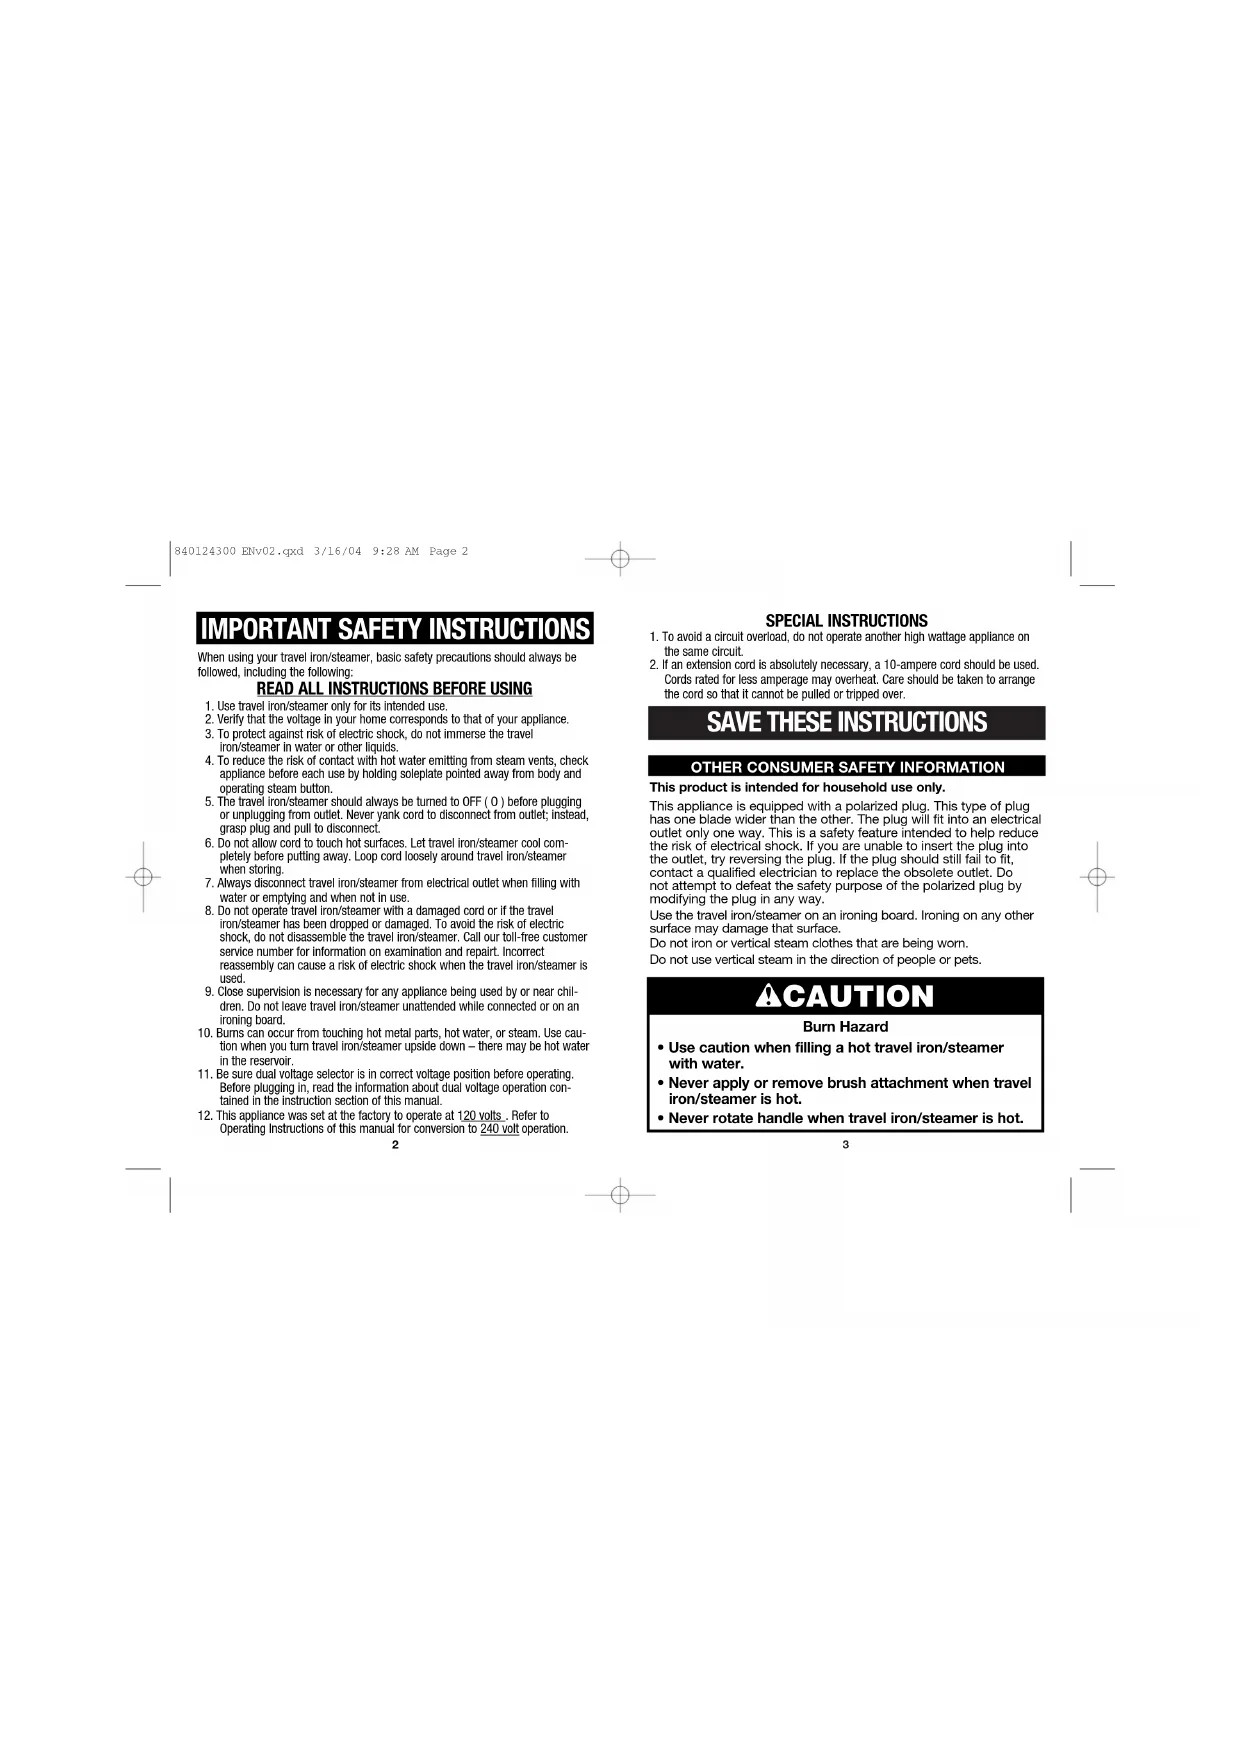
This product is intended for household use only.This appliance is equipped with a polarized plug. This type of plughas one blade wider than the other. The plug will fit into an electricaloutlet only one way. This is a safety feature intended to help reducethe risk of electrical shock. If you are unable to insert the plug intothe outlet, try reversing the plug. If the plug should still fail to fit, contact a qualified electrician to replace the obsolete outlet. Do not attempt to defeat the safety purpose of the polarized plug bymodifying the plug in any way.Use the travel iron/steamer on an ironing board. Ironing on any othersurface may damage that surface.Do not iron or vertical steam clothes that are being worn.Do not use vertical steam in the direction of people or pets. SPECIAL INSTRUCTIONS 1. To avoid a circuit overload, do not operate another high wattage appliance onthe same circuit.2. If an extension cord is absolutely necessary, a 10-ampere cord should be used.Cords rated for less amperage may overheat. Care should be taken to arrangethe cord so that it cannot be pulled or tripped over.When using your travel iron/steamer, basic safety precautions should always befollowed, including the following:
READ ALL INSTRUCTIONS BEFORE USING
1. Use travel iron/steamer only for its intended use.2. Verify that the voltage in your home corresponds to that of your appliance.3. To protect against risk of electric shock, do not immerse the traveliron/steamer in water or other liquids.4. To reduce the risk of contact with hot water emitting from steam vents, checkappliance before each use by holding soleplate pointed away from body andoperating steam button.5. The travel iron/steamer should always be turned to OFF ( O ) before pluggingor unplugging from outlet. Never yank cord to disconnect from outlet; instead,grasp plug and pull to disconnect.6. Do not allow cord to touch hot surfaces. Let travel iron/steamer cool com-pletely before putting away. Loop cord loosely around travel iron/steamerwhen storing.7. Always disconnect travel iron/steamer from electrical outlet when filling withwater or emptying and when not in use.8. Do not operate travel iron/steamer with a damaged cord or if the traveliron/steamer has been dropped or damaged. To avoid the risk of electricshock, do not disassemble the travel iron/steamer. Call our toll-free customerservice number for information on examination and repairt. Incorrectreassembly can cause a risk of electric shock when the travel iron/steamer isused.9. Close supervision is necessary for any appliance being used by or near chil-dren. Do not leave travel iron/steamer unattended while connected or on anironing board.10. Burns can occur from touching hot metal parts, hot water, or steam. Use cau-tion when you turn travel iron/steamer upside down – there may be hot waterin the reservoir.11. Be sure dual voltage selector is in correct voltage position before operating.Before plugging in, read the information about dual voltage operation con-tained in the instruction section of this manual.12. This appliance was set at the factory to operate at 120 volts. Refer toOperating Instructions of this manual for conversion to 240 voltoperation.
- Use caution when filling a hot travel iron/steamer with water.
- Never apply or remove brush attachment when travel iron/steamer is hot.
- Never rotate handle when travel iron/steamer is hot. 840124300 ENv02.qxd 3/16/04 9:28 AM Page 25 Before First Use
- Use ordinary tap water. If you have extremely hard water, alternate between tap water and distilled water for use in travel iron/steamer.
- During first use of travel iron/steamer, it may appear to smoke. This will stop and does not indicate a defect or hazard.
- Many irons/steamers spit or sputter during the first few uses with tap water. This happens as the steam chamber becomes conditioned. This will stop after a few uses.
- Steam vents should be cleared before first use. Prepare travel iron/steamer for steam ironing, then iron over an old cloth for a few minutes while pressing the steam button.
5. Brush Attachment Grips
8. Handle Release/Lock
13. Travel iron/steamer Soleplate
Water Cup and Storage Bag not shown. Make sure the unit is unplugged. Insert small screwdriver or plug blade into the slot on the dual voltage selector switch and rotate as follows:
- For 120 volts: switch should be turned to the right (clockwise).
- For 240 volts: switch should be turned to the left (counterclockwise). If using 240 volts, you must use an appropriate adapter plug. NOTE: Damage to unit and garments may occur if unit is operated at 240V with switch set to 120V.
Parts and Features To Dry Iron
1. With travel iron/steamer unplugged, press Handle Release
Button and rotate handle 180 degrees until it locks and is parallel or “in line” with travel iron/steamer body.
2. Make sure dual voltage selector switch is set to correct
voltage and then plug travel iron/steamer into power supply.
3. Turn Temperature Control Dial to
desired temperature. With travel iron/ steamer resting on side position, allow three minutes for travel iron/steamer to reach desired temperature. Do not pre- heat travel iron/steamer with soleplate facing down.
4. To turn travel iron/steamer off, turn
Temperature Control Dial to OFF (O).
5. Unplug travel iron/steamer. Allow to cool completely
before returning handle to storage position and placing travel iron/steamer in storage bag. To Change Voltage 840124300 ENv02.qxd 3/16/04 9:28 AM Page 47
1. With travel iron/steamer unplugged, press Handle Release
Button and rotate handle 180 degrees until it locks and is parallel or “in line” with travel iron/steamer body.
2. Remove Water Tank Plug. Using Water Cup, slowly pour 2
ounces (60 ml) of tap water into Water Tank Opening. Replace Water Tank Plug.
3. Make sure dual voltage selector switch is set to correct
voltage and then plug travel iron/steamer into power supply.
4. Turn Temperature Control Dial to Steam . With travel
iron/steamer resting on side position, allow three minutes for travel iron/steamer to reach desired temperature. Do not preheat travel iron/steamer with soleplate facing down.
5. Press Steam Button to generate steam to travel iron/steamer.
6. To turn travel iron/steamer off, turn Temperature Control
7. Unplug travel iron/steamer. Empty water from the travel
iron/steamer following directions in “Caring for your travel iron/steamer.”
8. Allow to cool completely before returning handle to
storage position and placing travel iron/steamer in storage bag. To Steam Brush
1. With travel iron/steamer unplugged, press Handle Release
Button and rotate handle 180 degrees until it locks and is parallel or “in line” with travel iron/steamer body.
2. Remove Water Tank Plug. Using Water Cup, slowly pour
2 ounces (60 ml) of tap water into the Water Tank Opening. Replace Water Tank Plug.
3. Slide Brush Attachment over soleplate. Rotate Brush
Attachment Lock 180 degrees.
4. Make sure dual voltage selector switch is set to correct
voltage and then plug travel iron/steamer into power supply.
5. Turn Temperature Control Dial to Steam . With travel
iron/steamer resting on side position, allow three minutes for travel iron/steamer to reach desired temperature. Do not preheat travel iron/steamer with soleplate facing down.
6. Clothing should be on a hanger. Pull fabric taut. Hold
steamer upright against fabric. Press Steam Button every three seconds for steam. NOTE: The Steam Brush may be used as a lint remover. If using on delicate fabric that may snag, remove Brush Attachment by pulling straight up after unlocking Brush Attachment lock prior to heating travel iron/steamer.
7. To turn travel iron/steamer off, turn Temperature Control
8. Unplug travel iron/steamer. Empty water from the travel
iron/steamer following directions in “Caring for your travel iron/steamer.”
9. Allow to cool completely before returning handle to storage
position and placing travel iron/steamer in storage bag. 840124300 ENv02.qxd 3/16/04 9:28 AM Page 69
1. Lint and hair may be removed from fabrics with the lint pad
by brushing the pad across fabric slowly from left to right.
2. To clean lint pad, brush on scrap fabric or towel from right
to left. To Iron Nylon Silk Acrylic Polyester Wool Rayon Cotton Linen Ironing Instructions Dry iron on the wrong side of the fabric. Dry iron on the wrong side of the fabric. Dry iron on the wrong side of the fabric. Iron with fabric still damp. Steam iron on the wrong side of fabric. Iron on the wrong side of fabric. Iron while still damp using steam and/or spray. Iron on wrong side of fabric while still damp. Fabric Setting Chart Temp Control
1. The Water Tank of your travel iron/steamer should be emp-
tied after each use. Turn Temperature Control Dial to OFF (O). Unplug the travel iron/steamer and hold over a sink. Turn travel iron/steamer nose down until Water Tank Opening is parallel with sink. Water will run out of Water Tank Opening.
2. To store the travel iron/steamer after it has completely
cooled, press Handle Release Button and rotate the han- dle until it locks (180 degrees) so that the handle is parallel over the travel iron/steamer.
3. Put Brush Attachment over the soleplate and engage the
4. Place the travel iron/steamer in the storage bag and store
resting on its side. Do not store travel iron/steamer lay- ing flat on soleplate. Soleplate
1. Never iron over zippers, pins, metal rivets, or snaps, as
these may scratch the soleplate.
2. To clean occasional build-up on the soleplate, wipe with
a sudsy cloth. Do not use abrasive cleansers or metal scouring pads.
3. Always store travel iron/steamer resting on its side.
Caring for Your Travel iron/steamer Steam Setting 840124300 ENv02.qxd 3/16/04 9:28 AM Page 811 If you have a question about your appliance, call our toll-free cus- tomer service number. Before calling, please note the model, type, and series numbers and fill in that information below. These num- bers can be found on the bottom of your appliance. This information will help us answer your question much more quickly.
MODEL:_____________ TYPE:_____________ SERIES: ______________
The following warranty applies only to product purchased in the United States and Canada. LIMITED WARRANTY This product is warranted to be free from defects in material and workmanship for aperiod of two (2) years for Hamilton Beach Portfolio products, one (1) year for HamiltonBeach products or one hundred eighty (180) days for Proctor-Silex products from thedate of original purchase, except as noted below. During this period, we will repair orreplace this product, at our option, at no cost. THE FOREGOING WARRANTY IS INLIEU OF ANY OTHER WARRANTY, WHETHER EXPRESS OR IMPLIED, WRITTEN ORORAL INCLUDING ANY WARRANTY OF MERCHANTABILITY OR FITNESS FOR APARTICULAR PURPOSE. ANY LIABILITY IS EXPRESSLY LIMITED TO AN AMOUNTEQUAL TO THE PURCHASE PRICE PAID, AND ALL CLAIMS FOR SPECIAL,INCIDENTAL AND CONSEQUENTIAL DAMAGES ARE HEREBY EXCLUDED. There isno warranty with respect to the following, which may be supplied with this product:glass parts, glass containers, cutter/strainer, blades, and/or agitators. This warrantyextends only to the original consumer purchaser and does not cover a defect resultingfrom abuse, misuse, neglect, use for commercial purposes, or any use not inconformity with the printed directions. This warranty gives you specific legal rights,and you may also have other legal rights which vary from state to state, or province toprovince. Some states or provinces do not allow limitations on implied warranties orspecial, incidental or consequential damages, so the foregoing limitations may notapply to you.If you have a claim under this warranty, DO NOT RETURN THE APPLIANCE TO THESTORE! Please call our CUSTOMER SERVICE NUMBER. (For faster service pleasehave model, series, and type numbers ready for operator to assist you.)
Water is leaking Won’t steam Leaves spots
- Is travel iron/steamer plugged in and outlet working? Check outlet by plugging in a lamp.
- Is Temperature Control Dial turned to a fabric setting?
- Do not overfill the water tank.
- Do not press Steam Button while Dry Ironing.
- If steam ironing, is Temperature Control Dial in steam range and did travel iron/steamer have enough time to preheat?
- If dry ironing, make sure Temperature Control Dial is in DRY IRON position.
- Make sure Water Tank Plug is fully seated.
- Is Temperature Control Dial in STEAM position?
- Has travel iron/steamer had enough time to pre- heat?
- ALWAYS empty water tank after using. Water left in tank may discolor clothing and soleplate.
- Do not press Steam Button while the travel iron/steamer is cool.
- If the travel iron/steamer cord should become twisted, unplug travel iron/steamer and let cool. Hold travel iron/steamer cord in the middle of entire length. Let plug and travel iron/steamer dangle freely until cord uncoils. This will extend the life of your travel iron/steamer cord. Twisted cord Troubleshooting Customer Service 840124300 ENv02.qxd 3/16/04 9:28 AM Page 1013