DS400HDM - Receiver Denson - Free user manual and instructions
Find the device manual for free DS400HDM Denson in PDF.

| Product type | HD satellite receiver |
| Brand | Denson |
| Model | DS400HDM |
| Design year | 2009 |
| Dimensions (L x D x H) | 28 cm x 18 cm x 5 cm |
| Weight | 1,2 kg |
| Power supply | 12 V DC, 1 A |
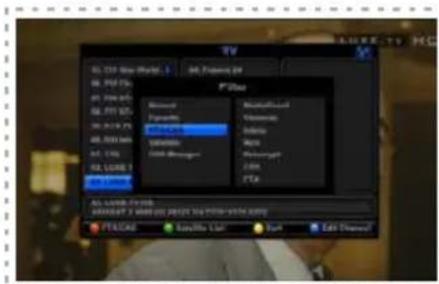
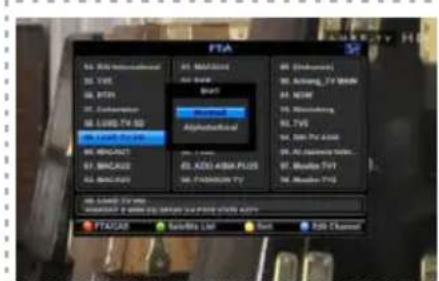
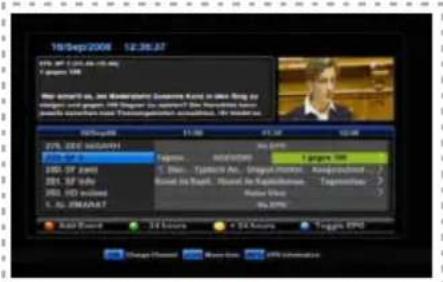
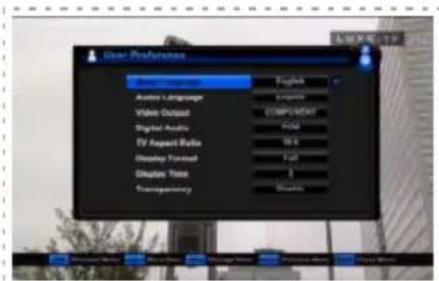
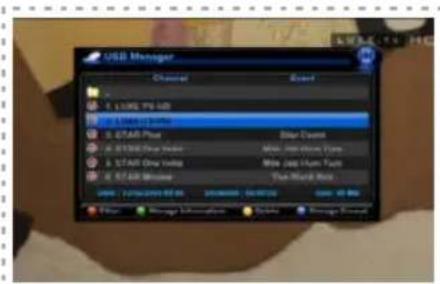
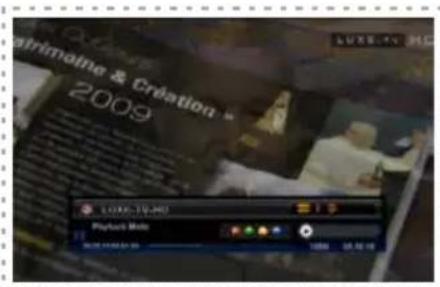
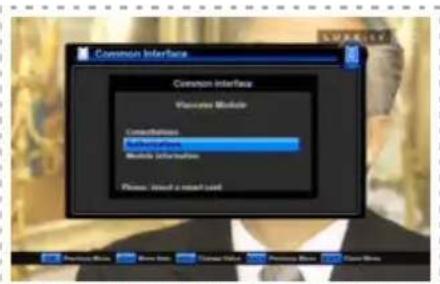
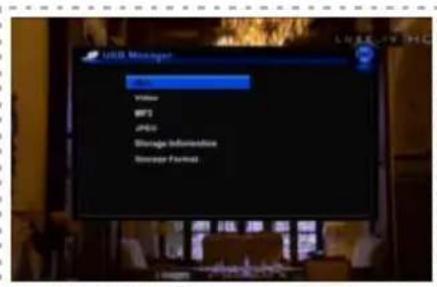
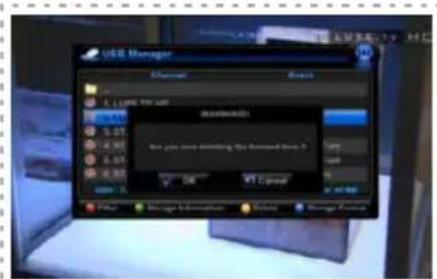
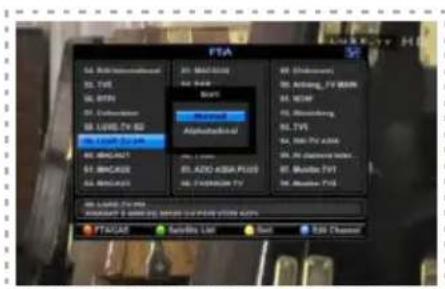
| Main functions | HD satellite reception, USB recording, channel management, software update |
| Connectivity | LNB input, HDMI output, USB ports, digital audio output |
| Supported resolution | Up to 1080p |
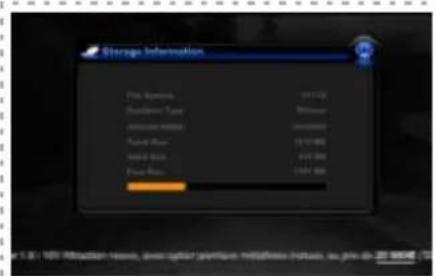
| Storage | External USB for recording and playback |
| Care and cleaning | Clean with a soft dry cloth, do not use liquids |
| Safety | Do not expose to moisture, unplug before cleaning |
| Spare parts and repairability | Remote control, power adapter available |
| Included accessories | Remote control, power adapter, HDMI cable |
| Operating temperature | 0°C to 40°C |
| Relative humidity | 20% to 80% |
Frequently Asked Questions - DS400HDM Denson
User questions about DS400HDM Denson
0 question about this device. Answer the ones you know or ask your own.
Ask a new question about this device
Download the instructions for your Receiver in PDF format for free! Find your manual DS400HDM - Denson and take your electronic device back in hand. On this page are published all the documents necessary for the use of your device. DS400HDM by Denson.
USER MANUAL DS400HDM Denson
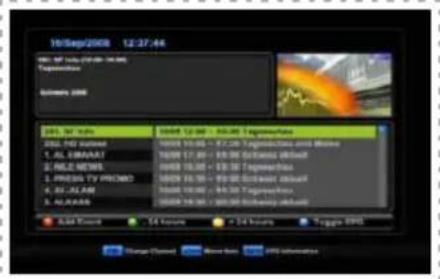
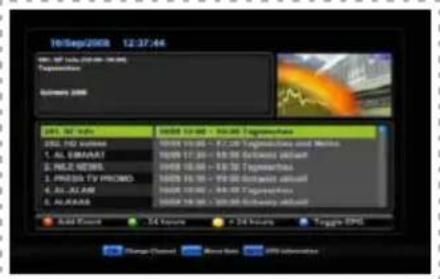
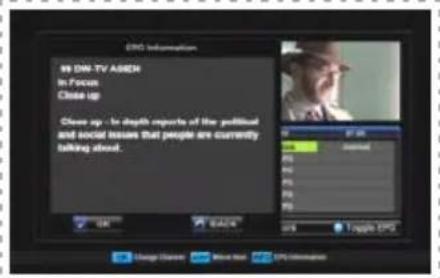
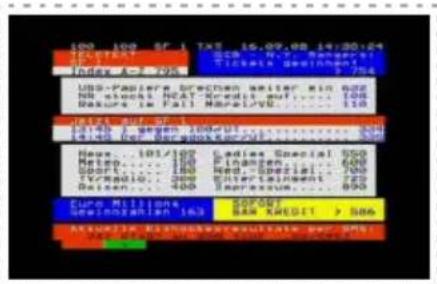
High Definition Digital Satellite Receiver PVR READY
DENSON


natural_image
Simple gray curved line on white background (no text or symbols)
natural_image
Simple gray curved line on white background (no text or symbols)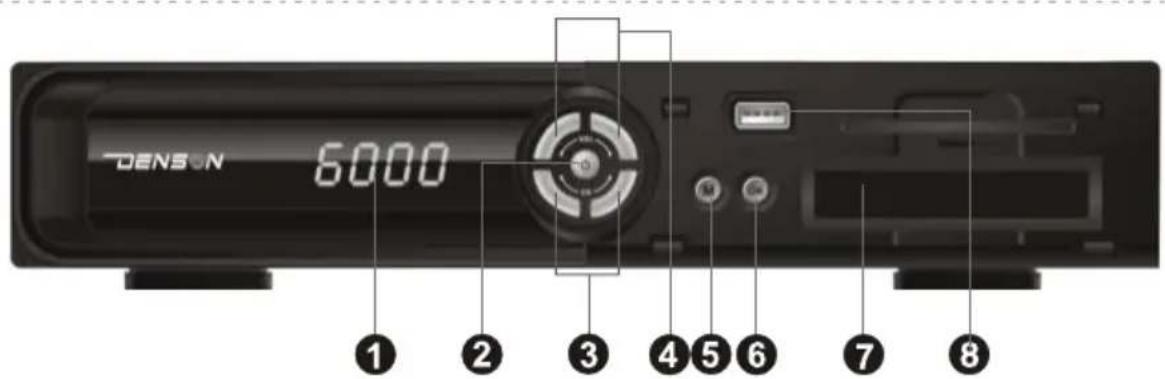
[Non-Text]
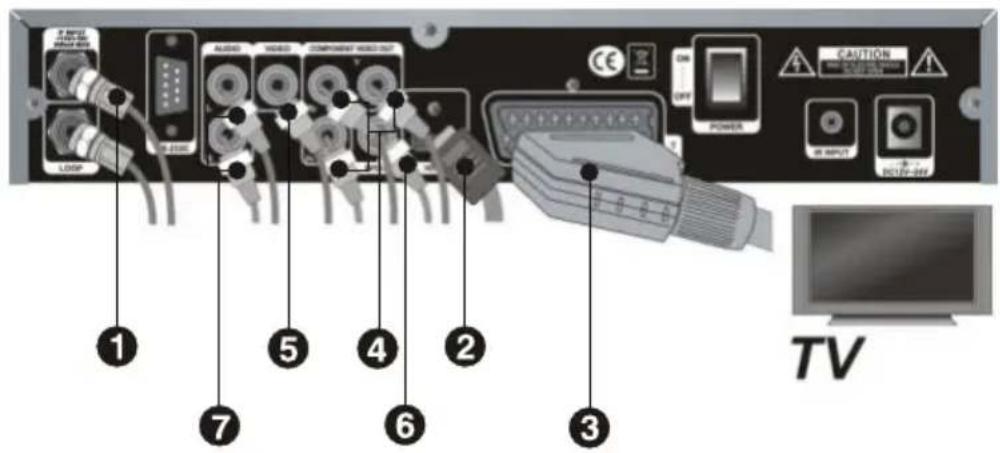
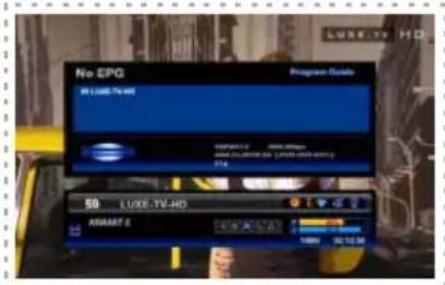
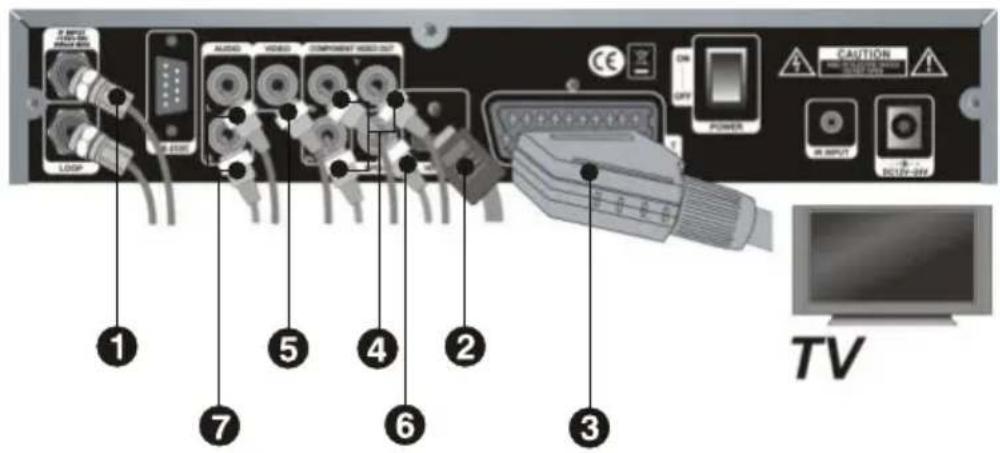
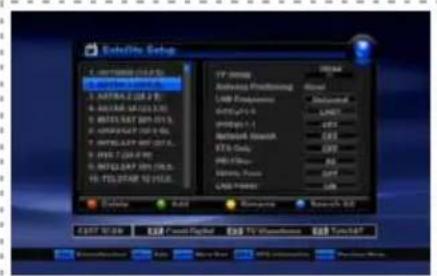
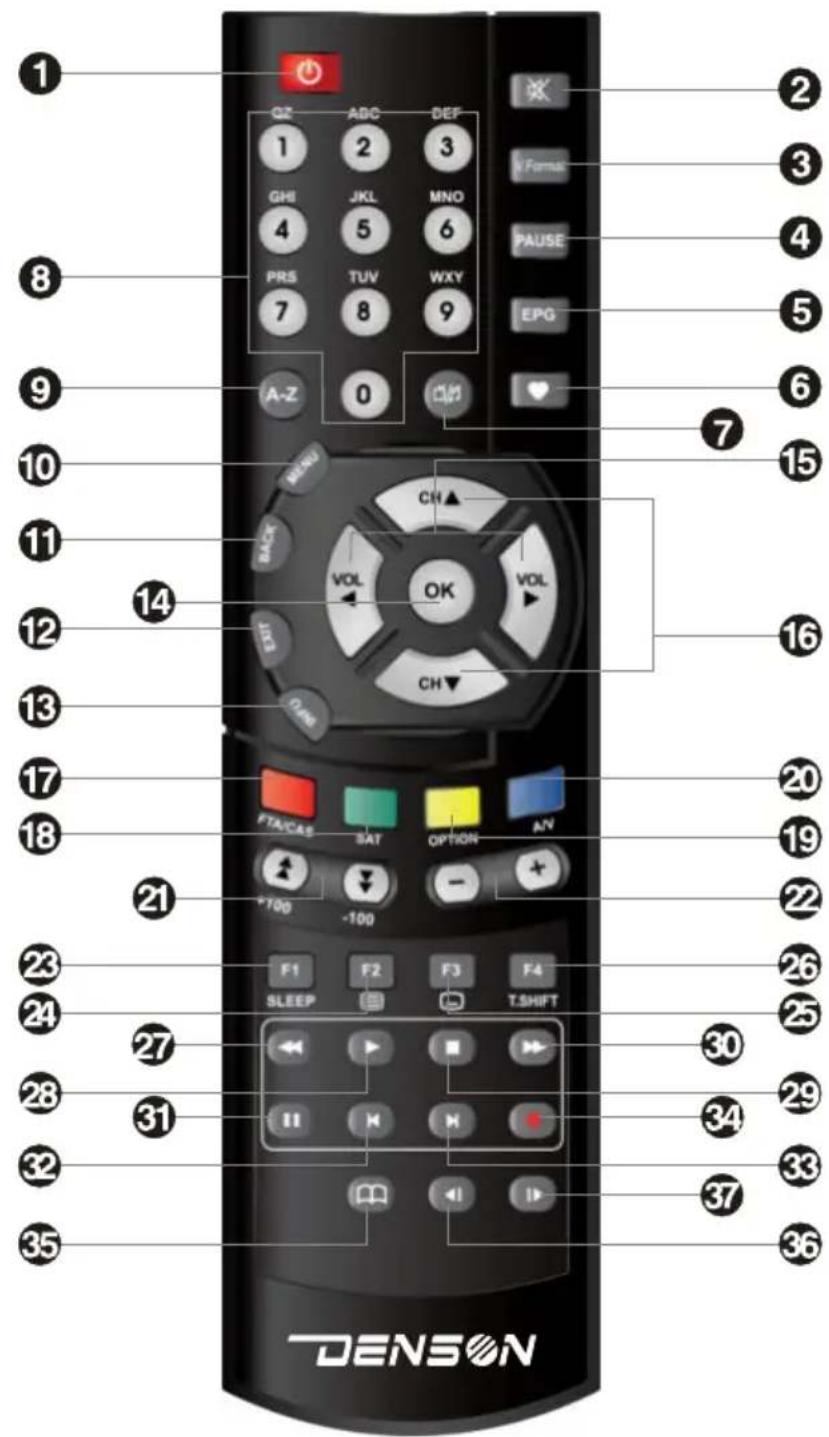
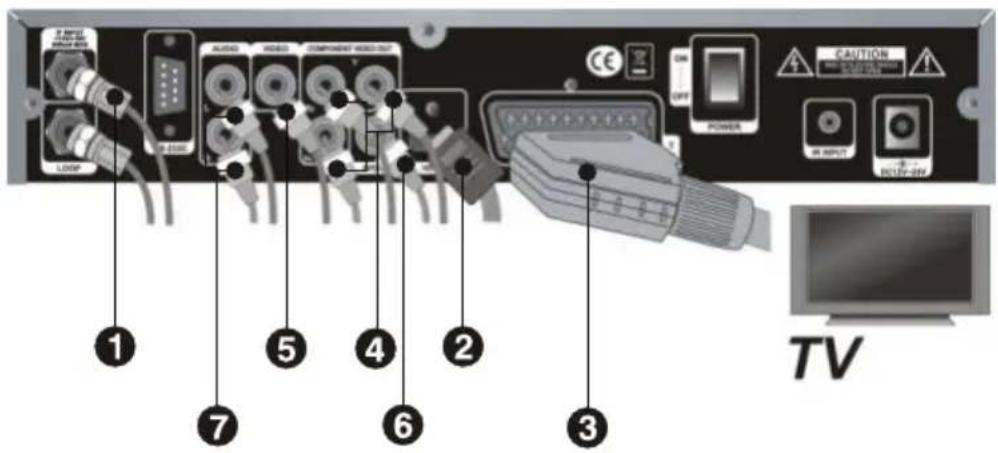
2-2 Rear Panel

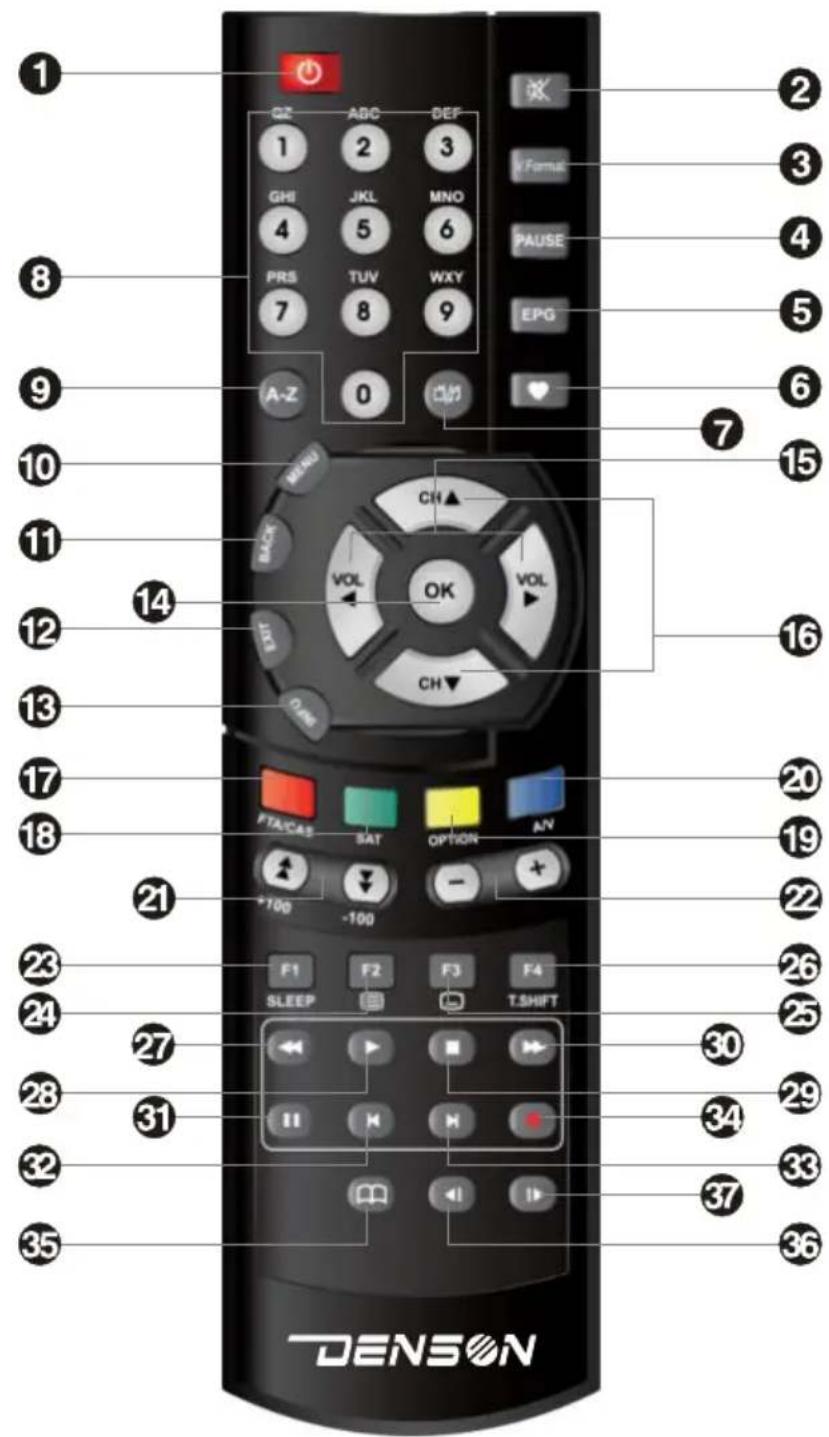
1
2
3
4
5
6
7
8
9
10
11
12
13
14
15
16
17
18
19
20
21
22
23
24
25
26
27
28
29
30
31
32
33
34
35
36
37
[Non-Text]
❤️
首/
首/月
The Ground Truth image displays a single, solid horizontal line. According to Rule 2 (UNDERSCORE & LINE RULES), this is a stylistic or background line, not a placeholder underscore. Therefore, the OCR result must ignore it and output nothing or only meaningful text. The provided OCR content is "____", which consists of four underscores. This is an incorrect interpretation of the line as a placeholder, violating the rule that stylistic lines must be ignored. The OCR has hallucinated placeholder underscores where none exist in the GT. Hence, the result is inconsistent with the Ground Truth.
[Non-Text]
[Non-Text]
[Non-Text]
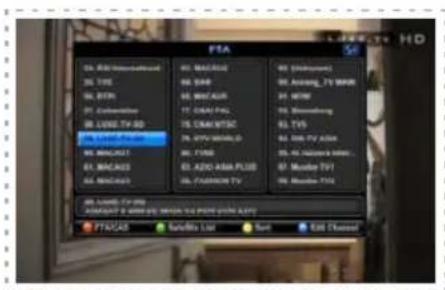
m = 311
广力云智慧零售收银系统
m = 311
15
16
17
18
19
20
21
22
23
24
25
26
27
28
29
30
31
32
33
34
35
36
37


1
2
3
[Non-Text]
[Non-Text]
[ICON]
!
4
!
⑤
!
6
7
!


natural_image
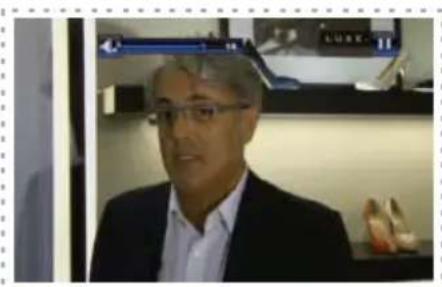
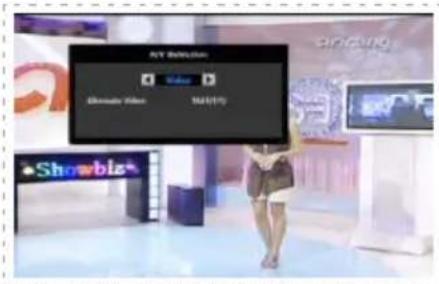
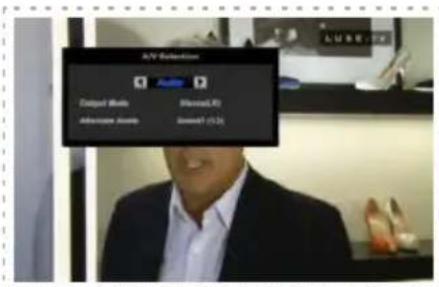
Man wearing glasses and suit in a retail setting with shelves and footwear in background (no visible text or symbols)
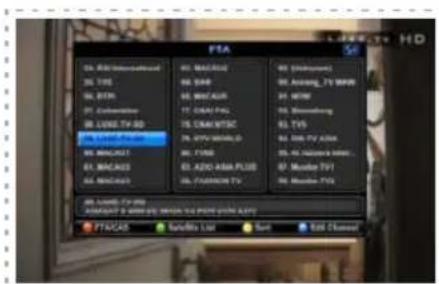


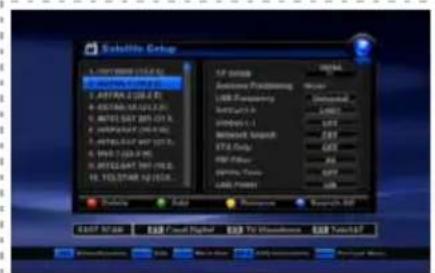
FAST SCAN

natural_image
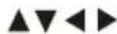
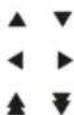
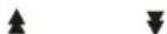
Abstract arrangement of black triangles and right-pointing arrows on white background (no text or symbols)


natural_image
Abstract pattern of black arrow shapes pointing left and right on white background (no text or symbols)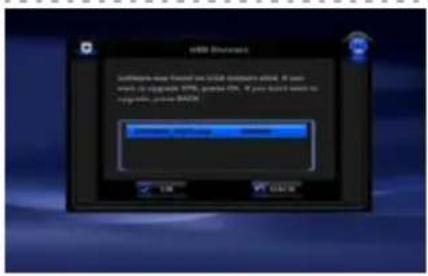


natural_image
Icon of a person holding a wrench, enclosed in a circle (no text or symbols)
natural_image
Pure geometric lines forming a partial circle and an arc, no text or symbols presentTECHNICAL SPECIFICATIONS
C
C
C
: :

natural_image
Simple icon of a pencil inside a circle (no text or symbols)| 100% | |
| 100% | 100% |
| 100% | 100% |
| 100% | 100% |
| 100% | 100% |
| 100% | 100% |
| 100% | 100% |
| 100% | 100% |
| 100% | 100% |
| 100% | 10 |
DENSON


natural_image
Simple gray curved line on white background (no text or symbols)
natural_image
Simple gray curved line on white background (no text or symbols)
natural_image
Blank white image with faint horizontal lines and a small circular icon in the top-right corner (no text or symbols)
[Non-Text]


1
2
3
4
5
6
7
8
9
10
11
12
13
14
15
16
17
18
19
20
21
22
23
24
25
26
27
28
29
30
31
32
33
34
35
36
37


[Non-Text]
1
[Non-Text]
②
!
③____
!
4
!
⑤
!
6
7
!


natural_image
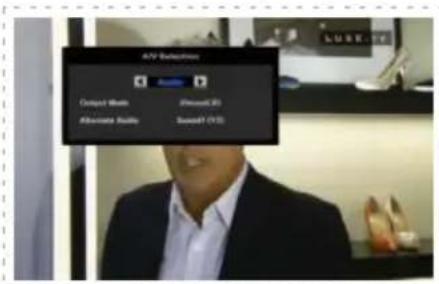
Portrait of a man in formal attire with glasses, standing indoors near a display stand (no visible text or symbols)


FAST SCAN


natural_image
Abstract pattern of black arrow shapes pointing left and right (no text or symbols)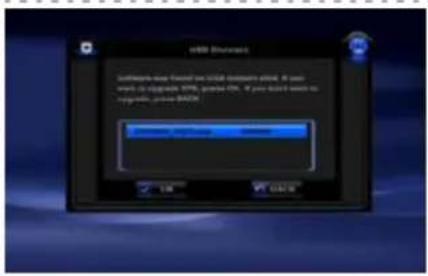


natural_image
Icon of a person holding a wrench, enclosed in a circle (no text or symbols)[Non-Text]
C
C
[Non-Text]
[Non-Text]
[Non-Text]
[Non-Text]
: :

natural_image
Simple icon of a pencil inside a circle (no text or symbols)DENSON


natural_image
Simple gray curved line on white background (no text or symbols)
natural_image
Simple gray curved line on white background (no text or symbols)
natural_image
Blank white image with faint horizontal lines and a small circular icon in the top-right corner (no text or symbols)
[Non-Text]

[Non-Text]


1
2
3
[Non-Text]
[Non-Text]
C
C
!
③____
!
4
!
5
!
6
7
!


natural_image
Portrait of a man in formal attire with glasses, standing indoors near a display stand (no visible text or symbols)


The image is too blurry to recognize any text content.


natural_image
Abstract pattern of black left-pointing triangles and right-pointing triangles on white background (no text or symbols)


natural_image
Icon of a person holding a wrench, enclosed in a circle (no text or symbols)[Non-Text]
[Non-Text]
C
C
[Non-Text]
[Non-Text]
C
: :

natural_image
Simple icon of a pencil inside a circle (no text or symbols)| 100% | |
| 100% | 100% |
| 100% | 100% |
| 100% | 100% |
| 100% | 100% |
| 100% | 100% |
| 100% | 100% |
| 100% | 100% |
| 100% | 100% |
| 100% | 10 |

natural_image
Simple icon of a pencil inside a circle (no text or symbols)| 100% | |
| 100% | 100% |
| 100% | 100% |
| 100% | 100% |
| 100% | 100% |
| 100% | 100% |
| 100% | 100% |
| 100% | 100% |
| 100% | 100% |
| 100% | 10 |