NTUSB+ - Microphone Røde - Free user manual and instructions
Find the device manual for free NTUSB+ Røde in PDF.
User questions about NTUSB+ Røde
0 question about this device. Answer the ones you know or ask your own.
Ask a new question about this device
Download the instructions for your Microphone in PDF format for free! Find your manual NTUSB+ - Røde and take your electronic device back in hand. On this page are published all the documents necessary for the use of your device. NTUSB+ by Røde.
USER MANUAL NTUSB+ Røde
NT-USB+ / USER GUIDE & SUPPORT
natural_image
RøDE audio recording studio microphone on tripod stand (no visible text or symbols beyond brand logo)USER GUIDE & SUPPORT
The NT-USB+ is a professional-grade USB microphone with next-generation features for recording exceptional audio directly to a computer or mobile device.
Discover everything you need to know about using your NT-USB+ here.
Contents
Features
text_image
1 2 3 R∅DE
text_image
RODE 6 7 8 9 10 RODE
natural_image
Three black electronic devices labeled 4, 5, and 11, arranged horizontally (no text or symbols on devices)NT-USB+ / USER GUIDE & SUPPORT
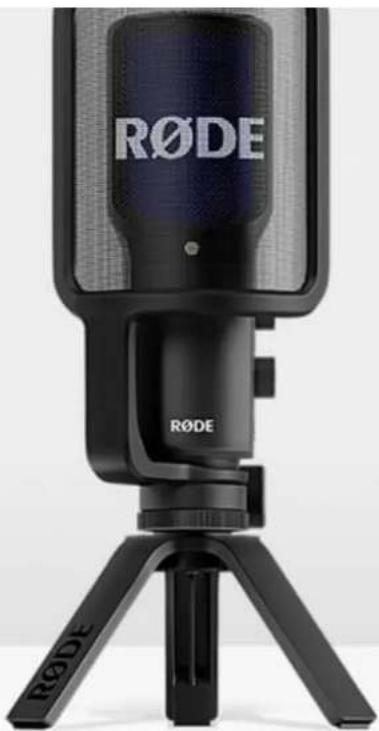
1 Condenser Capsule
2 Status LED
3 Gold Dot (Front of Microphone)
4 Mounting Thread
5 USB-C Connector
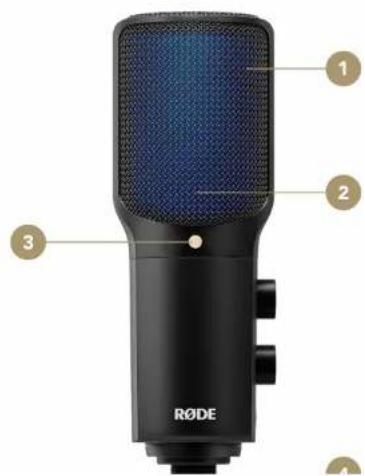
6 Detachable Pop Filter
7 Monitor Mix Control
8 Headphone Level Control
9 3.5mm Headphone Output
10 Ring Mount
11 Desk Stand
Getting Set Up
The NT-USB+ comes with a desk stand and pop filter to get you up and running without the need for any other equipment.
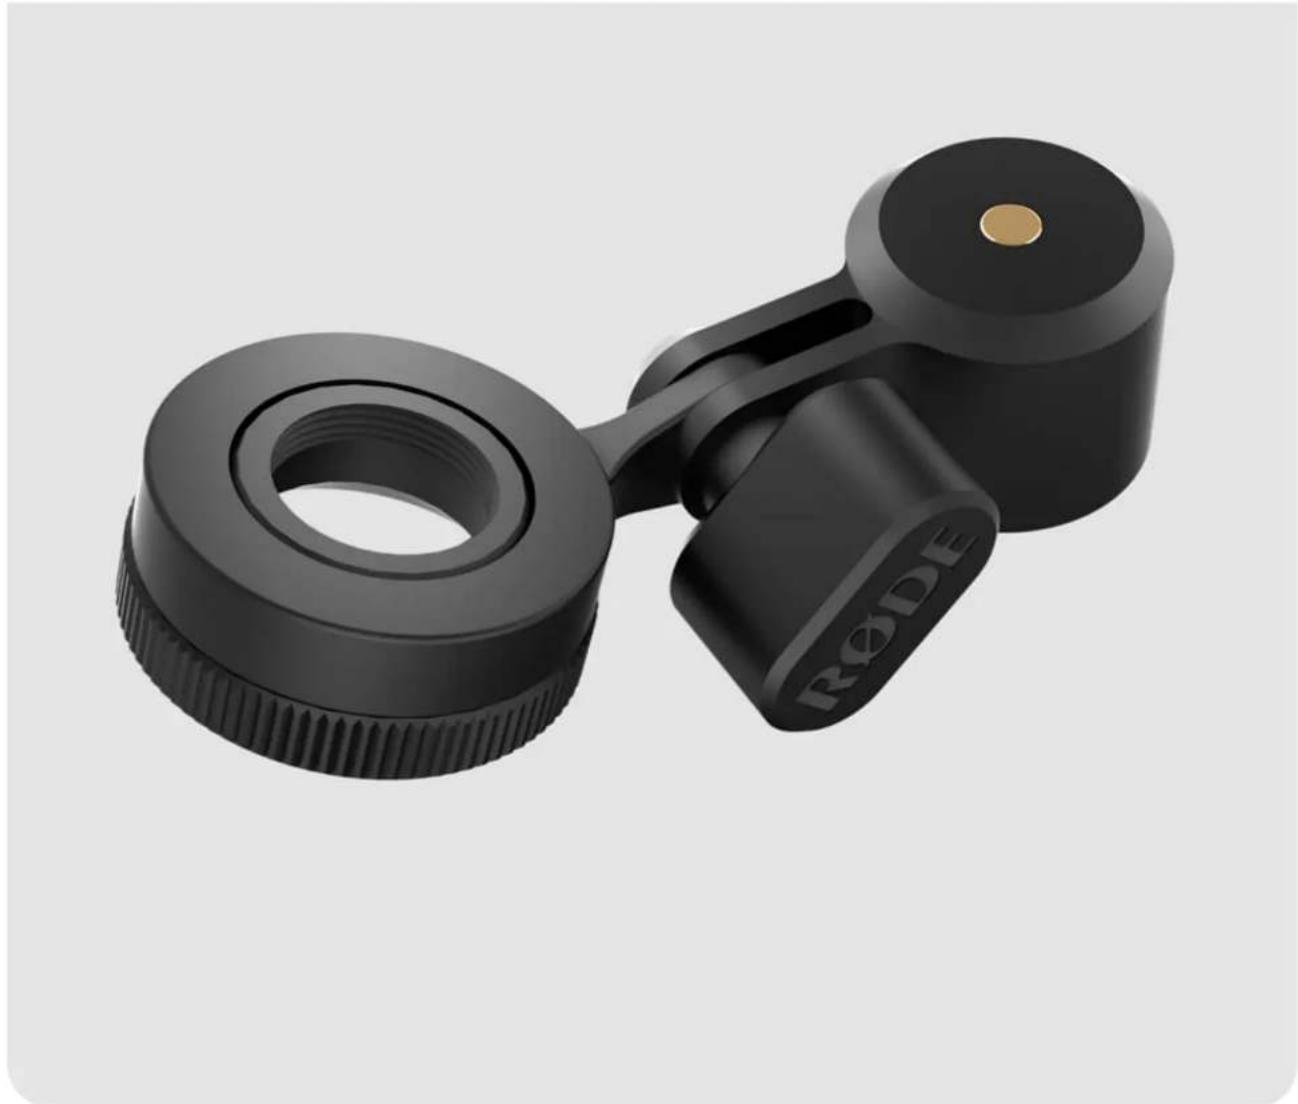
Attaching to the Ring Mount and Pop Filter
Simply screw the threaded base of the NT-USB+ into the 'ring' of the ring mount clockwise to attach it. If you wish to install the pop filter, it will need to sit between the microphone and the ring mount before attaching. You can use the knurled ring at the base of the ring mount to secure the mic in place once you've got it into the right position and facing the right direction – make sure the gold dot is aimed towards you.
Note: Use the pop filter when recording speech or vocals in order to reduce the impact of plosives (sudden bursts of air formed by mouthing certain words and sounds, such as the 'p' in 'plosive').
Attaching to the Desk Stand and Other Mounts
With the NT-USB+ in its ring mount, you can then screw the desk stand into the ring mount's gold thread. You can attach the microphone in its ring mount to other tripods and studio arms (like the Tripod 2 and PSA1+). Inside the ring mount is a 1/4" to 5/8" thread adaptor, which can be removed if required.
NT-USB+ / USER GUIDE & SUPPORT
natural_image
3D rendered black mechanical component with threaded end and circular head (no text or symbols visible)Connecting to a Computer
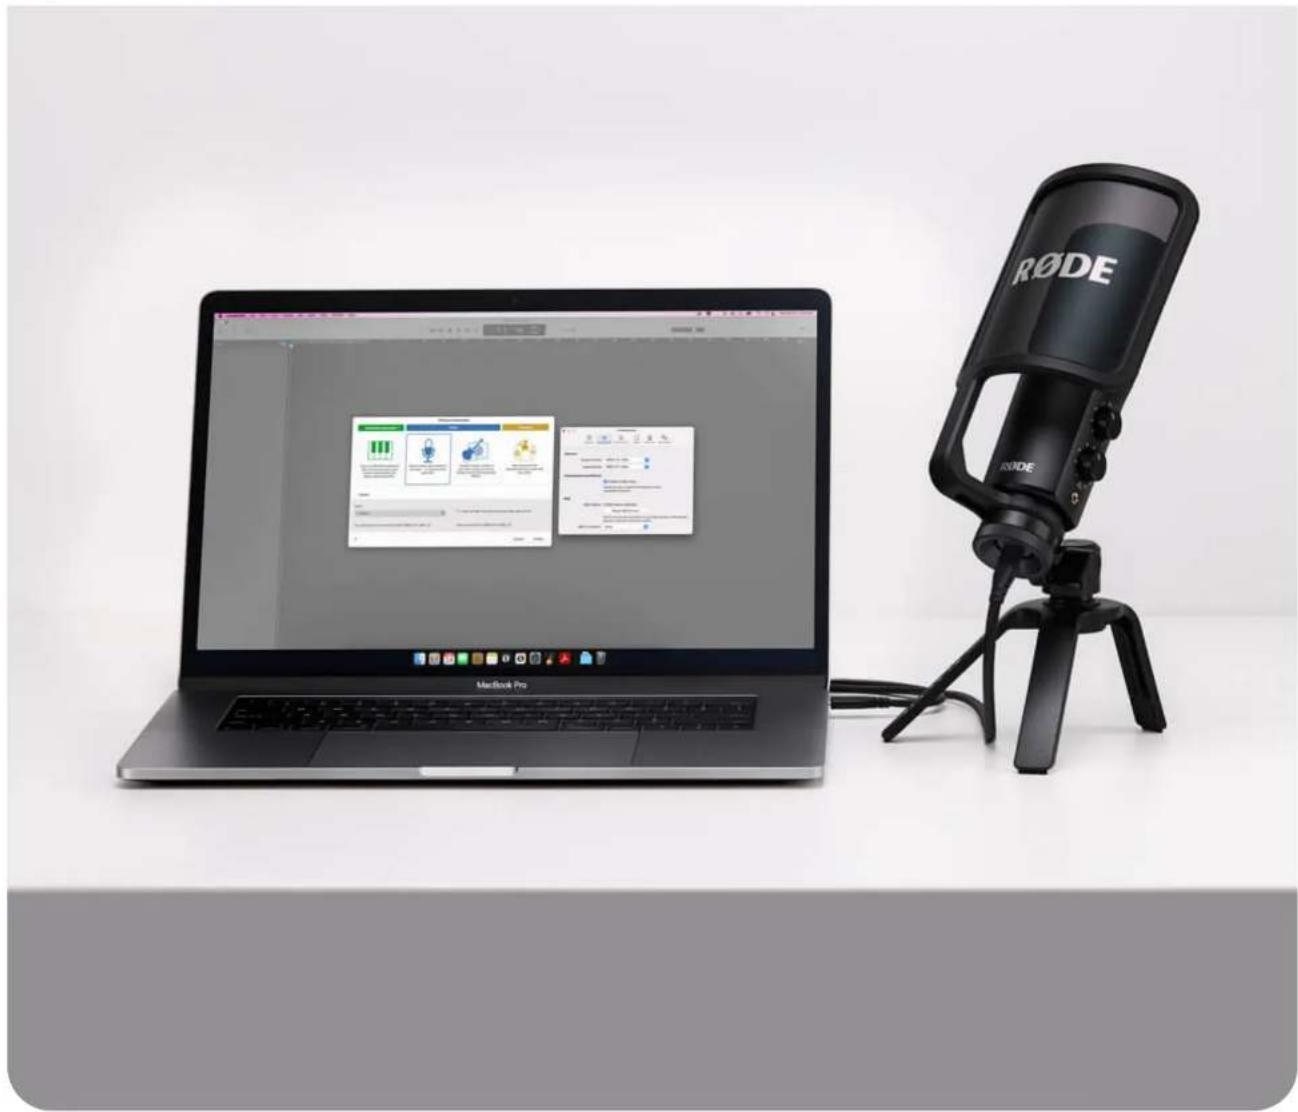
Plug one end of the included cable into the USB-C port at the base of the microphone, and the other end into your computer. If your computer only has USB-A ports, you will need a USB-C to USB-A cable like the R∅DE SC18. The NT-USB+ runs off USB power provided by your computer. When connected, the status LED will turn blue, indicating that the microphone is switched on.
The NT-USB+ is a class-compliant USB device, so your computer should automatically recognise it and set it as the default audio input and output device. If not, navigate to your computer's audio preferences or settings and select 'NT-USB+' for both your audio input and output device. This means all computer audio will be sent to the microphone's headphone output, and the microphone will replace your computer's internal microphone as the audio input.
Note: When using the NT-USB+ with recording software or a communications app, check that it is set as your input and output device in the software.
NT-USB+ / USER GUIDE & SUPPORT
natural_image
Laptop with a RODE audio recording device on a desk, no visible text or symbols on the device or background.Connecting to a Smartphone or Tablet
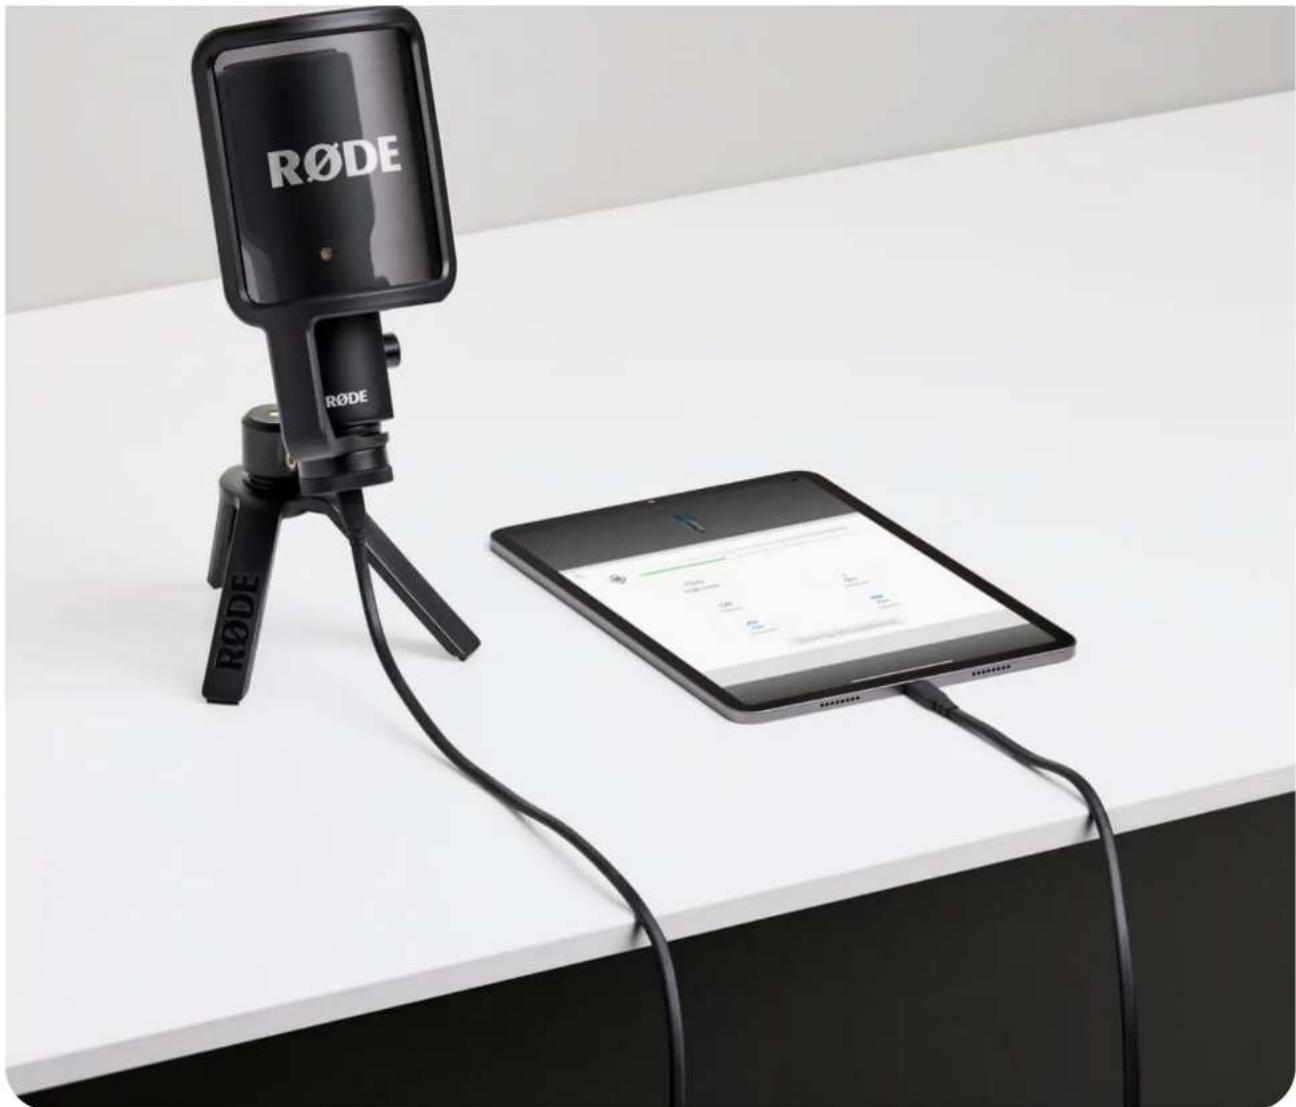
If you're using a smartphone or tablet with a USB-C port (including most Android devices and some iOS devices, like the iPad Pro), use the included cable to plug the microphone directly into it. If you are using an iPhone or iPad with a Lightning port, you will need to use a Lightning Accessory Cable like the SC19 instead.
Note: When plugged into your device, the NT-USB+ will automatically be set as both its microphone input and headphone output. Make sure the volume on your device is turned all the way up and use the headphone level control on the microphone to set the output level. The microphone input level can usually be set in the audio or video app you are using, such as R∅DE Reporter.
NT-USB+ / USER GUIDE & SUPPORT
natural_image
RøDE brand Douy device with tripod and tablet connected, no visible text or symbols on main objectsUsing the Headphone Output
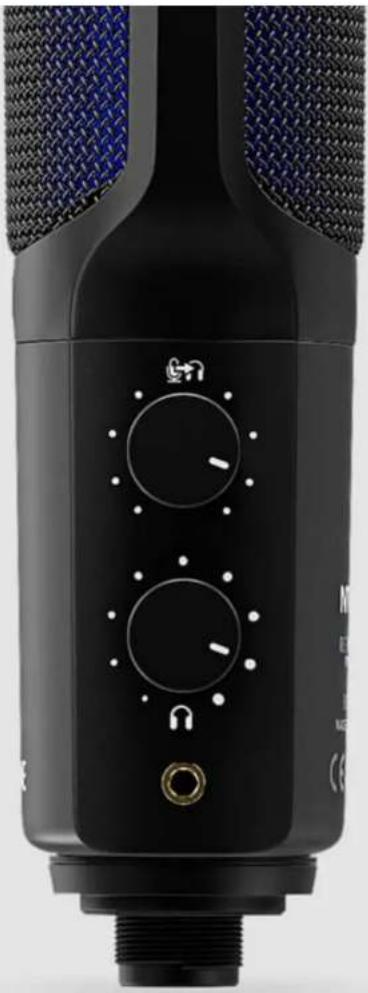
The NT-USB+ features a 3.5mm headphone output for monitoring your audio while you're recording or streaming, listening back to recordings, or simply listening to music or other audio playing from your device. There are two different controls for the headphone output: a level control and a monitor mix control.
The Level Control (Bottom)
The level control simply adjusts the volume level of any audio sent to the headphones you have plugged into the NT-USB+, including audio coming from your computer or mobile device as well as the microphone itself.
Monitor Mix Control (Top)
The top control adjusts how much of your direct microphone signal is sent to your headphones. With this control fully counterclockwise, you won't hear any direct microphone audio but will still hear audio coming from your device. The direct microphone signal doesn't have any delay or echo (also known as 'latency') that can occur when then audio is being sent to the computer and back to the headphone output.
Note: While recording or streaming, we recommend turning this control fully clockwise and disabling any software monitoring in your DAW (Digital Audio Workstation) or streaming software. This will ensure you won't hear a distracting echo created by listening to the direct monitoring signal and the delayed signal from your computer at the same time.
natural_image
Close-up of two textured fabric panels with blue and black patterns, no visible text or symbolsNT-USB+ / USER GUIDE & SUPPORT
natural_image
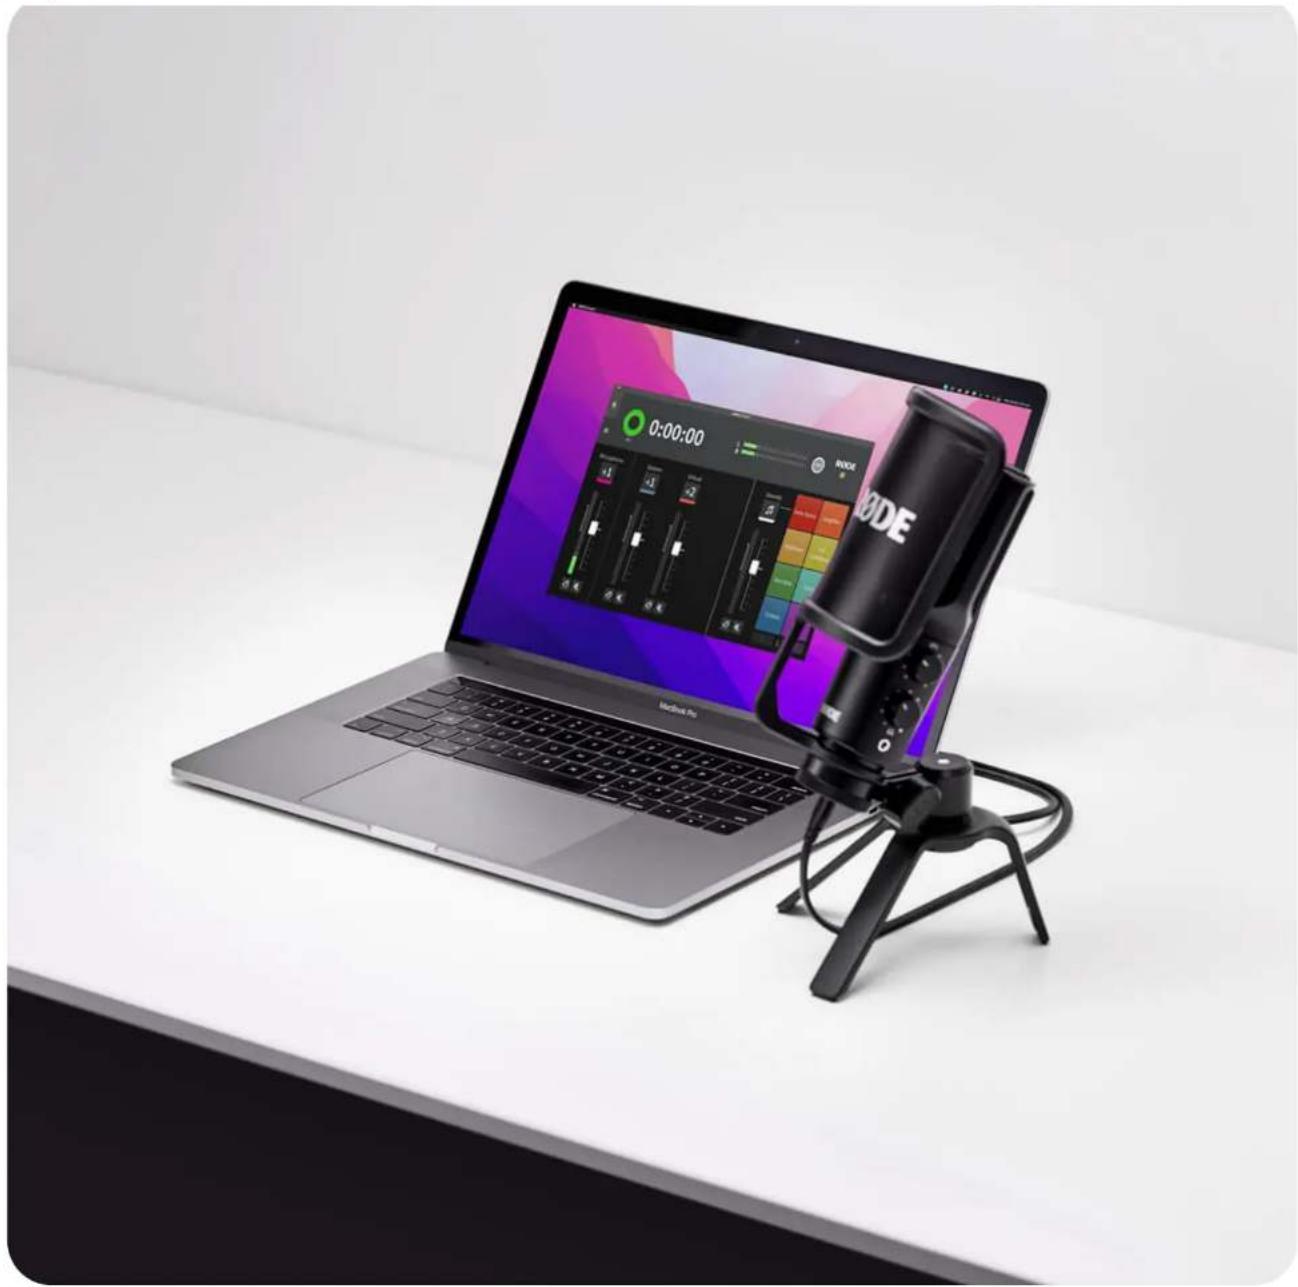
Close-up of a black audio recording device with visible knobs and a textured head (no text or symbols)Using with R∅DE Connect
Download and install R∅DE Connect to access extra features for your microphone, including advanced audio processing and the ability to connect up to four NT-USB+ or other R∅DE USB microphones to a computer simultaneously.
- Ensure your NT-USB+ is connected to your computer and open R∅DE Connect
- Click and drag the NT-USB+ from the 'Available Microphones' section to one of the four microphone spaces and click 'Next'
- Configure your virtual channels (if required) by dragging them to their desired spaces and click 'Next'
- Click 'Finish' to exit the setup assistant (you can access the assistant again whenever you want by selecting the three-dot icon next to the R∅DE logo)
- Click the channel number for the NT-USB+ (e.g. the '1' with the pink coloured tag) to view its configuration settings
- Here, you can adjust the input gain, engage the noise gate, compressor and high-pass filter (either at 75Hz or 150Hz), and enable the legendary APHEX Aural Exciter and Big Bottom processors
Check out the R∅DE Connect user guide for more details on how to use the software for recording podcasts and streaming.
R∅DE Connect will automatically update your NT-USB+ firmware when you run the software with the microphone connected and an update is available.
Note: When used with R∅DE Connect, the monitor mix control on your NT-USB+ will be disabled and automatically set to the fully clockwise position. This means you'll hear your microphone audio at full volume, with no latency (see 'Monitor Mix Control' section for more information).
NT-USB+ / USER GUIDE & SUPPORT
natural_image
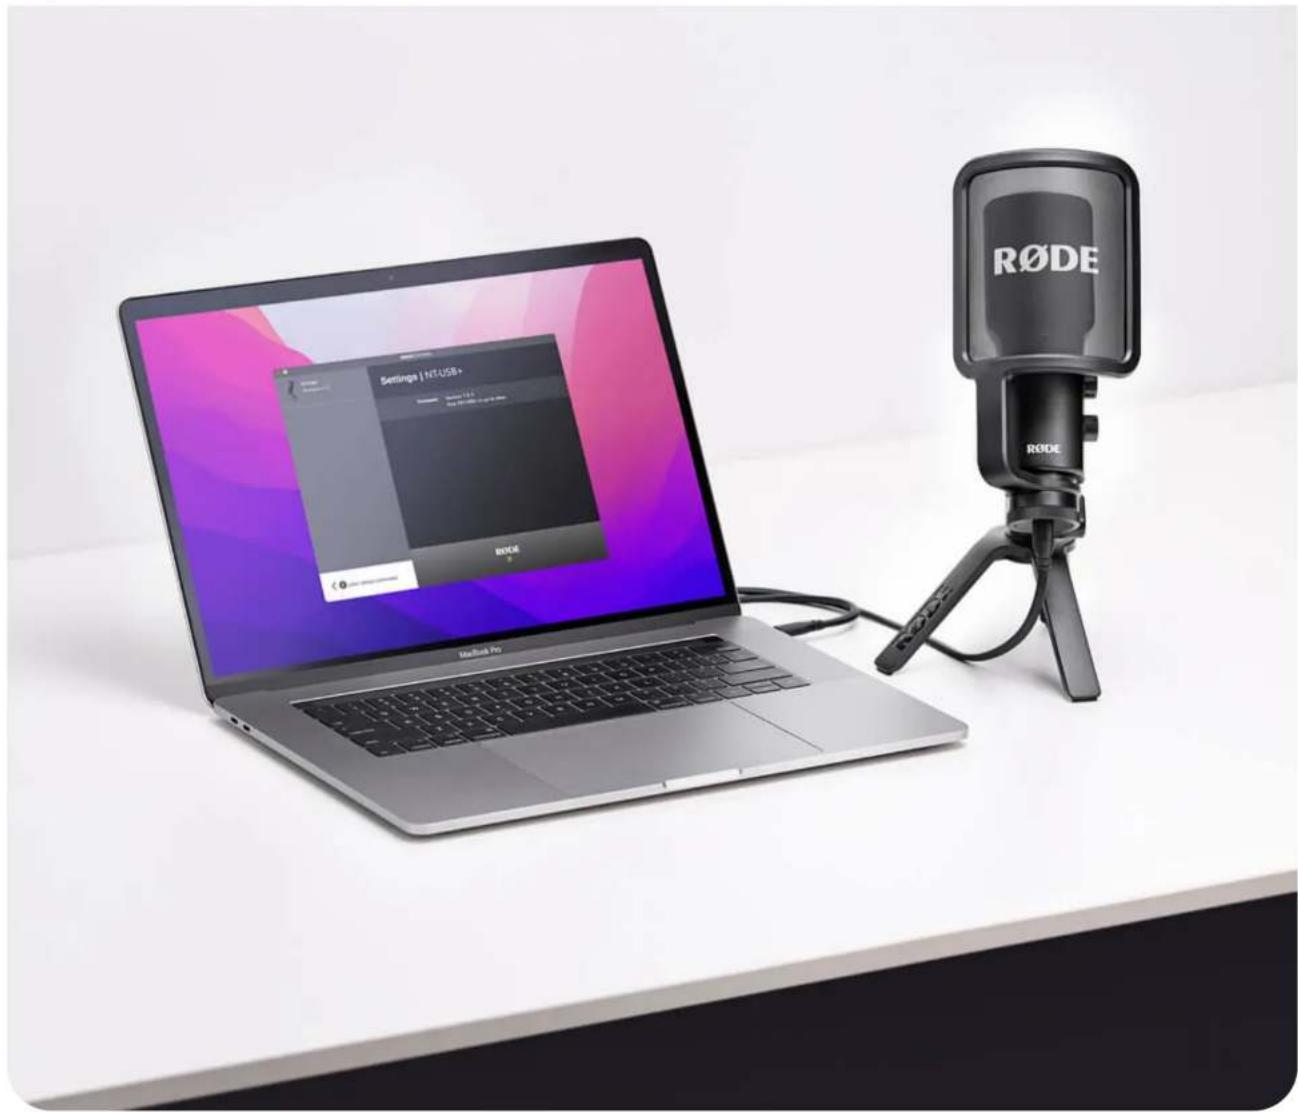
Laptop with a black audio recording device on top, placed on a white desk (no visible text or symbols)Using with R∅DE Central
R∅DE Central is a companion app for a range of R∅DE products, available for both desktop and mobile. You can use R∅DE Central and R∅DE Central Mobile to update your NT-USB+ firmware as well as activate the advanced audio processing, including the noise gate, compressor, high-pass filter (either at 75Hz or 150Hz), and the legendary APHEX Aural Exciter and Big Bottom processors.
When the processing settings are enabled via R∅DE Central, these settings persist in the NT-USB+, meaning you can close the app and use the microphone with your DAW or other recording applications with these effects enabled.
Download R∅DE Central
NT-USB+ / USER GUIDE & SUPPORT
natural_image
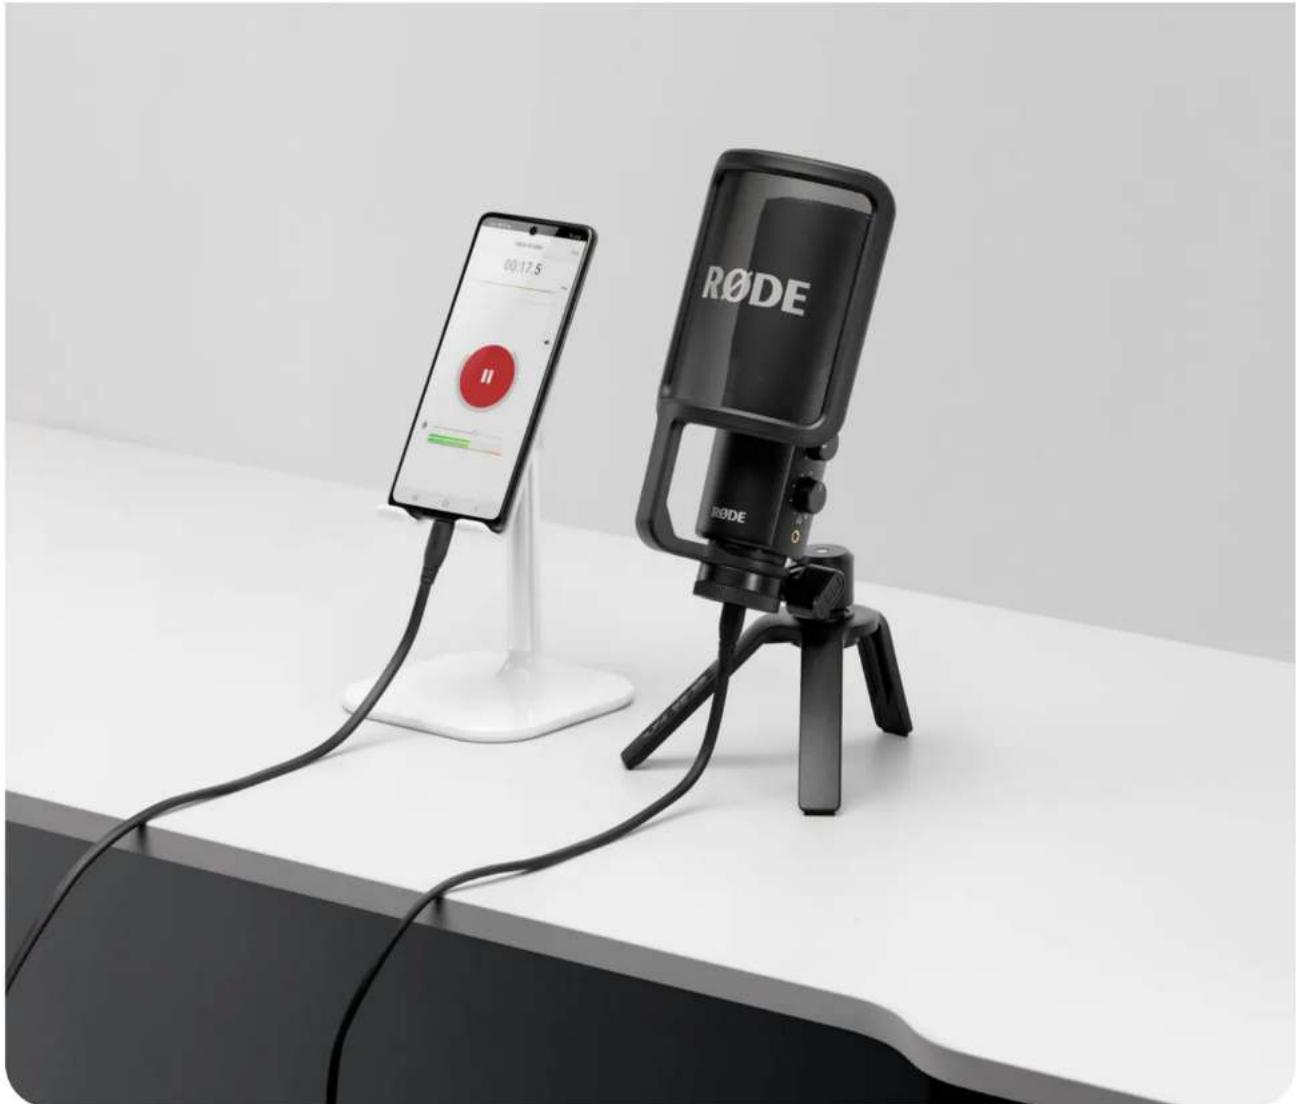
Laptop setup with RODE logo and studio microphone on a white desk (no text or symbols on device)Using with R∅DE Reporter
R∅DE Reporter is a mobile recording app for iOS and Android that also acts as a companion for a range of R∅DE microphones. By navigating to Settings > Configure, you can adjust a number of NT-USB+ processing settings, including the input gain, high-pass filter, compressor, noise gate, and the legendary APHEX Aural Exciter and Big Bottom processors. Just like with R∅DE Central, tapping 'Save to Microphone' will store these settings on the NT-USB+, even after it's been unplugged. R∅DE Reporter can also be used to update the NT-USB+ firmware.
Download R∅DE Reporter
NT-USB+ / USER GUIDE & SUPPORT
natural_image
RODE audio recording setup on a white desk, featuring a smartphone displaying a red circular icon and a black studio microphone (no visible text or symbols on device)Products
Microphones
Headphones
Interfaces and Mixers
Accessories
Software
Apparel
Support
Contact R∅DE
Service Centre
Warranty.
Where to Buy
Authorised Dealers
Company
About R∅DE
News and Info
Job Opportunities
Account
Manage your Account
Create Account
Subscribe to our latest news and offers
Subscribe
R∅DE

NT-USB+ / USER GUIDE & SUPPORT


© 2023 R∅DE All Rights Reserved.