5201 - Measuring equipment PeakTech - Free user manual and instructions
Find the device manual for free 5201 PeakTech in PDF.
| Product Type | Non-contact Moisture Meter |
| Brand | PeakTech |
| Model | 5201 |
| Dimensions (L x H x D) | 60 x 245 x 27 mm |
| Weight | 220 g |
| Power Supply | 3 x 1.5 V AAA batteries (UM-4) |
| Measuring Range | 0.0 ~ 100.0 (relative unit) |
| Resolution | 0.1 |
| Penetration Depth | 20 ~ 40 mm |
| Display | LCD with automatic backlight |
| Auto Power Off | After 10 minutes of inactivity |
| Hold Function | Data-HOLD and MIN/MAX |
| Threshold Alarm | Yes, with RISK and WET adjustments |
| Operating Temperature | 0 °C to 50 °C, <80% RH |
| Storage Temperature | -10 °C to 50 °C, <70% RH |
| Measurable Materials | Plaster, cement, wood (with comparison table) |
| Cleaning | Soft damp cloth, mild detergent |
| Safety Instructions | Do not expose to moisture, shocks, magnetic fields; replace weak batteries |
| Repairability | Repairs by qualified personnel only |
| Batteries Included | Not specified (estimated: 3 AAA batteries included) |
| Warranty | Not specified (estimated: compliant with CE standards) |
Frequently Asked Questions - 5201 PeakTech
User questions about 5201 PeakTech
0 question about this device. Answer the ones you know or ask your own.
Ask a new question about this device
Download the instructions for your Measuring equipment in PDF format for free! Find your manual 5201 - PeakTech and take your electronic device back in hand. On this page are published all the documents necessary for the use of your device. 5201 by PeakTech.
USER MANUAL 5201 PeakTech
text_image
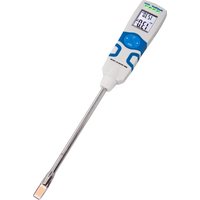
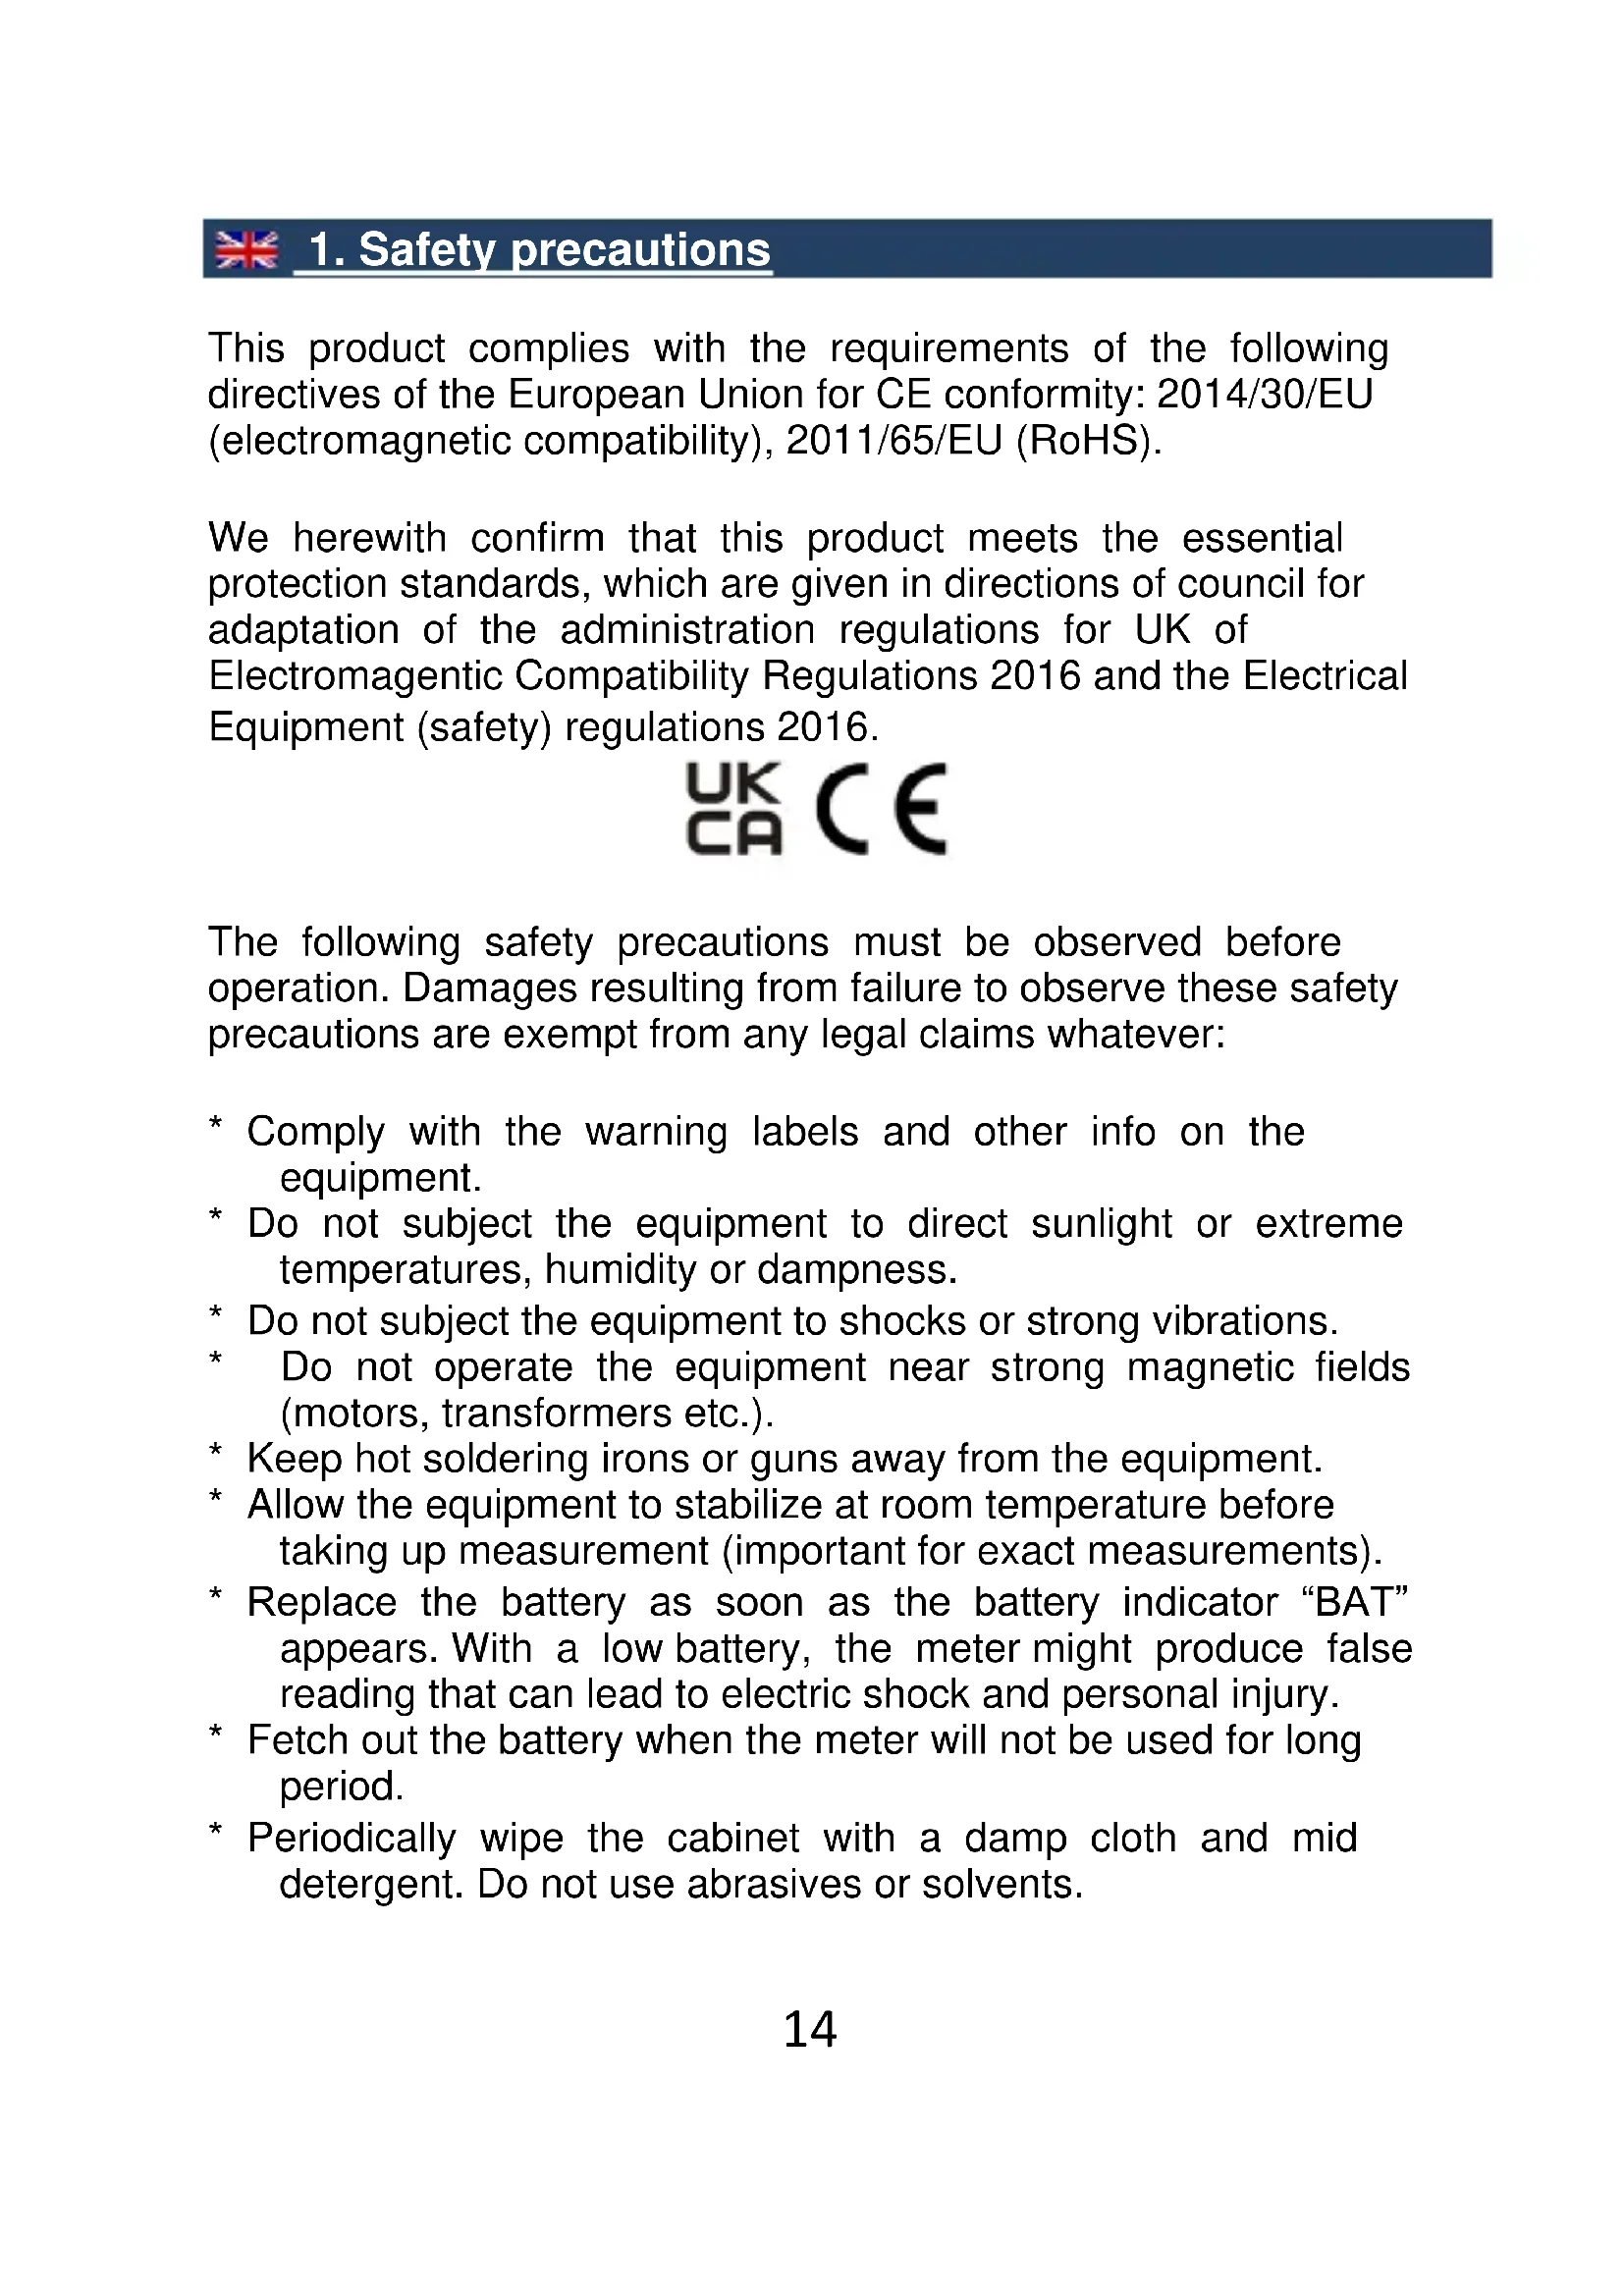
PeakTech® 5201 HOLD 694 WET MAX MIN 1000 15 MATERIAL MOISTURE METERPeakTech® 520I
text_image
1 PeakTech S201 HOLD 694 WET MAX MIN 1000 15 MATERIAL MOISTURE METER 2 3 4 5 6 7 8chemical
Three types of radioactive metal ions labeled Cd¹, Hg², and Pb³ with crossed-out arrows indicating electron movement or reaction direction.- "Cd" means cadmium.
- "Hg" means mercury.
- "Pb" stands for lead.
This product complies with the requirements of the following directives of the European Union for CE conformity: 2014/30/EU (electromagnetic compatibility), 2011/65/EU (RoHS).
We herewith confirm that this product meets the essential protection standards, which are given in directions of council for adaptation of the administration regulations for UK of Electromagnetic Compatibility Regulations 2016 and the Electrical Equipment (safety) regulations 2016.

The following safety precautions must be observed before operation. Damages resulting from failure to observe these safety precautions are exempt from any legal claims whatever:
* Comply with the warning labels and other info on the equipment.
* Do not subject the equipment to direct sunlight or extreme temperatures, humidity or dampness.
* Do not subject the equipment to shocks or strong vibrations.
* Do not operate the equipment near strong magnetic fields (motors, transformers etc.).
* Keep hot soldering irons or guns away from the equipment.
* Allow the equipment to stabilize at room temperature before taking up measurement (important for exact measurements).
* Replace the battery as soon as the battery indicator "BAT" appears. With a low battery, the meter might produce false reading that can lead to electric shock and personal injury.
* Fetch out the battery when the meter will not be used for long period.
* Periodically wipe the cabinet with a damp cloth and mid detergent. Do not use abrasives or solvents.
* Do not operate the meter before the cabinet has been closed and screwed safely as terminal can carry voltage.
* Do not store the meter in a place of explosive, inflammable substances.
* Do not modify the meter in any way.
* Opening the equipment and service- and repair work must only be performed by qualified service personnel.
* Measuring instruments don't belong to children hands.
Cleaning the cabinet
Clean only with a damp, soft cloth and a commercially available mild householder cleanser. Ensure that no water gets inside the equipment to prevent possible shorts and damage to the equipment.
Introduction
The PeakTech ^® 5201 is a non-contact moisture meter with a high-frequency measurement method. It is used for the non-destructive testing of moisture in building materials of all kinds and for the detection of moisture distribution in walls, ceilings and floors. This practical tester is particularly suitable for pre-testing walls before further processing by plastering, papering or painting, as well as for the general assessment of the risk of mold in residential buildings or for the search for moisture damage.
2. Features
▶ Quickly displays the moisture content of materials
▶ LCD display with white backlight
▶ Function for measuring the moisture of building materials
▶ Penetration depth 20-40mm
▶ Measuring and HOLD function
▶ MIN / MAX hold function
▶ Alarm function
▶ Battery status indicator and automatic switch-off
▶ Robust and handy housing design
▶ Measured value holding function
- Specifications
| Display | LCD with automatic backlight |
| Measurement Range | 0.0 ~ 100.0 |
| Resolution: | 0.1 |
| Penetration depth | 20 ~ 40 mm |
| Low Battery Indication | Symbol “ shown in the display |
| Auto Power Off | After 10 Minutes |
| DATA-HOLD | Holds measurement value in display |
| Power Supply | 3 x 1,5V AAA (UM-4) |
| Operating Environment | 0°C ~ 50°C; <80% RH |
| Storage Environment | -10°C ~ 50°C; <70% RH |
| Size (WxHxD) | 60 x 245 x 27mm |
| Weight | 220g |
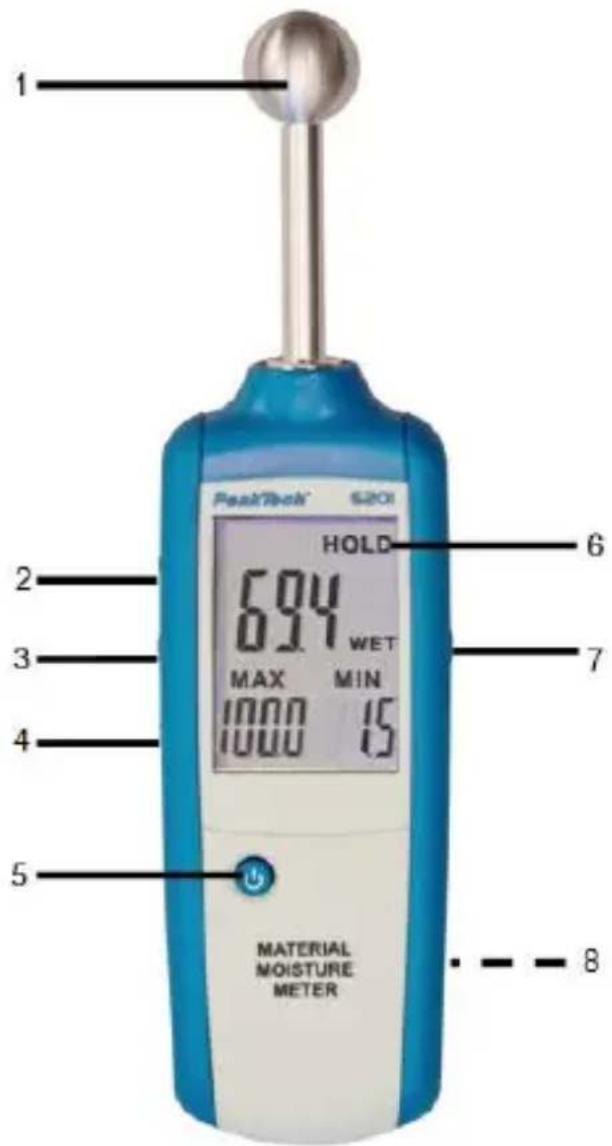
4. Panel Description
text_image
1 PeakTech S201 HOLD 694 WET MAX MIN 1000 15 MATERIAL MOISTURE METER 2 3 4 5 6 7 81.) Moisture Sensor
2.) UP / „Backlight-Symbol“- push button
3.) ALARM SET-push button
4.) DOWN-push button
5.) ON/OFF-push button
6.) LCD Display
7.) MEAS-push button
8.) Battery compartment (rear)
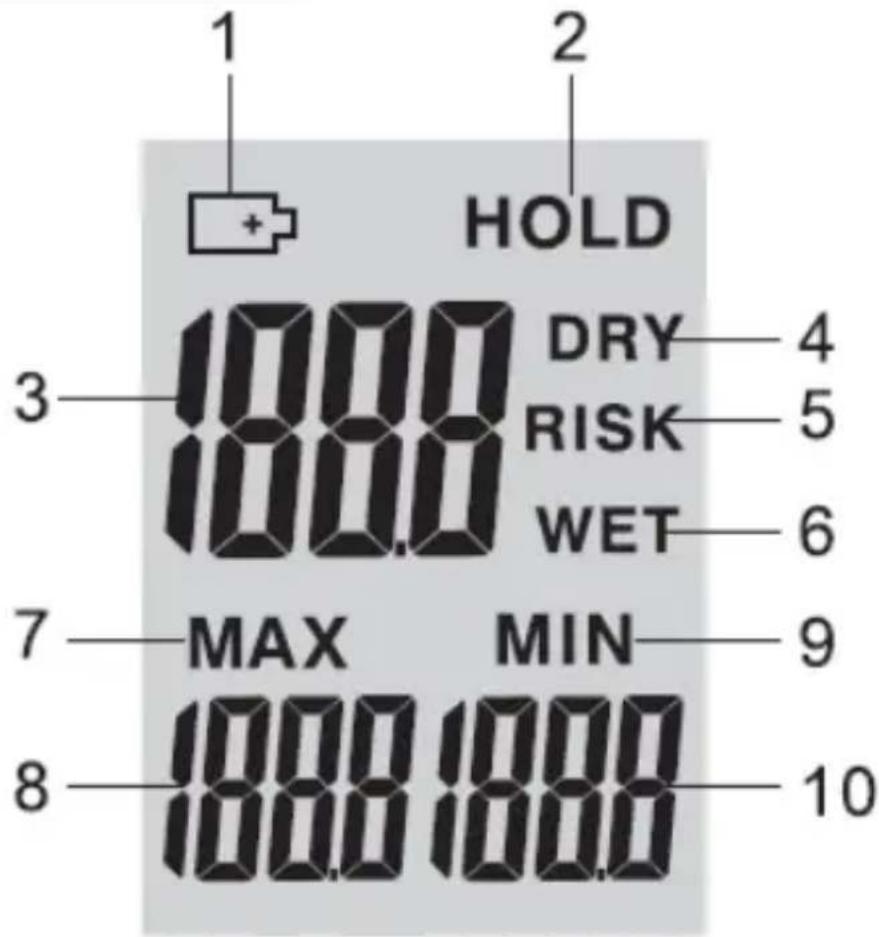
4.2. Display Indicator
text_image
1 2 HOLD 3 DRY 4 1000 RISK 5 1000 WET 6 7 MAX MIN 9 8 1000 1000 101.) Low battery Indication
2.) Data-HOLD Symbol
3.) Current moisture value
4.) DRY Status-Symbol
5.) RISK Status-Symbol
6.) WET Status-Symbol
7.) MAX Symbol
8.) MAX moisture value
9.) MIN Symbol
10.) MIN moisture value
5. Operating Instruction
Turn the Meter ON by pressing the button "ON", then press the MEAS button to start measuring.
User press MEAS button for the first time when the meter turned on, please hold the meter up so that the ball sensor is in the air and not covered by your hand, any surface or object for 8 to 10 cm distance.
The LCD will display "CAL" indication and then moisture value will be displayed in LCD.
The value must below 0,5. If not, please turn the meter on over again and repeat hereinbefore operation. Then the meter start to measuring the object.
Press the MEAS button again, the moisture measurement shall latch on the display for 30 sec. HOLD symbol will displayed.
After 30 sec. the meter will turns off automatically.
Note:
The hand of the user has an influence on the measurement result. If you hold the device naturally in your hand and turn it on, calibration will be performed to zero (zeroing) to remove this effect. If you turn off the meter, it will be recalibrated after powering up again. If you change the position in the hand to a greater extent or if you change from one location to another, you should also perform a new calibration (zeroing) by switching it off and on again.
Moisture Table of Comparison
| Construction Material | Display (Unit) | Moisture Status |
| Gypsum | <30 | DRY |
| 30-60 | RISK | |
| >60 | WET | |
| Cement | <25 | DRY |
| 25-50 | RISK | |
| >50 | WET | |
| Wood | <50 | DRY |
| 50-80 | RISK | |
| >80 | WET |
Note:
- If the ball head in corners, it maintains a minimum distance of 8 to 10cm from corner areas.
- The ball head must be kept perpendicular to the measured material during the measurement, pressed firmly against the surface and not slanted.
- Metal parts in the surface will falsify the measurement values. Measure only in places that have the most homogeneous possible material composition
- In the case of material thickness of les than 20mm, there is the danger that moisture value. maybe the values is not correct.
- If "BAT" appears in the display, the battery should be replaced.
6. Alarm Set Mode
Press SET button will enter the alarm set mode when the meter is already in data hold mode, the "RISK"-Icon appears on the LCD, You can use the UP and DOWN button to adjust the threshold. Press the "SET" button shall save the alarm setting. Then "WET" icon appears on the LCD, you can use the UP and DOWN button to adjust the threshold. Press the SET button shall save the alarm setting and then the meter back to the data hold Mode, if the moisture measurement is higher than the RISK alarm setting. It shall beep once every 2 sec. If moisture measurement exceeded the "WET" alarm setting, it shall beep four time every 1 sec. Note: The RISK value is adjust 0 to 50. The default value is 30. The WET value is adjust 50 to 100. The default value is 60.
Backlight
Press UP button to switch the backlighting on or off.
7. Battery Replacement
If the sign “BAT” appears on the LCD display, it indicates that the battery should be replaced.
Remove the back cover and open the battery compartment. Replace the exhausted battery with new battery.
Batteries, which are used up dispose duly. Used up batteries are hazardous and must be given in the - for this being supposed - collective container.
NOTE
- Keep the instrument dry.
- Keep the probes clean.
- Keep the instrument and battery out of reach of infant and child.
- When the symbol "appears, the battery is low and should be replaced immediately. When you install battery, ensure the polarity connections are correct. If you will not use the instrument in a long period of time, remove the battery.
7.1. Notification about the Battery Regulation
The delivery of many devices includes batteries, which for example serve to operate the remote control. There also could be batteries or accumulators built into the device itself. In connection with the sale of these batteries or accumulators, we are obliged under the Battery Regulations to notify our customers of the following:
Please dispose of old batteries at a council collection point or return them to a local shop at no cost. The disposal in domestic refuse is strictly forbidden according to the Battery Regulations. You can return used batteries obtained from us at no charge at the address on the last side in this manual or by posting with sufficient stamps.
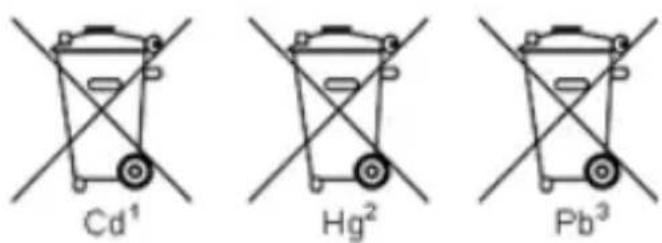
Contaminated batteries shall be marked with a symbol consisting of a crossed-out refuse bin and the chemical symbol (Cd, Hg or Pb) of the heavy metal which is responsible for the classification as pollutant:
chemical
Three types of radioactive metal ions labeled Cd¹, Hg², and Pb³ with crossed-out arrows indicating electron movement or reaction direction.- "Cd" means cadmium.
- "Hg" means mercury.
- "Pb" stands for lead.
All rights, also for translation, reprinting and copy of this manual or parts are reserved.
Reproductions of all kinds (photocopy, microfilm or other) only by written permission of the publisher.
This manual is according the latest technical knowing. Technical alterations reserved.
We herewith confirm that the unit is calibrated by the factory according to the specifications as per the technical specifications.
We recommend to calibrate the unit again, after one year.
© PeakTech ^® 08/2021/MP/MI/JTH/EHR