— Lamp — Mode d'emploi PDF")
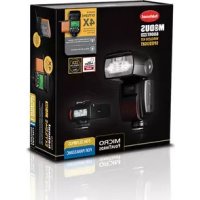
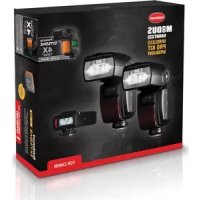
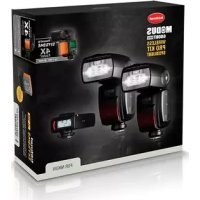
MODUS 600RT MK II (Sony) - Lamp Hähnel - Free user manual and instructions
Find the device manual for free MODUS 600RT MK II (Sony) Hähnel in PDF.
Document temporarily unavailable
The manual is currently being transferred to our new server. It will be accessible again in a few hours. Thank you for your patience.
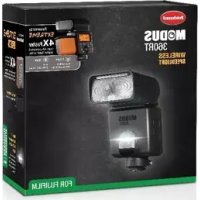
| Product Type | Flash cobra (Speedlight) for Sony DSLR |
| Model | MODUS 600RT MK II (Sony) |
| Brand | Hähnel |
| Dimensions (approx.) | 208 x 79 x 60 mm |
| Weight (without battery) | 430 g |
| Power Source | Rechargeable Li-ion battery HLX-MD1 (included) |
| Guide Number (ISO 100, 200 mm) | 60 |
| Motorized Zoom | 20 to 200 mm (with 14 mm wide-angle panel) |
| Flash Modes | Intelligent TTL, Manual (1/1 to 1/128 in 1/3 stops), Multi-stroboscopic |
| Wireless Communication | 2.4 GHz radio (range 100 m) and optical (range 15 m) |
| Radio Channels | Digital Channel Matching (DCM) |
| Wireless Groups | Master + 3 groups (A, B, C) |
| Synchronization | High-speed (HSS), 1st and 2nd curtain |
| Number of flashes at full power | Approximately 500 |
| Recycling Time | 0.5 to 2.5 seconds |
| Head Rotation | Horizontal rotation 360°, vertical tilt -7° to 90° |
| LCD Screen | Dot matrix with backlight |
| Special Features | AF assist beam, bounce flash, light capture panel, customizable functions (C.Fn) |
| Maintenance and Cleaning | Clean with a soft, dry cloth. Do not use solvents. |
| Safety | Do not aim at eyes. Observe rest times to avoid overheating. Use only recommended accessories. |
| Spare Parts and Repairability | Battery, charger, tripod, Viper TTL transmitter available. Repairs by authorized service. |
| General Information | 1-year warranty. Compliant with directive 2014/53/EU. Firmware update via micro USB port. |
Frequently Asked Questions - MODUS 600RT MK II (Sony) Hähnel
User questions about MODUS 600RT MK II (Sony) Hähnel
0 question about this device. Answer the ones you know or ask your own.
Ask a new question about this device
Download the instructions for your Lamp in PDF format for free! Find your manual MODUS 600RT MK II (Sony) - Hähnel and take your electronic device back in hand. On this page are published all the documents necessary for the use of your device. MODUS 600RT MK II (Sony) by Hähnel.