PROluxe You AC9800 - Tumble drier REMINGTON - Free user manual and instructions
Find the device manual for free PROluxe You AC9800 REMINGTON in PDF.
Document temporarily unavailable
The manual is currently being transferred to our new server. It will be accessible again in a few hours. Thank you for your patience.
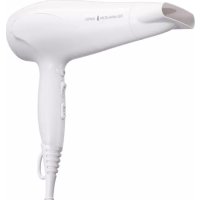
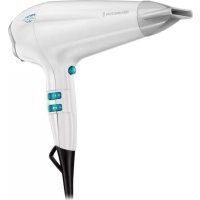
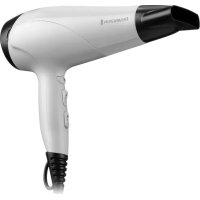
| Product type | Hair dryer |
| Brand | Remington |
| Model | PROluxe You AC9800 |
| Power | 2000 W |
| Power supply | Mains |
| Voltage | See device |
| Drying modes | StyleAdapt (Diffuse, Style, Quick Dry) and manual |
| Speed settings | 3 levels (Low, Medium, High) |
| Temperature control | Automatic in StyleAdapt mode, manual in manual mode (3 levels) |
| Included accessories | Slim styling concentrator, Wide styling concentrator, Diffuser |
| Special features | StyleAdapt™ sensor, Cool shot function, Settings memory |
| Filtration system | Removable rear filter |
| Cleaning | Clean the filter grille regularly with a cloth or soft brush |
| Safety | Overheat protection, automatic shut-off if grilles are blocked, RCD recommended |
| Grille material | Advanced ceramic conditioning |
| Indicator light | StyleAdapt™ indicator on handle |
| Display | Mode and speed display screen |
| Weight | Approximately 0.5 kg |
| Dimensions | Approximately 22 x 8 x 25 cm |
| Cable length | Approximately 2 m |
Frequently Asked Questions - PROluxe You AC9800 REMINGTON
User questions about PROluxe You AC9800 REMINGTON
0 question about this device. Answer the ones you know or ask your own.
Ask a new question about this device
Download the instructions for your Tumble drier in PDF format for free! Find your manual PROluxe You AC9800 - REMINGTON and take your electronic device back in hand. On this page are published all the documents necessary for the use of your device. PROluxe You AC9800 by REMINGTON.