SL250 - Weather Station LIVOO - Free user manual and instructions
Find the device manual for free SL250 LIVOO in PDF.
| Product type | Barometric weather station |
| Brand | Livoo |
| Model | SL250 |
| Station power supply | 2 AA LR6 batteries or DC 5V 1.2A power adapter (included) |
| Outdoor sensor power supply | 2 LR03 AAA batteries |
| Clock | DCF radio-controlled, automatic update, 12/24h format |
| Calendar | Perpetual until 2099, day in 7 languages (including French) |
| Alarm | Adjustable with snooze (5 min) |
| Indoor temperature | 0°C to 50°C (32°F to 122°F) |
| Outdoor temperature (sensor) | -20°C to 60°C (-4°F to 140°F), up to 3 channels |
| Indoor/outdoor humidity | 20% to 95% RH |
| Atmospheric pressure | 600 to 1100 mb/hPa (17.72 to 32.50 inHg), 24h histogram |
| Weather forecast | 6 icons (sunny to rainy), 8-hour trend |
| Moon phases and tides | 12 moon phases, 3 tide indicators |
| Indoor comfort | 5 levels (very good to poor) based on temperature and humidity |
| Backlight | Switchable HI/LO, timed on battery, permanent on mains |
| USB charger | Output to charge mobile devices |
| Sensor range | 60 m in open space |
| Dimensions | Approximately 200 x 130 x 30 mm (estimated) |
| Weight (station) | Approximately 300 g (estimated) |
| Maintenance | Slightly damp, lint-free cloth; avoid detergents and soaps |
| Safety | Do not immerse, do not use with damaged cable, household use only |
Frequently Asked Questions - SL250 LIVOO
User questions about SL250 LIVOO
0 question about this device. Answer the ones you know or ask your own.
Ask a new question about this device
Download the instructions for your Weather Station in PDF format for free! Find your manual SL250 - LIVOO and take your electronic device back in hand. On this page are published all the documents necessary for the use of your device. SL250 by LIVOO.
USER MANUAL SL250 LIVOO
Figure 1 - Ecran LCD
Al:Heure, calendrier,heure del'alarme
Thank you for choosing a Livoo product!
EN
Your blender, your barbecue, and your headphones are not just objects, they are extensions of yourself, allowing you to get closer to your friends and family, to bring them together, to laugh and to share experiences. Livoo's aim is to help you live your life to the fullest, whatever wishes you have throughout the year. Winter raclette, summer barbecue. Or the other way around. It's up to you. Take advantage of this freedom for feel good moments every day.
That's why we're constantly innovating and creating clever products full of zest, but most of all, accessible.
Find our entire collection on our website www.livoo.en.
Livoo, your daily companion till social networks

@Livoo

@livoo_officiel

@Livoo
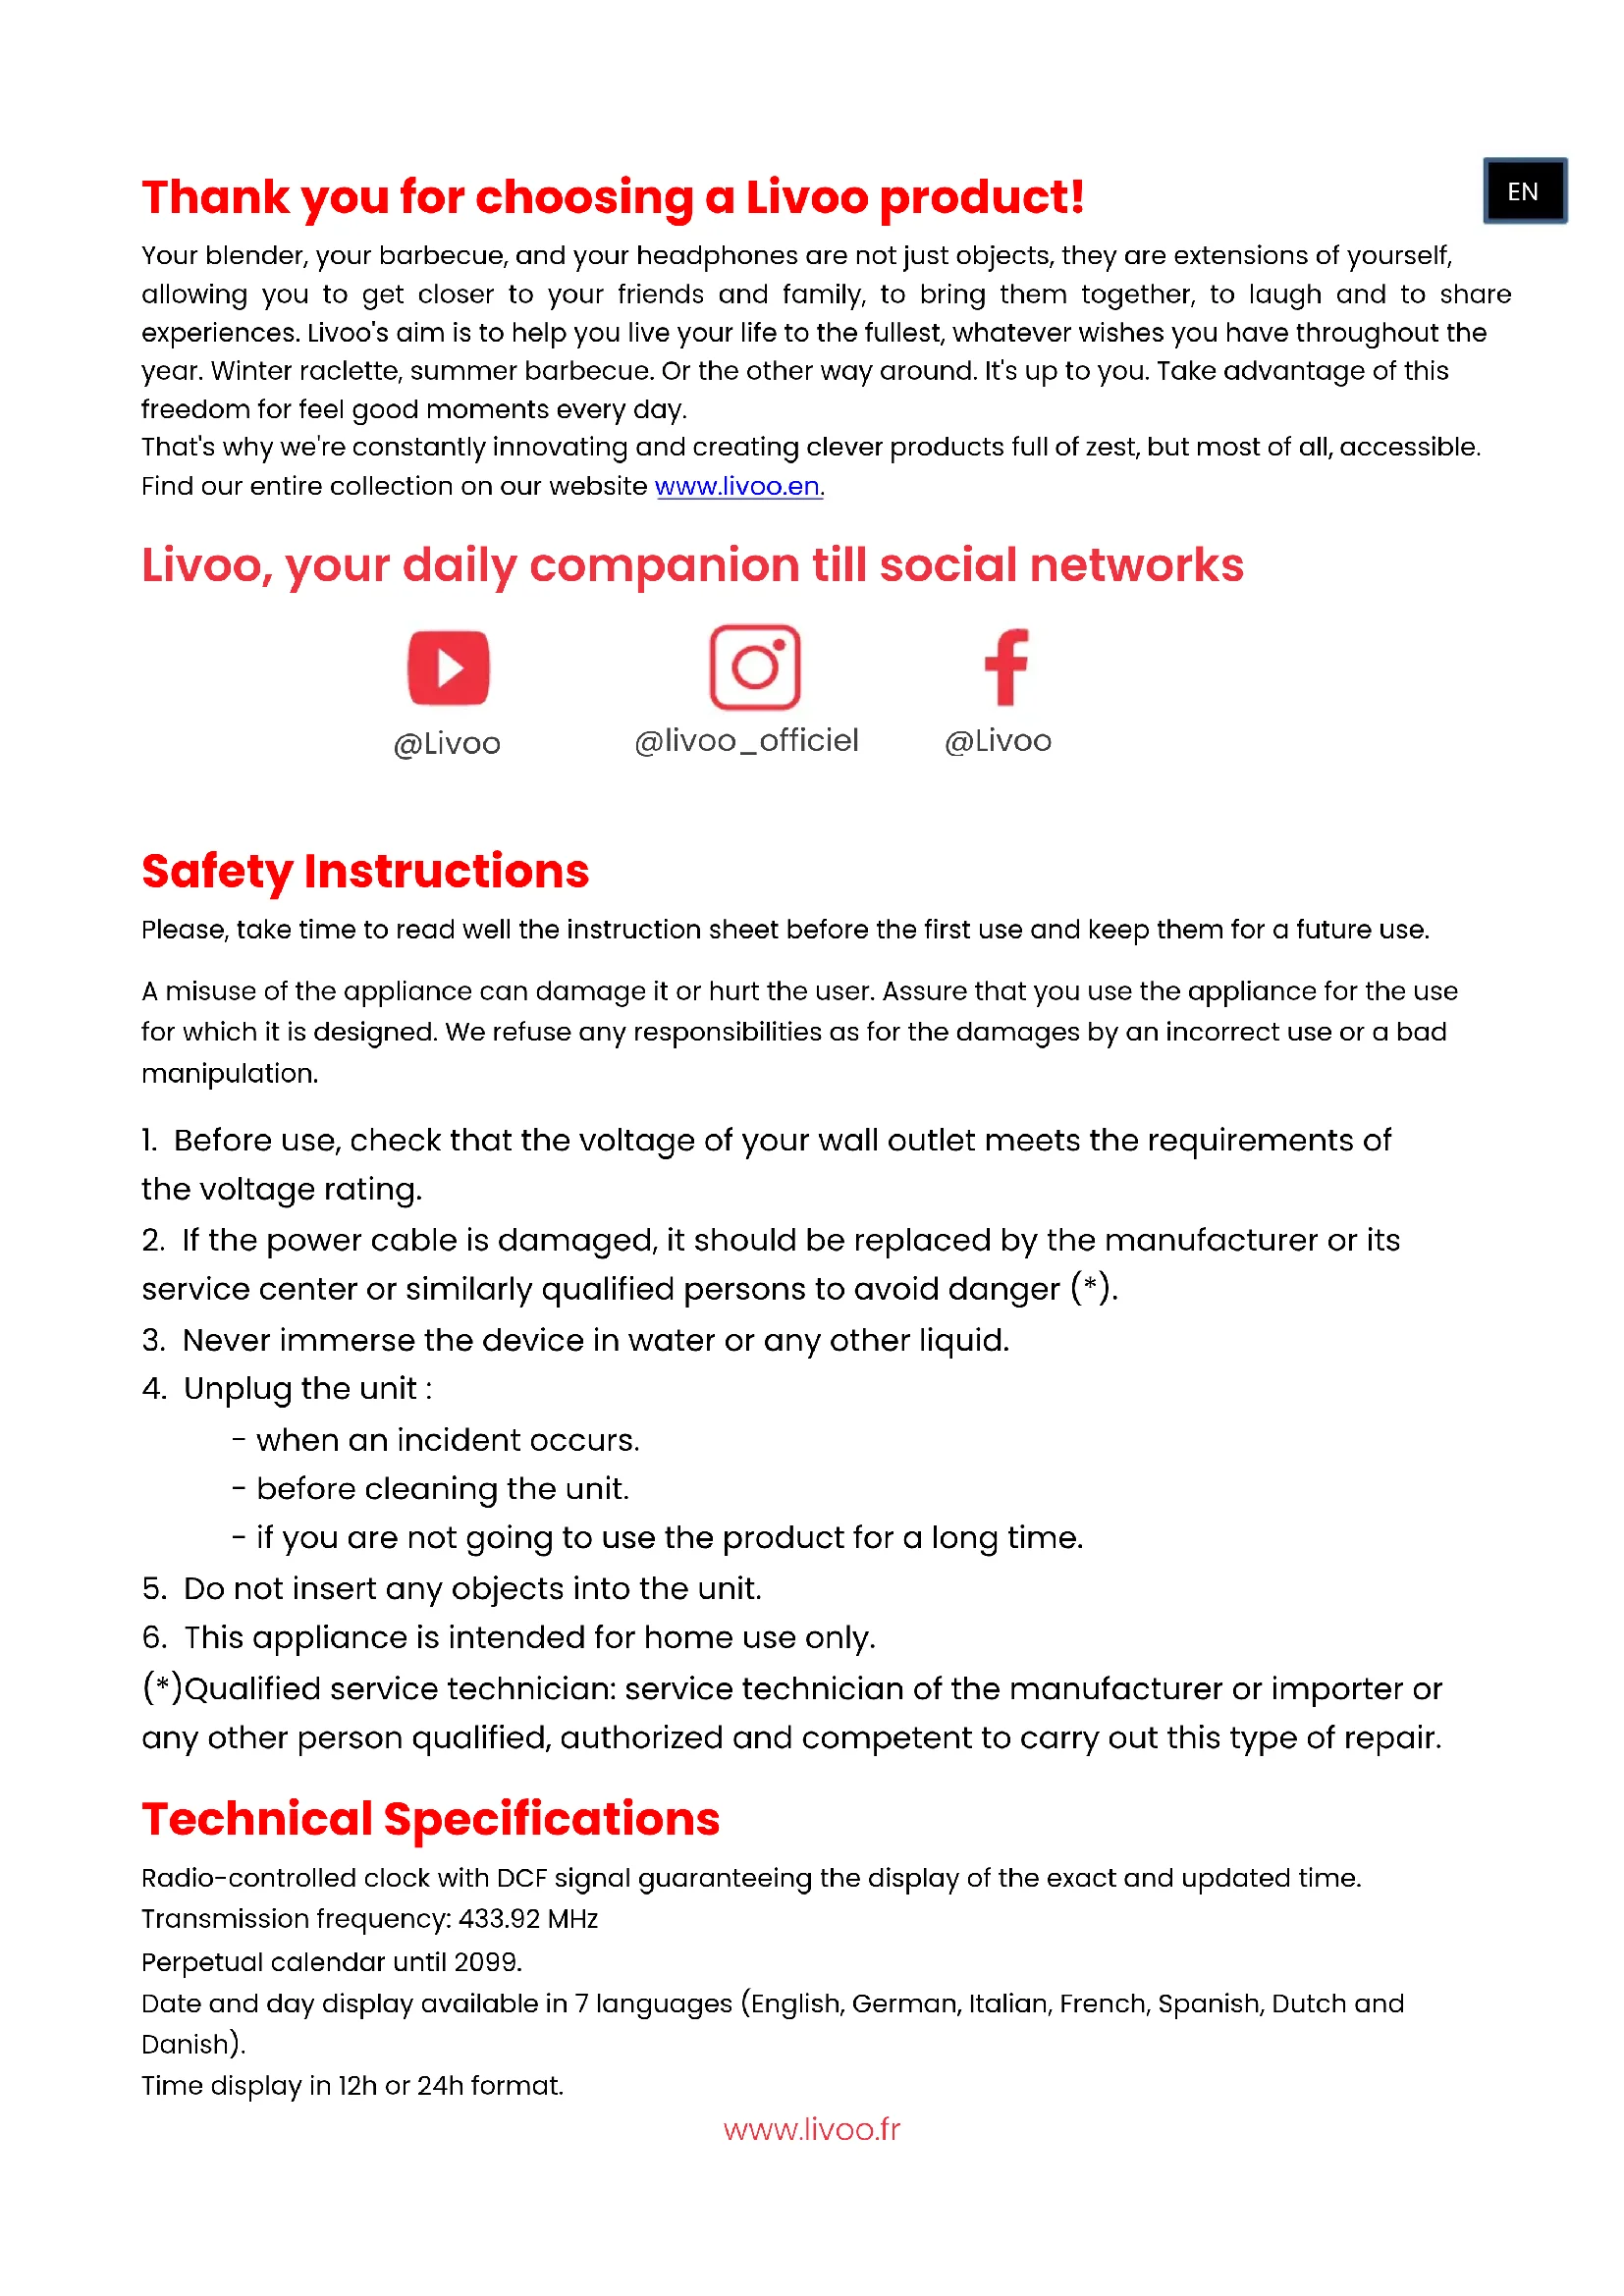
Safety Instructions
Please, take time to read well the instruction sheet before the first use and keep them for a future use.
A misuse of the appliance can damage it or hurt the user. Assure that you use the appliance for the use for which it is designed. We refuse any responsibilities as for the damages by an incorrect use or a bad manipulation.
- Before use, check that the voltage of your wall outlet meets the requirements of the voltage rating.
- If the power cable is damaged, it should be replaced by the manufacturer or its service center or similarly qualified persons to avoid danger (^*) .
- Never immerse the device in water or any other liquid.
-
Unplug the unit :
-
when an incident occurs.
- before cleaning the unit.
-
if you are not going to use the product for a long time.
-
Do not insert any objects into the unit.
- This appliance is intended for home use only.
(*)Qualified service technician: service technician of the manufacturer or importer or any other person qualified, authorized and competent to carry out this type of repair.
Technical Specifications
Radio-controlled clock with DCF signal guaranteeing the display of the exact and updated time.
Transmission frequency: 433.92 MHz
Perpetual calendar until 2099.
Date and day display available in 7 languages (English, German, Italian, French, Spanish, Dutch and Danish).
Time display in 12h or 24h format.
Automatic alarm and snooze.
Atmospheric pressure measurement range: 600 mb/HPa to 1100 mb/HPA or 17.72 inHg to 32.50 inHg
Air pressure measurement units: mb/HPa or inHg
Histogram display of the air pressure trend for the last 24 hours.
Indoor and outdoor humidity: measuring range from 20% RH to 95% RH (relative humidity)
Indoor temperature measurement range: 0^ (32^) to 50^ (122^)
Outdoor temperature measurement: -20^ (-4^) to 60^ (140^)
Two temperature units: ^ C or ^ F .
Wireless outdoor sensor and temperature alert.
Display of humidity level and minimum and maximum temperatures recorded.
Transmission range between the outdoor sensor and the station: 60 meters in open space
Weather forecasting
USB charger
Power :
Meteo station
Battery:2xAA LR6 or charger DC5.0V1.2A
Outdoor sensor
Battery:2xLR03AAA
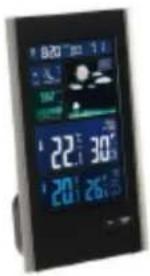
Drawing of the device
Figure 1 - LCD Screen
Al: Time, calendar, alarm time
A2: Moon phase and tide
A3: Barometric pressure
A4: Histogram showing air pressure trend over the last 24 hours
A5: Indoor humidity and temperature
A6: Outdoor humidity and temperature
A7:Weather forecast
Figure 2 - Rear
B1:"MEM" button
B2:"SNOOZE/LIGHT" button
B3:"TIME" button
B4:"ALARM" button
B5:"▲" button
B6:"▼" button
B7:"ALERT" button
B8:"button
B9:"ALARM ON/OFF" switch
B10:"BACKLIGHT HI/LO" switch
B11: USB charger output socket
B12:Power supply socket
B13: Battery compartment
Figure 3 - Outdoor sensor
C1: Battery compartment
Use of the device
Getting started
Battery power: Open the battery compartment cover. Insert 2 AA batteries, observing the correct polarity.
Power supply: Connect the unit with the supplied power cord using slot B12 on the unit (see figure 2).
Once the unit is powered, the LCD screen will light up. You will hear a beep and the station will immediately measure the indoor temperature and humidity (slot A6 figure 1), air pressure and air pressure trend (slot A3 figure 1), and display the weather forecast (slot A7 figure 1).
The temperature is initially displayed in ^ C . A quick press of the "▲" button (button B5 figure 2) allows you to toggle between the different ^ C and ^ F units.
Note: If the temperature measurement is below the measuring range, the probe displays LL.L. If the temperature measurement is above the measuring range, HH.H will be displayed.
The air pressure is initially displayed in mB/hPa. By briefly pressing the "HPA / INHG" button (tip B8 figure 2), you can toggle between the units "HPA / INHG" and "inHg".
Three barometric pressure trends can be displayed by the station:
| The atmospheric pressure increases | The atmospheric pressure is stable | The atmospheric pressure decreases |
Weather forecasts are calculated from the evaluation of barometric pressure fluctuations and may deviate from actual weather conditions. If there are differences between the station forecast and the local weather forecast service, take the latter's advice as authoritative. These forecasts indicate the likely fluctuation of the weather for the next eight hours, not the actual weather.
The station can display 6 different forecasts:
| Sunny | Partly cloudy | Cloudy | Rainy | Very rainy | Cloudy |
The station will automatically display the comfort level (location A6 figure 1).
The indoor comfort level is calculated according to the indoor temperature and humidity. There are 5 levels:
| Very good | Good | Fair | Poor | Bad |
The weather station will automatically display the moon phase and the tide indicator according to the set date and time (location A2 figure 1). There are 12 different moon phases and 3 tide indicators.
| New moon | First crescent | First quarter | Waxing Gibbous Moon | Full moon | Waning Gibbous Moon | Last quarter | Last crescent |
| H | M | L |
| Hogh tide | Between the two tides | Low tide |
Automatic setting of time and date (DCF radio signal)
After being switched on, the clock automatically searches for a DCF signal. When the DCF signal is received, the unit automatically receives and displays the time, date and day of the week. The unit automatically switches between daylight savings time and winter time.
While the unit is searching for the DCF signal, the logo (location A1 in figure 1) flashes. If the search is unsuccessful, the logo disappears. If the unit detects a DCF signal, the logo is displayed continuously.
To manually restart the DCF signal search procedure, press and hold the "▲" button for two seconds. The unit automatically resumes the search for a DCF signal every hour until one is found. During the search, only the "SNOOZE / LIGHT" function and the "▲" button operate.
At night, the station synchronizes with the DCF signal to correct any discrepancies. If this synchronization attempt fails, the radio's icon disappears from the display screen. The system will automatically attempt another sync at the next hour.
We recommend a minimum distance of 2.5m from all sources of interference, such as TVs or computer monitors. Radio reception is weaker in places with concrete walls (e.g. in cellars and offices). In such conditions, place the unit near a window.
Manual time and date setting
Press the "TIME" button (button B3 figure 2) once to display the seconds. Press it again to display the date.
Press the "TIME" button for 2 seconds to enter the setting mode.
In the parameter setting mode, the parameter being set will flash. Use the "▲" and "▼" buttons to change the value and the "TIME" button to both confirm your choice and move to the next parameter.
The device displays the 12/24 hour mode as the first parameter. You can choose to display the time in 12-hour or 24-hour format.
The second parameter is the time zone. You can set a time zone in the range -12 to +12.
The third parameter is the time. Use "▲" and "▼" to set the time.
The fourth parameter is the minutes. Use "▲" and "▼" to set them.
The fifth parameter is the date display format. You can choose to display the date in Day - Month or Month - Day format.
The sixth parameter is the year. Use "▲" and "▼" to set it.
The seventh parameter is the month, the eighth is the current date.
The ninth parameter is the language of information display. You can choose from the languages below to display the abbreviation of the day of the week: GE (German), EN (English), FR (French), IT (Italian), SP (Spanish), DU (Dutch), DA (Danish).
Press the "TIME" button to confirm your choice and exit the setting mode.
After 20 seconds without pressing any button, the station will automatically exit the setup mode.
Setting the alarm
Press the "ALARM" button (button 4, figure 2) once to display the alarm setting time instead of the current date display (screen A1, figure 1).
Press the "ALARM" button for 2 seconds to enter the alarm setting mode. In the setting mode, use "▲" and "▼" to set the required time and then the "ALARM" button to confirm the time and move to the minute setting. Use "▲" and "▼" to set the minutes and "ALARM" to validate and exit the setting mode.
To activate the alarm, use the "ALARM" switch on the back of the station (button B9 figure 2).
If the switch is set to "ON", the icon appears next to the current date display (screen A1 figure 1) and the alarm is activated. If the switch is set to "OFF", the icon will not appear and the alarm will be disabled.
The alarm sounds for 2 minutes unless you turn it off by pressing any button. If the alarm is turned off, it will only automatically repeat after 24 hours.
If you press the "SNOOZE/LIGHT" button (button B2, Figure 2) while the alarm is sounding, it will not be disabled. It will go off 5 minutes after you press this button.
The alarm will sound louder and louder during the 2 minutes and change its volume 4 times.
Outdoor sensor
To power up the outdoor sensor, insert 2 AA batteries, observing the correct polarity (Figure 3). When you insert the batteries, a brief red light will appear indicating that the sensor is powered on. The sensor will automatically transmit the information to the weather station.
Briefly press the "▼" button to select a communication channel. The weather station has 3 channels (from 1 to 3). The sensor included with the unit transmits the temperature, humidity and air pressure trend of its surroundings on channel 1 of the station.
If the station is unable to receive the information transmitted by the outdoor probe, the station displays '--' as the value.
To restart the connection between the station and the probe, hold down the "▼" button for 3 seconds.
Maximum and minimum
By pressing the "MEM" button (button B1 in Fig. 2), the instrument will display the maximum temperature and humidity detected by your station since it was last switched on, both those detected by the station and those detected by the probe via channel 1.
Pressing the "MEM" button again will cause the station to display the minimum values.
The display is symbolized by the appearance of the "MAX" or "MIN" logo on screens A5 and A6.
To reset the stored maximum and minimum values, press and hold the MEM button for about 2 seconds.
Outdoor Temperature Alert
Briefly press the ALERT button to activate the temperature alert function.
If the alert is activated, the "TEMP ALERTS" symbol will appear next to the outdoor temperature (screen A5 figure 1). The alarm signal will sound when the outdoor temperature falls below the set minimum alert temperature or rises above the set maximum alert temperature.
To set the maximum and minimum alert temperatures, press and hold the ALERT button for 2 seconds. The outdoor temperature will flash and two icons will appear "Hi" and "Lo" (screen A5 figure 1). When the "Hi" icon is flashing, you can set the maximum alert temperature. By briefly pressing the "ALERT" button,
you can then set the minimum alert temperature. The "Lo" icon flashes when you can set this temperature.
You can set maximum and minimum alert temperatures for each of the 3 channels that the station has. First select the channel you want to set before setting the maximum and minimum alert temperatures (see outdoor sensor section).
Lighting
When you power the station with batteries, press the "SNOOZE / LIGHT" button to activate the backlight for 15 seconds. After this time, the unit will revert to power conservation mode.
If you power the unit with the power cord, the unit will not switch to power conservation mode. The lighting always remains the same.
The "BACKLIGHT" switch (button B10 figure 2) on the back of the unit allows you to choose between two screen illumination modes: "HI" for strong illumination, "LO" for soft illumination.
USB charger
The USB slot produces a continuous power charge. You can connect a USB charging cable to this slot to charge your mobile devices (not included).
Cleaning and maintenance
Clean the station and outdoor sensor with a slightly damp, non-cottony cloth. Do not use detergents or soap to clean these units.
If you are not using the unit, unplug it or remove the batteries.
Do not use both battery and AC power simultaneously.
In case of malfunction, contact our service department by following the contact information on our website livoo.fr
UE DECLARATION OF CONFORMITY
We
DELTA
BP61071
67452 Mundolsheim - France
Declare under our own responsibility that the article:
Description: Weather station with barometer
Reference: SL250
to which this declaration applies, is in conformity with the applicable EU harmonization legislation :
| DIRECTIVES | STANDARDS or SPECIFICATIONS |
| (EMC) 2014/53/EU | |
| (ROHS) 2011/65/EU | The object of the declaration described above is in conformity with Directive 2011/65/EU of the European Parliament and of the Council of 8 June 2011 on the restriction of the use of certain hazardous substances in electrical and electronic equipment.EU 2011/65/EU et EU 2015/863 |
| (RED) 2014/53/EU | ETSI EN 300 220-1 V3.1.1 :2017-02ETSI EN 300 220-2 V3.2.1 :2018-06ETSI EN 300 330 V2.1.1 :2017-02DRAFT ETSI EN 301 489-1 V2.2.1:2019-03ETSI EN 301 489-3 V2.1.1:2019-03 |
| (LVD) 2014/35/EU | EN 62479:2010EN 60950-1: 2006 + A11: 2009 + A1: 2010 + A12: 2011 + A2: 2013 |
Mundolsheim, the 19/05/2022
David Bousquet, CEO Signature:

Correct disposal of the unit (Electrical and Electronic Equipment).
(Applicable in the European Union and the rest of Europe that have adopted separate collection systems countries). The European Directive 2012/19/EU on Waste Electrical and Electronic Equipment (WEEE), requires that old household electrical appliances must not be disposed of in the normal household waste stream. Old appliances must be collected separately in order to optimize the recovery and recycling of the materials they contain and reduce the impact on human health and the environment. The symbol of the crossed out dustbin is marked on all products to remind the obligations of separate collection. Consumers should contact their local authority or retailer for information concerning the correct disposal of their product.
Non contractual illustration
- Product information is subject to change without prior notice.