05100 - Heating Maxxmee - Free user manual and instructions
Find the device manual for free 05100 Maxxmee in PDF.
User questions about 05100 Maxxmee
0 question about this device. Answer the ones you know or ask your own.
Ask a new question about this device
Download the instructions for your Heating in PDF format for free! Find your manual 05100 - Maxxmee and take your electronic device back in hand. On this page are published all the documents necessary for the use of your device. 05100 by Maxxmee.
USER MANUAL 05100 Maxxmee
Cleaning and Storage 16
Troubleshooting 16
Disposal 17
Technical Data 17
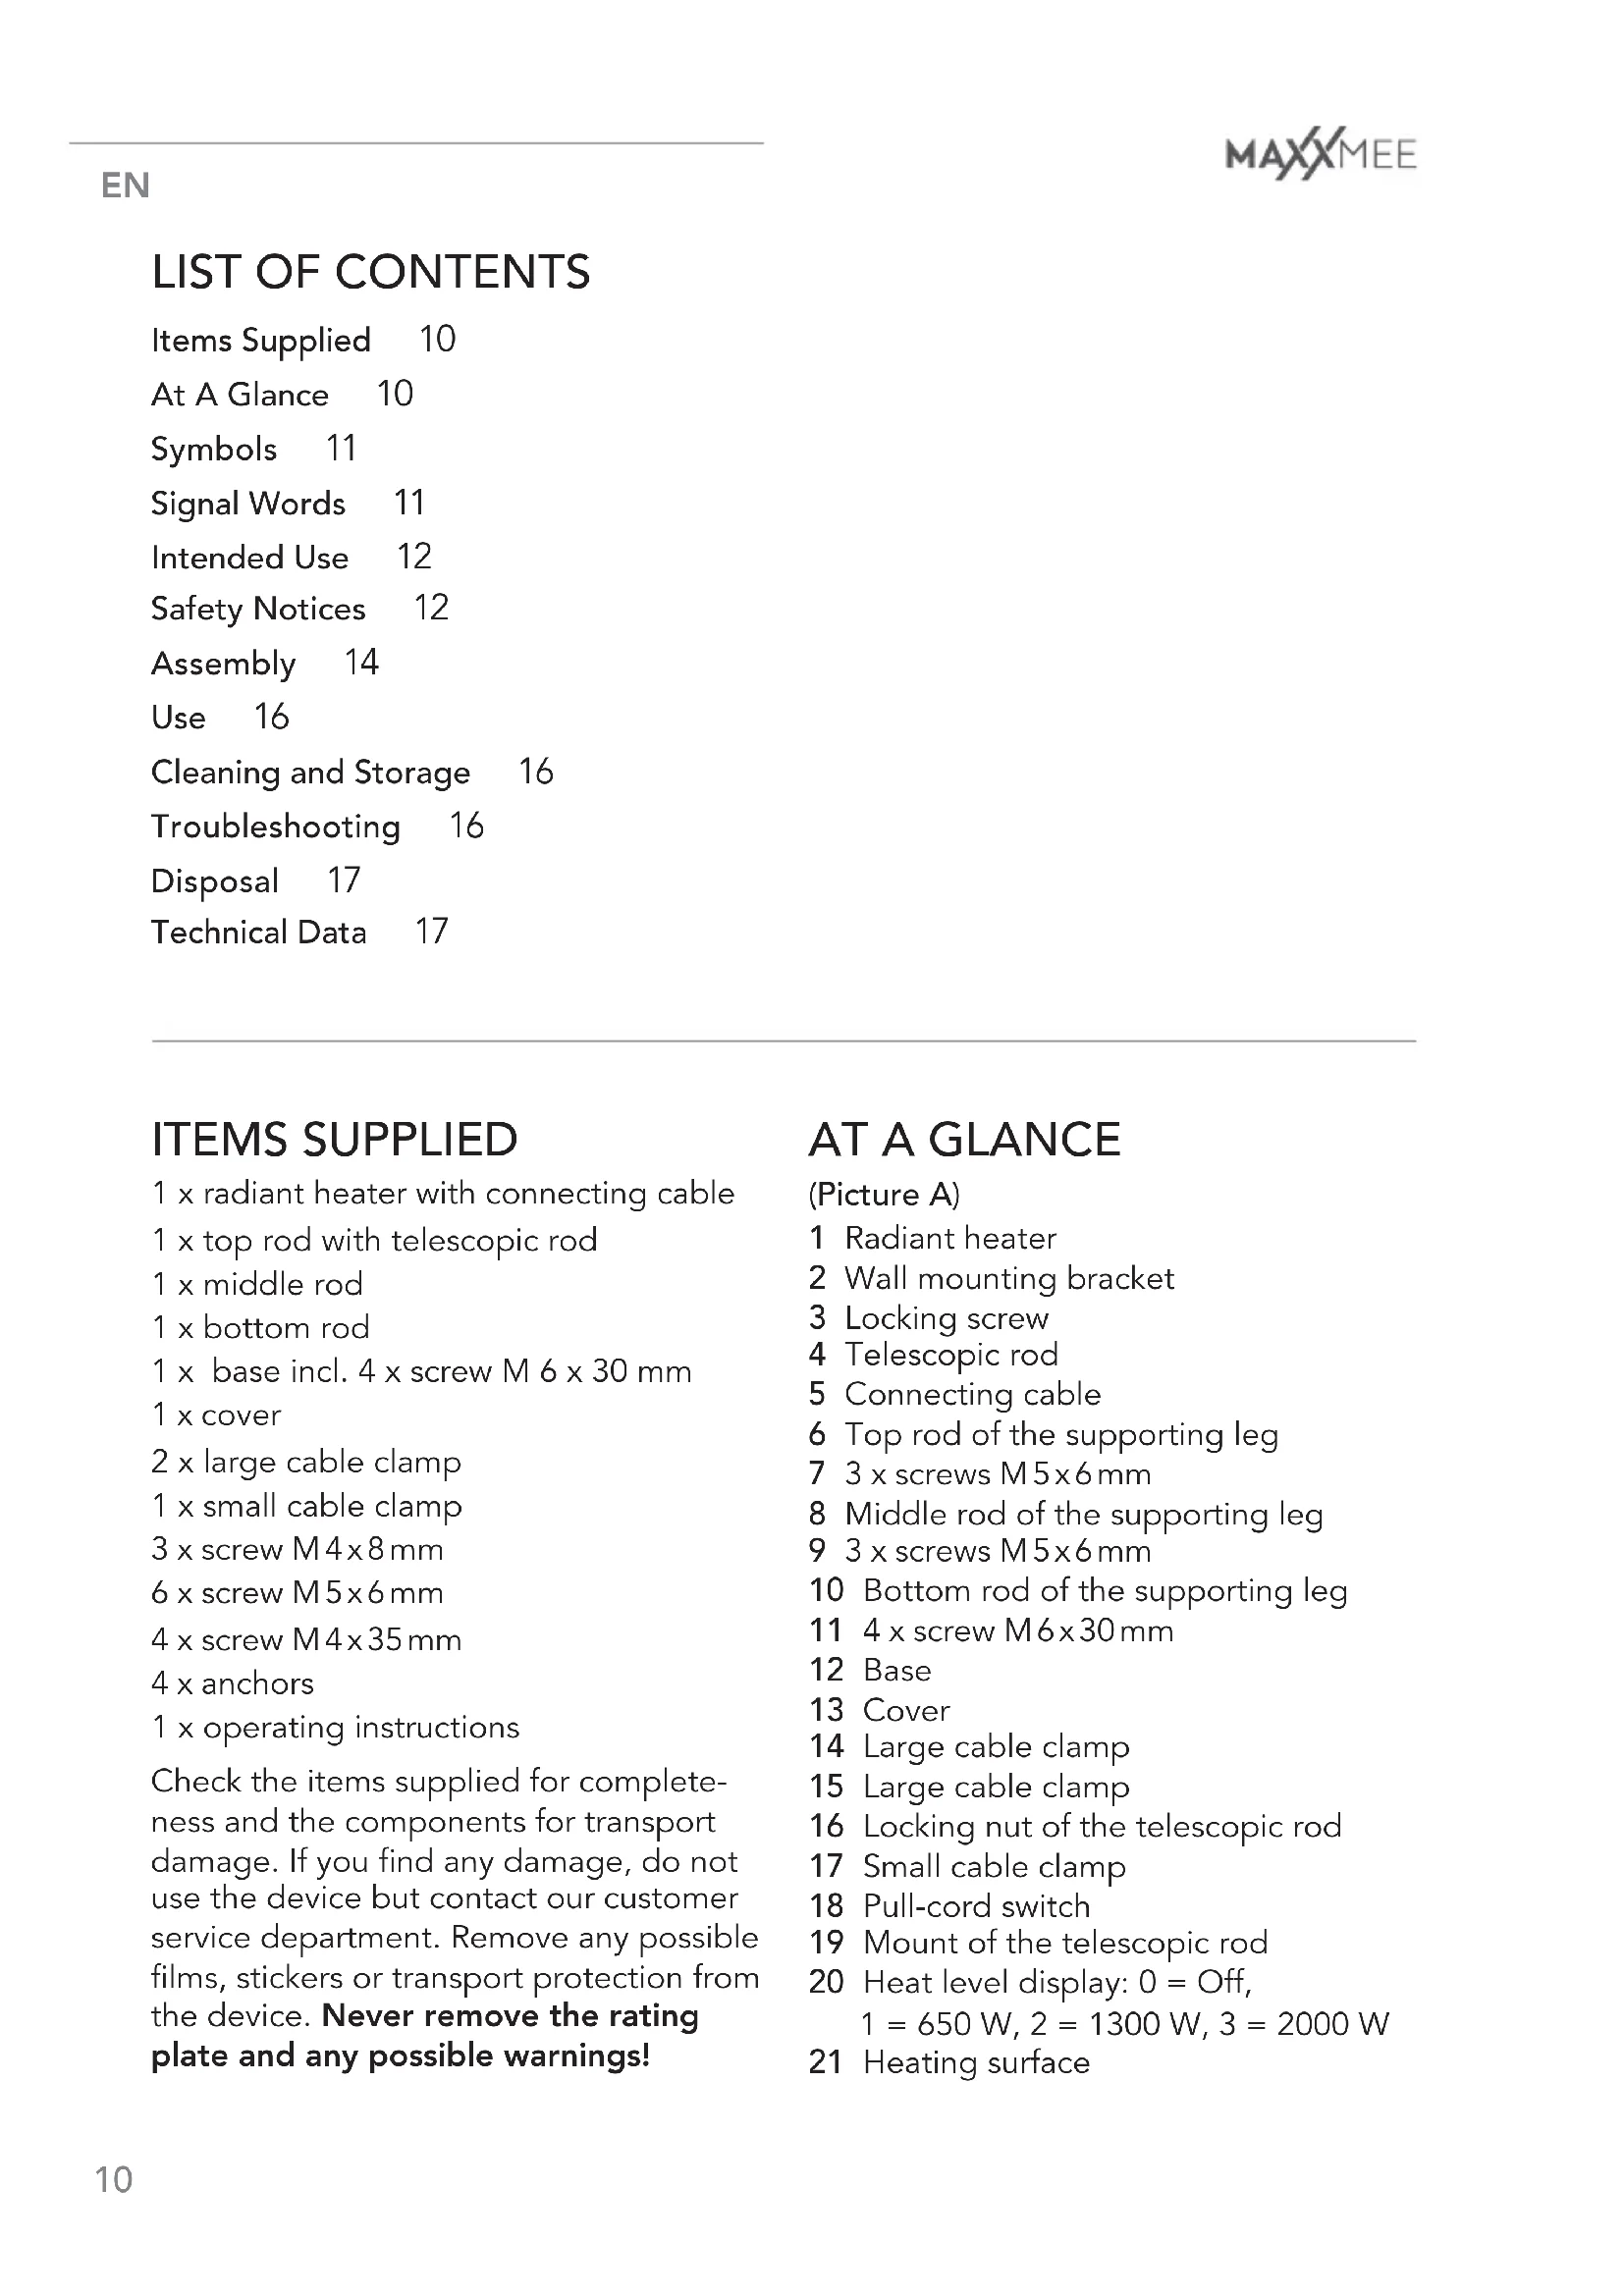
ITEMS SUPPLIED
1 x radiant heater with connecting cable
1 x top rod with telescopic rod
1 x middle rod
1xbottomrod
1x base incl. 4x screw M 6 x 30 mm
1 x cover
2 x large cable clamp
1 x small cable clamp
3x screw M4x8mm
6x screw M5x6mm
4x screw M 4x35mm
4 x anchors
1 x operating instructions
Check the items supplied for completeness and the components for transport damage. If you find any damage, do not use the device but contact our customer service department. Remove any possible films, stickers or transport protection from the device. Never remove the rating plate and any possible warnings!
AT A GLANCE
(Picture A)
1 Radiant heater
2 Wall mounting bracket
3 Locking screw
4 Telescopic rod
5 Connecting cable
6 Top rod of the supporting leg
7 3 × screws M5x6mm
18 Middle rod of the supporting leg.
9 3 x screws M5x6mm
10 Bottom rod of the supporting leg
11 4 x screw M6x30mm
12 Base
13 Cover
14 Large cable clamp
15 Large cable clamp
16 Locking nut of the telescopic rod
17 Small cable clamp
18 Pull-cord switch
19 Mount of the telescopic rod
20 Heat level display: 0 = Off , 1 = 650 W , 2 = 1300 W , 3 = 2000 W
21 Heating surface
Dear Customer,
We are delighted that you have chosen the MAXXMEE infrared radiant heater. This device allows you to feel the warmth without having to wait long for it to heat up. You can choose from three heat levels and the infrared heat which is emitted then allows you to snuggle up warm on cold nights. The radiant heater can be tilted and its supporting leg is height-adjustable. The stable supporting leg also ensures the device is safe to use. Alternatively, the radiant heater can also be attached to the wall.
If you have any questions about the device and about spare parts/accessories, contact the customer service department via our website: www.dspro.de/kundenservice
We hope you have a lot of fun with your MAXXMEE infrared radiant heater.
Information About the Operating Instructions
Before using the device for the first time, please read through these operating instructions carefully and keep them for future reference and other users. They form an integral part of the device. The manufacturer and importer do not accept any liability if the information in these operating instructions is not complied with.

IMPORTANTNOTICES! PLEASE KEEP FOR REFERENCE!
SYMBOLS

Danger symbols: These symbols indicate possible dangers. Read the associated safety notices carefully and follow them.

Supplementary information

Read the operating instructions before use!

Caution: hot surfaces!

Do not cover the device during operation!

Symbol for AC voltage
SIGNAL WORDS
Signal words indicate hazards if the associated notices are not followed.
DANGER - high risk, results in serious injury or death
WARNING - medium risk, may result in serious injury or death
CAUTION - low risk, may result in minor or moderate injury
NOTICE - may result in risk of damage to material
INTENDED USE
This device is intended to be used to heat covered outdoor areas (e.g. patios).
This device is for occasional use and is not suitable for constant operation.
The device is for personal use only and is not intended for commercial applications.
Use the device only for the specified purpose and as described in the operating instructions. Any other use is deemed to be improper.
The warranty does not cover faults caused by incorrect handling, damage or attempted repairs. The same applies to normal wear and tear.
SAFETYNOTICES
WARNING: Note all safety notices, instructions, illustrations and technical data provided with this device. Failure to follow the safety notices and instructions may result in electric shock, fire and / or injuries.
CAUTION! Some parts of the device may get very hot and cause burns. Special care must be taken in the presence of children or vulnerable persons.
WARNING! DO NOT COVER! To prevent the heater from overheating, it must not be covered.
WARNING: Do not use this device near a bathtub, shower or any vessel containing water.
WARNING: This device is not equipped with a facility to regulate the room temperature. The heater must not be used in small rooms inhabited by people who are unable to leave the room without help, unless constant supervision is guaranteed.
The heater must not be mounted directly beneath a wall socket.
This device may be used by people with reduced physical, sensory or mental abilities or a lack of experience and/or knowledge if they are supervised or have received instruction on how to use the device safely and have understood the re
sulting dangers, provided that the device is placed or installed in its normal position of use.
Children under three years of age must be kept away from the device, unless they are under constant supervision.
Children between 3 and 8 years of age may only ever switch the device on and off if they are supervised or have received instruction on how to use the device safely and have understood the resulting dangers, provided that the device is placed or installed in its normal position of use.
- Connection as well as regulation, cleaning and user maintenance may not be carried out by children between 3 and 8 years of age.
Children must not play with the device.
- CAUTION: The device is not designed to be operated with an external timer or a separate remote control system.
The device must always be disconnected from the mains power when left unattended and before cleaning it.
- Allow the device to cool down completely before it is cleaned or stored away.
- Do not make any modifications to the device. Also do not replace the connecting cable yourself. If the device or its connecting cable are damaged, they must be replaced by the manufacturer, customer service department or a specialist workshop in order to avoid any hazards.
DANGER - Danger of Electric Shock
- Never immerse the device and the connecting cable in water or other liquids and ensure that they cannot fall into water or become wet.
If the device falls into water while it is connected to the mains power, pull the mains plug out of the plug socket immediately! Only after this should you pull the device out of the water and dispose of it. - Never touch the device and the connecting cable with wet hands when
the device is connected to the mains power.
Store the device only in closed rooms.
- Do not use and store the device in rooms with high humidity. Protect the device from persistent moisture.

WARNING - Danger of Fire
Only use the device if it is on its supporting leg or has been attached to the wall properly. Never place it directly on the floor or other surfaces! The heat could cause material damage or a fire.
- Do not connect the device along with other consumers with a high wattage to a circuit in order to prevent overloading and a possible short circuit (fire). Make sure that the circuit is designed to handle the power of the device.
- Do not use any multiple sockets, extension cables more than 3m long or cable extension reels.
- Keep the device away from curtains, furnishings and other combustible materials and do not direct it towards them. Maintain a gap of at least 1.5m from the heating surface.
Do not place any objects on the device when it is switched on.
Do not use the device for drying laundry.
In the event of a fire: Do not extinguish with water! Smother the flames with a fireproof blanket or a suitable fire extinguisher.

WARNING - Danger of Injury
- Keep children and animals away from the packaging material. There is a danger of suffocation.
Make sure that the connecting cable is always kept out of the reach of small children and animals. There is a danger of strangulation. - Lay the connecting cable in such a way that it does not present a trip hazard.
NOTICE - Risk of Damage to Material and Property
Always switch off the device first before the mains plug is pulled out of the plug socket.
Pull the mains plug out of the plug socket before a thunderstorm.
- Never pull or carry the device by the mains cable. When you pull the mains plug out of the plug socket, always
pull on the mains plug and never the mains cable!
Lay the connecting cable in such a way that it does not become squashed or bent and does not come into contact with hot surfaces.
Do not subject the device to any impacts.
- Protect the device from fire, other heat sources and sub-zero temperatures.
Use only original accessories from the manufacturer in order to guarantee that there is no interference that may prevent the device from working and to avoid possible damage.
- Do not lay or place any heavy objects on the device or the connecting cable.
ASSEMBLY
Please Note!
The minimum distance of the radiant heater from the ground must be 180cm and from the other sides must be 40cm in order to guarantee a sufficient distance between people and animals and the device and prevent burns. Consider these distances for wall mounting and make sure you use all three rods when using the supporting leg.
The radiant heater (1) can be installed both on the associated supporting leg (12) and on the wall.
Mounting on the Supporting Leg

A cross-head screwdriver is required.
Bottom rod of the supporting leg (Picture C):
- Place the base (12) on the ground and plug the bottom rod (10) into the middle of the supporting leg.
- Twist the bottom rod so that the 4 holes in the rod plate are precisely over the 4 associated screws (11).
- Unscrew these screws from the supporting leg. (Remove the rod to do this.)
- Reinsert the rod and fix it with the screws.
- First place the cover (13) and then a large cable clamp (14) on the bottom rod. Fix the cable clamp with an M 4 × 8 ~mm screw.
Middle rod of the supporting leg:
- Place the middle rod (8) on the bottom rod and fix it in place with the short M5 × 6mm screws (9).
Top rod of the supporting leg:
- Place the top rod (6) on the middle rod and fix it in place with the short M5 × 6mm screws (7).
- Place a large cable clamp (15) on the rod and fix it clamp with an M4x8mm screw.
- In the top rod you will find the telescopic rod (4). If you want to extend the height of the radiant heater, pull the telescopic rod out as far as you want. To do this, first loosen the locking nut (16) and tighten it again once you have adjusted the height.
- If necessary, place the small cable clamp (17) on the telescopic rod and fix it clamp with an M4x8mm screw and fix it clamp with an M4x8mm screw.
Radiant heater:
- Place the radiant heater on the telescopic rod and twist the locking screw (3) to tighten it.
- Plug the connecting cable (5) into the cable clamps.
Wall Mounting
Please Note!
Make sure that the surface on which the device is mounted is stable and that suitable screws and anchors are used. The screws and anchors which are supplied are designed for brick walls. Different fixings might be required for softer surfaces. Seek advice from a specialist retailer if in doubt.
Before drilling, ensure that there are no pipes or cables behind the intended drilling point.
- When choosing the mounting location, bear in mind that the connecting cable needs to reach to a plug socket and must not touch the device or be exposed to the heat of the device.

A spirit level, a drill, a crosshead screwdriver and a pen are required.
On the back, the radiant heater (1) has a wall mounting bracket (2). It is hung on the wall without the supporting leg.
- Measure out the gaps between the four drill holes in the wall mounting bracket and mark them out on the wall with a pen. Use a spirit level to do this if possible.
- Drill 8 mm holes for the anchors which are supplied. With different fixings, adjust the size of the drill holes accordingly.
- Plug the anchors into the holes.
-
Twist the screws (M 4 × 35 ~mm ) into the anchors, but not all the way in. They need to stick out a little so that the wall mounting bracket can be hung on.
-
Hang the wall mounting bracket on the screws and slide it a little to the right until it engages.
- Lay the connecting cable (5) in such a way that it is not touching the device.
USE
Please Note!
Only connect the device to a plug socket that is properly installed and matches the technical data of the device. The plug socket must also be readily accessible after connection so that the connection to the mains can quickly be isolated.
If the device has any damage / faults, switch it off immediately and pull the mains plug out of the plug socket.
- Never touch the radiant heater when it is switched on. It needs to be switched off and cooled down (approx. 15 minutes after switching off) when the tilt angle is adjusted. There is a danger of burns.
- Switch off the device before going to sleep. It must not be switched on without supervision so that you can intervene immediately if there are any faults.
The device has a safety shutoff which switches off the device if it topples over.
- Set the tilt angle of the radiant heater before switching it on. It can be tilted up to 45^ (Picture B). If it is mounted on the wall, do not direct it towards the ceiling!
- Plug the mains plug into a plug socket.
- Pull on the pull-cord switch (18) to switch on the radiant heater, increase the heat level and switch it off again.
CLEANING AND STORAGE
Please Note!
No liquid must get into the device. Never immerse it in water!
- Allow the device to cool down before cleaning it.
- Do not use alcohol or other caustic or abrasive cleaners or rough sponges to clean the device. These may damage the surfaces.
- Regularly dust the device.
- Wipe down the device with a damp cloth if necessary. Then dry with a soft cloth.
If the device is not going to be used for a prolonged period, store it in a cool and dry place protected from dust out of the reach of children and animals.
TROUBLESHOOTING
If the device does not work properly, check whether you are able to rectify the problem yourself. If the problem cannot be solved with the steps below, contact the customer service department.

Do not attempt to repair an electrical device yourself!
The device does not work. It cannot be switched on.
The mains plug is not inserted in the plug socket correctly.
Correct the fit of the mains plug.
The safety shutoff has been activated because the device is tilted too much.
Place the device on a stable, flat surface.
The plug socket is defective.
Try another plug socket.
There is no mains voltage.
- Check the fuse of the electrical tributor (fuse box).
The fuse in the fuse box has been triggered.
Too many devices connected in one circuit.
Reduce the number of connected devices.
During use, an unpleasant smell is detected.
The device is dusty or dirty.
Clean the device.
The device is being used for the first time. There are production residues in / on the device. This is normal and will not occur again later.
Make sure that the room is well ventilated!
DISPOSAL
Dispose of the packaging material in an environmentally friendly manner so that it can be recycled.
This device is governed by the European Directive 2012/19/EU on waste electrical and electronic equipment (WEEE). Do not dispose of this device as normal domestic waste, but rather in an environmentally friendly manner via an officially approved waste disposal company.
TECHNICAL DATA
Article number: 05100
Model number:PNH-2000DI
Power supply: Device: 220 - 240 V ~; 50 - 60 Hz
Power: Heat level 1:650W
Heat level 2:1300W
Heat level 3:2000 W
Height: 180 - 210 cm
Protection class: I
Type of protection: IPX4
ID of operating instructions: Z 05100 M DS V2 0421 md

All rights reserved.
SOMMAIRE
Composition 18
Apercu general 18
Symboles 19
2 x grand serre-cable
1 x petit serre-cable
3×visM4×8mm
6xvisM5x6mm
4xvisM4 × 35mm
4 x chevilles
1 x mode d'emploi
Chere cliente, cher client,
Attention: surfaces chaudes!
Barre inférieure du pied (illustration C):
WAARSCHUWING - Brandgevaar
WAARSCHUWING - Verwondingsgevaar
De contactdoos is defect.