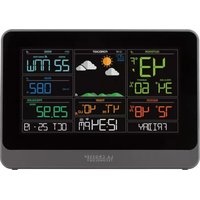
CA79080 - Weather Station LA CROSSE TECHNOLOGY - Free user manual and instructions
Find the device manual for free CA79080 LA CROSSE TECHNOLOGY in PDF.

User questions about CA79080 LA CROSSE TECHNOLOGY
0 question about this device. Answer the ones you know or ask your own.
Ask a new question about this device
Download the instructions for your Weather Station in PDF format for free! Find your manual CA79080 - LA CROSSE TECHNOLOGY and take your electronic device back in hand. On this page are published all the documents necessary for the use of your device. CA79080 by LA CROSSE TECHNOLOGY.
USER MANUAL CA79080 LA CROSSE TECHNOLOGY
- Power Up
- Button Functions
- Settings Menu
- Adjustable Backlight
- Auto Dim Backlight
- Pressure History Graph & Number
- Weather Forecast Icons
- Temperature & Humidity Alerts
- HI/LO Temperature & Humidity Records
- Temperature & Humidity Trend Arrows
- Sensor Search
- Low Battery Indicators
- Bonus Station Indoor/Outdoor Readings
- Bonus Station Settings Menu
- Bonus Station Battery Change
- Bonus Station Sensor Search
- Specifications
- Care and Maintenance
- Warranty Info
- Canada Statement
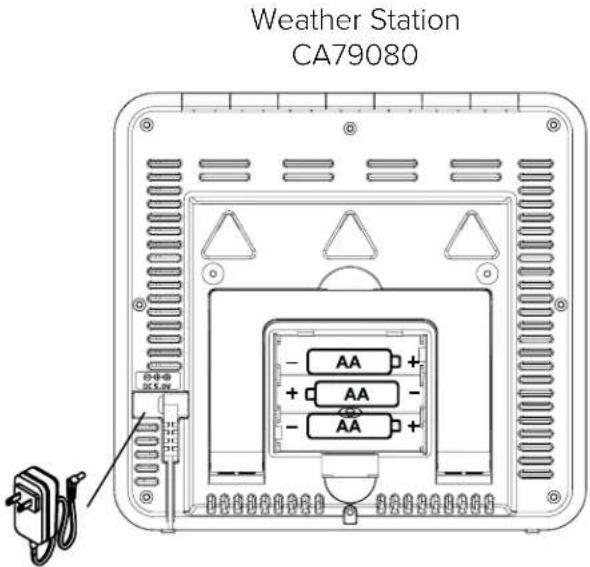
POWER UP
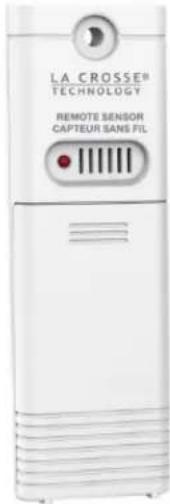
- Insert 2-AA batteries into your Outdoor Sensor.
- Insert the 5 volt power cord into an outlet, then into your Weather Station. Optional: Insert 3-AA batteries as backup.
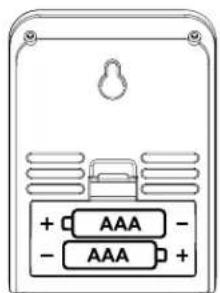
- Insert 2-AAA batteries into your Bonus Station.
- Adjust time and date settings on each station.
- Once the Outdoor Sensor is reading to each of your displays, place it outside in a shaded location.
Watch our sensor mounting video: bit.ly/TH_SensorMounting

Outdoor Sensor TX141TH-Bv3
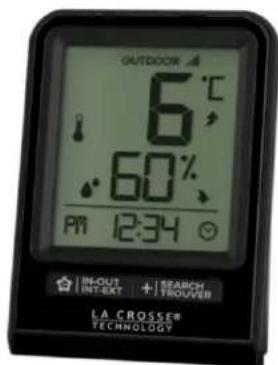
Bonus Station 308-1409TH
BUTTON FUNCTIONS
ALERTS ALERTES
TEMP
SENSOR CAPTEUR


SETPARAMETRES
LIGHT LUMIÈRE
ALERTS
TEMP
SENSOR
-
Hold to enter Alert Settings - Press to view Temp History - Hold to search for sensor
-
(PLUS)
-
(MINUS)
SET
- Press to increase settings
- Press to decrease settings
- Hold to enter Settings
Press to arm/disarm alerts
Press to arm/disarm alerts
.
to
delete
Temp
History
LIGHT
ALERTS
LIGHT
- Press to adjust backlight
- Hold together to reset station
- Hold to enter Auto-Dim Settir
SETTINGSMENU
It is best to press one button at a time when setting your station.
- Hold the SET button to enter the Settings Menu.
- Press the + or - button to adjust the values. Hold to adjust quickly.
- Press the SET button to confirm and move to the next item.
- Press the LIGHT button to exit.
Settings Menu Order:
Language (English, Spanish, French)
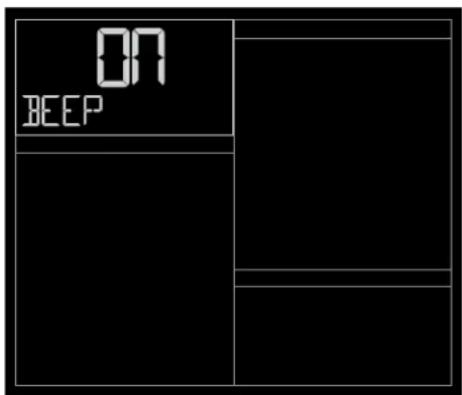
- Beep ON/OFF
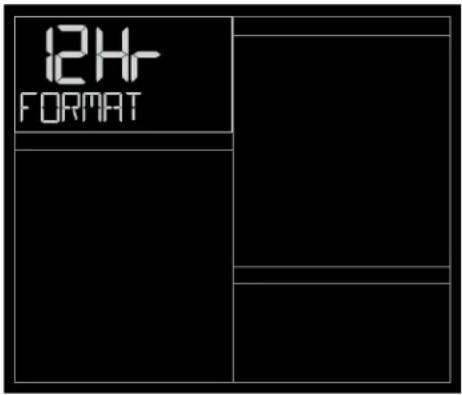
12/24 Hour
·Hour
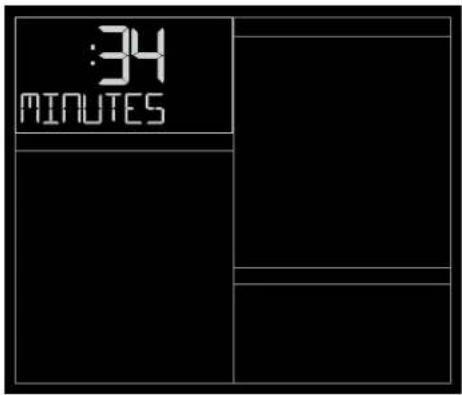
Minutes
Year
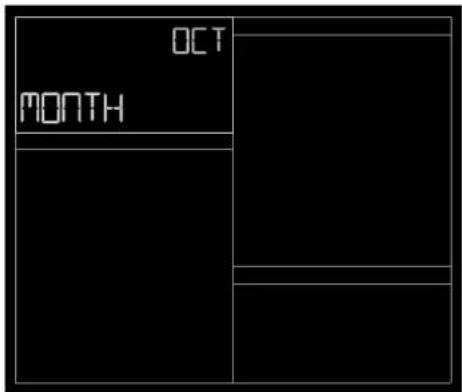
Month
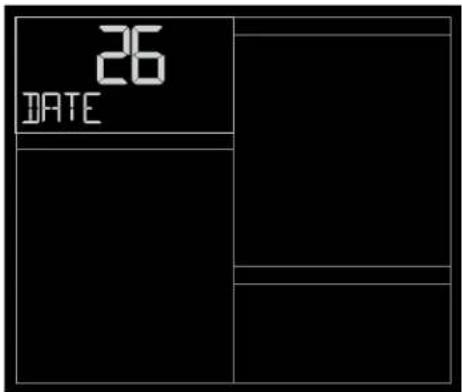
- Date
Celsius or Fahrenheit
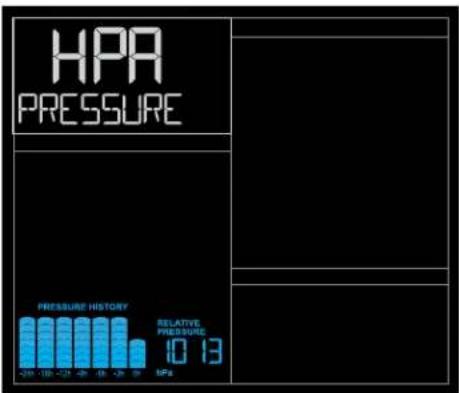
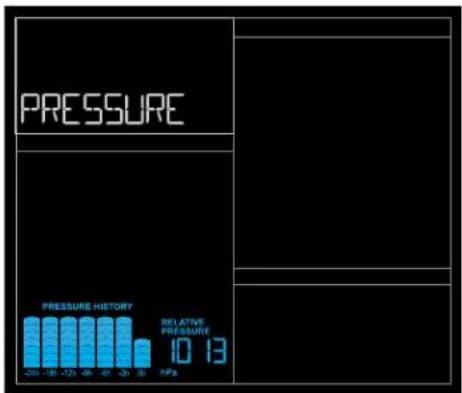
Pressure units: HPA or INHG
Pressure number setting
Weekday: Your weekday will set automatically after year, month, and date are set.
Language: When Spanish (Espanol), or French (Français) are selected, the rest of the instructions will be in that language.
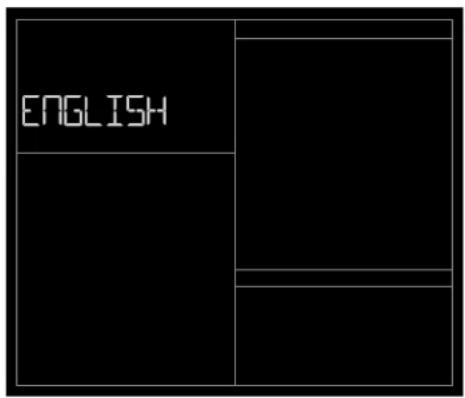
Language 12 or 24 Hour FormatBeep ON/OFF
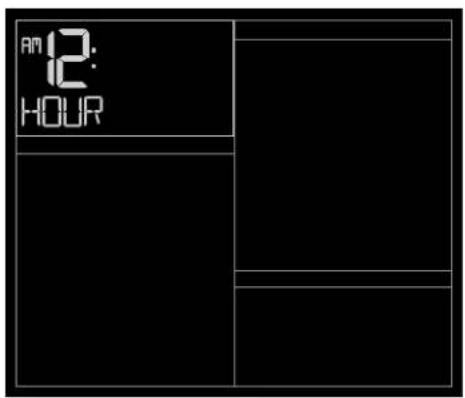
Hour Minutes
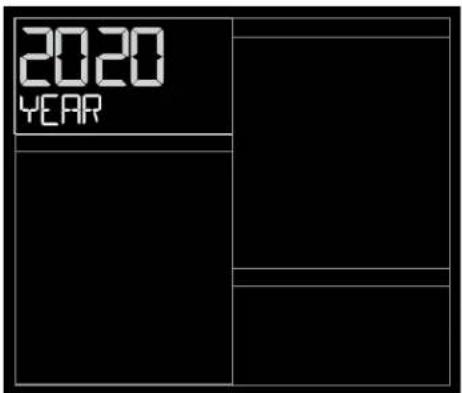
Year DateMonth
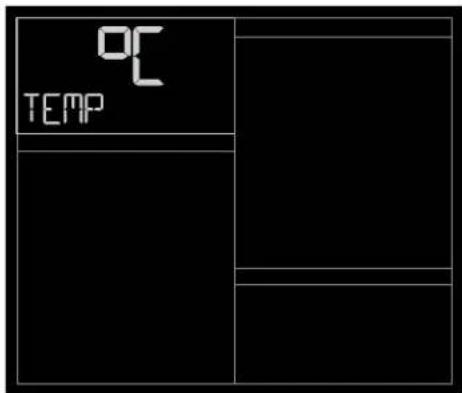
Celsius/Fahrenheit Pressure NumberPressure Units HPA/INHG
Your Backlight may be turned OFF or adjusted to 4 levels of brightness. Intensity Levels: 0FF 1.5% 20% 50% 100% .
To adjust brightness:
- Press and release the LIGHT button to adjust backlight brightness.
- The word BACKLIGHT and the setting will show.
- Once you have the desired backlight brightness, stop pressing buttons.
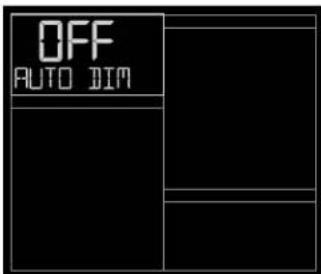
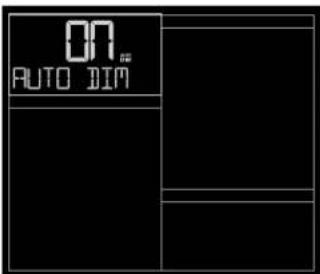
AUTO DIM BACKLIGHT
Program the station to automatically dim the backlight to its level 1 setting during preselected times. Use this in coordination with your sleep schedule to avoid repeated manual adjustments.
Program Auto Dim (Hour setting only):
- Hold the LIGHT button to set Auto Dim Start and Stop times.
- Use the + or - button to turn the Auto Dim feature ON. Press the LIGHT button to confirm and move to next item.
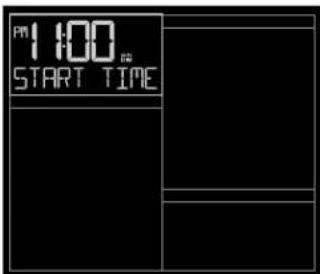
- START TIME will flash. Use the + or - buttons to select your Auto Dimmer's starting hour. Press the LIGHT button to confirm and move to next item.
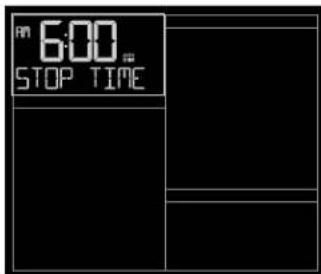
- STOP TIME will flash. Use the + or - buttons to select your Auto Dimmer's ending hour. Press the LIGHT button to confirm and exit.
Note: While the Auto Dim is active, if your press the LIGHT button, the backlight will change to the brightness level selected and stay there. Auto Dim will resume at the next scheduled time.
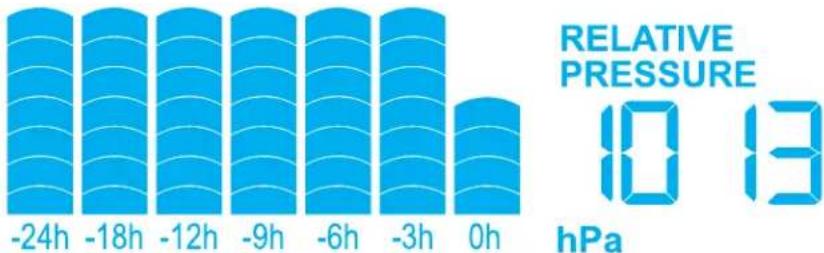
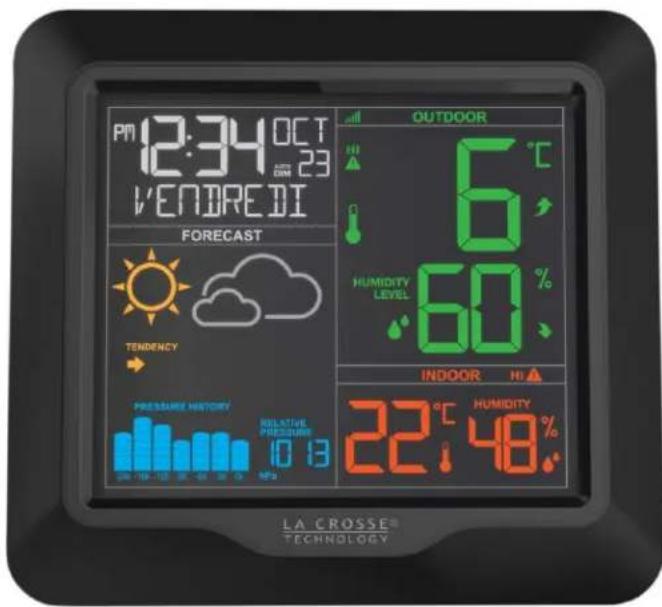
PRESSURE HISTORY GRAPH & NUMBER
Read from left to right, the Pressure History Graph indicates the rise and fall in air pressure over the past 24 hours.
- The "Oh" on the horizontal axis indicates the current hour, thus the current air pressure also.
- With each passing hour, the current air pressure is used as the basis for future graph trends.
Air pressure trends can be determined by simply glancing at the bar graph.
A. If the bars are rising (higher on the right than the left) then the air pressure has a rising trend, and the weather should improve.
B. If the bars are dropping (lower on the right than the left) then the air pressure has a falling trend, and the weather should worsen.
The bar chart will constantly scroll to provide visual interest. This cannot be turned off.
PRESSURE HISTORY
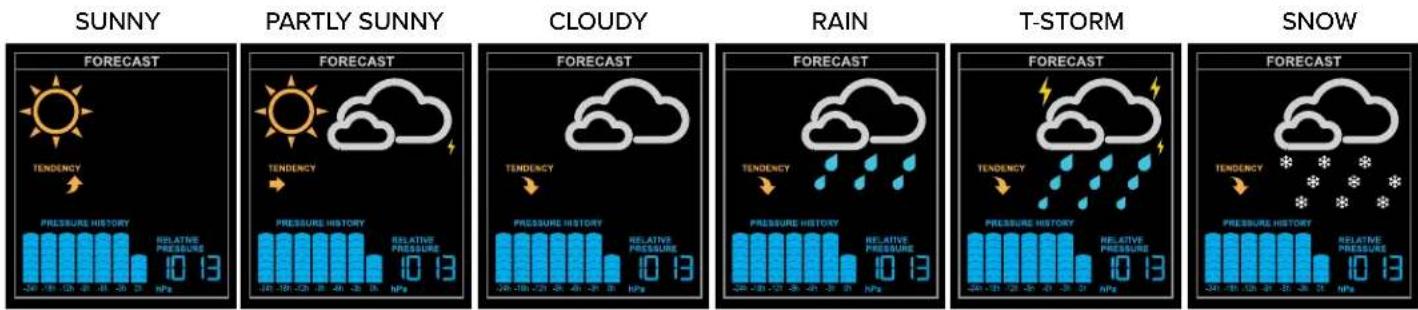
WEATHER FORECAST ICONS
- The Weather Forecast Icons are determined by the station's barometric pressure reading. Please allow 7-10 days for barometric calibration.
This represents the pressure at your home location, and may vary slightly from a local reporting news outlet. - Six Forecast Icons use changing atmospheric pressure to predict your weather conditions to come within the next 12 hours. The accuracy of these icons should improve over time.
- When Outdoor temperature is below 0^ (32°F) and the forecast is RAIN or T-STORM, the station will display SNOW.
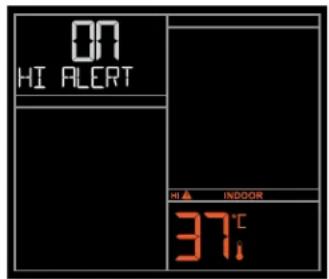
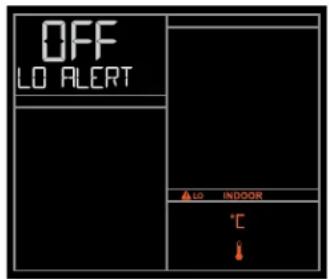
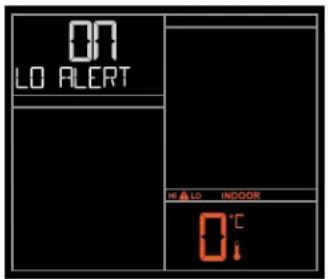
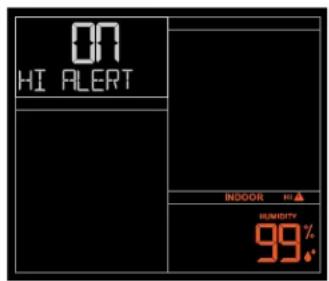
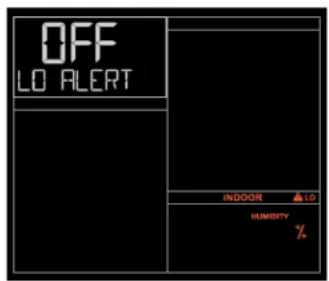
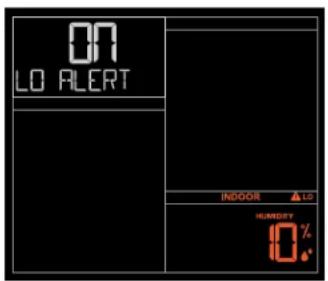
TEMPERATURE & HUMIDITY ALERTS
To set alerts:
- Hold the ALERTS button to enter alert set mode.
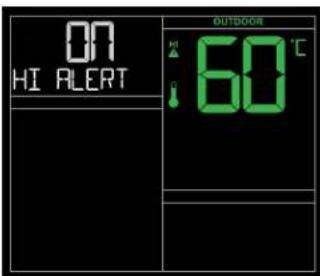
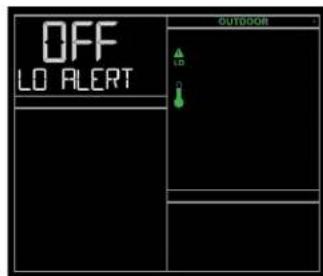
- Outdoor HI temperature alert OFF will show. If you wish to set this alert value, press the + or - button to arm this alert (ON).
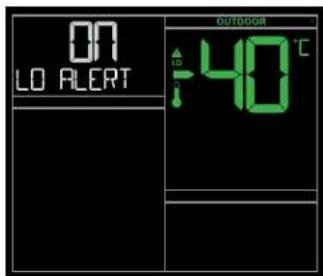
- When the alert is armed (ON) the alert value will flash. Press the + or - button to change the alert value.
- Press the ALERTS button to confirm and move to the next alert.
- Press the LIGHT button to exit.
Note: If you do not wish to set an alert, press the ALERTS button again to move the next alert.
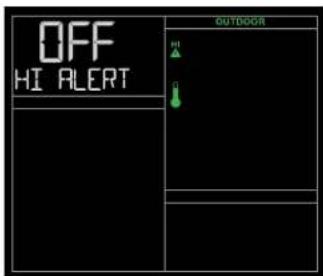
Outdoor HI Temperature Alert Outdoor LO Temperature Alert
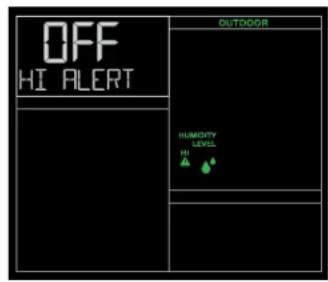
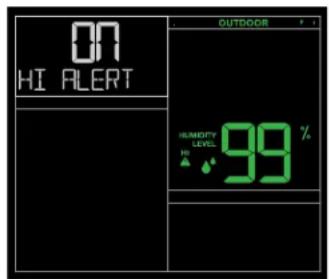
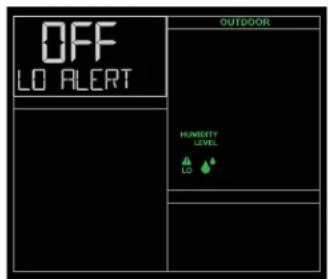
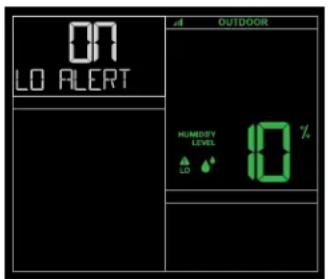
Outdoor HI Humidity Alert Outdoor LO Humidity Alert
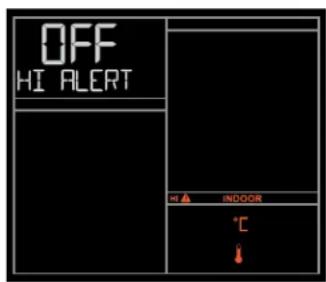
Indoor HI Temperature Alert Indoor LO Temperature Alert
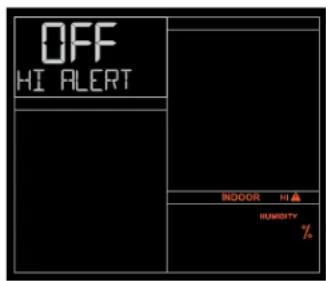
Indoor HI Humidity Alert Indoor LO Humidity Alert
When Alert Sounds:
- When armed alert value is reached, station will beep 5 times each minute, until out of alert range.
- The flashing Alert Icon will indicate if it is a LO or HI alert.
- Press any button to stop the temp alert sound. The alert icon will flash while value is in alert range.
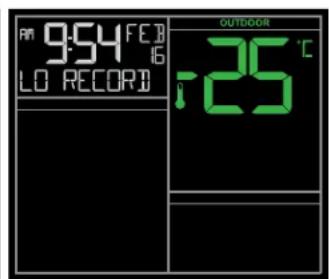
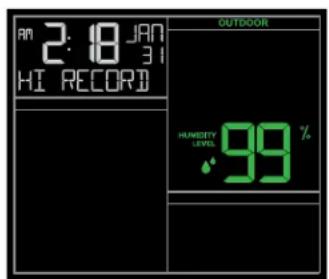
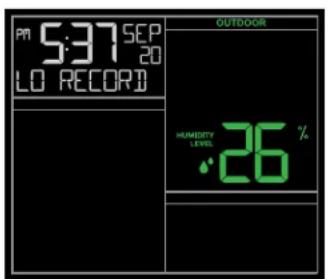
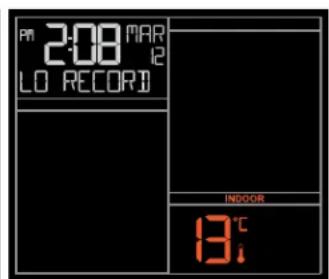
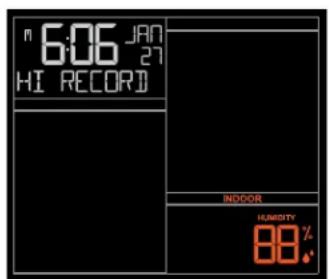
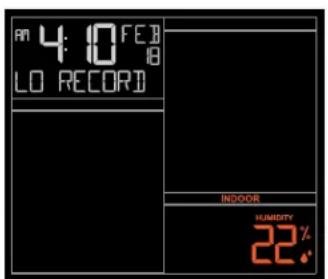
The HI & LO temperature and humidity readings are recorded with time and date of occurrence. This provides a running history of records from when you first powered up the station. Each time a new high or low reading is recorded, that reading with time and date of occurrence will show.
Press and release the TEMP button to view:
- Outdoor HI Temperature with Time/Date
-
Outdoor LO Temperature with Time/Date
-
Outdoor HI Humidity with Time/Date
-
Outdoor LO Humidity with Time/Date
-
Indoor HI Temperature with Time/Date
-
Indoor LO Temperature with Time/Date
-
Indoor HI Humidity with Time/Date
- Indoor LO Humidity with Time/Date
- Indoor/Outdoor Heat Index
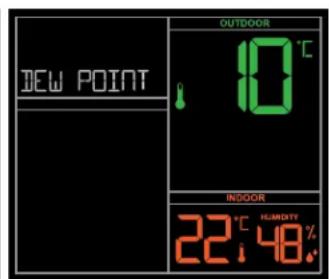
- Indoor/Outdoor Dew Point
Note: Heat Index & Dew Point are current records.
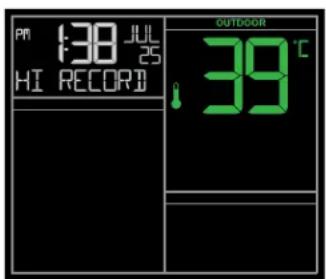
Outdoor HI & LO Temperature Records Outdoor HI & LO Humidity Records
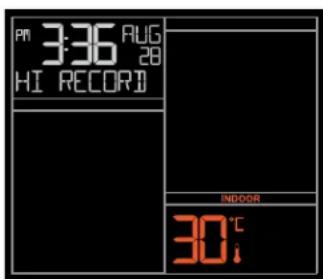
Indoor HI & LO Temperature Records Indoor HI & LO Humidity Records
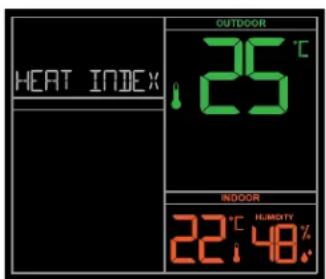
Heat Index & Dew Point
Reset:
- While viewing individual values, hold the MINUS (-) button for 3 seconds to reset the individual record.
- Value, time and date stamp will reset to current values.
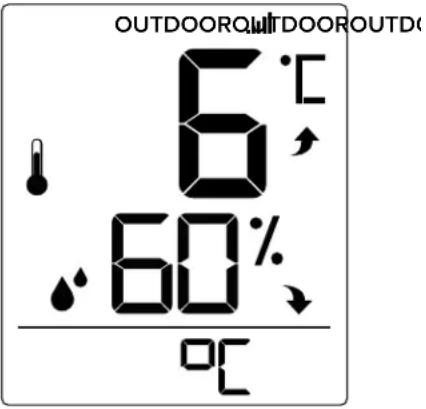
TEMPERATURE & HUMIDITY TREND ARROWS
- The UP and DOWN arrows indicate changes in temperature and humidity over the past hour.
- The arrows will update every 15 minutes and compare data from exactly one hour prior.
Temperature: Arrows appear with changes of 1^ (2^) or more.
Humidity: Arrows appear with changes of at least 3% RH.

SENSOR SEARCH
- If the Outdoor Sensor loses connection to your Weather Station, the display will show dashes after 30 minutes.
-
The weather station will search for 3 minutes every hour to try and reconnect with sensor.
-
To search for the sensor, hold the SENSOR button for 3 seconds until the Sensor Reception Icon. starts to animate.
-
Sensor Reception Icon will be solid on screen when the connection is established.
- If no sensor connection is made, the icon will disappear after 3 minutes of searching.
LOW BATTERY INDICATOR
- When the Low Battery Icon shows by the outdoor temperature, replace batteries in the sensor.
- When the Low Battery Icon shows by the indoor humidity, replace batteries in the station.
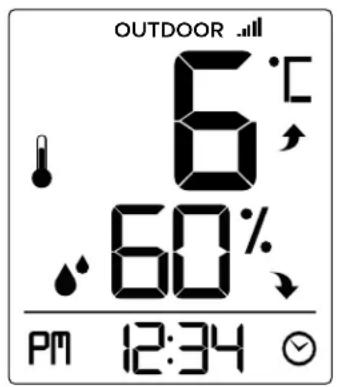
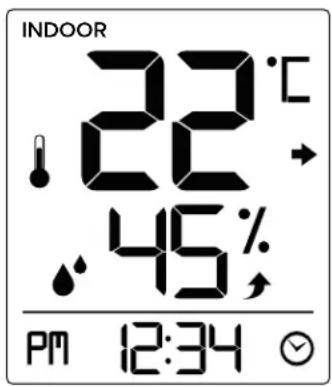
BONUS STATION INDOOR/OUTDOOR READINGS
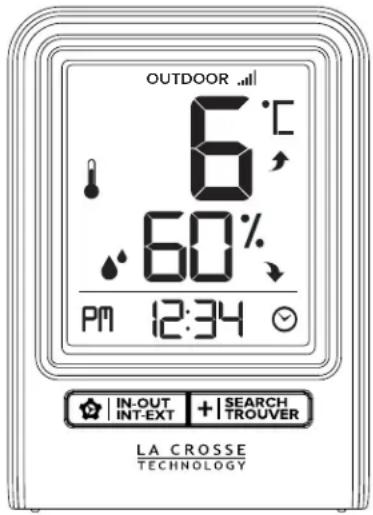
Press and release the IN-OUT button to view Indoor Temp/Humidity or Outdoor Temp/Humidity.
BONUS STATION SETTINGS MENU
- Hold the INOUT button to enter the Settings Menu.
- Press the +|TROVER button to adjust values. Hold to adjust quickly.
- Press the IN-OUT button to confirm and move to the next item.
Setting order:
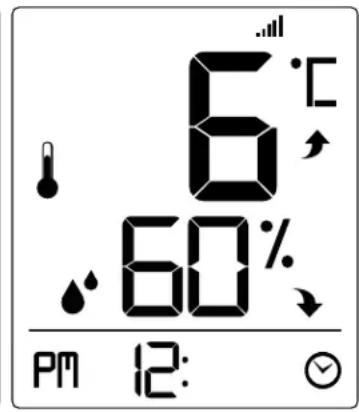
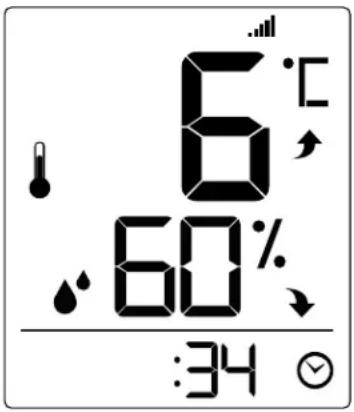
12/24 Hour Time
·Hour
Minutes
Celsius/Fahrenheit
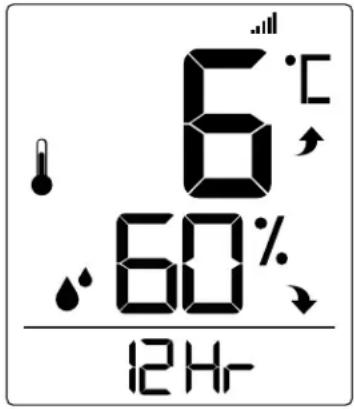
12 or 24 Hour Format Hour Celsius or FahrenheitMinutes
BONUS STATION BATTERY CHANGE
Sensor:
Sensor: 1. When Battery Indicator shows in the Outdoor section, replace batteries in your Outdoor Sensor.
2. Then hold the +|SEARCH TROVER button for 3 seconds and your station will search for your sensor.
Station:
Station: 1. When Battery Indicator shows next to the time, change batteries in the station.
BONUS STATION SENSOR SEARCH
- If you are seeing dashes in place of outdoor temperature, first check your sensor batteries.
- Hold the +|SEARCH button for 3 seconds to search for the sensor. Sensor Reception Icon will flash while searching and be solid when sensor signal is received.
- If you regain connection while the sensor is mounted, great. If you do not regain connection, bring the sensor within 10 feet of the station and search again.
Note: After the sensor reception is lost for more than 10 minutes, dashes "--" will appear on the display. It will continue to search for this sensor reception automatically every 30 minutes.
SPECIFICATIONS
INDOOR:
Temperature Range:
CA79080: 0^ to 37^ (32°F to 99°F)
308-1409TH: 0^ to 50^ (32^ to 122^)
Humidity Range:
CA79080: 10% to 99% RH
308-1409TH: 10% to 99% RH
OUTDOOR:
Temperature Range:
CA79080: -40^ to 60^ (-40°F to 140°F)
308-1409TH: -40^ to 60^ (-40°F to 140°F)
Humidity Range:
CA79080: 10% to 99% RH
308-1409TH: 10% to 99% RH
Transmission Range: over 100 meters (330 feet) in open air RF 433MHz
POWER REQUIREMENTS:
CA79080: AC6: HX075-0500600-AU-001 (included) Optional: 3 "AA" LR6 Batteries (not included)
The plug on the power adapter is intended to serve as the disconnect device, the socket-outlet shall be installed near the equipment and shall be easily accessible.
308-1409TH: 2 "AAA" LR3 Batteries (not included)
TX141TH-Bv3: 2 "AA" LR6 Batteries (not included)
BATTERY LIFE
CA79080: Over 24 months with reputable batteries
308-1409TH: Over 24 months with reputable batteries
TX141TH-Bv3: Over 24 months with reputable batteries
DIMENSIONS:
CA79080: 17.5cm L × 3.2cm W × 16.32cm H (6.89" L × 1.26" W × 6.43" H)
308-1409TH: 6.7cm L × 3.45cm W × 9.36cm H (2.64" L × 1.36" W × 3.69" H)
TX141TH-Bv3: 3.98cm L × 2.08cm W × 12.98cm H (1.57" L × 0.82" W × 5.11" H)
CARE AND MAINTENANCE
- Do not mix old and new batteries.
- Do not mix Alkaline, Standard, Lithium, or Rechargeable batteries.
- Always purchase the correct size and grade of battery most suitable for intended use.
- Replace all batteries of a set at the same time.
- Clean the battery contacts and also those of the device prior to battery installation.
- Ensure the batteries are installed with correct polarity (+ and -).
- Remove batteries from equipment which is not to be used for an extended period of time.
- Promptly remove expired batteries.
WARRANTY INFO
La Crosse Technology, Ltd. provides a 1-year limited time warranty (from date of purchase) on this product relating to manufacturing defects in materials & workmanship.
Before returning a product, please contact our friendly customer support with questions:
Springfield Instruments Inc.
104 Barr St.
Saint Laurent, Quebec
H4T1Y4
Customer Service:
1-844-687-4040
info@springfieldinstruments.com
CANADA STATEMENT
This device contains licence-exempt transmitter(s)/receiver(s) that comply with Innovation, Science and Economic Development Canada's licence-exempt RSS(s).
Operation is subject to the following two conditions:
(1) This device may not cause interference.
(2) This device must accept any interference, including interference that may cause undesired operation of the device.
All rights reserved. This manual may not be reproduced in any form, even in part, or duplicated or processed using electronic, mechanical or chemical process without the written permission of the publisher. This booklet may contain errors or misprints. The information it contains is regularly checked and corrections are included in subsequent editions. We disclaim any responsibility for any technical error or printing error, or their consequences.
All trademarks and patents are recognized.
LA CROSSE®
TECHNOLOGY
STATION MÉTEOROLOGIQUE
SANS FIL AVEC PRESSION ATMOSPHERIQUE ET STATION ADDITIONNELLE
MODELES: CA79080 / 308-1409TH / TX141TH-BV3
DC:081820
TABLE DES MATIÈRES
Springfield Instruments, Inc.
104, rue Barr