Pa5X - Synthesizer KORG - Free user manual and instructions
Find the device manual for free Pa5X KORG in PDF.
Pick your language and provide your email: we'll send you a specifically translated version.
| Product Type | Synthesizer / Workstation |
| Brand | Korg |
| Model | Pa5X |
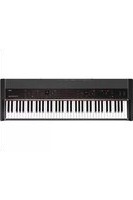
| Number of Keys | 61 keys (standard model), 76 or 88 optional |
| Dimensions (W x D x H) | Approximately 1030 x 400 x 150 mm (for 61 keys) |
| Weight | Approximately 12.5 kg |
| Power Supply | DC 12V, 2.5 A power adapter (included) |
| Main Features | Sounds (1,600+), styles (500+), multi-track sequencer, audio recorder, effects, MIDI controller |
| Display | 7-inch color touch screen (800 x 480 pixels) |
| Internal Memory | 60 GB SSD for samples and user data |
| Connectivity | USB (host and device), MIDI In/Out/Thru, main and auxiliary audio outputs, mic/line input |
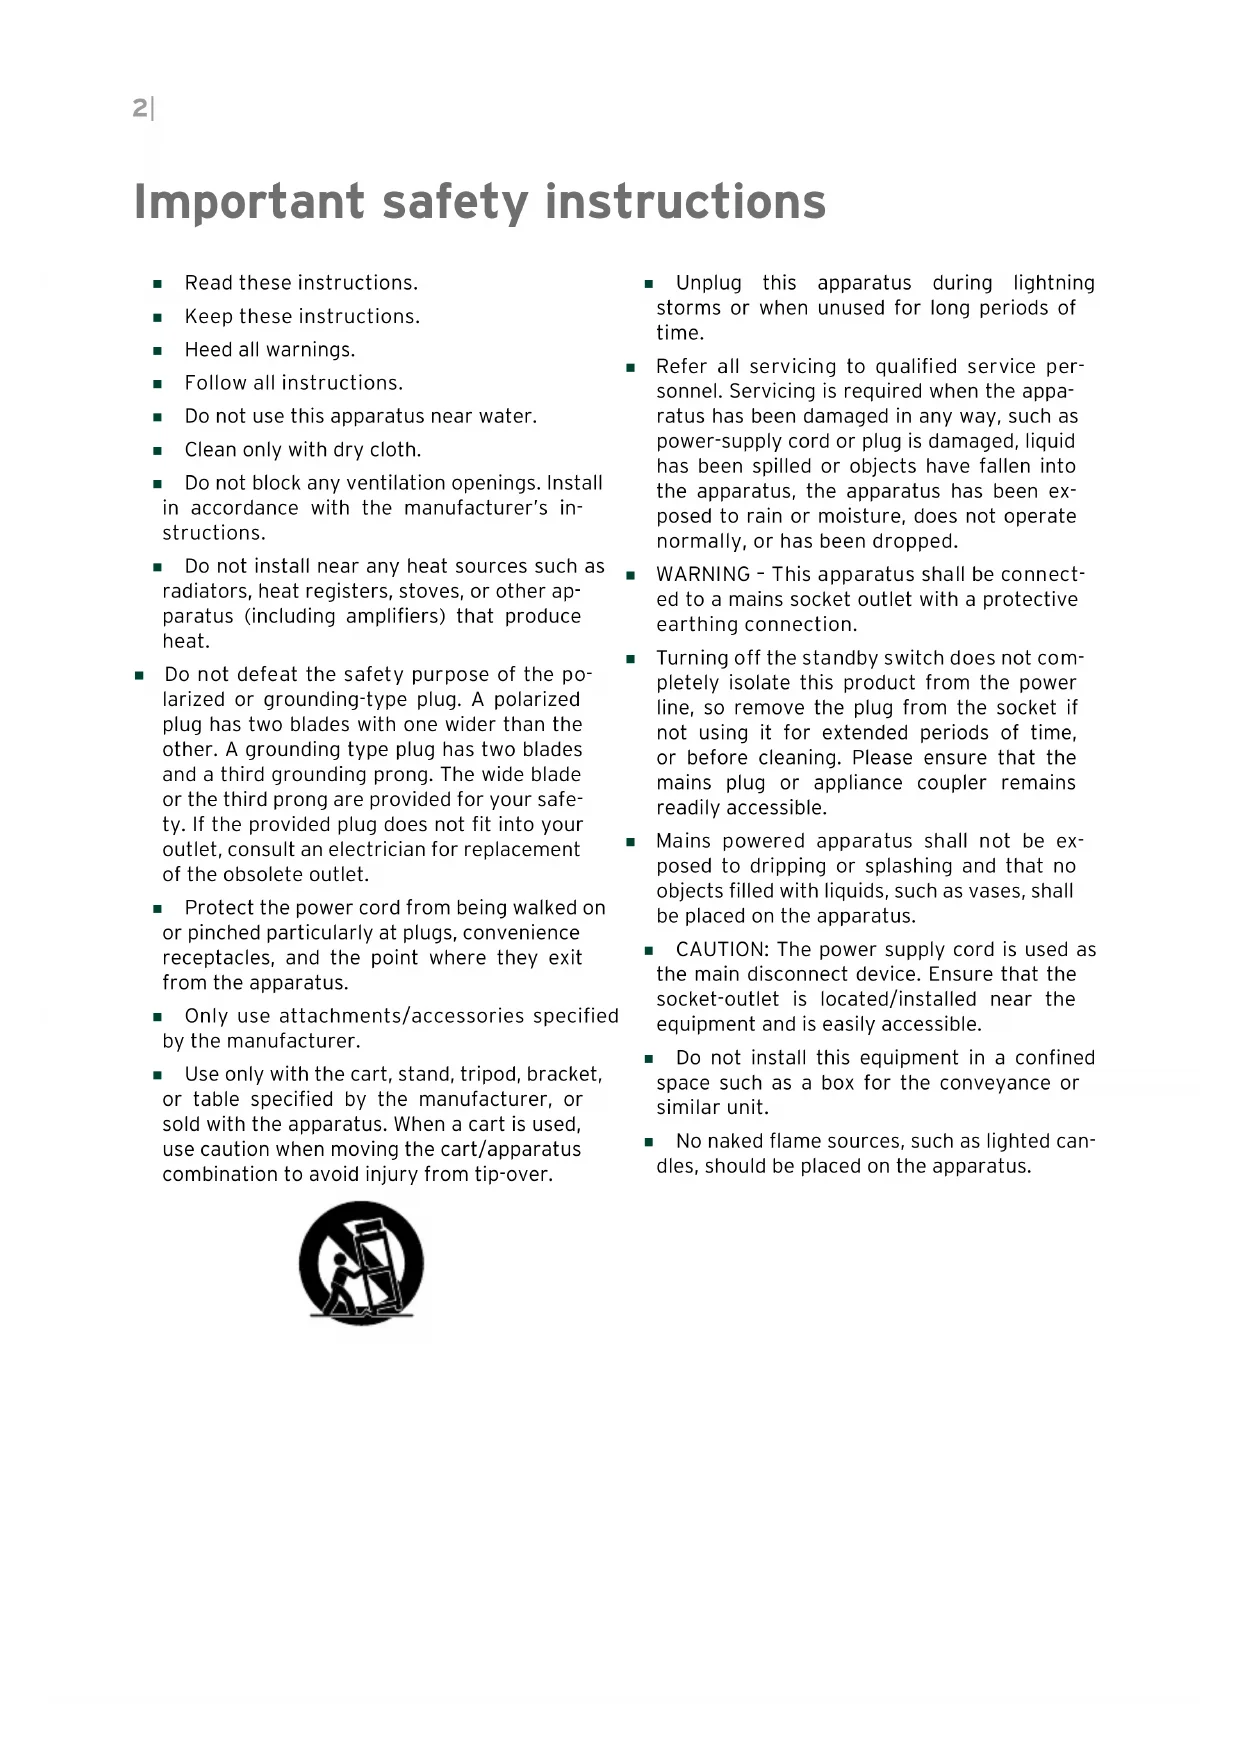
| Maintenance and Cleaning | Clean with a soft, dry cloth. Do not use solvents or abrasive products |
| Safety | Do not expose to humidity, shocks, or extreme temperatures. Use the provided adapter |
| Spare Parts and Repairability | Parts available through Korg after-sales service. Repair by authorized technician recommended |
| General Information | User manual available at notice-facile.com. 2-year warranty |
| Included Accessories | Power adapter, USB cable, user manual |
| Manual Languages | French, English, German, Spanish, Italian, and others |
Frequently Asked Questions - Pa5X KORG
How do I reset my Korg Pa5X to factory settings?
Go to the Global menu, then select Utility > Factory Reset. Confirm the operation. Note that this will erase all user data.
Can I connect the Pa5X to a computer?
Yes, via the USB Device port. Use a standard USB cable to transfer MIDI or audio files, or to update the firmware.
How do I load my own samples?
Copy your samples in WAV or AIFF format to a USB flash drive, then use the Sample Import function in Sound mode.
The sound is distorted, what should I do?
Check the main volume level. Make sure the effects are not pushed too high. Reduce the input gain if you are using a microphone.
How do I update the firmware?
Download the update file from the Korg website, place it on a USB flash drive formatted in FAT32, then insert it and follow the on-screen instructions in Global > Utility > System Update.
Can I use the Pa5X as a MIDI controller?
Yes, set the MIDI mode to Controller in the Global settings. Connect via USB or MIDI DIN.
How do I save my settings?
Use the Save function in each mode (Sound, Style, etc.) to save to internal memory. For a complete backup, use Global > Utility > Backup to a USB flash drive.
The touch screen is not responding properly, what should I do?
Calibrate the screen via Global > Touch Screen Calibration. Follow the points that appear. If the problem persists, contact customer service.
How do I maintain the keyboard?
Dust regularly with a soft cloth. For sticky keys, use a non-abrasive plastic cleaner. Avoid liquids.
Where can I find the serial number?
The serial number is located under the device on a label. Note it for any warranty or repair requests.
User questions about Pa5X KORG
0 question about this device. Answer the ones you know or ask your own.
Ask a new question about this device
No questions yet. Be the first to ask one.
Download the instructions for your Synthesizer in PDF format for free! Find your manual Pa5X - KORG and take your electronic device back in hand. On this page are published all the documents necessary for the use of your device. Pa5X by KORG.