PHOTOSMART R742 - Digital Camera HP - Free user manual and instructions
Find the device manual for free PHOTOSMART R742 HP in PDF.
Pick your language and provide your email: we'll send you a specifically translated version.
| Product type | Compact digital camera |
| Brand | HP |
| Model | Photosmart R742 |
| Sensor | 6.1 megapixels (CCD) |
| Lens | 3x optical zoom (35 mm equivalent: 35-105 mm) |
| Screen | 2.5-inch LCD (approx. 120,000 pixels) |
| Storage | SD/SDHC card, 19 MB internal memory |
| Power | Rechargeable lithium-ion battery (3.7 V, 800 mAh) |
| Dimensions (W x H x D) | 97 x 65 x 32 mm |
| Weight | 120 g (without battery) |
| Video resolution | 640 x 480 pixels at 30 fps |
| PC connection | USB 2.0 |
| Maintenance | Clean with a soft, dry cloth; avoid humidity and dust |
| Safety | Do not expose to prolonged direct sunlight; use in a dry environment |
| Spare parts and repairability | Battery, charger, and USB cable available; repair by HP authorized service |
Frequently Asked Questions - PHOTOSMART R742 HP
How to insert the battery into the HP Photosmart R742?
Open the battery compartment cover located on the bottom of the camera. Insert the battery respecting the polarity (+/-) indicated. Close the cover until it clicks.
How to transfer photos to a computer?
Use the supplied USB cable. Connect one end to the camera (USB port) and the other to your computer. The computer will detect the camera as a removable drive; you can then copy the photos.
What if the screen stays black?
Check that the battery is sufficiently charged. If empty, recharge it with the supplied charger. If the screen remains black after charging, contact HP support.
What type of memory card to use?
The HP Photosmart R742 accepts SD and SDHC memory cards. Insert the card into the slot, with the front facing forward, until it clicks.
How to set the date and time?
Turn on the camera, press the Menu button, navigate to 'Settings' then 'Date/Time'. Use the directional keys to set the date and time, then confirm.
Is the camera compatible with Mac computers?
Yes, the HP Photosmart R742 connects in mass storage mode, recognized by macOS without a driver. Simply connect the camera via USB; it will appear on the desktop.
How to erase all photos on the memory card?
Go to the main menu, choose 'Erase' then 'Erase All'. Confirm deletion. Note: this action is irreversible.
The camera displays 'Card Error', what to do?
Remove the memory card and clean its contacts with a dry cloth. Reinsert it. If the error persists, try formatting the card in the camera via 'Menu > Settings > Format'. Caution: formatting erases all data.
How to activate the flash?
Press the Flash button (lightning symbol) located on the top of the camera. You can choose between Auto, Forced, Red-eye reduction, or Off. The selection is displayed on the screen.
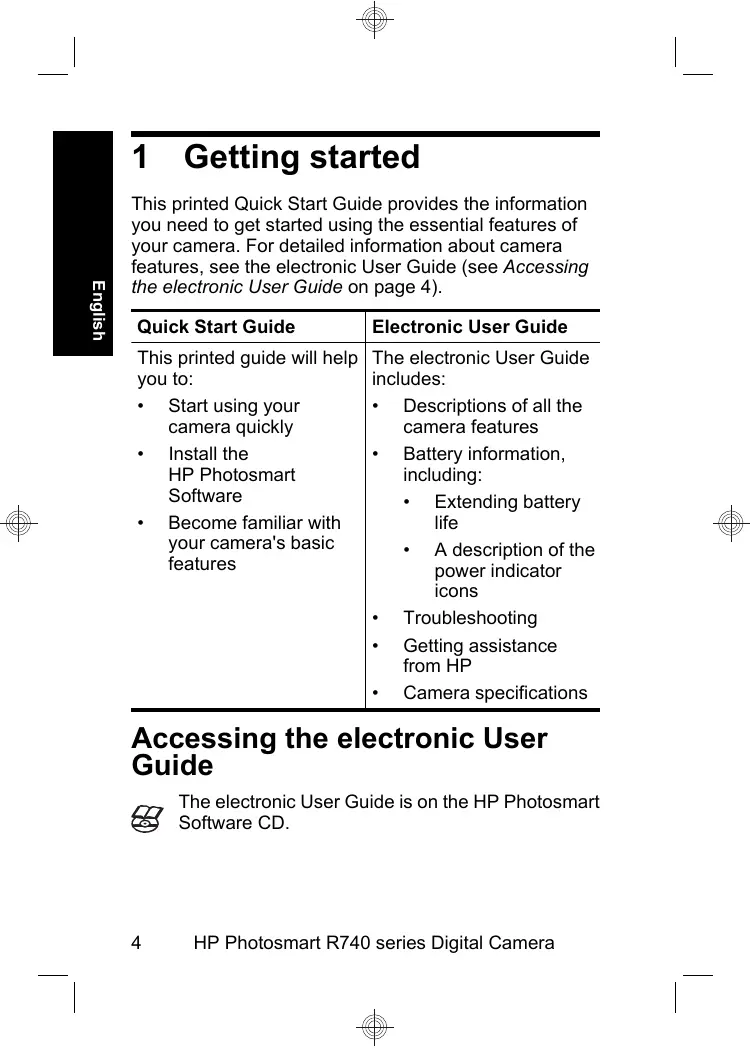
Where to download the full user manual?
The user manual is available for free on notice-facile.com in PDF format. Use the download link on the product page.
User questions about PHOTOSMART R742 HP
0 question about this device. Answer the ones you know or ask your own.
Ask a new question about this device
No questions yet. Be the first to ask one.
Download the instructions for your Digital Camera in PDF format for free! Find your manual PHOTOSMART R742 - HP and take your electronic device back in hand. On this page are published all the documents necessary for the use of your device. PHOTOSMART R742 by HP.