
IAN 364329 - Ladder CRIVIT - Free user manual and instructions
Find the device manual for free IAN 364329 CRIVIT in PDF.

| Product Type | Trampoline Access Ladder |
| Brand | Crivit |
| Model | IAN 364329 |
| Dimensions (with extension) | Approx. 49 × 81 × 21 cm (L × H × D) |
| Maximum Load | 100 kg |
| Material | Steel |
| Intended Use | Entry aid for Crivit outdoor trampoline (IAN 356343_2004 / IAN 360625_2004) |
| Assembly | By an adult, requires included multi-tool |
| Package Contents | Disassembled ladder, curved bars, straight bars, steps, extension, fixing brackets, screws, nuts, multi-tool, wrench |
| Warranty | 3 years from date of purchase |
| Recommended Age | Not intended for children under 36 months (small parts) |
| Cleaning | With clean water, wipe with a clean cloth. Do not use harsh cleaning products. |
| Storage | In a dry, clean place at room temperature |
| Safety | Max load 100 kg, use by one person, inspect before each use, use self-locking nuts |
| Country of Origin | Not specified (likely manufactured in China) |
Frequently Asked Questions - IAN 364329 CRIVIT
Refer to the manual for detailed diagrams.
User questions about IAN 364329 CRIVIT
0 question about this device. Answer the ones you know or ask your own.
Ask a new question about this device
Download the instructions for your Ladder in PDF format for free! Find your manual IAN 364329 - CRIVIT and take your electronic device back in hand. On this page are published all the documents necessary for the use of your device. IAN 364329 by CRIVIT.
USER MANUAL IAN 364329 CRIVIT
Instructions for use
NL BE
TRAMPOLINELADDER
Gebruiksaanwijzing
CZ
ZEBRÍK K TRAMPOLINE
Navod k pouziti
CE
IAN 364329_2004
DE AT CH GB IE FR BE NL PL CZ SK


60 cm

74 cm
You have chosen to purchase a high-quality product. Familiarise yourself with the product before using it for the first time.

Read the following instructions for use carefully.
Use the product only as described and only for the given areas of application. Store these instructions for use carefully. When passing the product on to third parties, please also hand over all accompanying documents.
Package contents (Fig. A)
1 x ladder, disassembled
2 × pole, arched (1)
2 × pole, straight (2)
2× step (3)
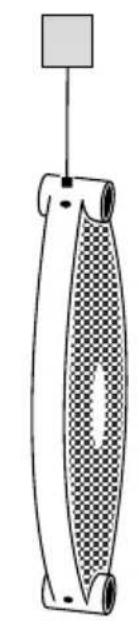
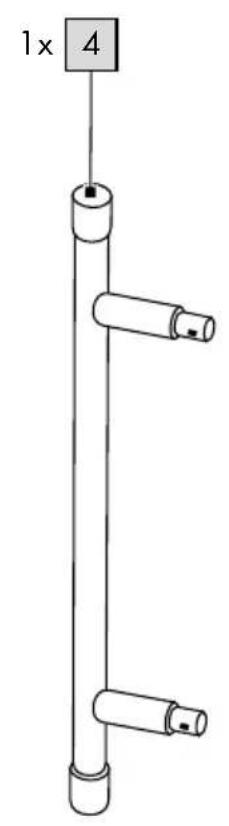
1 x extension with rubber stops (4)
1 x assembly materials
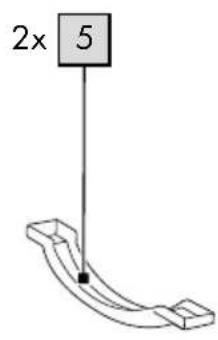
2× clamp (5)
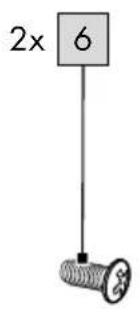
2× screw, M6× 10mm (6)
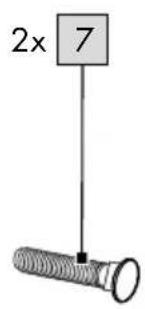
2× screw, 35mm (7)
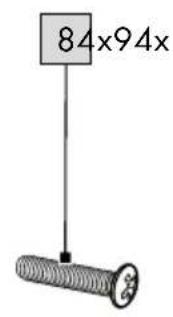
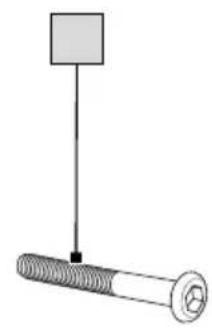
4× screw, M6× 40mm (8)
4× screw, M6× 65mm (9)
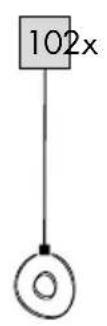
2 × washer (10)
6xnut(11)
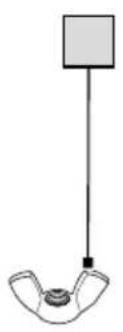
4 x wing nut (12)
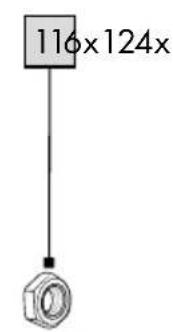
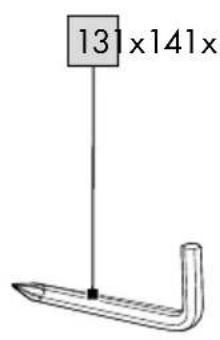
1 x combination tool (13)
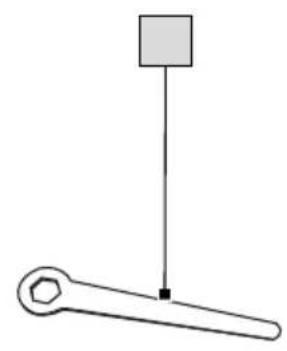
1 x spanner (14)
1 x instructions for use
Technical data
Dimensions (incl. extension):
approx. 49 × 81 × 21 ~cm (W × H × D)

Max. load: 100kg

Date of manufacture (month/year):
11/2020

Delta-Sport Handelskontor GmbH hereby declares that this product meets the following basic require
ments, as well as other important regulations:
2009/48/EC - Toy Safety Directive
Intended use
The product serves exclusively as an aid for accessing Crivit garden trampolines (IAN 356343_2004 / IAN 360625_2004).
The product was developed for private use and is not intended for commercial use.
Safety information
- Warning. Not suitable for children under 36 months. Choking hazard. Small parts.
- Adult assembly required.
Children may only use the product under adult supervision. Remove the product when it is not needed. - For domestic use only.
- Warning. Maximum 100kg.
- Self-securing nuts are used for assembly. These are suitable for one-time assembly and must be replaced after being removed.
The product must only be used by one person at a time. - Check the product for damage or wear before each use. Check regularly to make sure all screws are tight!
- Only use the product if it is in perfect condition!
- Warning. None of the packaging materials or attachments are part of the toy itself, and must always be removed for safety reasons before the product is given to children to play with.
Assembly
The ladder is ideal for use with the "garden trampoline with safety net" from Crivit (IAN 356343_2004 / 360625_2004).
Assembly without extension (356343_2004)
Assemble the ladder as follows:
- Remove all packaging materials and place all of the individual parts on the ground in front of you.
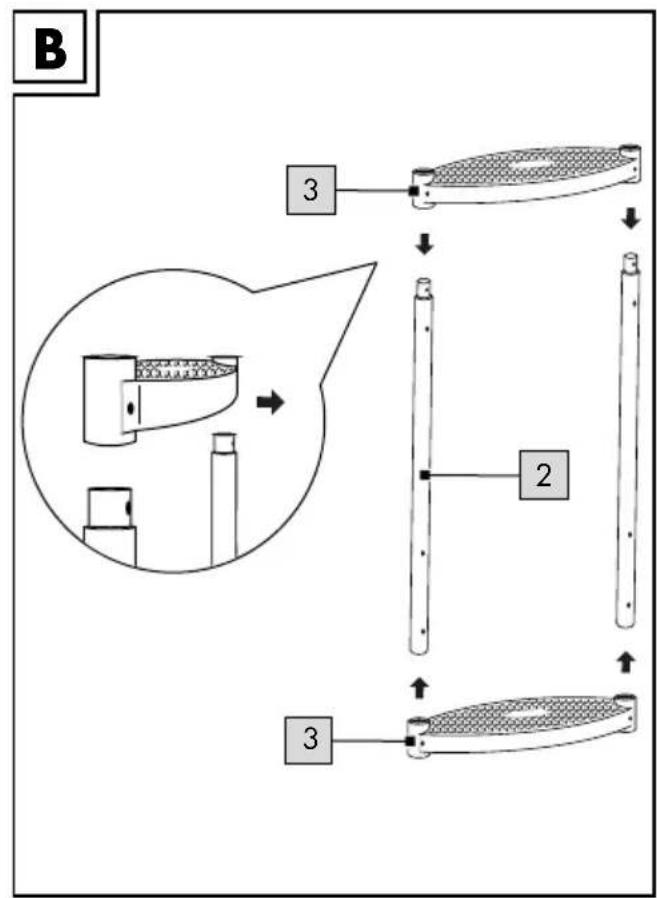
- Slide the steps (3) over the straight poles (2) (Fig.B).
Note: the narrowed end of the straight poles (2) must be facing upwards.
The steps (3) must be positioned with the closed side facing upwards.
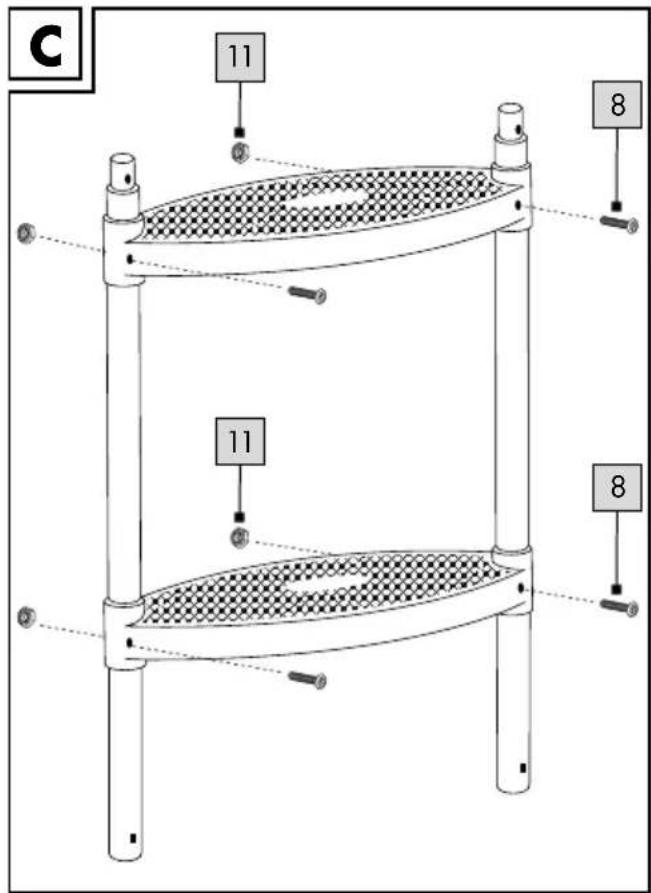
- Use the hex key of the combination tool (13) and the wrench (14) to fasten the steps (3) with screws (8) and nuts (11) (Fig. C).
Note: tighten the screws (8) to secure the steps (3).
-
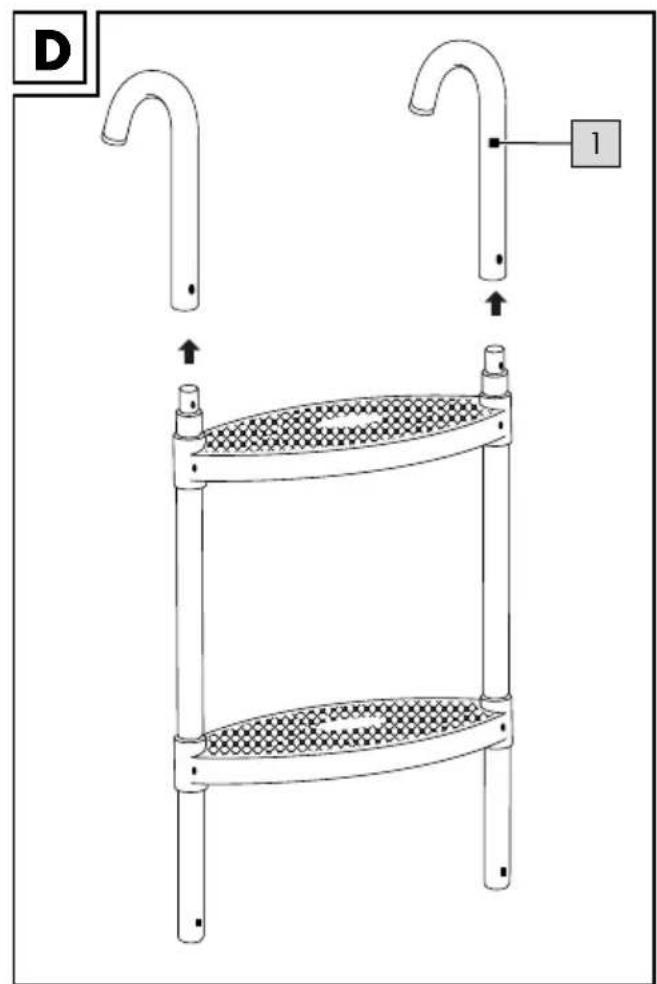
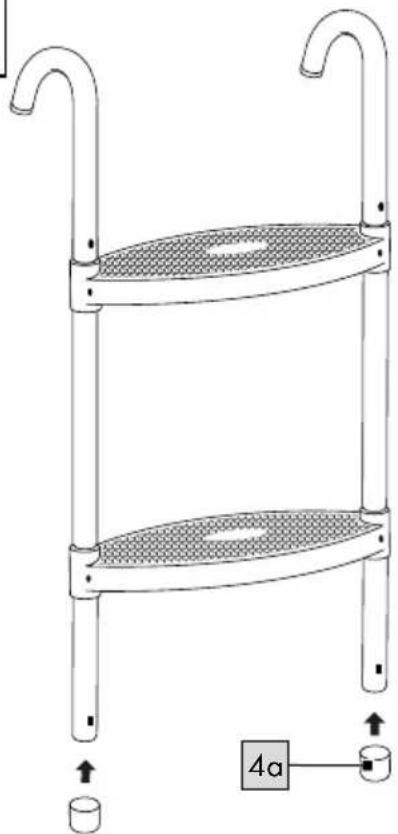
Place the arched poles (1) onto the narrowed ends of the straight poles (2) (Fig. D).
-
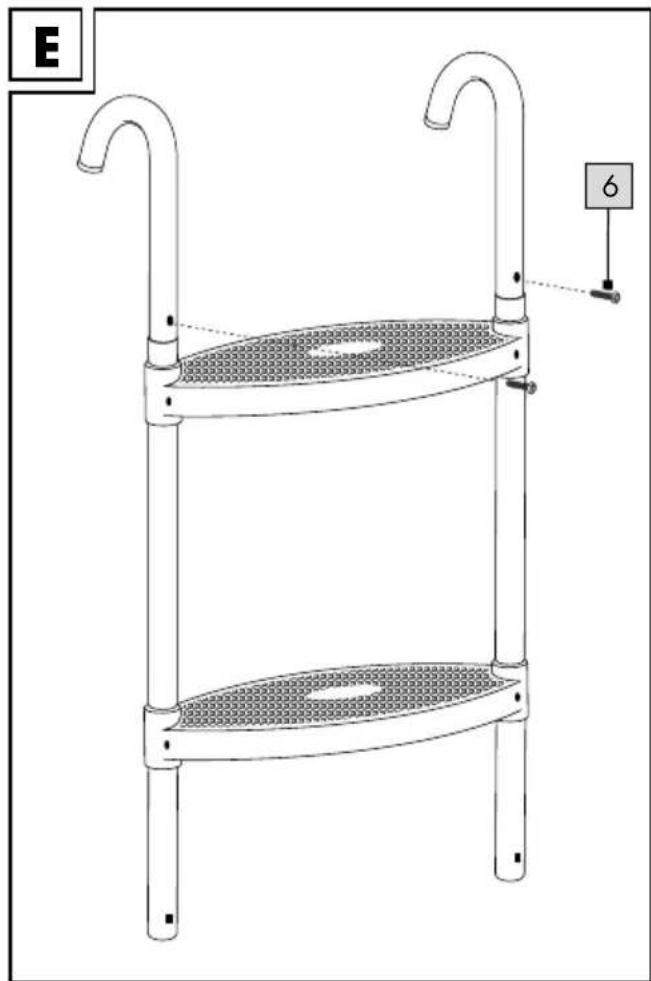
Secure the arched poles (1) by screwing the short screws (6) into the screw holes (Fig. E).
-
Remove the rubber caps (4a) from the extension (4).
Note: the rubber caps (4a) are located on the extension crossbars (4).
- Place one rubber cap (4a) on each end of the straight poles (2) (Fig. 356343).
Note: the rubber caps (4a) prevent the ladder from sinking into the turf.
Assembly with extension (360625_2004)
Assemble the ladder as follows:
- Remove all packaging materials and place all of the individual parts on the ground in front of you.
- Slide the steps (3) over the straight poles (2) (Fig.B).
Note: the narrowed ends of the straight poles (2) must be facing upwards.
The steps (3) must be positioned with the closed side facing upwards. - Use the hex key of the combination tool (13) and the wrench (14) to fasten the steps (3) with screws (8) and nuts (11) (Fig. C).
Note: tighten the screws (8) to secure the steps (3). - Place the arched poles (1) onto the narrowed ends of the straight poles (2) (Fig. D).
- Secure the arched poles (1) by screwing the short screws (6) into the screw holes (Fig. E).
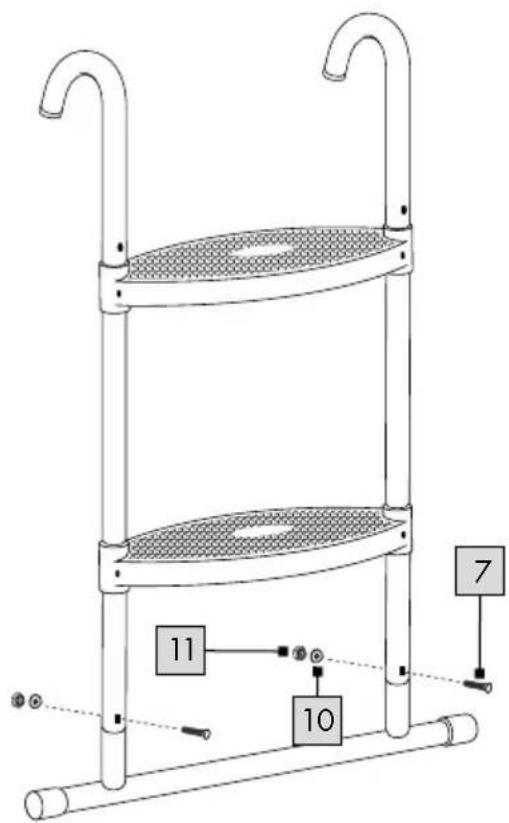
- Place the extension (4) on the free ends of the straight poles (2) (Fig. 360625).
- Fasten the each side of the extension (4) with one screw (7), one washer (10) and one nut (11) (Fig. 360625).
Note: tighten all screws (6/7/8) to ensure the required stability.
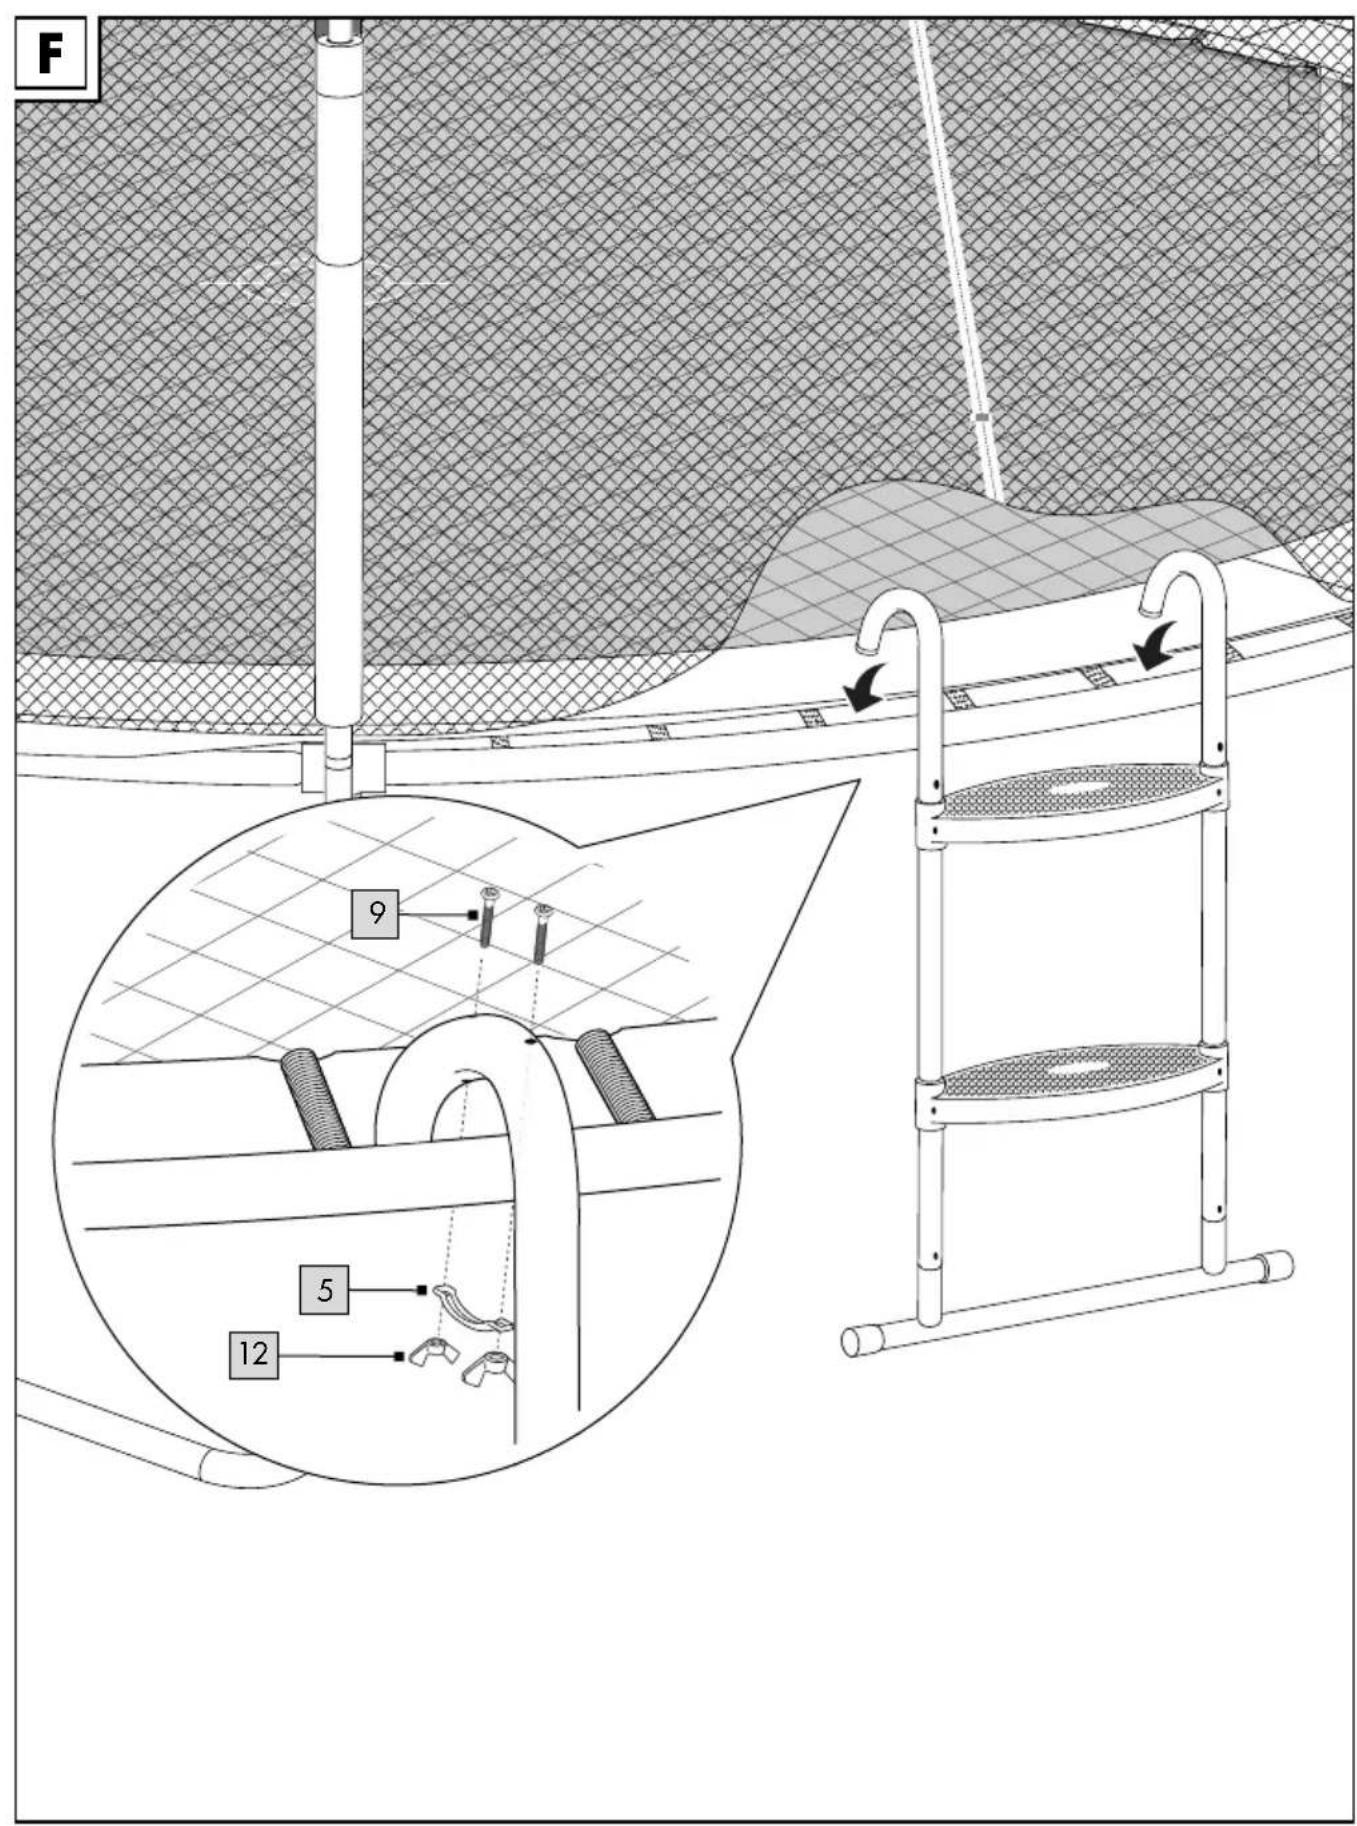
Attaching the ladder to a trampoline (Fig. F)
You can mount the ladder on trampolines of different heights. Proceed as follows to fasten the ladder below the entrance of the safety net on the trampoline frame:
- The trampoline safety net and frame protector must not prevent the ladder from being attached. Remove both of these at the point of entry if required, in accordance with the assembly instructions.
- Assemble the product with or without the extension (4) as described in the "Assembly" section.
- Insert four long screws (9) through the arched poles (1) from above.
- Place the arched poles of the product on the trampoline frame (1) from the outside.
- Hold a clamp (5) below the frame parallel to an arched pole (1).
- Insert the long screws (9) through the clamp (5) and screw one wing nut (12) onto the end of each screw.
Note: do not fasten the wing nuts (12) too tightly at first so that you can properly position the product.
- Repeat steps 5 and 6 on the other side.
- Check that the product is correctly positioned.
- Tighten the wing nuts (12).
- Check that the safety net and frame protector are properly attached and fasten both in accordance with the trampoline assembly instructions if necessary.
Removing the ladder from the trampoline
- Loosen the wing nuts (12), screws (9) and clamps (5) to remove the ladder from the trampoline frame.
- Lift up the ladder and remove it from the trampoline.
Storage, cleaning
When not in use, always store the product clean and dry at room temperature.
Clean only with water and wipe dry afterwards with a cloth.
IMPORTANT! Never clean the product with harsh cleaning agents.
Disposal
Dispose of the article and the packaging materials in accordance with current local regulations.
Packaging materials such as foil bags are not suitable to be given to children. Keep the packaging materials out of the reach of children.

Dispose of the products and the
packaging in an environmentally friendly manner.

The recycling code is used to identify
various materials for recycling.
The code consists of the recycling symbol
which is meant to reflect the recycling cycle and a number which identifies the material.
Notes on the guarantee and service handling
The product was produced with great care and under constant supervision. You receive a three-year warranty for this product from the date of purchase. Please retain your receipt.
The warranty applies only to material and workmanship and does not apply to misuse or improper handling. Your statutory rights, especially the warranty rights, are not affected by this warranty.
With regard to complaints, please contact the following service hotline or contact us by e-mail.
Our service employees will advise as to the subsequent procedure as quickly as possible.
We will be personally available to discuss the situation with you.
Any repairs under the warranty, statutory guarantees or through goodwill do not extend the warranty period. This also applies to replaced and repaired parts. Repairs after the warranty are subject to a charge.
IAN:364329_2004
GB Service Great Britain
Tel.: 0800 404 7657
E-Mail: deltasport@lidl.co.uk
IE Service Ireland
Tel.: 1890 930 034
(0,08 EUR/Min., (peak))
(0,06 EUR/Min., (off peak))
E-Mail: deltasport@lidl.ie
Felicitations!