
01947 - Decorative lighting EasyMaxx - Free user manual and instructions
Find the device manual for free 01947 EasyMaxx in PDF.
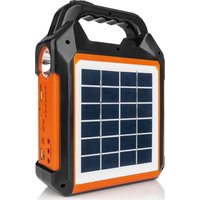
| Product Type | Decorative lighting (LED light box) |
| Brand | EasyMaxx |
| Model | 01947 |
| Article Reference | 01947 |
| Model Number | NC2445/4SCB |
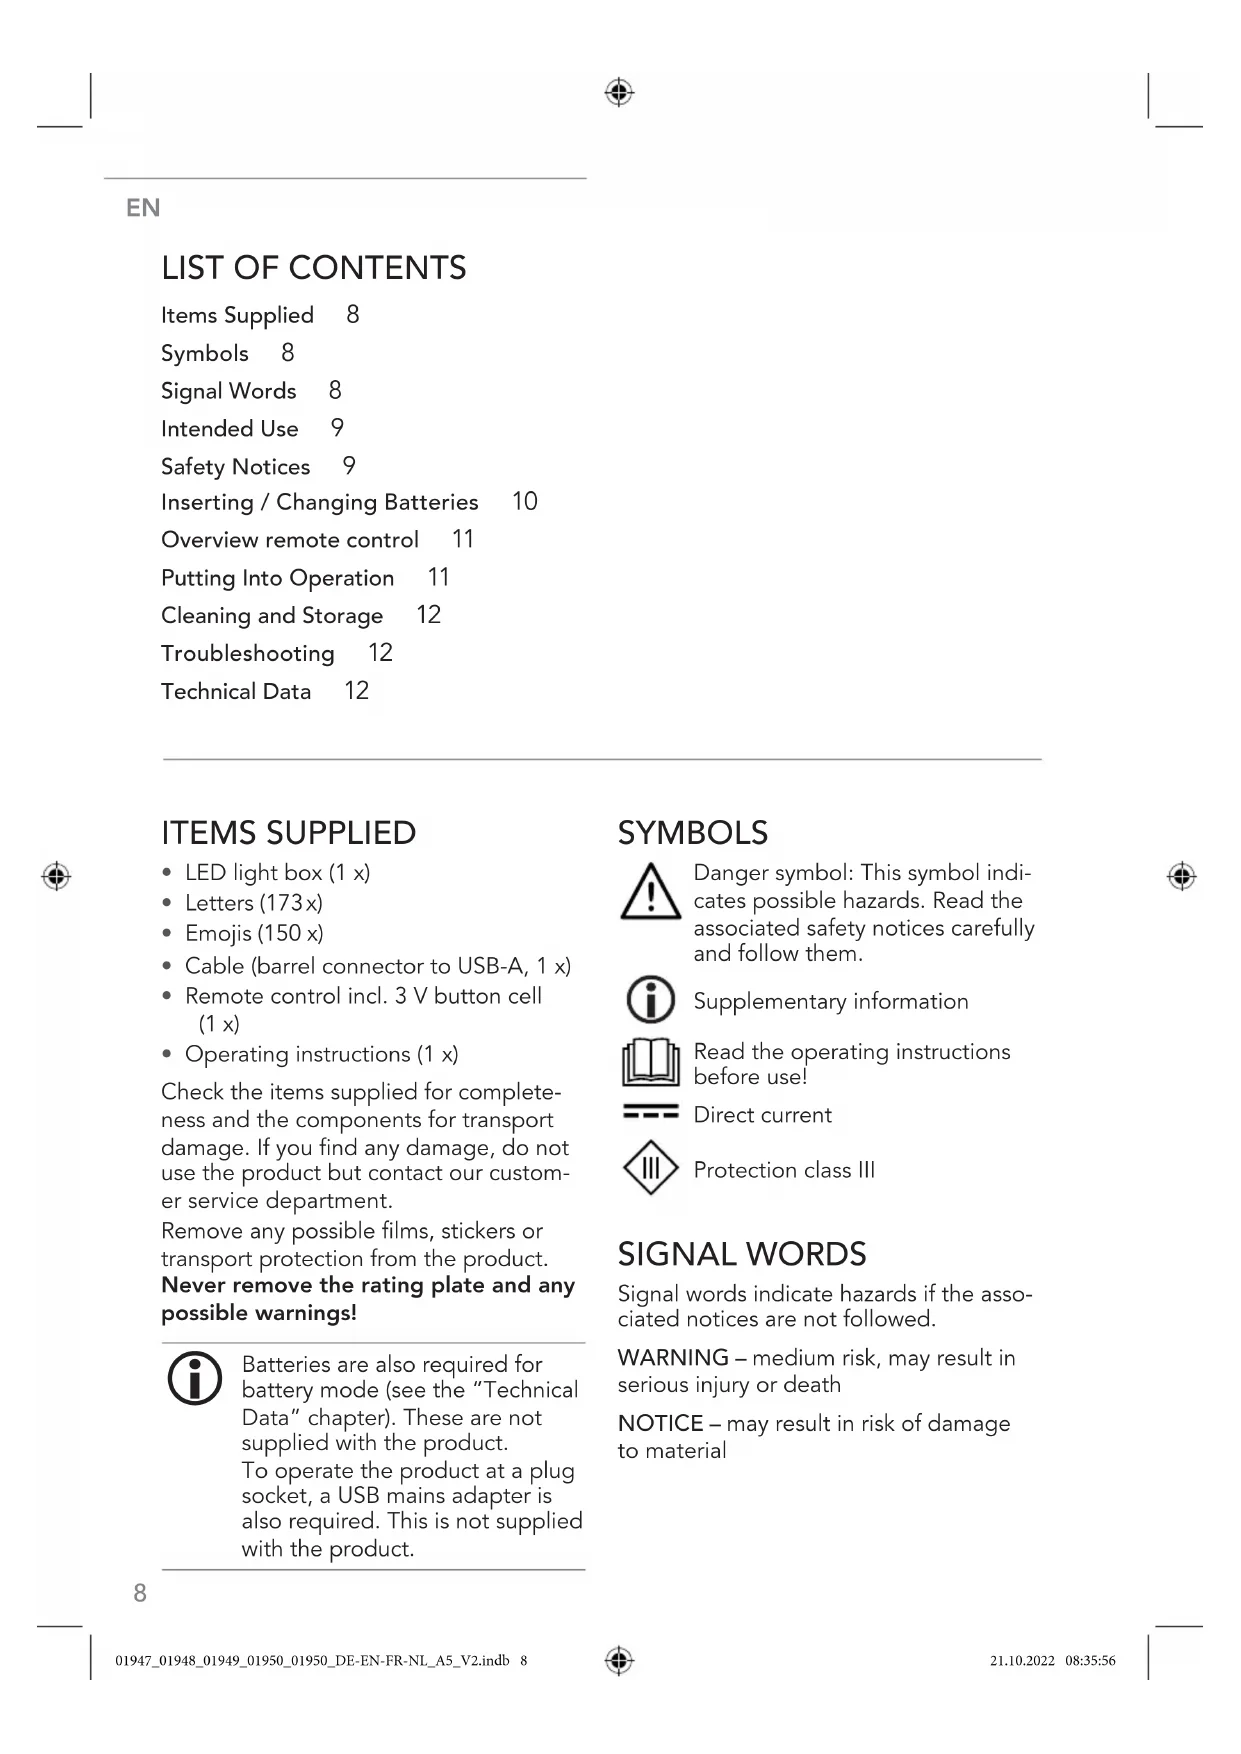
| Power Supply | 4 AA batteries (1.5 V) or USB power adapter (not included) |
| Remote Control Battery | CR2025 3 V (included) |
| Box Contents | Light box, 173 letters, 150 emojis, USB cable, remote control, instruction manual |
| Main Functions | Lighting modes: flash, strobe, fade, smooth; 12 colors; brightness adjustment |
| Usage | Indoor only, household use |
| Protection Class | III |
| Care and Cleaning | Clean with a soft, dry cloth; do not use corrosive products |
| Safety | Keep out of reach of children; do not immerse; observe battery polarity |
| Battery Danger | Swallowing batteries can be fatal; if leaking, avoid contact with electrolyte |
| Reparability | LEDs are not replaceable; no spare parts available |
| Warranty | Excludes damage from improper use and normal wear |
| Required Accessories Not Included | AA batteries (4) or USB power adapter |
| Markings | Danger symbol, protection class III, direct current |
Frequently Asked Questions - 01947 EasyMaxx
User questions about 01947 EasyMaxx
0 question about this device. Answer the ones you know or ask your own.
Ask a new question about this device
Download the instructions for your Decorative lighting in PDF format for free! Find your manual 01947 - EasyMaxx and take your electronic device back in hand. On this page are published all the documents necessary for the use of your device. 01947 by EasyMaxx.
USER MANUAL 01947 EasyMaxx
Operating instructions
NL
Gebruiksaanwijzing
NL PAGINA 19
DE SEITE 3
EN PAGE 8
FR PAGE 13
INHALTSVERZEICHNIS
Lieferumfang 3
Symbole 3
Signalwörter 3
Inserting / Changing Batteries 10
Overview remote control 11
Putting Into Operation 11
Cleaning and Storage 12
Troubleshooting 12
Technical Data 12
ITEMS SUPPLIED
- LED light box (1 x)
Letters (173x)
Emojis (150 x) - Cable (barrel connector to USB-A, 1 x)
- Remote control incl. 3 V button cell (1 x)
- Operating instructions (1 x)
Check the items supplied for completeness and the components for transport damage. If you find any damage, do not use the product but contact our customer service department.
Remove any possible films, stickers or transport protection from the product.
Never remove the rating plate and any possible warnings!

Batteries are also required for battery mode (see the "Technical Data" chapter). These are not supplied with the product. To operate the product at a plug socket, a USB mains adapter is also required. This is not supplied with the product.
SYMBOLS

Danger symbol: This symbol indicates possible hazards. Read the associated safety notices carefully and follow them.

Supplementary information

Read the operating instructions before use!

Direct current

Protection class III
SIGNAL WORDS
Signal words indicate hazards if the associated notices are not followed.
WARNING - medium risk, may result in serious injury or death
NOTICE - may result in risk of damage to material
Dear Customer,
We are delighted that you have chosen the EASYmaxx LED light box. If you have any questions about the product and about spare parts/accessories, contact the customer service department via our website: www.dsgroup.de/kundenservice
Information About the Operating Instructions
Before using the product for the first time, please read through these operating instructions carefully and keep them for future reference and other users. They form an integral part of the product. The manufacturer and importer do not accept any liability if the information in these operating instructions is not complied with.
INTENDED USE
The product is intended to be used for decoration of indoor spaces and as mood lighting.
The product is designed for personal use only and is not intended for commercial applications.
Use the product only for the intended purpose and as described in the operating instructions. Any other use is deemed to be improper.
The warranty does not cover faults caused by incorrect handling, damage or attempted repairs. The same applies to normal wear and tear.
SAFETYNOTICES

WARNING - Danger of Injury
- Keep the packaging material away from children and animals. There is a danger of suffocation.
Make sure that the USB cable is always kept out of the reach of young children and animals. There is a danger of strangulation.
The product is not a toy! Do not leave children or animals unsupervised with the product. There is a danger of injury from incorrect use.
Batteries can be deadly if swallowed. Batteries and the product should therefore be kept out of the reach of young children and animals. If a battery is swallowed, immediate medical attention must be sought. There is a danger of burns from battery acid.
If a battery has leaked, do not allow your skin, eyes and mucous membranes to come into contact with the battery acid. If you touch battery acid, rinse the affected areas with abundant clear water straight away and seek medical assistance immediately. There is a danger of burns from battery acid.
EN
NOTICE - Risk of Damage to Material and Property
Use only the battery type specified in the technical data.
Always replace all batteries together. Do not use batteries of different types or brands, or batteries with different capacities. When replacing batteries, ensure the correct polarity (+ / -) .
Remove the batteries when they are dead or if you will not be using the product for a prolonged period. This will prevent any damage caused by leaks.
Remove a dead battery immediately and clean the contacts before you insert new batteries.
Non-rechargeable batteries must not be recharged or reactivated by other means, dismantled, thrown into a fire, immersed in fluids, or short-circuited.
- Do not place any heavy objects on the product.
- Do not place any containers filled with liquid, for example vases, on or directly next to the product.
- Never immerse the product in water or other liquids!
Make sure that the USB cable does not become squashed or bent and does not come into contact with hot surfaces.
Use only original accessories from the manufacturer in order to guarantee that there is no interference that may prevent the product from working and to avoid possible damage.
- Protect the product from: fire, heat sources, impacts, sub-zero temperatures, temperature fluctuations and persistent moisture.
The individual LEDs cannot be replaced.
INSERTING / CHANGING BATTERIES
Light Box

Batteries are also required for battery mode (see the "Technical Data" chapter). These are not supplied with the product.
- Open the battery compartment on the back or bottom of the product: Press down the locking lug on the battery compartment cover. Pull up the cover at the same time.
- Remove the used batteries if necessary and insert new batteries (1.5 V, AA). Pay attention to the correct polarity (+ / -)
- Reinsert the battery compartment cover and press it down. It must engage.
Remote Control

- The battery compartment is located on the narrow side of the remote control. Pull it out as shown.
- Remove the used battery and insert a 3 V battery (CR2025). The positive pole must be facing upwards.
- Slide the battery compartment back into the remote control. It must engage.
OVERVIEW REMOTE CONTROL

1 OFF button
2 ON button
3 FLASH (flash function RGB + W + mixed colours)
4 STROBE (flash function RGB)
5 FADE (smooth change of colour) RGB)
6 SMOOTH (colour gradient RGB + W + mixed colours)
7 Control pad for colour selection (12 mixed colours)
8 Setting RGB + W (Red, Green, Blue, White)
9 Brightness setting
Use suitable fixings to hang up on the wall. If you are uncertain, seek advice from a specialist stockist.
Before drilling, ensure that there are no pipes or cables behind the intended drilling point.
- Do not charge on a computer because the high charging current could damage the computer.
- Select and insert: Insert the letters / emojis you want into the rails of the product. When you do this, make sure that they fit in the rails at the top and bottom.
- Insert batteries (see the "Inserting / Changing Batteries" chapter) or connect the product via the cable supplied to a power source, ideally with a mains adapter to a plug socket. The socket for the barrel connector of the cable is located on the side or bottom of the product.
- Hang up / set up: Set up the product on a flat, dry surface or hang it on the wall.
- Switch on / off: Move the On/Off switch to the I position to switch on the product. To switch the product off again, move the On / Off switch to the 0 position.
- Selecting a colour - Press the corresponding colour selection button (7, 9) on the remote control to switch between the different colours.
- Setting the mode - Press the corresponding mode button (3-6) on the remote control to switch between the different modes.
- Setting the brightness - Set the brightness via the and buttons (9).
- Turning LEDs on / off - To turn the LEDs on or off, press the ON (2) or OFF button (1) on the remote control.

All the buttons on the remote control only work if the On/Off switch has previously been set to the I position.
EN
EN
CLEANING AND STORAGE
Please Note!
-
Do not use any sharp or abrasive cleaning agents! These could damage the surfaces.
-
Disconnect the product from the mains power if necessary.
- Wipe it with a soft, dry cloth. Remove more stubborn dirt with a damp cloth.
- Store it in a cool, dry place which is protected from direct sunlight and is out of the reach of young children and animals.
If the product is not going to be used for a prolonged period, remove the batteries.
TROUBLESHOOTING
If the product does not work properly, check whether you are able to rectify the problem yourself. If the problem cannot be solved with the steps that are listed, contact the customer service department.
Do not attempt to repair the product yourself!
The LEDs do not light up.
The cable is not connected correctly to the product or power source.
Check the connection and correct it.
The USB mains adapter is not inserted correctly in the plug socket.
Correct the fit.
The plug socket is defective.
Try another plug socket.
The batteries are not inserted correctly.
Correct the fit.
The batteries are empty.
Insert new batteries.
The product does not react to the remote control.
The battery is empty.
Insert a new battery.
TECHNICAL DATA
| Article number: 01947 (cube) 01948 (star); 01949 (unicorn); 01950 (house); 01951 (heart) | |
| Model number: NC2445/4SCB (cube) NC2445/SLB | (star); JG0019D (unicorn); JG0019F (house); JG0019X (heart) |
| Voltage supply - Light box: 6V (4 x AAA) 4.5V (3 x AA) - Remote control: 3 V button cell, CR2025 3 V b button cell, CR2025 | |
| Interface: DC USB cable | |
| Protection class: III | |
| ID of operating instructions: Z 01947_01948_01949_01950_01951 M DS V2 1022 as | |

All rights reserved.
SOMMAIRE
Composition 13
Symboles 13
Chere cliente, cher client,
MISE EN PLACE / REMPLACEMENT DES PILES
Boite lumineuse

WAARSCHUWING - Verwondingsgevaar
- Calls to German landlines are subject to your provider's charges.
FR SERVICE APRÈS-VENTE IMPORTATEUR
- INHALTSVERZEICHNIS
- ITEMS SUPPLIED
- SYMBOLS
- SIGNAL WORDS
- Dear Customer,
- Information About the Operating Instructions
- INTENDED USE
- SAFETYNOTICES
- WARNING - Danger of Injury
- EN
- NOTICE - Risk of Damage to Material and Property
- INSERTING / CHANGING BATTERIES
- Light Box
- Remote Control
- OVERVIEW REMOTE CONTROL
- CLEANING AND STORAGE
- Please Note!
- TROUBLESHOOTING
- Do not attempt to repair the product yourself!
- The LEDs do not light up.
- The product does not react to the remote control.
- TECHNICAL DATA
- SOMMAIRE
- Chere cliente, cher client,
- MISE EN PLACE / REMPLACEMENT DES PILES
- WAARSCHUWING - Verwondingsgevaar
Brand : EasyMaxx
Model : 01947
Category : Decorative lighting