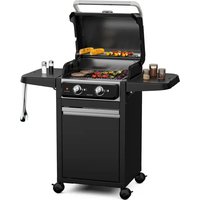
Delion - Grill plate Blumfeldt - Free user manual and instructions
Find the device manual for free Delion Blumfeldt in PDF.
User questions about Delion Blumfeldt
0 question about this device. Answer the ones you know or ask your own.
Ask a new question about this device
Download the instructions for your Grill plate in PDF format for free! Find your manual Delion - Blumfeldt and take your electronic device back in hand. On this page are published all the documents necessary for the use of your device. Delion by Blumfeldt.
USER MANUAL Delion Blumfeldt
natural_image
Abstract green circular logo with three curved segments (no text or symbols)
natural_image
Abstract green circular logo with two leaf-like shapes (no text or symbols)
natural_image
Abstract green circular logo with three leaf-like shapes forming a Y-shape (no text or symbols)text_image
QR code image containing encoded data, no visible human-readable textINHALTSVERZEICHNIS
Berlin Brands Group UK Ltd
PO Box 1145
Oxford, OX1 9UW
United Kingdom
SICHERHEITSHINWEISE

WARNUNG
text_image
Warning sign with pictograms and symbols, including a yellow warning triangle, four black-and-white icons representing heating, cooking, heating room, camping, and outdoor activities.VORSICHT!
VERWENDEN SIE KEINEN ALKOHOL ODER BENZIN ZUM ANZÜNDEN ODER WIEDERANZÜNDEN!
Congratulations on the purchase of your device. Please read the following instructions carefully and follow them to prevent potential damage. We accept no liability for damage caused by disregarding the instructions or improper use. Please scan the QR code to access the latest operating instructions and for further information about the product.

text_image
QR code image containing encoded data, no visible human-readable textCONTENTS
Safety instructions 12
Individual parts 14
Assembly 15
Use 17
Cleaning and care 18
MANUFACTURER & IMPORTER (UK)
Manufacturer:
Chal-Tec GmbH, Wallstrasse 16, 10179 Berlin, Germany.
Importer for Great Britain:
Berlin Brands Group UK Ltd
PO Box 1145
Oxford, OX1 9UW
United Kingdom
SAFETY INSTRUCTIONS
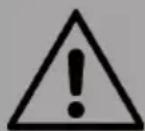
WARNING
Risk of suffocation! The fire bowl is intended for outdoor use only. It must not be used in buildings, garages or other enclosed areas. Toxic fumes can form, which lead to suffocation.
- The fire bowl is not suitable for commercial purposes.
- The fire bowl may only be used by adults. Children and pets must keep a safe distance.
- Do not use petrol, methylated spirits, lighter fluid or alcohol for lighting.
- Do not use the fire bowl until it has been fully assembled and all parts are firmly seated.
- Do not use the fire bowl on surfaces made of wood or other combustible materials.
- Empty the fire bowl after each use. Leave a thin layer of ash in it to protect the soil. Only remove the ash when the coal has burnt down completely and the ash has cooled down.
- Do not touch the fire bowl until it has cooled down completely. Wear heat-resistant gloves during operation.
- Do not stow away the fire bowl until it has cooled down completely and the ashes have been disposed of.
- Always use tools and heat-resistant gloves when adding fuel or moving the fire bowl.
- Do not leave the fire bowl unattended during use.
- Hot embers may fall from the fire bowl during use.
- Do not overload the fire bowl with fuel. Only add new fuel when the fire has burnt down.
- Keep the fuel away from the wall of the fire bowl as the wall can be damaged by high temperatures.
- Do not breathe in the smoke and do not let it get into your eyes.
- Inspect the fire bowl for damage before use.
- Use may cause the metal surface to discolour slightly.

text_image
Warning sign with pictograms and symbols, including a yellow warning triangle, four black-and-white icons representing heating, cooking, heating room, camping, and gathering.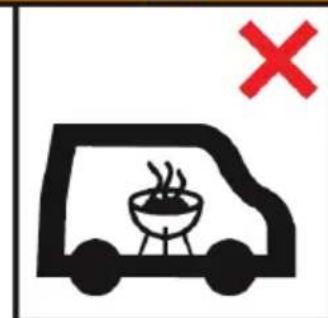
natural_image
Simple black-and-white icon of a van with a grill and a red X symbol (no text or numbers)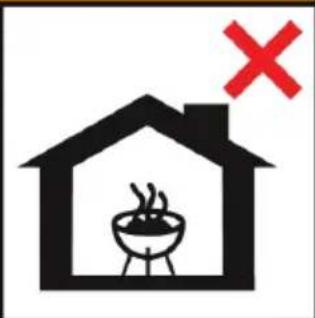
natural_image
Simple black-and-white icon of a house with a fire pit and a red 'X' symbol (no text or numbers)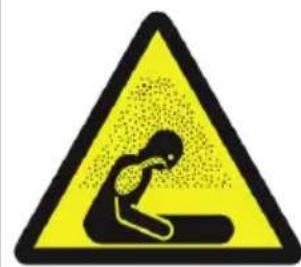
text_image
Yellow triangular warning sign with pictogram of a person bending over a surface, indicating workplace safety hazard.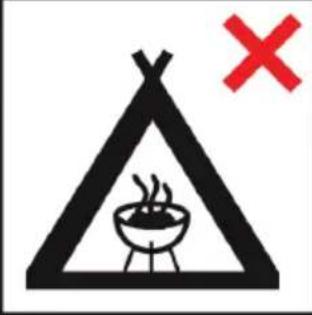
natural_image
Warning symbol of a tent with a steaming dish inside and a red X mark (no text or numbers present)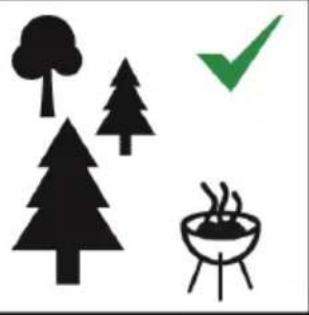
natural_image
Simple black-and-white icons showing trees, a picnic board, and a green checkmark (no text or symbols)CAUTION!
DO NOT USE ALCOHOL OR GASOLINE TO LIGHT OR RE-LIGHT!
Special notes on barbecues
- Do not place the food on the grill until the fuel is covered with a layer of ash!
- The device gets very hot and must not be moved during operation.
- Do not use the unit indoors.
- Do not use alcohol or gasoline for lighting or re-lighting. Only use lighting aids that comply with EN 1860-3.
- Keep children and pets away from the device.
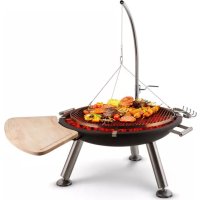
INDIVIDUAL PARTS
| A | 1 |  |
| B | 1 | 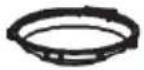 |
| C | 1 | 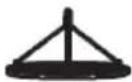 |
| D | 3 |  |
| E | 1 | 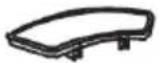 |
| F | 1 |  |
| G | 2 | 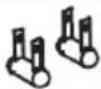 |
| H | 1 | 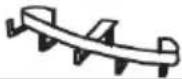 |
| L | 1 |  |
| J | 1 | 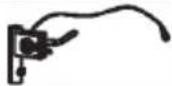 |
| K | 1 | 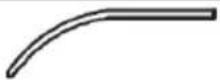 |
| S1 | 4 |  |
| S2 | 3 |  |
| S3 | 4 |  |
| S4 | 4 | [57CS] |
| S5 | 3 |  |
| S6 | 6 |  |
ASSEMBLY
Assembling the stand of the fire bowl
text_image
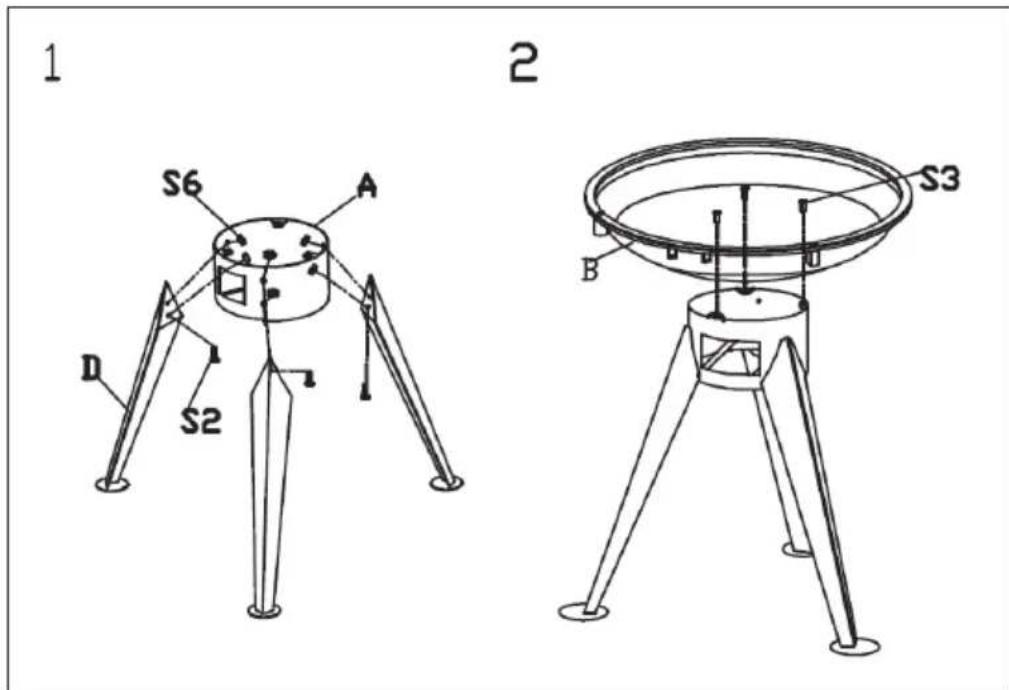
1 S6 A D S2 2 S3 B- Hold the stand legs (D) against the stand head (A). Push the screws (S2) through the holes in the legs and the head of the stand. Screw nuts (S6) on the inside onto the projecting threads.
- Place the fire bowl (B) on the frame. Screw the shell in place with the Allen screws (S3).
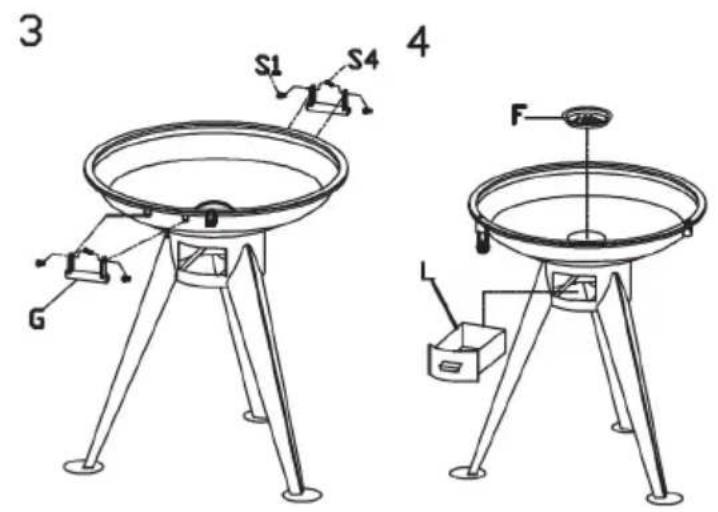
- Screw the handles (G) onto the tabs of the fire bowl. Use the screws (S1) and locknuts (S4) for this purpose.
- Insert the ash grate and the ash drawer.
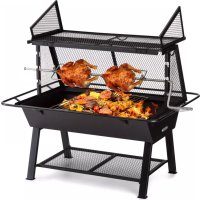
Attachment of the grill arm
text_image
3 S1 S4 G 4 F L- Slide the grill arm holder (J) into the groove of the fire bowl. Fix the grill arm bracket with the wing screw (S5) and an Allen screw (S3). Place the grill arm (K) in the grill arm holder.
- Simply hang the hook bar for the grill tool (H) and fasten the bar with a wing screw (S5).
Fixing the grill grate and grill board

text_image
3 S1 S4 G 4 F L- Hang up the grill board (E).
- Hook the rope of the grill grate (C) onto the rope of the grill arm.
USE
Light a fire
- Make sure that the fire bowl is placed on a firm, flat, level and heat-resistant surface, away from flammable objects.
- Place paper or dry firewood in the centre of the fire bowl base.
Note: Do not place fuel directly in the fire bowl, but always on the paper or firewood.
- Light the paper or firewood.
Note: Start a small fire first and then let it slowly grow bigger. If the heat develops too quickly and too strongly, cracks may appear in the construction.
Stoking the fire
- Add more fuel to slowly increase the heat. Do not overload the fire bowl with fuel. Three small logs are sufficient.
- Use the poker tool when shifting the logs.
Delete
To extinguish the fire bowl, do not add any more fuel or smother the fire with sand. Never extinguish the fire with water!
Use as a barbecue
- The barbecue and utensils must be clean and free of residues before barbecuing.
- Put approx. 0.5 kg of charcoal on the charcoal grate and light the charcoal according to the instructions above.
- Place the grill grate on the fire bowl. Make sure that the grill grate is firmly in place.
- Only start grilling when the fuel has a layer of ash.
- The food must be completely cooked before eating.
- Only remove the grill grate when the grill has cooled down completely.
• Always clean the grill grate and grill utensils after grilling.
CLEANING AND CARE
CAUTION
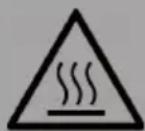
Risk of burns! Allow the fi re bowl to cool down completely before inspecting it for damage or cleaning it.
Inspecting the fire bowl for damage
Check the fire bowl regularly for damage to ensure product safety and a longer service life.
1 Check all parts to make sure they are tight.
2 Check the components for damage.
3 If you notice damage to any component, have the fire bowl repaired before continuing to use it.
Cleaning
- Make sure that the fire is completely extinguished when you stop using the fire bowl.
- Make sure that the fire is completely extinguished and the fire bowl has cooled down before removing the ashes.
- Use a damp cotton cloth to remove soot. Clean the fire bowl regularly to ensure a long service life.
Note: The surface may discolour after repeated use.
- Do not use oven cleaner or scouring agents as they may damage the product.
- Clean the outside with water and a mild dishwashing detergent.
- For stubborn stains, use a citrus-based cleaner and a nylon brush.
Cher client, chère cliente,
text_image
QR code image containing encoded data, no visible human-readable textSOMMAIRE
Berlin Brands Group UK Ltd
PO Box 1145
Oxford, OX1 9UW
United Kingdom
CONSIGNES DE SÉCURITÉ

MISE EN GARDE
text_image
Warning sign with pictograms and symbols, including a yellow warning triangle, four black-and-white icons representing heating, cooking, heating room, camping, and gathering.ATTENTION!
N'UTILISEZ PAS D'ALCOOL OU D'ESSENCE POUR ALLUMER OU RALLUMER LE FEU !
text_image
QR code image containing encoded data, no visible human-readable textÍNDICE
Berlin Brands Group UK Ltd
PO Box 1145
Oxford, OX1 9UW
United Kingdom
text_image
Warning sign with warning triangle, vehicle and house icons, campfire, tree, and checkmark symbols¡ATENCIÓN!
¡NO UTILICE ALCOHOL O GASOLINA PARA ENCENDER O VOLVER A ENCENDER EL BRASERO!
text_image
QR code image containing encoded data, no visible human-readable textINDICE
PRODUTTORE E IMPORTATORE (UK)
Produttore:
Chal-Tec GmbH, Wallstraße 16, 10179 Berlino, Germania.
Berlin Brands Group UK Ltd
PO Box 1145
Oxford, OX1 9UW
United Kingdom
AVVERTENZE DI SICUREZZA
AVVERTIMENTO
text_image
Warning sign with pictograms and symbols, including a yellow warning triangle, four black-and-white icons representing heating, cooking, heating room, camping, and outdoor activities.ATTENZIONE!
NON UTILIZZARE ALCOOL O BENZINA PER ACCENDERE O RIATTIVARE IL FUOCO!