USER MANUAL Rodeo CHICCO
9 m+
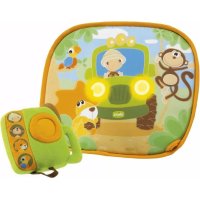
Rodeo
natural_image
Child riding a white toy horse with 'chicco' branding, no visible text or symbols on the horse itself.
natural_image
Purple and white toy horse toy with blue accents, no visible text or symbols
natural_image
Child riding a tricycle in a white toy car, wearing a checkered shirt and overalls (no text or symbols visible)

natural_image
Child sitting on a white toy horse, wearing overalls and casual clothing (no visible text or symbols)
natural_image
Line drawing of a stylized animal toy with a belt and beak, no text or symbols present
natural_image
Three line drawings of a submarine hull showing front, side, and side views with directional arrows (no text or symbols)
natural_image
Line drawing of a stylized boat hull with decorative side elements (no text or symbols)

flowchart
graph TD
    A["1: Group 1: Sailing figure"] --> B["2: Group 2: Horse-drawn figure"]
    B --> C["3: Group 3: Horse-drawn figure"]
    C --> D["End: Group 6"]
natural_image
Illustration of a toy horse with a decorative emblem, shown in two views: one with a small inset image of a mechanical device (no text or symbols)

natural_image
Solid purple rectangle with a small crosshair symbol at the top center (no text or symbols)


natural_image
Pure geometric lines forming a rectangle with a central crosshair and measurement markers (no text or symbols)
Age: From 18 Months +
Please read these instructions and keep them for future reference.
The electronic galloping sound requires 3 x "AA" 1.5 Volt alkaline type batteries. The batteries are not included. Please refer to the section: FITTING AND/OR REPLACING BATTERIES before fitting the batteries.
For your child's safety: WARNING!
- Before use remove and dispose of any plastic bags and any other packaging (e.g. fasteners, fixing ties, etc.) and keep them out of reach of children.
- Before use, check that the product and all of its components have not been damaged during transportation. Should any part be damaged, do not use and keep out of reach of children.
- This toy must only be assembled by an adult. Do not use the toy until it has been fully assembled and checked. Do not use the toy until all the maintenance operations have been completed.
• This toy must only be used under adult supervision.
- Check the toy regularly for signs of wear and damage. Should any part be damaged, do not use and keep out of reach of children.
- Do not use this toy on roads, driveways or sloped surfaces. This toy must only be used on flat and stable surfaces, Ensure the toy is used in areas that are free from any obstacles that may jeopardise its stability, and away from places where your child could be in danger, such as: swimming pools, canals, lakes, stairways, etc.
- This toy can be used safely only by one child at a time (up to 25 kg - 55 lb of weight). Never let two or more children use this toy at the same time.
- Ensure that your child's footwear is always correctly laced.
- Do not use this toy in any other way than recommended.
- It is recommended to check the toy regularly for signs of wear. Should any part be damaged, do not use and keep out of reach of children. Failure to check the toy regularly for signs of damage (head and rocking bases) could pose a safety risk to your child, as it may fall off the toy.
- Do not use this toy in temperatures below–20oC, as the plastic material from which it is made of can lose its elasticity and become fragile when subjected to extremely cold temperatures. Should this happen, store the product in a warm and dry environment.
- When replacing damaged or worn components, only use original spare parts.
INTRODUCTION
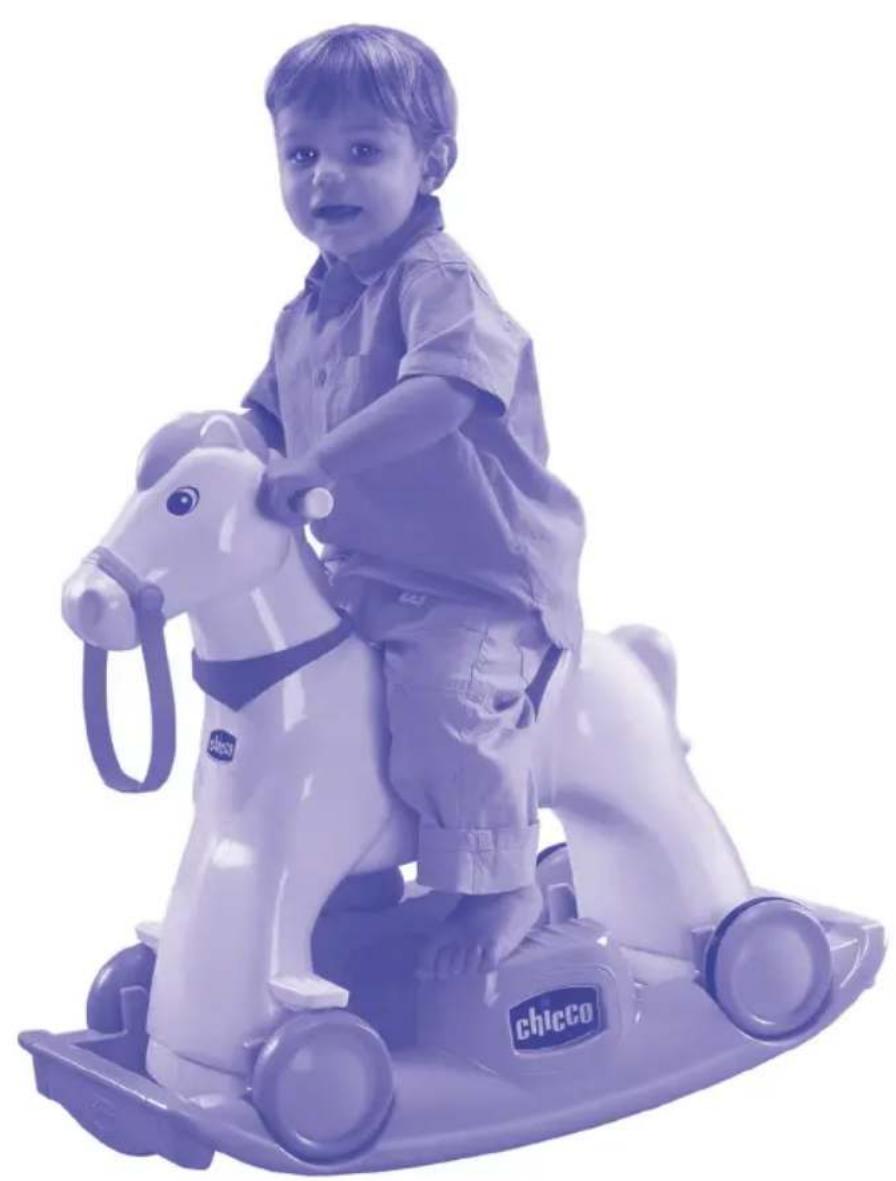
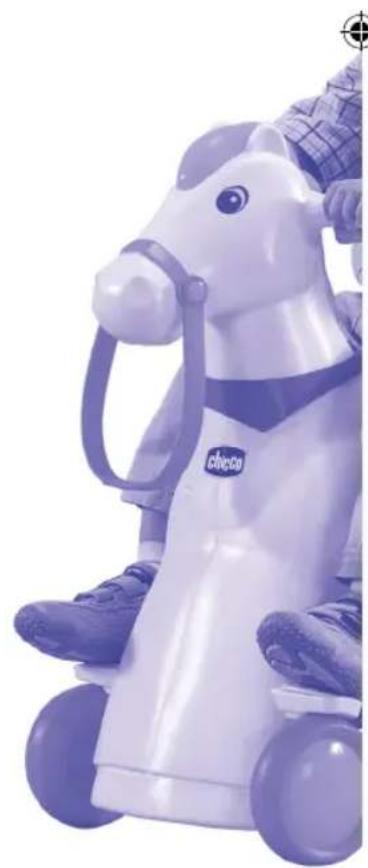
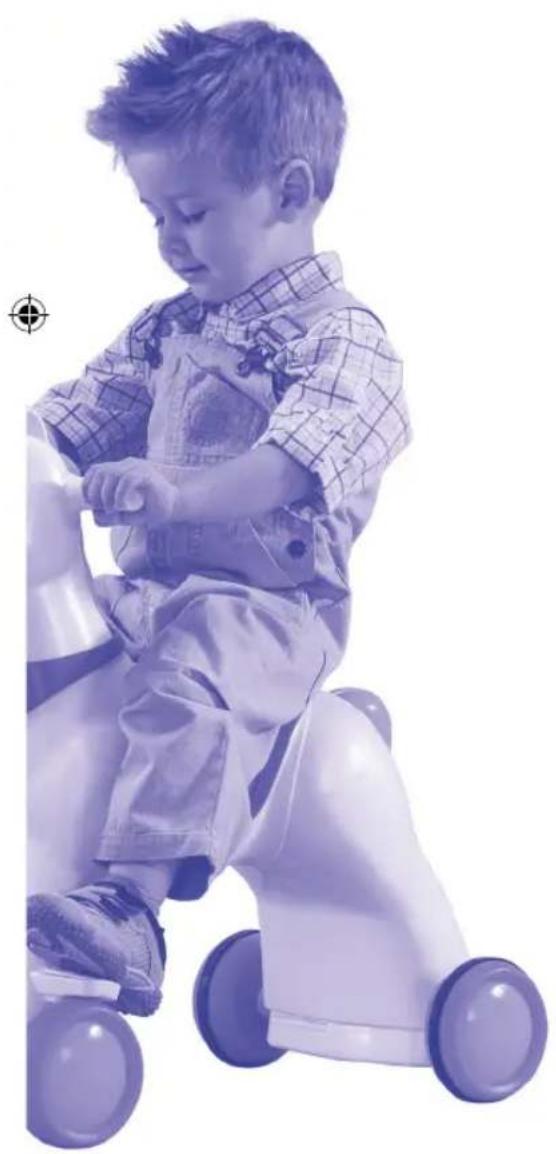
Chicco RODEO is a riding toy that combines the classic movement of a foot powered toy and simulating the fun of a galloping horse, thanks to a system that moves the legs of the toy horse.
The toy is intended for use for children from 18 months up to approximately 5 years of age. Chicco RODEO allows you to select between the ROCKING and RIDING play modes.
The first operation that should be carried out is the fitting of the batteries as indicated below: FITTING AND/OR REPLACING BATTERIES
Fit 3 x "AA" 1.5 Volt alkaline type batteries into the battery compartment located inside the head of toy, following the warnings indicated below:
- Batteries must only be fitted by an adult.
-
To replace spent batteries: Loosen the screw on the battery compartment cover with a screwdriver and remove the cover. Then remove the spent batteries and fit new ones, ensuring that they have been fitted in the correct polarity (as shown on the product), close the battery cover, and tighten the screw.
-
Only use alkaline batteries of the same type or equivalent to the type recommended for the correct function of this product.
- Never mix new and old or different types of batteries.
• Always keep batteries and tools out of reach of children.
- Do not short-circuit the battery terminals.
• Always remove spent batteries from the toy to avoid the danger of leakage from the battery damaging the product.
• Always remove the batteries if the toy will not be used for a long period of time.
- Remove the batteries from the toy before disposal.
- Do not burn or dispose of spent batteries into the environment. Dispose of them at an appropriate differentiated collection point.
- In the case of battery leakage, replace them immediately and clean the battery compartment carefully. Wash hands thoroughly if they come into contact with the leaked fluid.
- Do not attempt to recharge non-rechargeable batteries, they might explode.
- The use of rechargeable batteries is not recommended, since they might impair the toy's functionality.
- If rechargeable batteries are used, remove them from the toy before recharging; this operation must be carried out only under adult supervision.
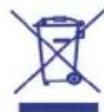
This Product Is Approved To Eu 2002/96/ec Regulation.
The crossed bin symbol shown on the equipment indicates that, at the end of its useful life-cycle, the product must be treated separately from domestic waste, and disposed of at an appropriate differentiated collection point for electrical or electronic equipment, or delivered to the retailer at the time of purchase of new, equivalent equipment. The user is responsible for disposing of, or delivering, the worn or damaged equipment to the appropriate collection points. The appropriate differentiated collection and subsequent recycling or treatment of the equipment disposed of, in compliance with environmental norms, helps to avoid possible negative effects on health and on the environment, and favours the recycling of the materials that the product is made of. For further information on the collection systems available, please contact your local waste disposal service, or your retailer.
HOW TO ASSEMBLE THE TOY
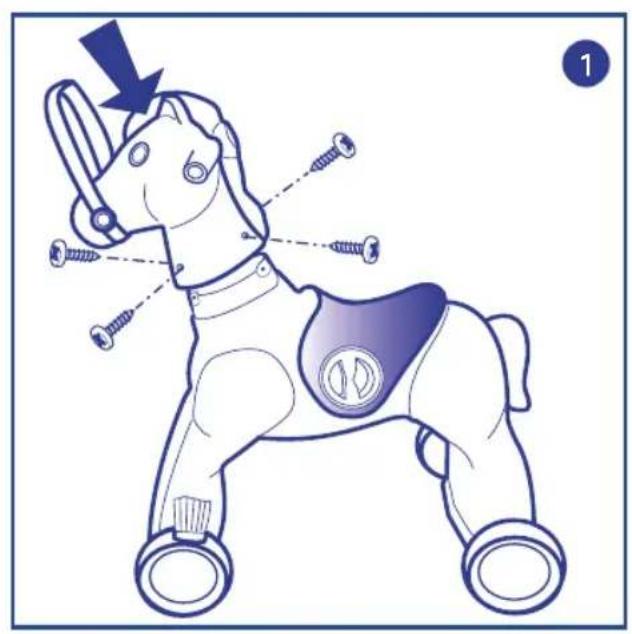
Diag. 1
- Assemble the head, placing it on top of the body and tightening the 4 screws supplied. Ensure the screws are tightened firmly and safely into position.
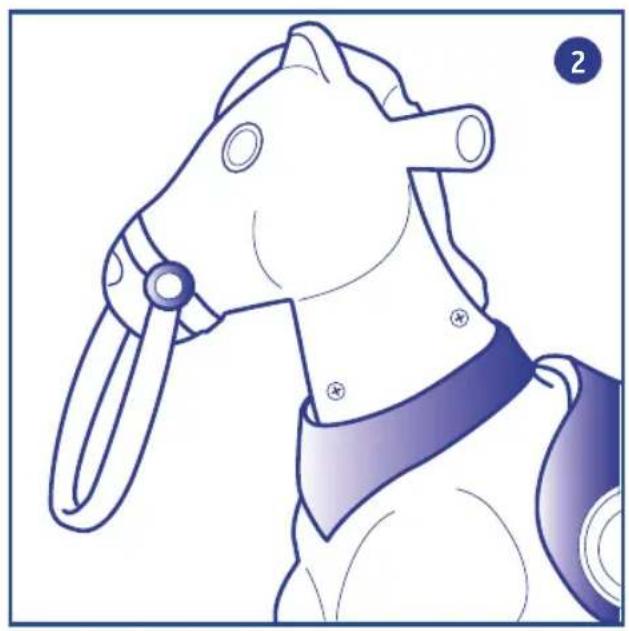
Diag. 2
- Place the "foulard", as shown in the diagram, and lock it in position with the clip.
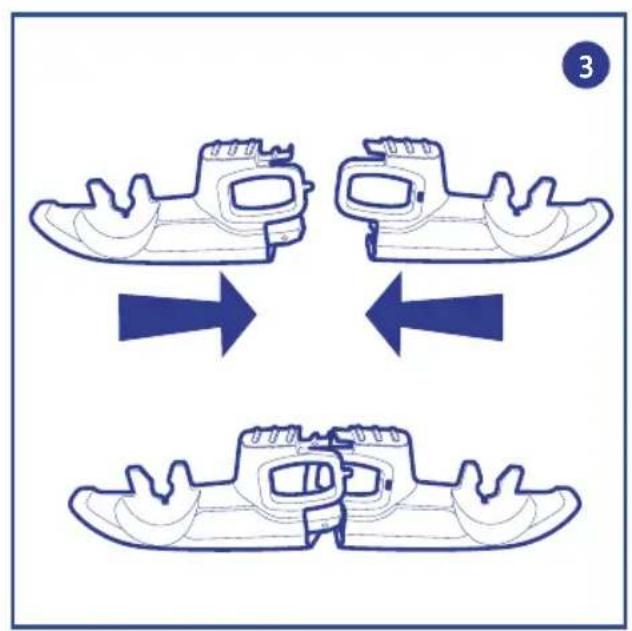
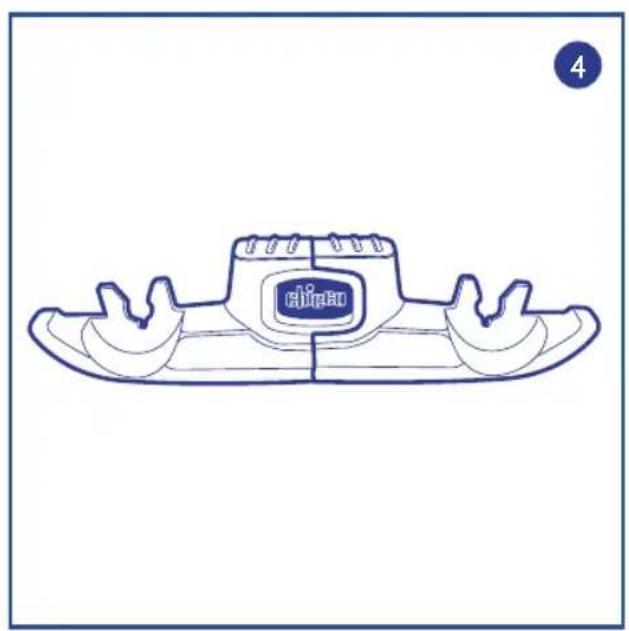
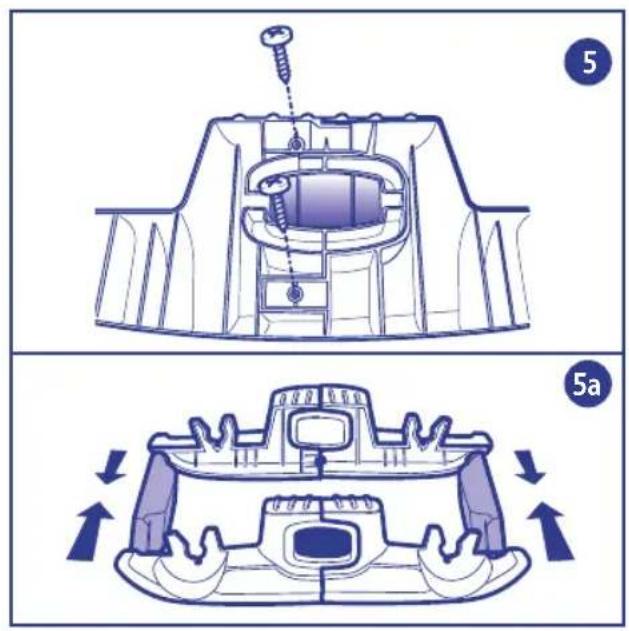
Diagrams 3,4,5, 5a
- Join the front part to the rear part of each rocking base. Insert the Chicco brand into the central housing, then turn the assembled rocking bases over to tighten the 2 screws into their housings, as shown in the diagram. Ensure the screws are tightened firmly and safely into position.
- Join the two rocking bases with the front and rear locking devices (diag. 5a). Each locking device must be fitted correctly into the rocking bases. Always check that the frame is assembled and fitted cor - rectly into the four locking points.
HOW TO USE THE TOY
Diag. 6
- The system connected to the handle allows you to adjust the strength with which the horse moves
forward while “galloping”, based on the child’s weight. In position 1 (approximate weight of the child: up to 13kg), the system adjusts the movement of the horse with respect to the average strength of a push by a child, during that age. Positions 2 and 3 follow the phases of the child’s growth, and there fore adjust the movement of the horse on the basis of the child’s strength.
HANDLE POSITIONS
- POSITION 1: For children of up to 13kg (28 lbs) of weight.
- POSITION 2: For children from 13kg up to 16kg (28 up to 35 lbs) of weight.
- POSITION 3: For children of over 16kg (35 lbs) of weight.
- The weights indicated above are only provided for reasons of reference and are therefore only a guide. Regardless of the position of the handle and of the child's age or weight, the toy will always be safe to use.
- LOCK POSITION: This position should be used when the horse is in the rocking mode or when the child wishes to use it only as a classic riding toy (that is, when the child wishes to move the toy forward without activating the "galloping" mode).
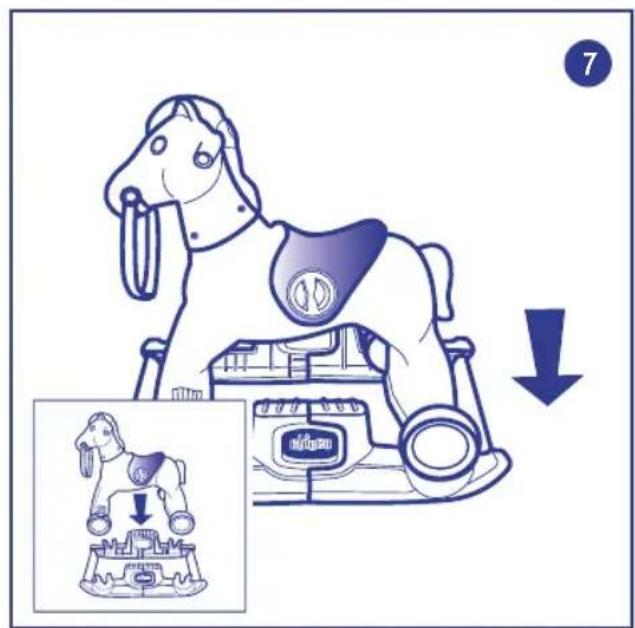
Diag. 7
- When the toy is in the "ROCKING" mode, turn the central handle to the "lock" position. Place the horse onto the rocking bases, ensuring that the joints of the wheel correspond with the upper housings of the rocking bases. Press each of the 4 wheels, until a click is heard, indicating that the wheel is correctly locked into position. Ensure that each wheel is safely locked into position to avoid that the toy may overturn.
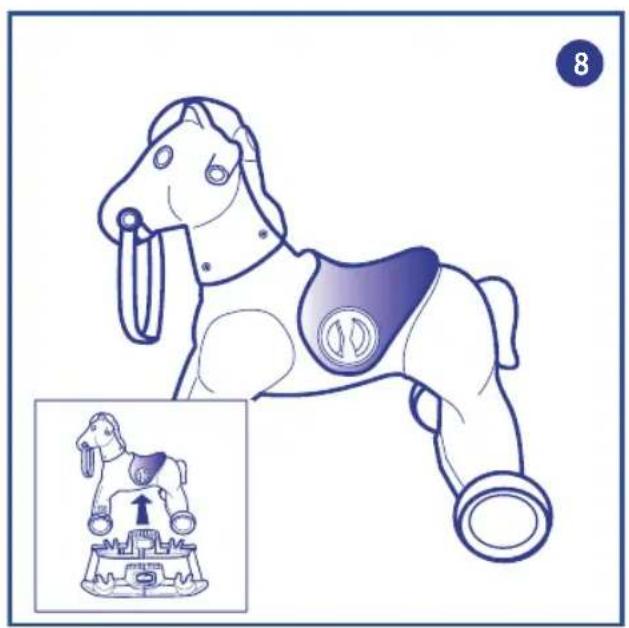
Diag. 8
- When the toy is in the "RIDING" mode, remove the rocking bases exercising some pressure, and then turn the central handle to the desired position of use (see diag. 6).
CARE & MAINTENANCE
- Clean the toy with a soft dry cloth to prevent the risk of damaging the electronic circuit.
- Handle the toy with care and protect it from heat, dust, sand, humidity and water.
- When replacing damaged or worn components, only use original spare parts.
- Long exposure to sunrays could cause the fading of the plastic parts of the toy. This is normal and does not jeopardise the safety of the product.
Made in Romania
MISE EN PLACE ET/OU REMPLACEMENT DES PILES
natural_image
Purple and blue toy horse toy with 'chicco' branding, no visible text or symbols on the horse itself.
Cod. 70603
Chicco Rodeo
Chicco Rodeo
"تشيكو "روديو
76541 22 1
CE

Artsana S.p.A. - Via Saldarini Catelli, 1 - Grandate - Como - Italy - Made in Romania
WW.chiccoc.com