
DC350 - Document camera OPTOMA - Free user manual and instructions
Find the device manual for free DC350 OPTOMA in PDF.

| Product type | Document camera |
| Brand | Optoma |
| Model | DC350 |
| Dimensions (approx.) | 30 x 20 x 15 cm |
| Weight (approx.) | 1.5 kg |
| Power | Power adapter (input 100-240V, output 12V/2A) |
| Power consumption | 15 W (max) |
| Max resolution | HD 1280 x 720 |
| Operating modes | Camera, Video, Photo |
| Included software | Smart DC (on CD) |
| Annotation functions | Line, rectangle, pencil, circle, arrow, triangle, text, eraser, clear all, screenshot, move |
| Visual effects | Mask, color adjustment |
| Image settings | Zoom in/out, autofocus, brightness, rotation, image freeze |
| Recording | Image capture (single or continuous with interval) and video recording |
| Output formats | Images (JPEG, BMP), Videos (AVI) |
| Interface | USB (for PC connection) |
| System compatibility | Windows (XP/Vista/7/8/10) |
| Maintenance | Clean the lens with a soft dry cloth. Disconnect before cleaning. |
| Safety | Do not expose to moisture. Use only the provided adapter. |
| General information | Full manual available for download. 2-year warranty. |
Frequently Asked Questions - DC350 OPTOMA
Tip: Download the software from the Optoma website if you have lost the CD.
User questions about DC350 OPTOMA
0 question about this device. Answer the ones you know or ask your own.
Ask a new question about this device
Download the instructions for your Document camera in PDF format for free! Find your manual DC350 - OPTOMA and take your electronic device back in hand. On this page are published all the documents necessary for the use of your device. DC350 by OPTOMA.
USER MANUAL DC350 OPTOMA
natural_image
Illustration of a desktop desk with adjustable arm and screen, no text or symbols presentEnglish
Please find your Smart DC in the accessory CD.
Click the "Smart DC" key and select the software OSD language(In case the auto run dose not start, please go to the CD folder and find "Smart DC.exe")
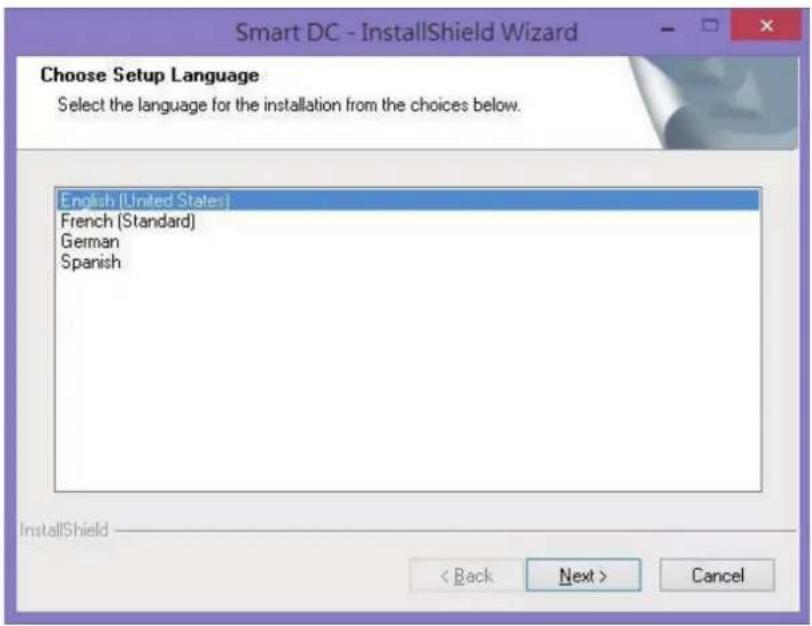
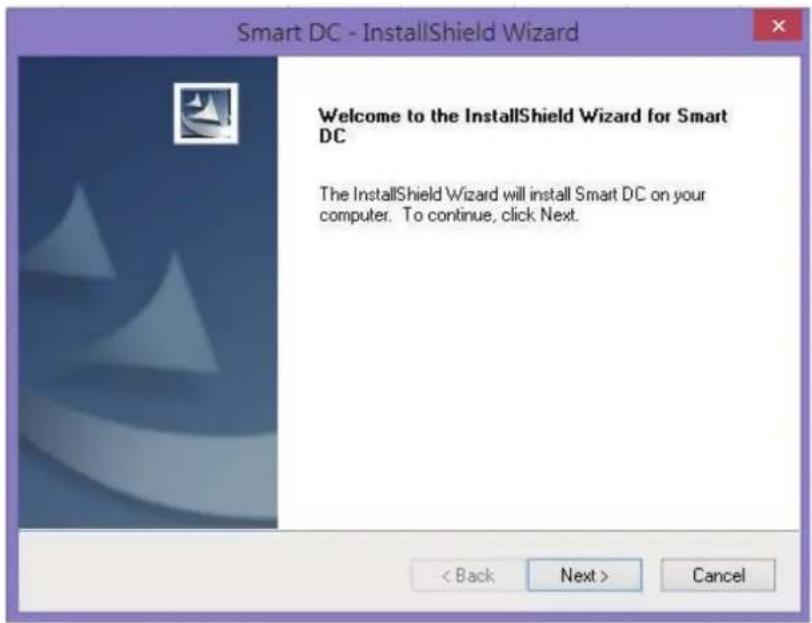
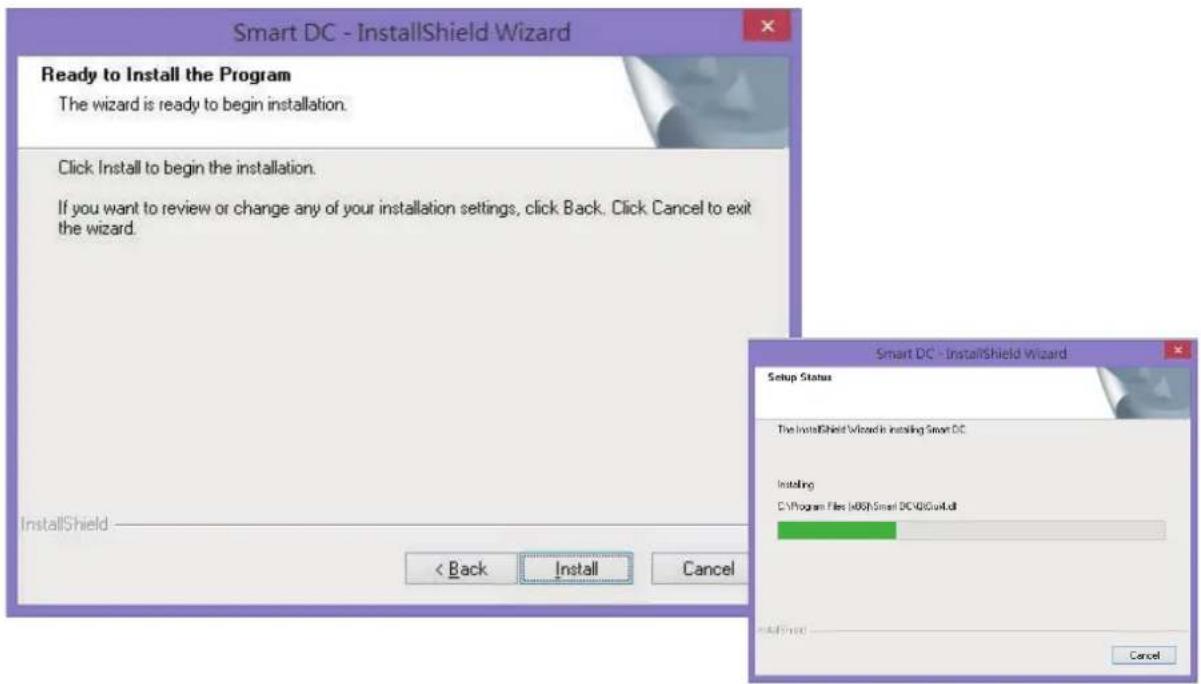
The installation will start as pic below:
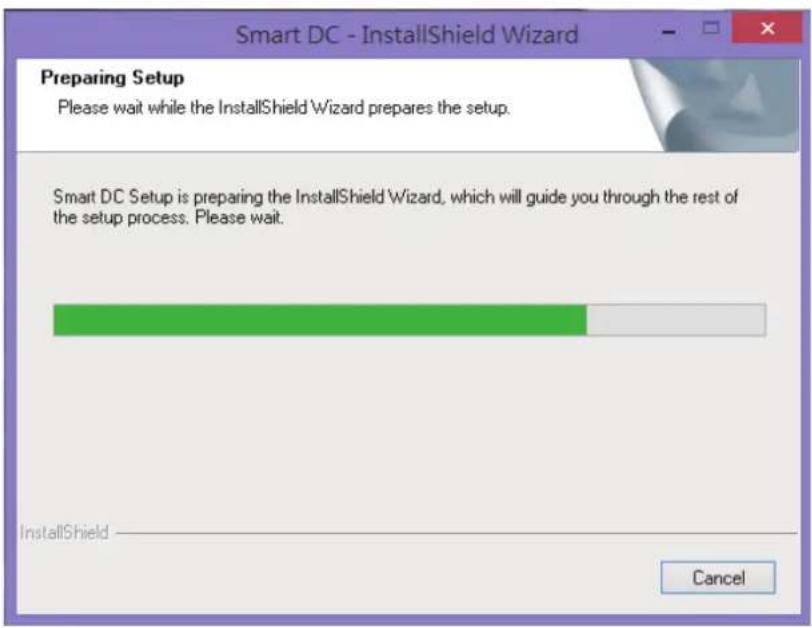
Please select "next" to continue installation process
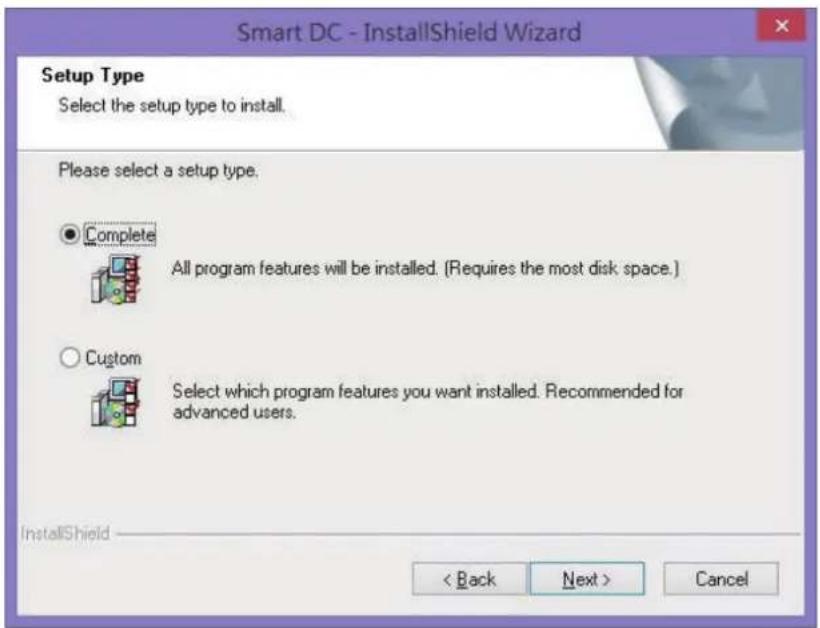
It is recommended to choose "Complete" for the installation
Please click "Install" to start Smart DC installation
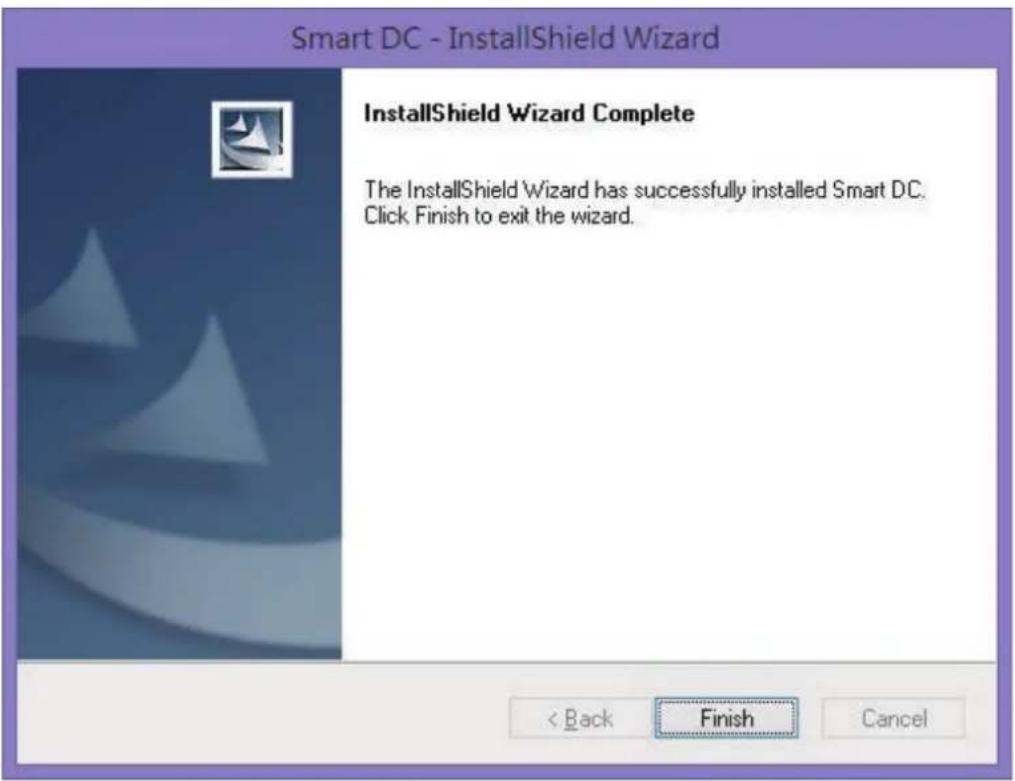
Please click "Finish" to finish the Smart DC installation and enjoy "Smart DC"
There are three modes ( Live/ Film/ Photograph ) in Smart DC
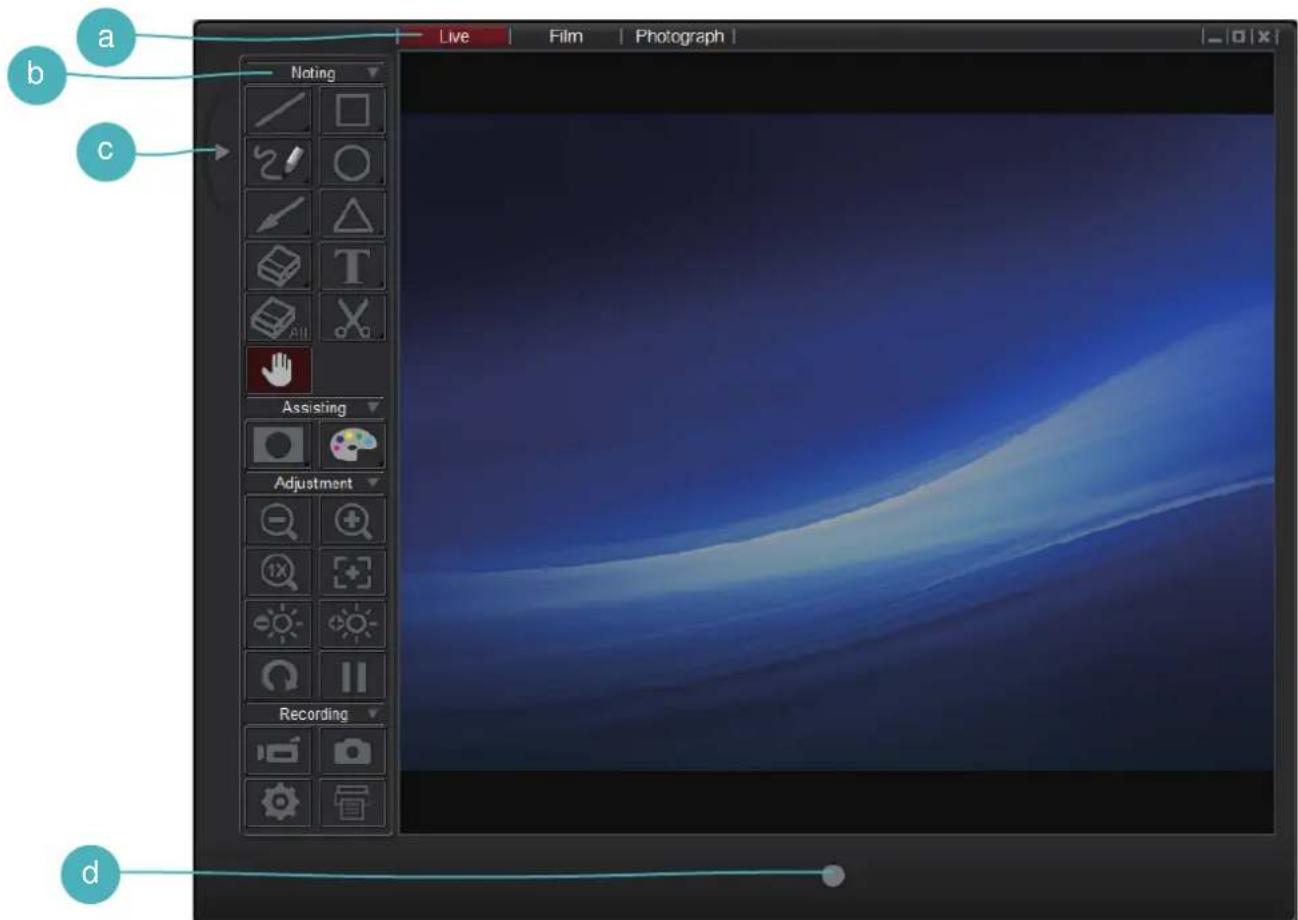
a Mode Switch (Switch between live, film and photograph mode.)
b Control Panel
c Hide / Show Control Panel
d Recording button ( Start to record a video. )
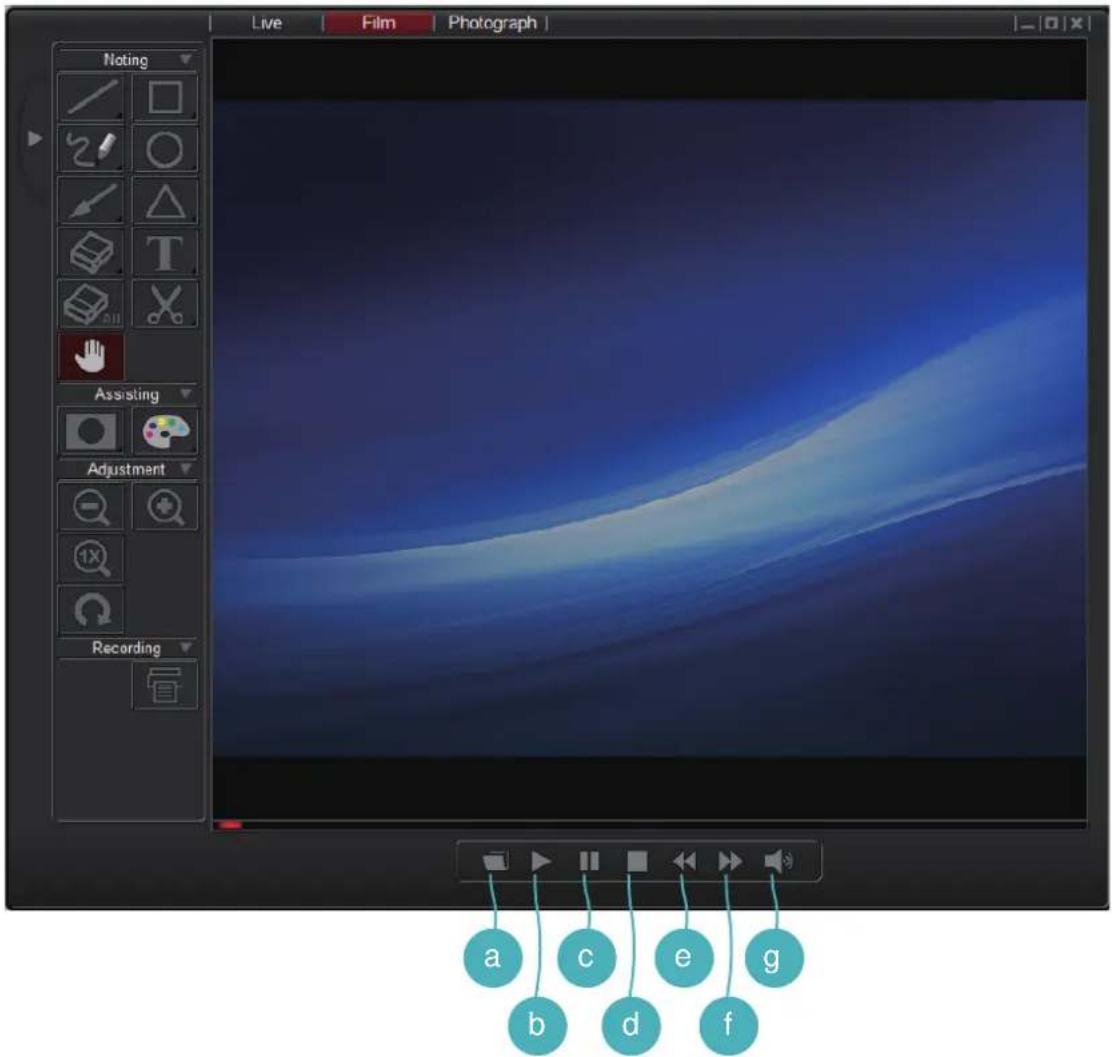
a Select the file to play
d Stop the video
f Fast forward
b Start to play
e Backward
g Play Volume
c Pause video

a Select folder
b Previous photo
c Slideshow
d Next photo
e Show / Hide thumbnail bar
f Slideshow time interval
g Current file / Total file number
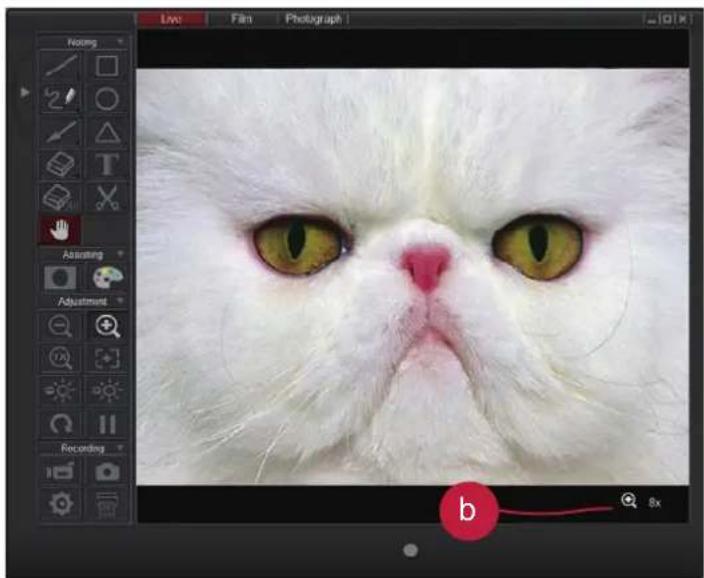
On the control panel, you will see 3 groups of functions.
1. Noting group
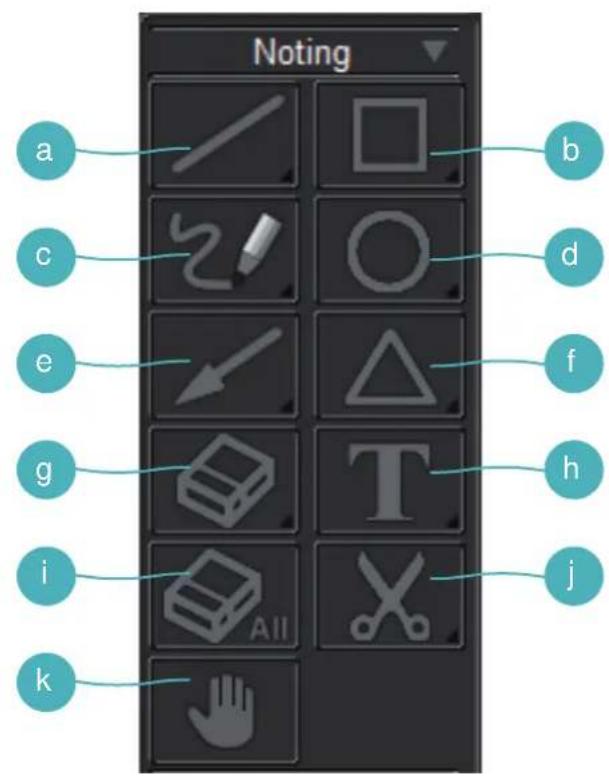
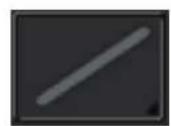
a Line-Select to draw a straight line
* Long press Line key to show the control panel.
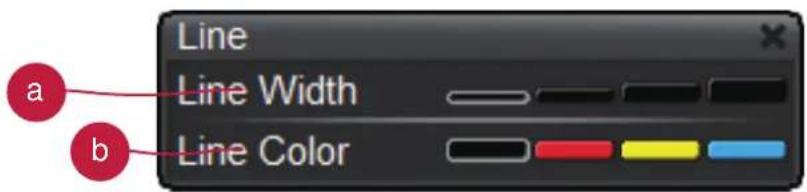
a Change the line width
b Change the line color
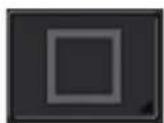
b Rectangle- select to rectangular draw shape
* Long press Rectangle key to show the control panel.
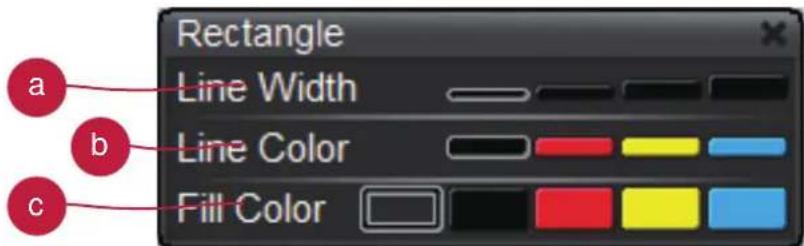
a Change the outline width
b Change the outline color
c Change the fill color
c Freehand-Select to draw freeform line
* Long press Freehand key to show the control panel.
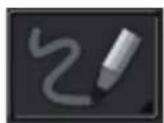
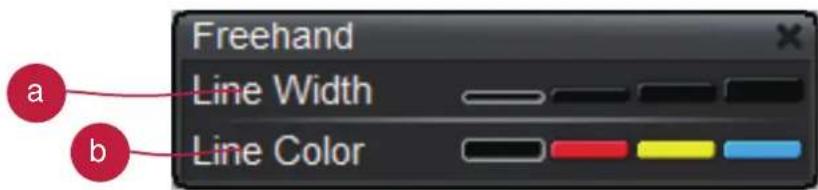
a Change the line width
b Change the line color
d Circle- Select to draw circular shape
* Long press Circle key to show the control panel.
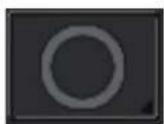
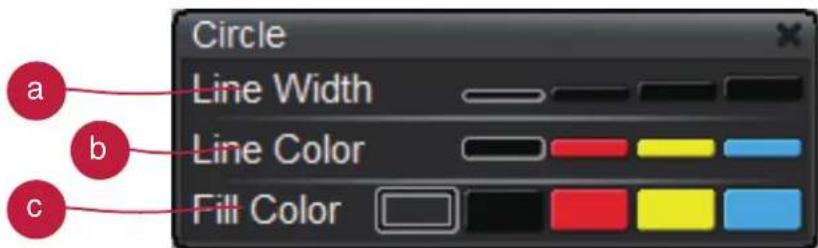
a Change the outline width
b Change the outline color
c Change the fill color
e Arrow-Select to draw arrow shape
* Long press Arrow key to show the control panel.

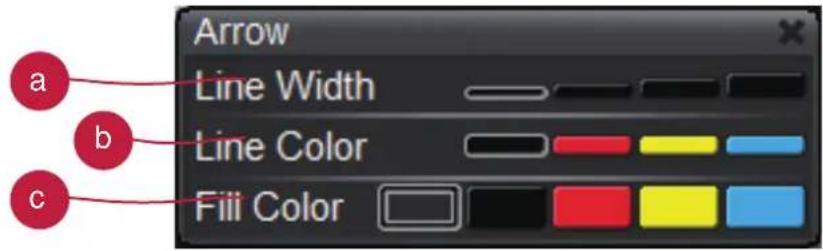
a Change the outline width
b Change the outline color
c Change the fill color
f Triangle-Select to draw triangle shape
*Long press Triangle key to show the control panel.
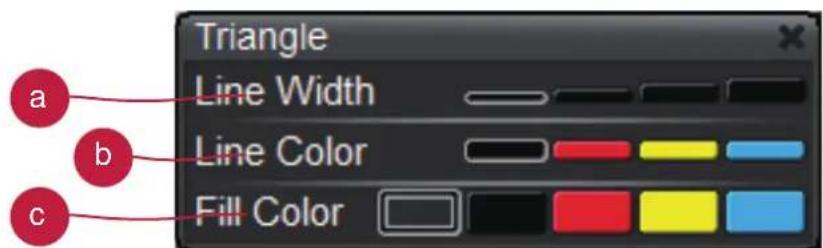
a change the outline width
b change the outline color
c change the fill color
g Eraser-Click-hold and point on the area you wish to delete .
* Long press Eraser key to show the control panel.

a Change the eraser width
h Text-Select to type text
* Long press Text key to show the control panel.

a Choose text font and size
b Change the text color
i Erase all-Erase all noting effects
j Clip Image- Capture an area on screen and temporarily save it. The saved image can be paste on an image software i.e. Microsoft Word, Paint..etc. To capture an area, click and drag a rectangular on the screen
k Hand-Drag on-screen image when zoom-in the image
2. Assisting Group
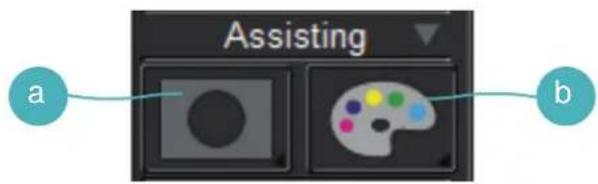
a Mask-Mask a section of the screen image
* Long press Mask key to show the control panel.
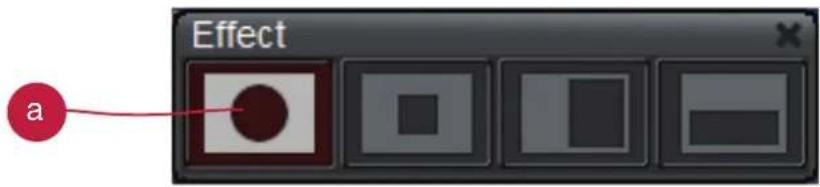
a change different masked area / shape
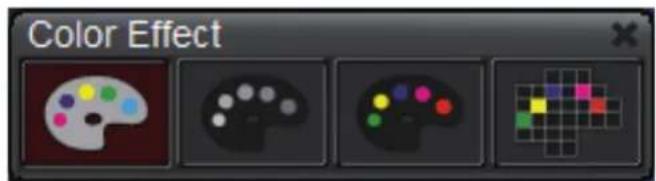
b Color Effect-Adjust color effect to different purposes.
* Long press Color Effect key to show the control panel to change different color effect
3. Adjustment Group
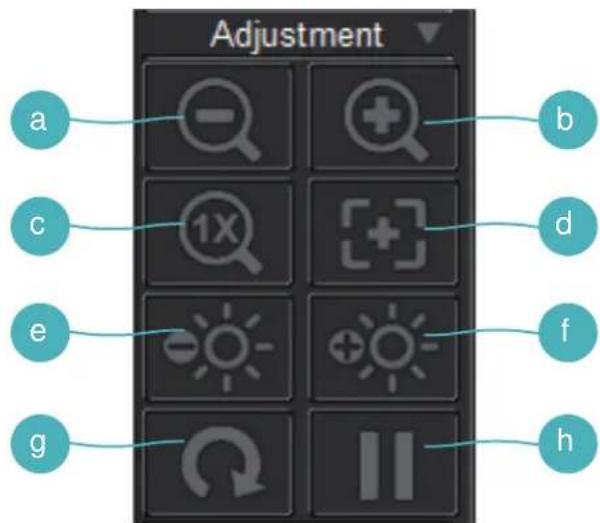
a Zoom out- Zoom out the image
b Zoom in- Zoom in the image
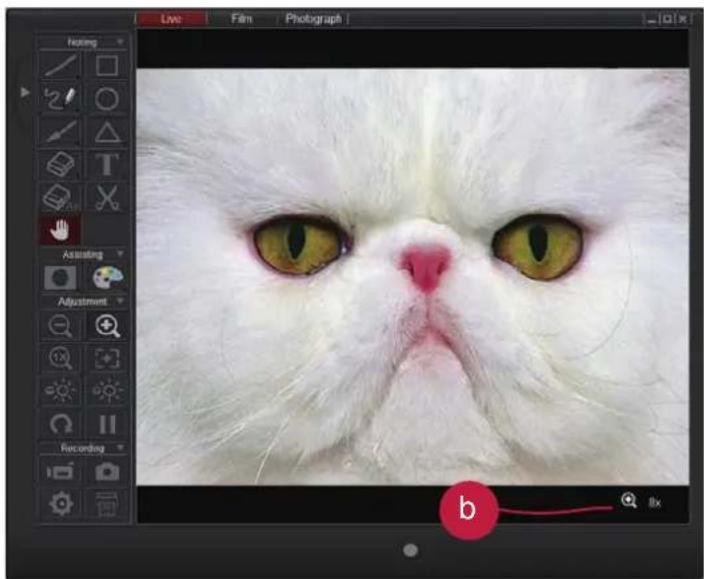
natural_image
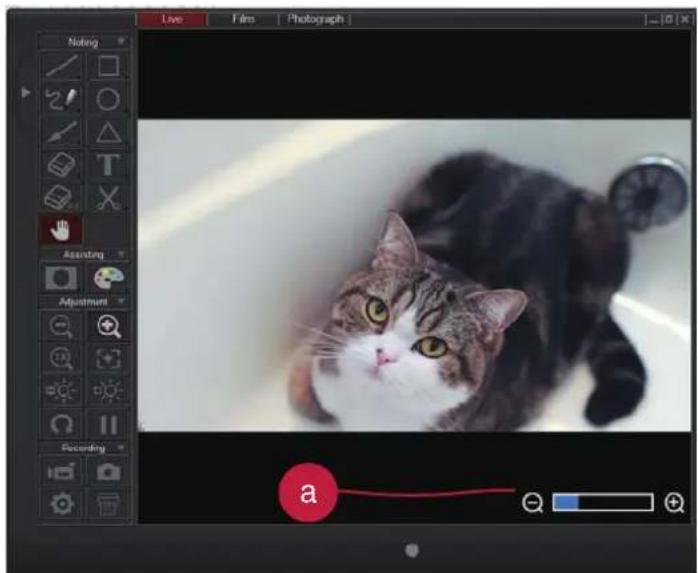
Close-up of a white cat's face with green eyes and pink nose, displayed within a photo editing software interface (no text or symbols on the cat's face itself)a A zoom bar will show at the bottom right corner of the image when in optical zoom
b When in digital zoom, there will be an icon which indicates digital zoom multiple
c Reset zoom- Return to normal view (1X)
d Auto Focus- Adjust the focus automatically
e Brightness down- Decrease the brightness
f Brightness up-Increase the brightness
9 Rotate-Rotate the image ( 90^ → 180^ → 270^ → 0^ )
h Freeze-Pause the video
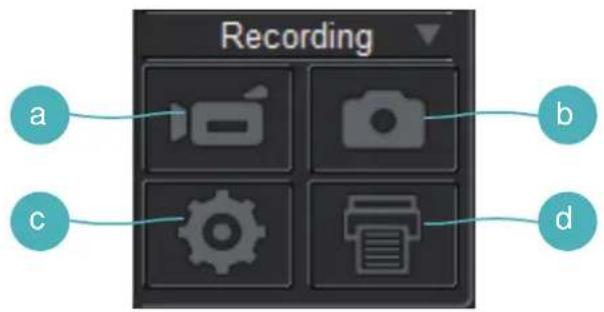
4. Recording Group
a Record-Start/Stop video recording
b Capture- Capture the screen image
c Setting-Click the setting key to show setting box
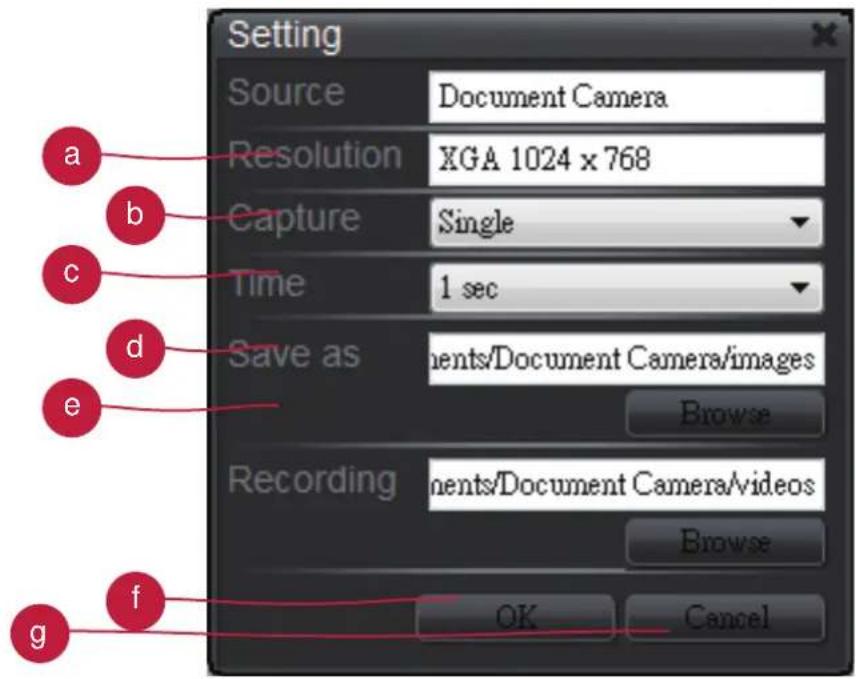
a Switch resolutions between XGA(1024x768) and HD (1280x720)
b Switch between single/continuous capture
c Setting the continuous capture time interval
d Capture files folder, click browse to change from the root folder
e Recording files folder, click browse to change from the root folder
f Click OK to finish setting and leave the settings box
9 Cancel any changes of setting and leave the settings box
d Printing- Print out the screen image.
Smart DC
Bedienungsanleitung
DC
natural_image
Illustration of a desktop computer with adjustable arm and screen, no text or symbols presentDeutsch
TS-82-907-90041
natural_image
Photo of a tabby cat on a screen, captured in a photo editing interface (no text or symbols on the cat or background)
natural_image
Close-up photo of a white cat's face with yellow eyes and pink nose, displayed within an image editing software interface (no text or symbols on the cat's face itself)natural_image
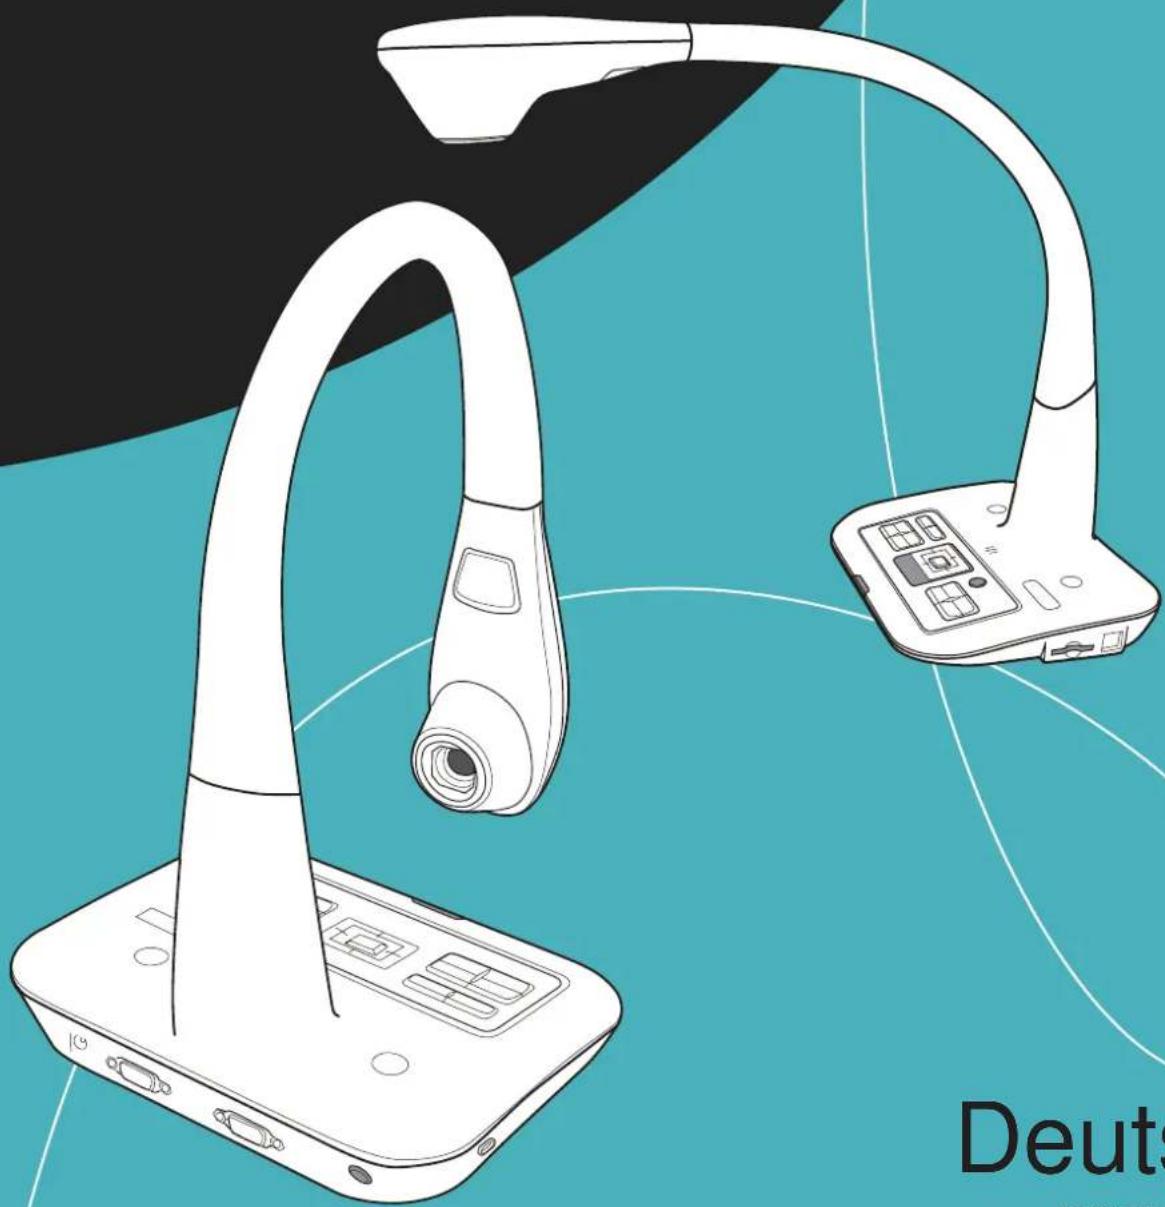
Illustration of a desktop desk with adjustable arm and screen, set against a teal background (no text or symbols)natural_image
Photo of a tabby cat in a studio editing interface, showing a blurred background with no visible text or symbols on the cat or background.
natural_image
Close-up of a white cat's face with green eyes and pink nose, displayed within an image editing software interface (no text or symbols on the cat's face itself)natural_image
Illustration of a desktop desk with adjustable arm and screen, set against a teal background (no text or symbols)Español
TS-82-907-90041
natural_image
Close-up of a white cat's face with green eyes and pink nose, displayed within a photo editing software interface (no text or symbols on the cat's face itself)
- Please find your Smart DC in the accessory CD.
- Please select "next" to continue installation process
- It is recommended to choose "Complete" for the installation
- Please click "Install" to start Smart DC installation
- There are three modes ( Live/ Film/ Photograph ) in Smart DC
- On the control panel, you will see 3 groups of functions.
- Noting group
- a Line-Select to draw a straight line
- b Rectangle- select to rectangular draw shape
- c Freehand-Select to draw freeform line
- d Circle- Select to draw circular shape
- e Arrow-Select to draw arrow shape
- f Triangle-Select to draw triangle shape
- g Eraser-Click-hold and point on the area you wish to delete .
- a Change the eraser width
- h Text-Select to type text
- i Erase all-Erase all noting effects
- k Hand-Drag on-screen image when zoom-in the image
- Assisting Group
- Adjustment Group
- Recording Group
- c Setting-Click the setting key to show setting box
- Smart DC
- Bedienungsanleitung
- DC
Brand : OPTOMA
Model : DC350
Category : Document camera