
Slowjuicer SLJV4300 - Juicer DEJELIN - Free user manual and instructions
Find the device manual for free Slowjuicer SLJV4300 DEJELIN in PDF.
| Brand | Dejelin |
| Model | Slowjuicer SLJV4300 |
| Type | Slow masticating juicer |
| Rated voltage | 220-240 V |
| Rated power | 200 W |
| Rated frequency | 50 Hz |
| Motor unit weight | 5.5 kg |
| Dimensions (approx.) | 40 x 20 x 35 cm |
| Extraction bowl capacity | Not specified |
| Main materials | ABS plastic, stainless steel (sieve) |
| Functions | Juice extraction, smoothie, forward/reverse (Reverse) |
| Sieves included | 1 juice sieve, 1 smoothie sieve |
| Accessories included | Cleaning brush, pusher, juice jug, pulp jug, rubber gasket |
| Max continuous use time | 20 minutes (let it cool before reuse) |
| Power supply type | Mains plug |
| Maintenance and cleaning | Detachable parts washable with warm water; do not use metal brush or dishwasher; brush provided for sieve |
| Safety | Do not use with wet hands; unplug after use; do not insert metal objects into the feed chute; do not immerse the motor unit |
| Spare parts and repairability | Rubber gasket, sieve, extraction bowl, press auger, lid; repair by manufacturer or authorized professional |
| Intended use | Household only, indoor |
Frequently Asked Questions - Slowjuicer SLJV4300 DEJELIN
User questions about Slowjuicer SLJV4300 DEJELIN
0 question about this device. Answer the ones you know or ask your own.
Ask a new question about this device
Download the instructions for your Juicer in PDF format for free! Find your manual Slowjuicer SLJV4300 - DEJELIN and take your electronic device back in hand. On this page are published all the documents necessary for the use of your device. Slowjuicer SLJV4300 by DEJELIN.
USER MANUAL Slowjuicer SLJV4300 DEJELIN
EN / Warning: to reduce risk of injury, the user must read and understand this instruction manual before using this item. This appliance is intended for domestic use as described in and in accordance with the instructions provided in this manual. For indoor use only. PLEASE READ THESE INSTRUCTIONS CAREFULLY AND RETAIN FOR FUTURE USE. PLEASE KEEP THIS PRODUCT OUT OF REACH OF CHILDREN.
NEDERLANDS
Common assembly method
How to use this appliance
Safety use consideration
Disassembly and cleaning method
NL
FR
DE
EN
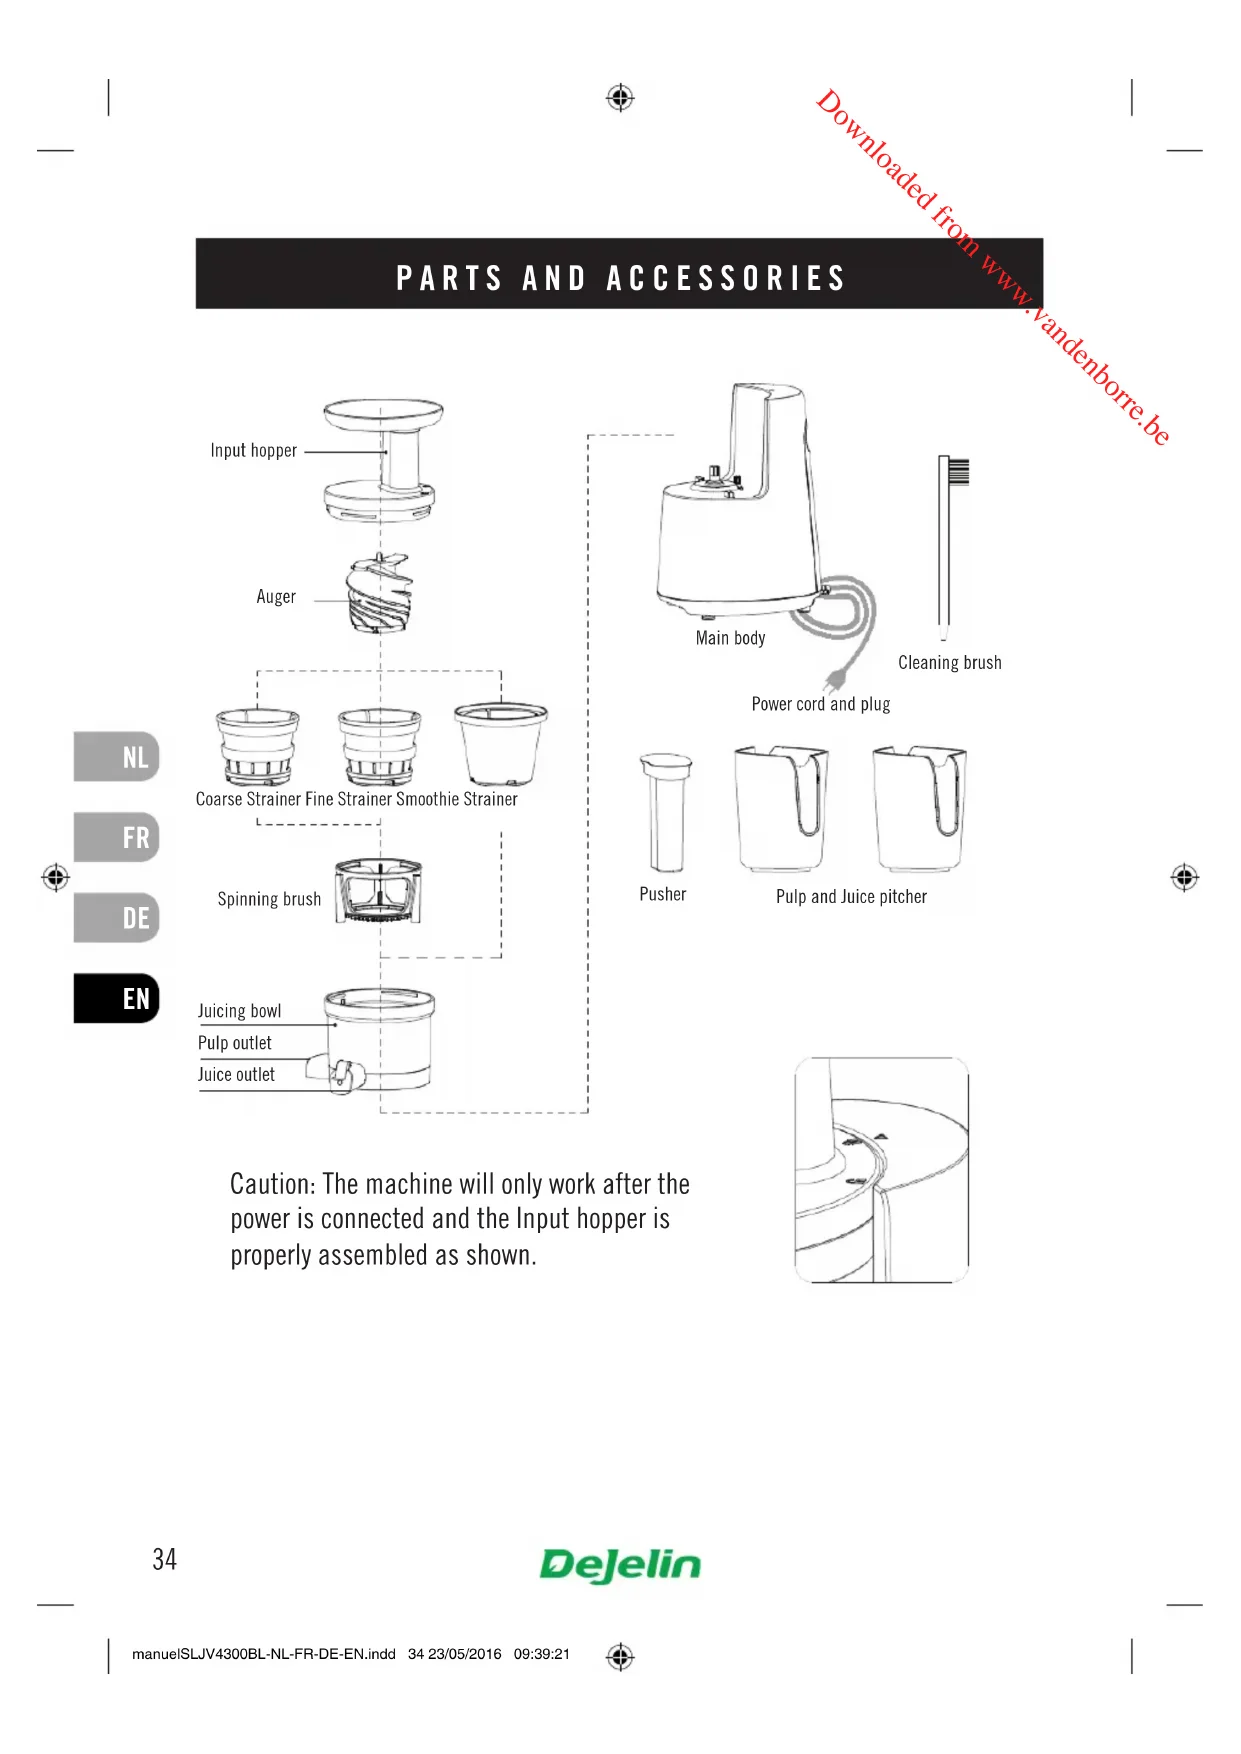
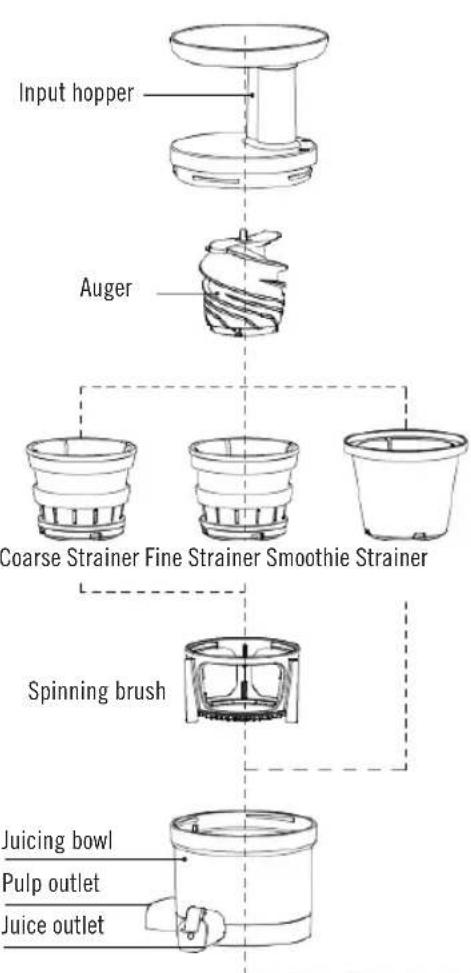
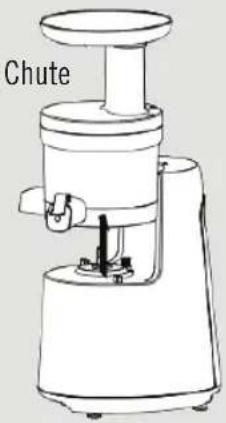
PARTS AND ACCESSORIES
NL
FR
DE
EN
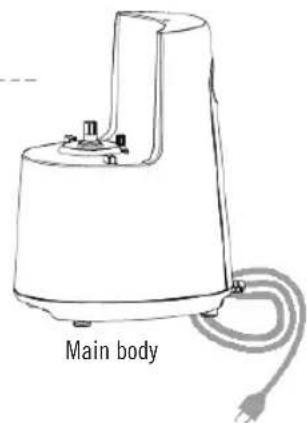
Power cord and plug
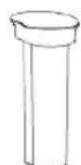
Pusher

Pulp and Juice pitcher
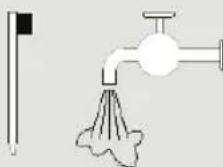
Caution: The machine will only work after the power is connected and the Input hopper is properly assembled as shown.
SAFETY OPERATION INSTRUCTIONS
Below instructions are for safe usage of the machine. Please follow instructions carefully in order to avoid any accidents or damage.

Warning: Improper operation may cause serious injury or fatal accidents.

Caution: Improper operation may cause injury to the consumer or damage to the machine.

WARNING
- Do not use wet hands, wet towels to pull the plug from the power outlet. Avoid electric shock, accidental injury.
- Plug in the power using the correct plug into the power outlet as shown.
- Prohibited to use in power sources other than 220V-240V.
- Do not use excessive force to pull the power cord.
- If the power cord is damaged, the machine must be repaired by the manufacturer, its maintenance department or professional personnel as indicated in order to avoid danger.
- Check equipment before use to ensure that the power cord and plug are in good condition. Otherwise, the appliance may cause fire, electric shock and other personal injuries.
- Do not use fingers, spoons, chopsticks, or other metal or foreign objects to push food through the chute of hopper. This will cause personal injury or damage to the appliance.
- Main body cannot be immersed into any liquid or washed on a platform containing water. This can cause fire, electric shock, or other accidents resulting in bodily injury.
- The power must be placed out of children's reach. Unplug the appliance immediately after use.
Foreign objects must be cleaned before use.

CAUTION
- This product should be placed on a smooth, even surface for safe use.
- Do not place spoons or chopsticks in the juice outlet.
- If the auger stops running while in use, please press reverse for 2-3 seconds, then press forward.
- When in use, do not disassemble or assemble the parts.
- Do not use anything except the pusher to push the food into the hopper chute.
- Please don't use for longer than 20 minutes at a time. This will cause the motor to overheat and will lead to engine failure. Cool the machine to room temperature before using again
- Do not hit or drop the machine. Easy to cause personal injury or a machine fault.
- Equipment must be unplugged when not in use. This prevents electric shock or leakage.
-
While using the appliance, should you notice an abnormal sound, smell, or phenomena such as excessive heat or smoke, switch off the power immediately and contact the equipment maintenance center for repair. To avoid electric shock, leakage, fire and other accidents.
-
The main body weight is approximately 5.5kg . Please note this when moving the machine.
- Please do not wash or clean the machine parts in temperatures above 80 degrees.
TECHNICAL DATA
NL
FR
DE
EN
| Model SLJV4300BL | |
| Rated voltage 220-240V | |
| Rated power 200W | |
| Rated frequency 50Hz |
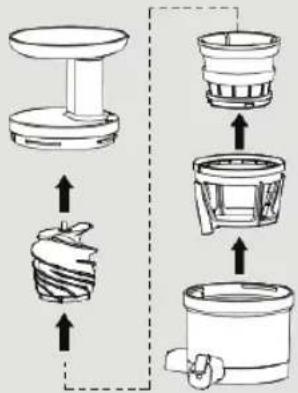
ASSEMBLY METHOD1
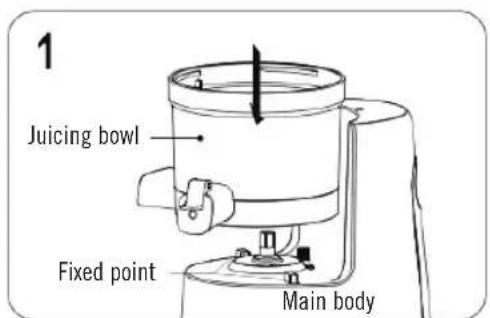
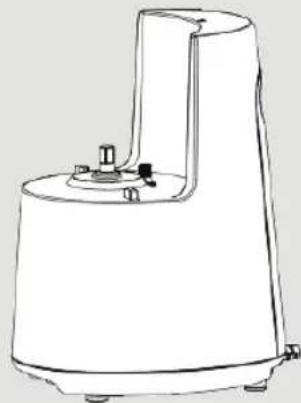
To install the chamber to the main body.
Put the chamber onto the fixed point of main body.
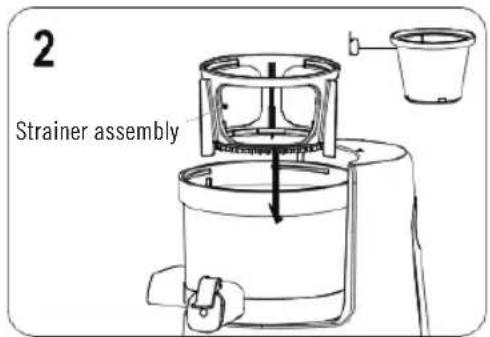
To install the strainer assembly inside the juicing bowl. (b:Smoothie strainer).
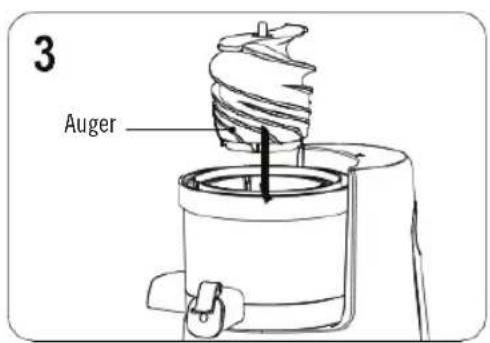
To install the auger into the middle of strainer.
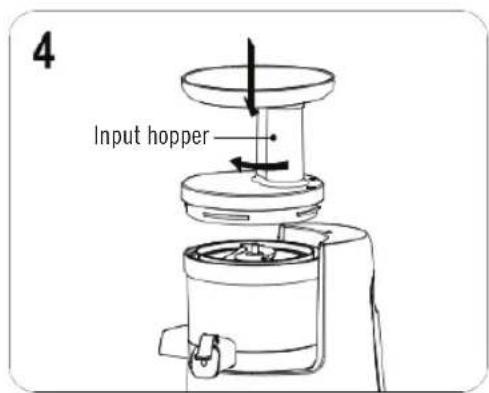
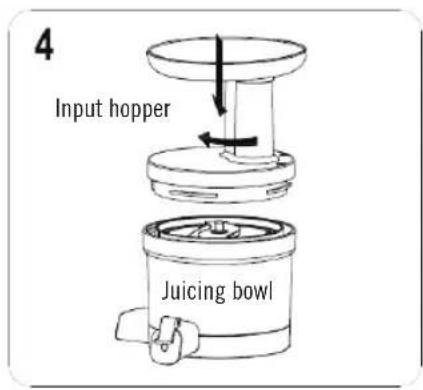
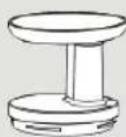
To install input hopper
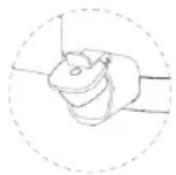
- As shown in figure 1, the point on the lid must be aligned with the point of the main body.
- Turn the lid clockwise.
Hopper assembly part 1
Hopper assembly part 2
ASSEMBLY METHOD2

To install the strainer into spinning brush
The lid of the component assembly. As shown in figure 1.
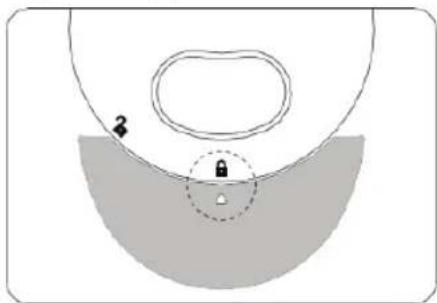
- Place the hopper onto juicing bowl.
- Turn the hopper until it goes no further.
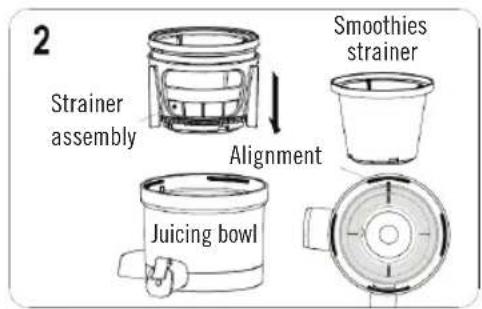
Assembly of strainer onto juicing bowl. All ribs (4 ribs in total) of strainer must be aligned with the lock of the juicing bowl. The smoothie strainer and juicing bowl assembly (for making frozen fruit smoothies) uses the same assembly method as the other strainers. There are four angles in 360^ , where each rib of the smoothie strainer must be aligned with the lock of the juicing bowl.
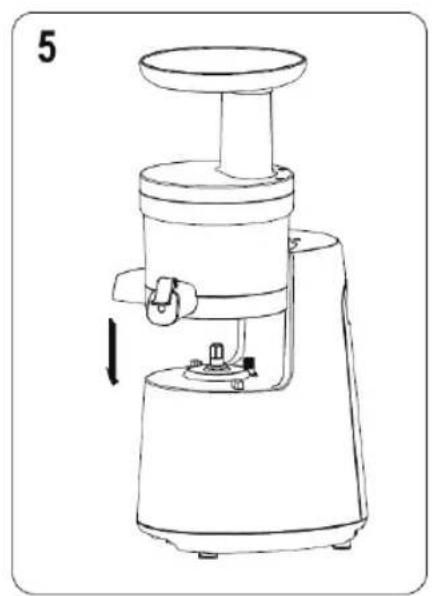
To install the juicing bowl onto the main body
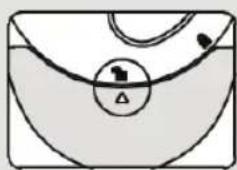
- Align the juicing bowl with the shaft.
- After the juicing bowl is installed, check whether the lock marks are in alignment.
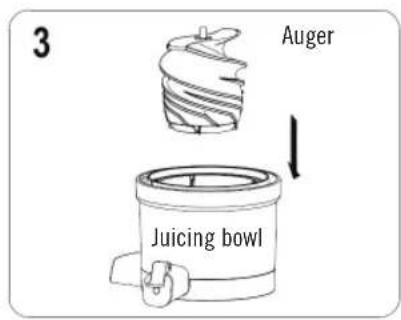
The auger must be aligned in the middle of juicing bowl, then push the auger down into the correct position.

COMMON ASSEMBLY METHOD
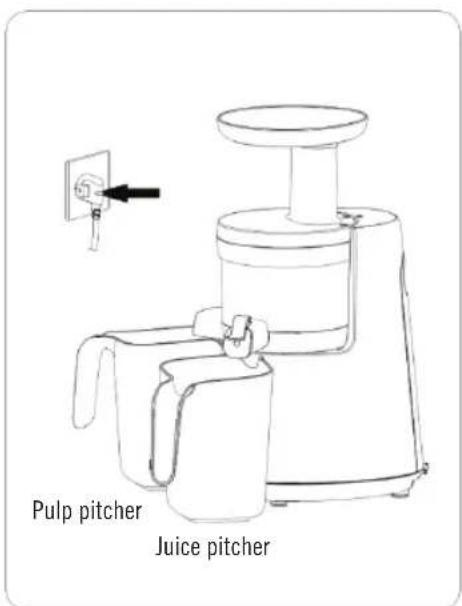
Connecting to power
- Push the plug into socket.
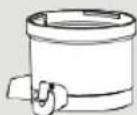
- Placing pitchers as shown in figure.
One juice and one pulp pitcher (identical).
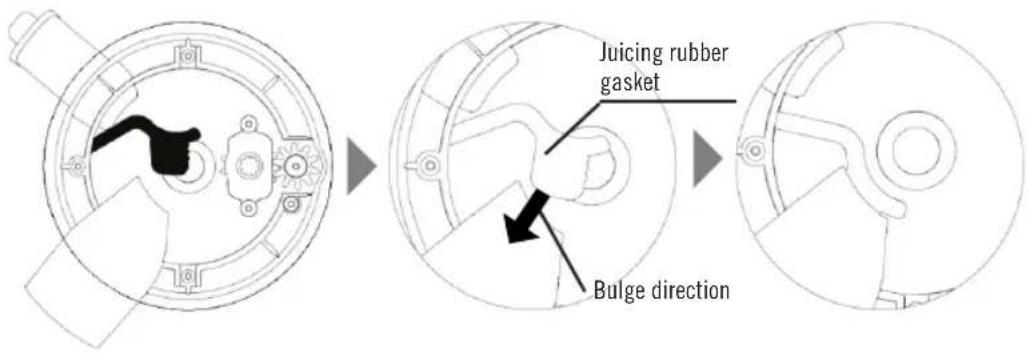
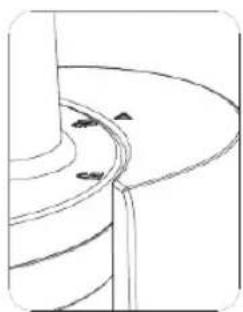
Bottom view of juicing bowl Direction of inserting Insert carefully
Assembly method of juicing rubber seal. When cleaning, pull out the juicing rubber seal and replace after cleaning as fi gure shows.
USAGE OF THE MACHINE
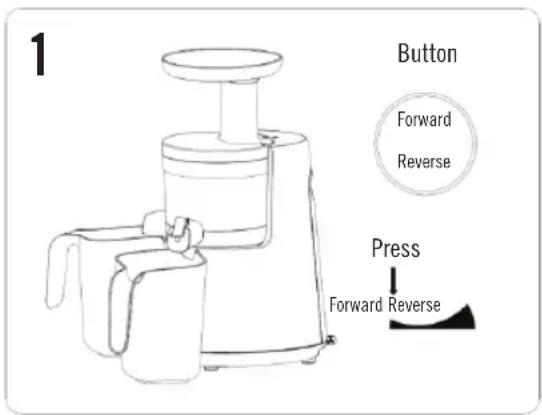
Press the automatic button (forward) Pressing button
- Forward: To push the ingredients down to juice.
- Reverse: To push the ingredients back up.
- Warning: Do not operate the button when hands are wet.

Put the cleaned ingredients into the chute, and push them down with the pusher.
JUICE EXTRACTING (WITH STRainer ASSEMBLY)
- All ingredients should be fresh
- Ingredients stored in the refrigerator for a long time should be soaked in water for more than 10 mins before juicing.
-
Pine needles shall be soaked in water for around 1 hour, and put into machine in wet.
-
When juicing carrots, the carrots must be pre-cut into small cubes.
- For fruits such as persimmon, plum, Chinese haw, etc., which have hard cores, the pips should be removed before putting in the machine.
- Do not put in too much ingredients to avoid the strainer from breaking.
MAKING SMOOTHIES (WITH SMOOTHIE STRAINER)
- Remove the core and peel the fruits, then pre-cut to a size that fits into the machine. Then put the ingredients into freezer. When the fruits as hard as ice, you can make a refreshing smoothie.
- Caution: When making smoothies, the smoothie can come out via the pulp outlet and not from the juice outlet.
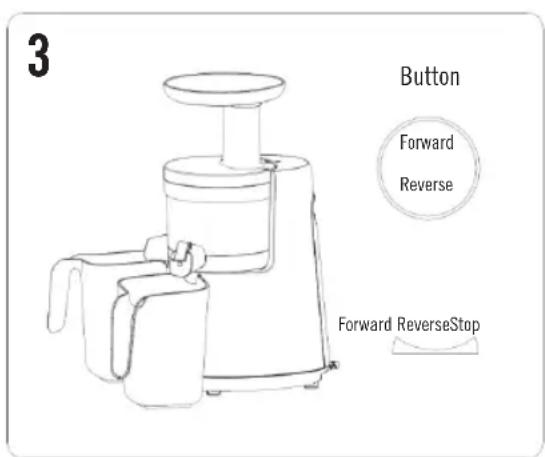
After juicing is finished, press the switch once.
- Warning: Do not store vegetable or fruit juice for long periods of time. Do not use for crushing or grinding grain or sugar cane when juicing, because such ingredients can easily lead to breakage or malfunction.
- Do not operate switch when wet. May cause electric shock, electrical leakage or fire.
USAGE OF THE MACHINE

4 Usage of juice outlet
Close
Open
MAKING JUICE
- When juicing, you can open the juice outlet to allow juice to flow into the juice pitcher.
- Note: When judging, the juice pitcher may not exceed maximum level.
- Close outlet when not collecting juice.
MIX
- When several ingredients are mixed, the outlet should be closed.
- The mixing result will be better while the outlet is closed.
SAFETY USE CONSIDERATIONS
- Please don not use continuously for longer than 30 minutes. Engine overheating can cause failure. Please stop use. Let the machine cool down to room temperature before using again.
- Don't put the chopsticks in the outlet. This can easily lead to damage of accessories. Improper use will cause personal injury or damage to the equipment.
- Please don't use anything other than the pusher to insert ingredients. This can easy cause personal injury or machine malfunction.
- Do not use hard food materials. Avoid the equipment damage or impact effect of juice. The hard cores of persimmon, plum, hawthorn fruit, etc., must be removed before use.
CLEANING METHOD
1 Turn off machine and unplug from wall socket.
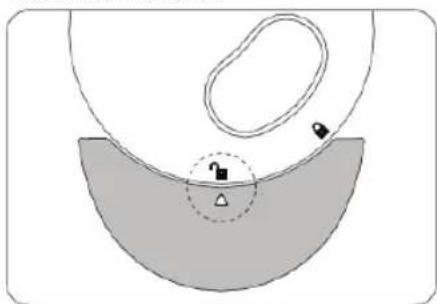
2 Method 1: Press reverse button once, then grab lid and pull up as shown in the figure.
Method 2: Turn lid anti-clockwise until the Open mark aligns at . Pull the lid upwards, then pull the juicing bowl from main body.
4 The detachable parts can be washed and cleaned in water. If the strainer is blocked, it can be cleaned using the cleaning brush.


When cleaning, do not use steel brush, cleanser, sharp cleaning tool, and do not use washing up liquid or drier.
3 Disassemble the parts as below.
5 When cleaning, do not use steel brush, cleanser, sharp cleaning tool, and do not use washing up liquid or drier.
6 After cleaning, wipe the cleaned parts dry and store in a clean and tidy place.

Downloaded from www.vandenbore.be


DALCQ S.A.
RueduHainaut86
6180 Courcelles
Belgium
info@dalcq.com
