
Control Line KH442 - Toaster KRUPS - Free user manual and instructions
Find the device manual for free Control Line KH442 KRUPS in PDF.
User questions about Control Line KH442 KRUPS
0 question about this device. Answer the ones you know or ask your own.
Ask a new question about this device
Download the instructions for your Toaster in PDF format for free! Find your manual Control Line KH442 - KRUPS and take your electronic device back in hand. On this page are published all the documents necessary for the use of your device. Control Line KH442 by KRUPS.
USER MANUAL Control Line KH442 KRUPS
natural_image
Close-up of a printer's internal structure showing paper feed and paper tray (no text or symbols visible)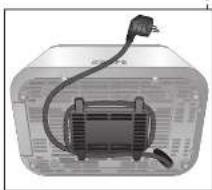
natural_image
Interior view of a device with a coiled cable and internal components (no visible text or symbols)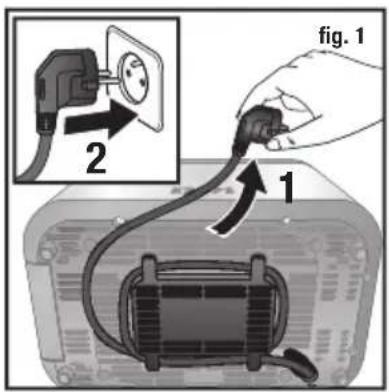
natural_image
Illustration of a hand pressing down on a food item into a 2<|im_start|> Guyan DUP1 toaster (no text or symbols)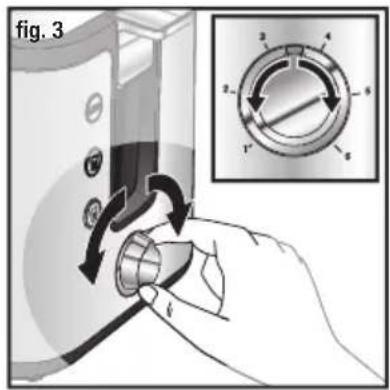
natural_image
Illustration of a hand pressing down on a griddle with arrows indicating process (no text or symbols)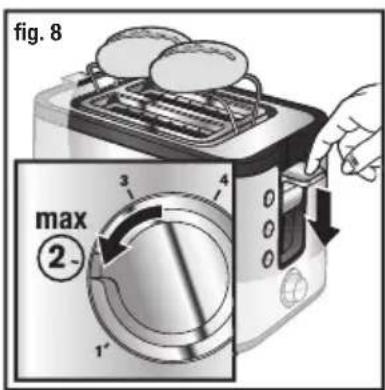
BESCHREIBUNG
CAUTION: the safety precautions are part of the appliance. Read them carefully before using your new appliance for the first time. Keep them in a place where you can find and refer to them later on.
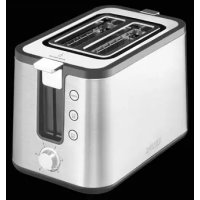
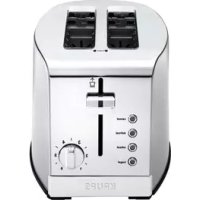
DESCRIPTION
a Heat insulated casing
b Crumb tray
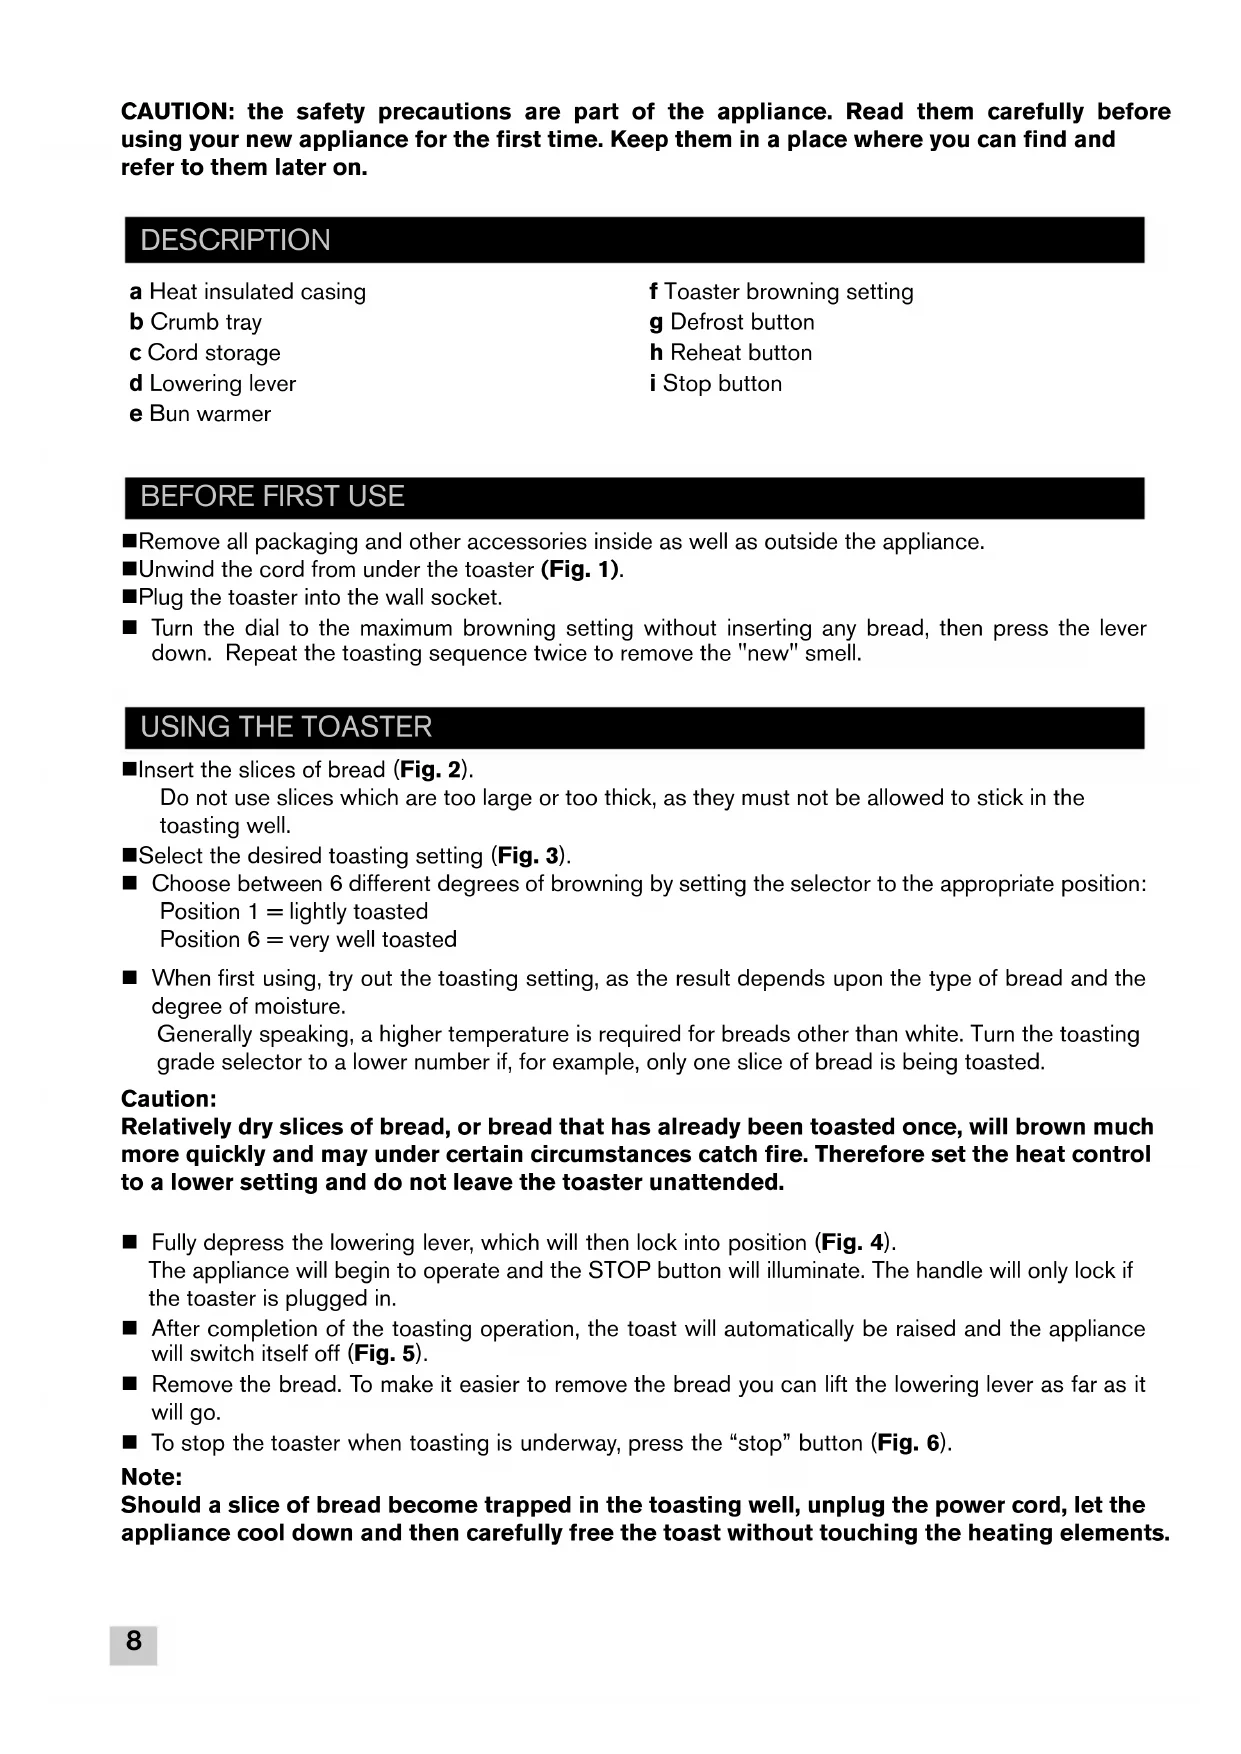
c Cord storage
d Lowering lever
e Bun warmer
f Toaster browning setting
g Defrost button
h Reheat button
i Stop button
BEFORE FIRST USE
■Remove all packaging and other accessories inside as well as outside the appliance.
■Unwind the cord from under the toaster (Fig. 1).
■Plug the toaster into the wall socket.
■ Turn the dial to the maximum browning setting without inserting any bread, then press the lever down. Repeat the toasting sequence twice to remove the "new" smell.
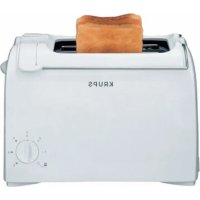
USING THE TOASTER
■Insert the slices of bread (Fig. 2).
Do not use slices which are too large or too thick, as they must not be allowed to stick in the toasting well.
■Select the desired toasting setting (Fig. 3).
- Choose between 6 different degrees of browning by setting the selector to the appropriate position: Position 1 = lightly toasted Position 6 = very well toasted
■ When first using, try out the toasting setting, as the result depends upon the type of bread and the degree of moisture.
Generally speaking, a higher temperature is required for breads other than white. Turn the toasting grade selector to a lower number if, for example, only one slice of bread is being toasted.
Caution:
Relatively dry slices of bread, or bread that has already been toasted once, will brown much more quickly and may under certain circumstances catch fire. Therefore set the heat control to a lower setting and do not leave the toaster unattended.
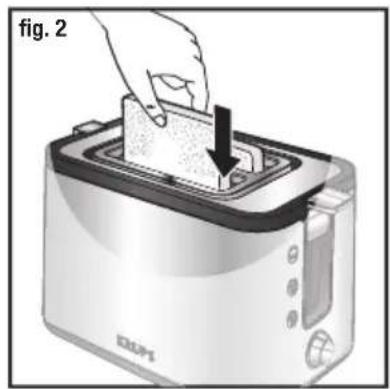
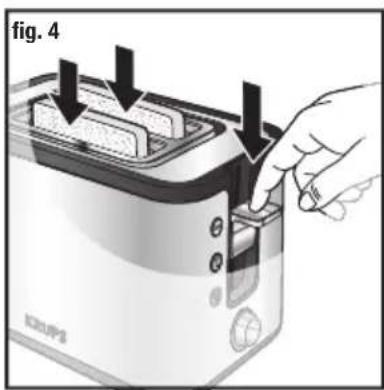
■ Fully depress the lowering lever, which will then lock into position (Fig. 4).
The appliance will begin to operate and the STOP button will illuminate. The handle will only lock if the toaster is plugged in.
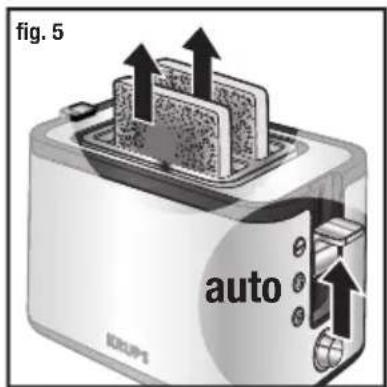
■ After completion of the toasting operation, the toast will automatically be raised and the appliance will switch itself off (Fig. 5).
■ Remove the bread. To make it easier to remove the bread you can lift the lowering lever as far as it will go.
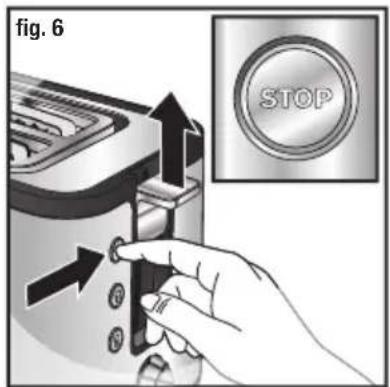
■ To stop the toaster when toasting is underway, press the "stop" button (Fig. 6).
Note:
Should a slice of bread become trapped in the toasting well, unplug the power cord, let the appliance cool down and then carefully free the toast without touching the heating elements.
ADDITIONAL ACCESSORIES
Bun Warmer
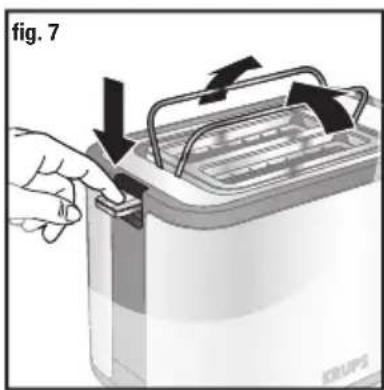
■ Raise the bun warmer by pressing the handle on the corresponding bun warmer function (e) (Fig. 7).
■ Position the rolls on the shelves and press on the lowering lever until it locks automatically. Do not go beyond position 2. Start the appliance (Fig. 8).
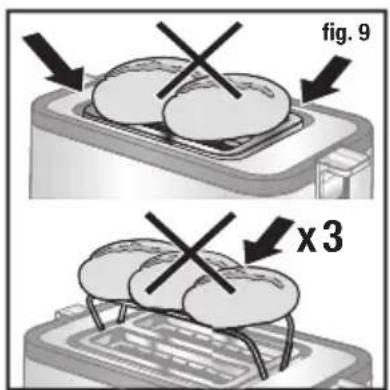
■ Please take care for rolls rewarming function that the rolls and the lift have to be in the right position (Fig. 9). Do not put any pastries directly on the toaster to reheat them. Use the bun warmer instead (e).
■To improve the results, turn the rolls over and repeat the toasting operation.
■After use, lower the bun warmer by raising the handle on the bun warmer feature.
■The bun warmer should not be used for longer than 10 minutes.
Defrost feature
■ The toaster has a pre-programmed defrosting feature. Toasting frozen bread takes longer than toasting bread which is not frozen.
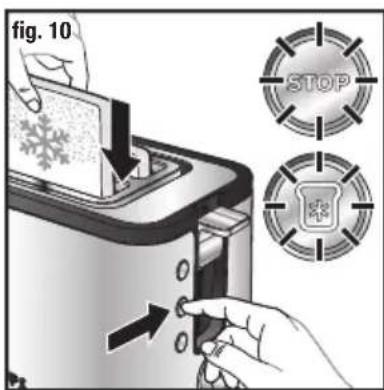
■ Insert one or two frozen slices of bread or toast in the toaster (Fig. 10).
■ Select the desired toasting level and lower the handle (please see the "OPERATING MODE" paragraph).
■Press the " " button (Fig. 10).
■The "DEFROST" and "STOP" buttons will illuminate.
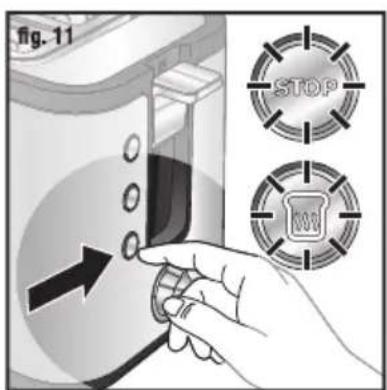
Reheat feature
■ The toaster has a pre-programmed feature to reheat pieces of bread or toast without toasting them too much.
■ The reheating time is automatic, regardless of the position of the setting button (roughly 30 seconds).
■Insert the pieces of bread or toast in the toaster and lower the handle.
■Press the " " button (Fig. 11).
■The "REHEAT" and "STOP" buttons will illuminate.
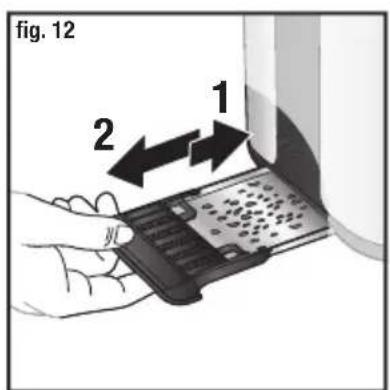
CLEANING
■Before pulling out the crumb tray, allow the toaster to cool for at least ten minutes after completion of the preceding toasting operation.
■Before commencing the cleaning operation, pull out the mains plug.
■ It can be removed by pressing above, avoid all contact with metal parts. Clean the toaster regularly (Fig. 12).
■Never immerse the appliance in water or put it under running water.
■ Never use an abrasive sponge to clean the toaster. Clean it with a damp cloth and wipe it with a soft, dry cloth in order to make it shine.
■ Remove the crumb tray by pressing above and remove the crumbs (Fig. 12).
■Wipe using a damp cloth then return the crumb tray to its place.
■Never use the toaster without the crumb tray.
REPAIR SERVICE
| PROBLEM SOLUTION | |
| The toaster does not work. | Ensure the plug is properly connected to the socket.If the toaster is still not working, take it to an approved KRUPS service centre. |
| The bread is stuck in the appliance. | Unplug the appliance and leave it to cool. Remove the bread carefully.Be careful not to damage the heating elements when removing the bread. Never use a metallic object to remove the bread. |
| The bread is too brown or not brown enough. | Check the setting level selected. Select a lower level if your bread is too brown, or a higher level if it is not brown enough.Ensure the freezing or reheating buttons have not been selected. |
| The bread pops out almost immediately and is not toasted. | Ensure the handle has been lowered to the bottom. Also check that the reheating button was not selected.If the bread still does not stay in the toaster, bring your appliance to an approved KRUPS service centre. |
| Smoke is coming out of the toaster. | It is possible that the toasting level selected is too high. Press the STOP button to stop the toasting cycle and unplug the appliance. |
| The cord is damaged. If the | cord on the appliance is damaged, it must be replaced in an approved KRUPS service centre. |
DISPOSAL

The packaging comprises exclusively environmentally-friendly materials which should be disposed of according to the local recycling arrangements.
Disposal methods for the appliance itself can be found by enquiry at the appropriate department of the local authority in your area.
Environment protection first!
① Your appliance contains a lot of recoverable or recyclable material.
When disposing of it, take it to a local civic waste collection point.
Position 1 = let ristet

Brand : KRUPS
Model : Control Line KH442
Category : Toaster