Gyspot PTI Master 400V - Uncategorized GYS - Free user manual and instructions
Find the device manual for free Gyspot PTI Master 400V GYS in PDF.
Download the instructions for your Uncategorized in PDF format for free! Find your manual Gyspot PTI Master 400V - GYS and take your electronic device back in hand. On this page are published all the documents necessary for the use of your device. Gyspot PTI Master 400V by GYS.
USER MANUAL Gyspot PTI Master 400V GYS
3. INSTALLATION – FONCTIONNEMENT PRODUIT
G1 (550 daN) - ref. 022768 INCLUS G2 (300 daN) - ref. 022775 G3 (550 daN) - ref. 022782
G2 + G3 + G4 - ref. 022898 G6 (550 daN) - ref. 022812 G7 (150 daN) - ref. 022829
G5 (550 daN) (6.25 kg) - ref. 022805G10 (370 daN) (5 kg) - ref. 067165
G8 (550 daN) - ref. 022836G9 (500 daN) - ref. 022881 G9 + X1 inclusref. 072275 G9 + X6 inclusG14 (550 daN) - ref. 080942FR
4.2.2.3Achageprincipal
Translation of the original instructions
Translation of the original instructions
Translation of the original instructions
Translation of the original instructions
Translation of the original instructions
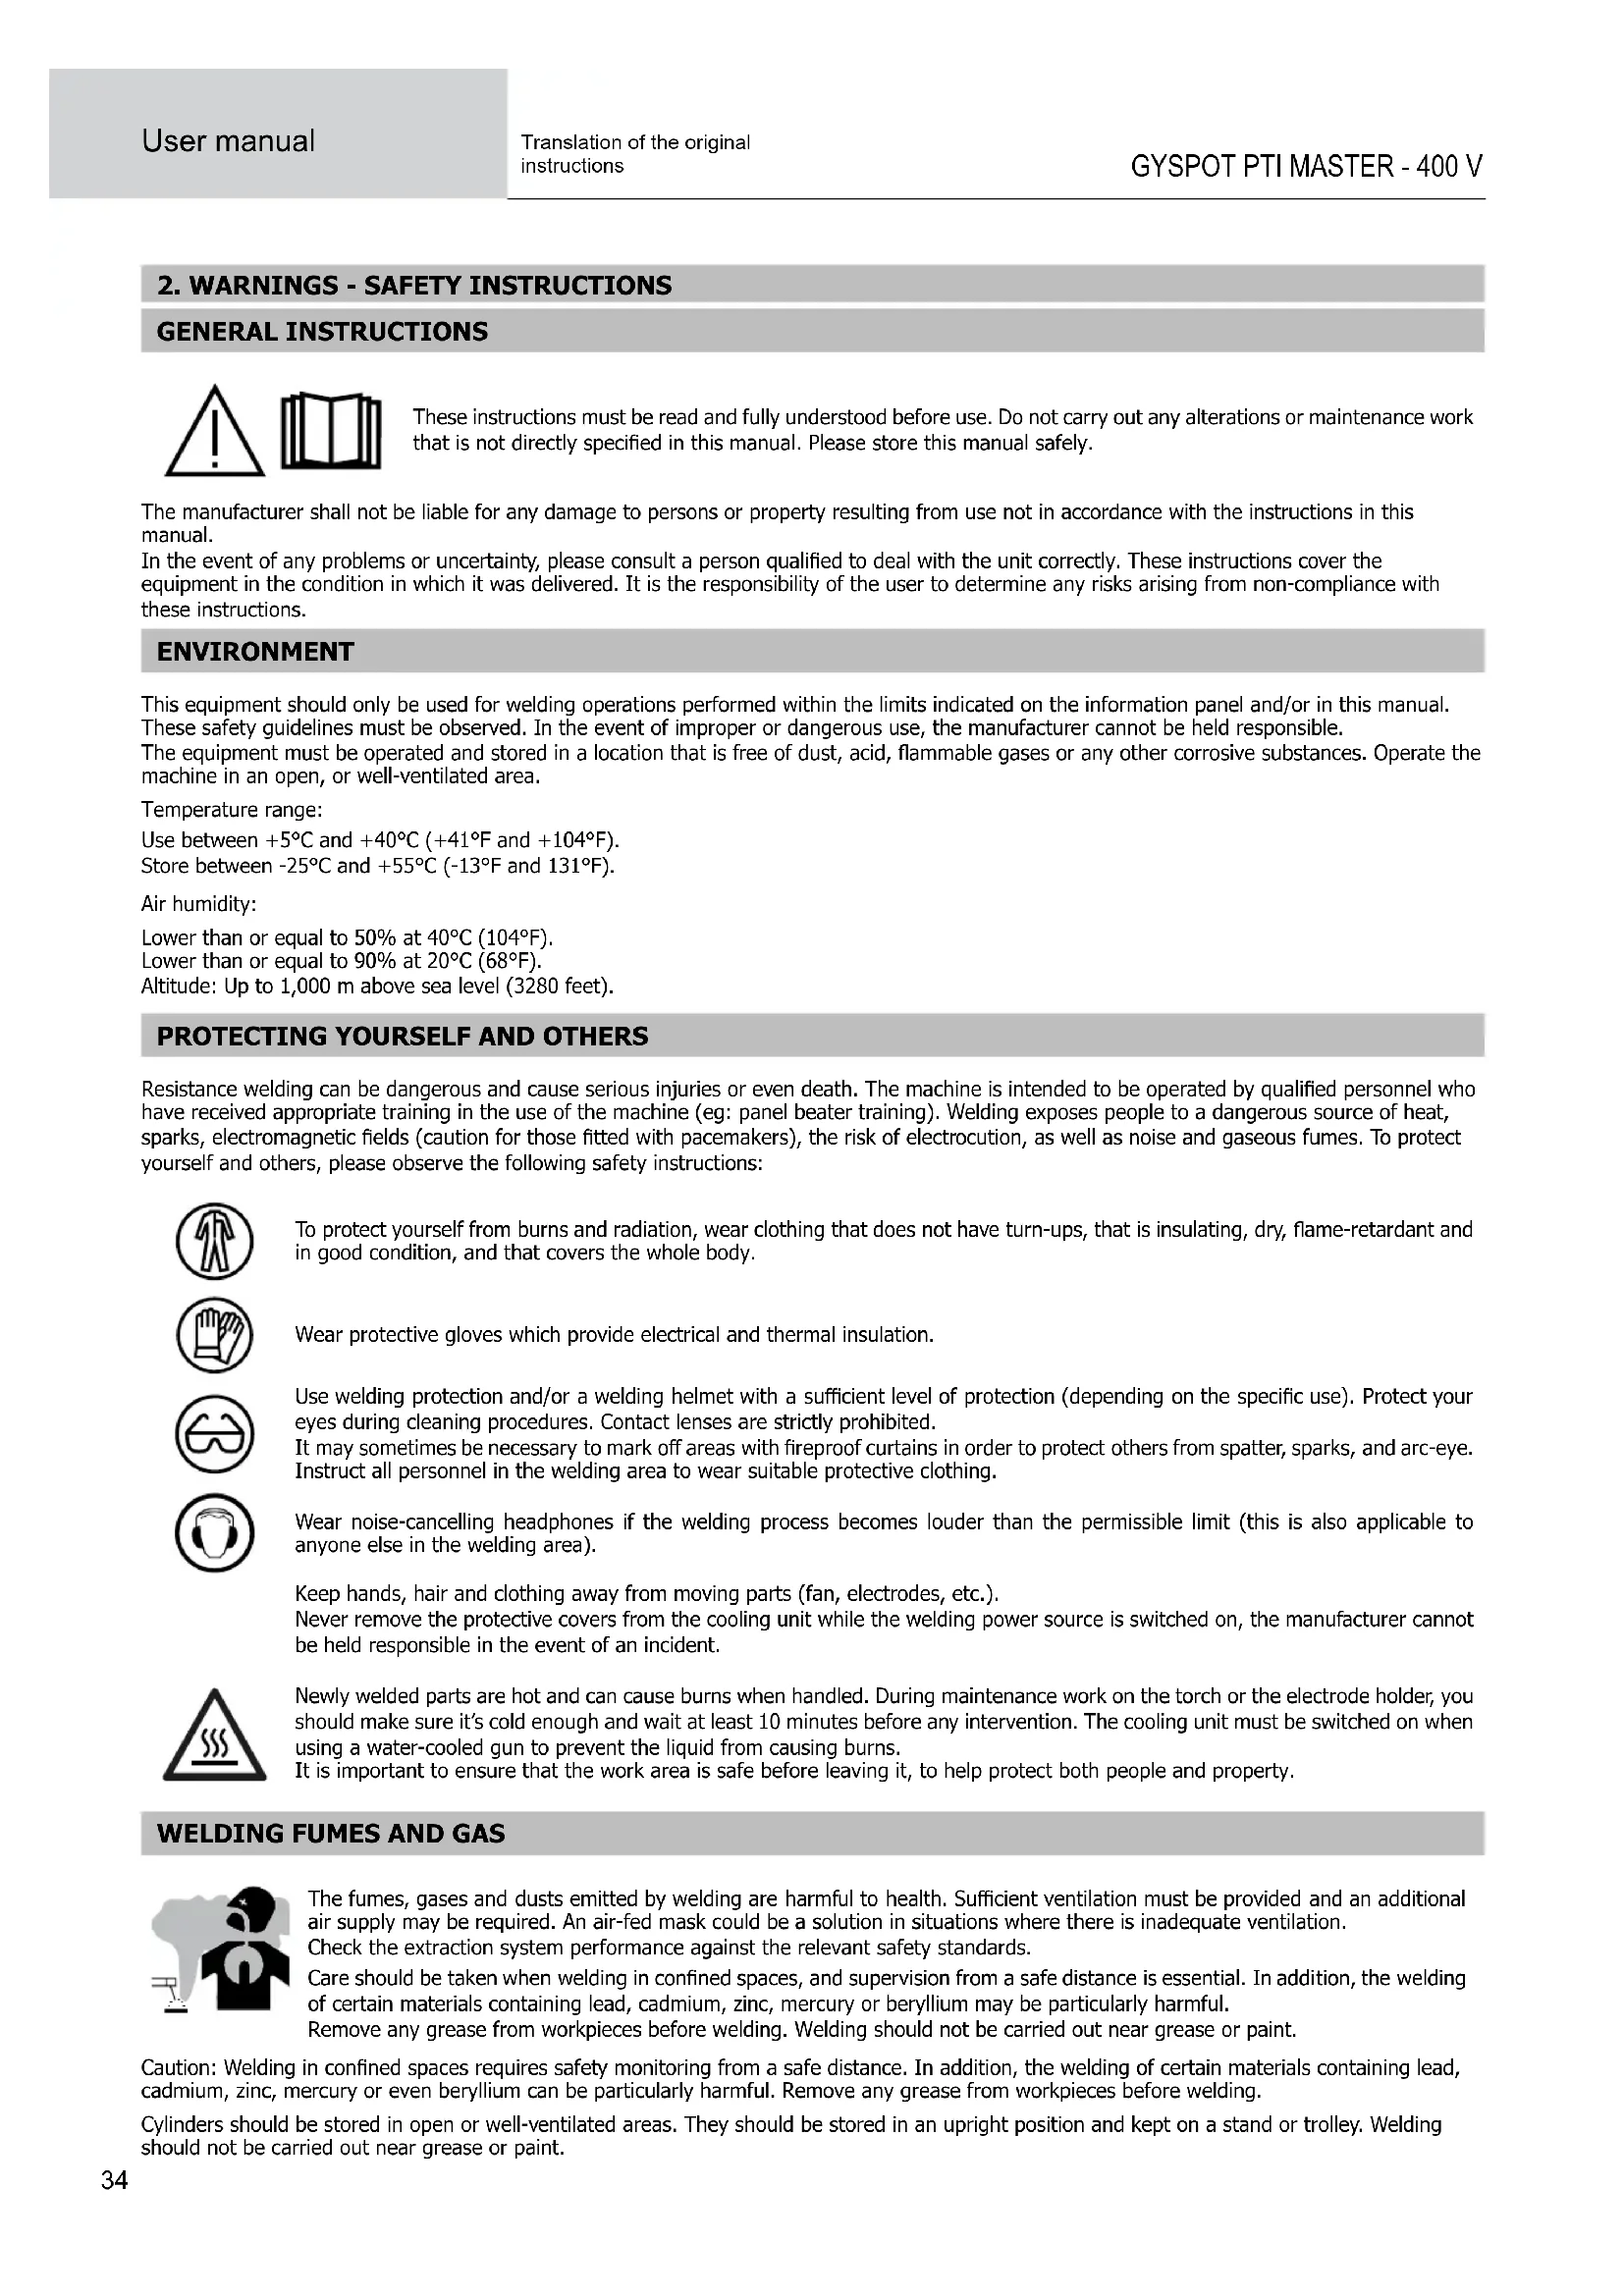
2. WARNINGS - SAFETY INSTRUCTIONS
GENERAL INSTRUCTIONS These instructions must be read and fully understood before use. Do not carry out any alterations or maintenance work thatisnotdirectlyspeciedinthismanual.Pleasestorethismanualsafely. The manufacturer shall not be liable for any damage to persons or property resulting from use not in accordance with the instructions in this manual. Intheeventofanyproblemsoruncertainty,pleaseconsultapersonqualiedtodealwiththeunitcorrectly.Theseinstructionscoverthe equipment in the condition in which it was delivered. It is the responsibility of the user to determine any risks arising from non-compliance with these instructions. ENVIRONMENT This equipment should only be used for welding operations performed within the limits indicated on the information panel and/or in this manual. These safety guidelines must be observed. In the event of improper or dangerous use, the manufacturer cannot be held responsible. Theequipmentmustbeoperatedandstoredinalocationthatisfreeofdust,acid,ammablegasesoranyothercorrosivesubstances.Operatethe machine in an open, or well-ventilated area. Temperature range: Use between +5°C and +40°C (+41°F and +104°F). Store between -25°C and +55°C (-13°F and 131°F). Air humidity: Lower than or equal to 50% at 40°C (104°F). Lower than or equal to 90% at 20°C (68°F). Altitude: Up to 1,000 m above sea level (3280 feet).
PROTECTING YOURSELF AND OTHERS
Resistanceweldingcanbedangerousandcauseseriousinjuriesorevendeath.Themachineisintendedtobeoperatedbyqualiedpersonnelwho have received appropriate training in the use of the machine (eg: panel beater training). Welding exposes people to a dangerous source of heat, sparks,electromagneticelds(cautionforthosettedwithpacemakers),theriskofelectrocution,aswellasnoiseandgaseousfumes.Toprotect yourself and others, please observe the following safety instructions: Toprotectyourselffromburnsandradiation,wearclothingthatdoesnothaveturn-ups,thatisinsulating,dry,ame-retardantand in good condition, and that covers the whole body. Wear protective gloves which provide electrical and thermal insulation. Useweldingprotectionand/oraweldinghelmetwithasucientlevelofprotection(dependingonthespecicuse).Protectyour eyes during cleaning procedures. Contact lenses are strictly prohibited. Itmaysometimesbenecessarytomarkoareaswithreproofcurtainsinordertoprotectothersfromspatter,sparks,andarc-eye. Instruct all personnel in the welding area to wear suitable protective clothing. Wear noise-cancelling headphones if the welding process becomes louder than the permissible limit (this is also applicable to anyone else in the welding area). Keep hands, hair and clothing away from moving parts (fan, electrodes, etc.). Never remove the protective covers from the cooling unit while the welding power source is switched on, the manufacturer cannot be held responsible in the event of an incident. Newly welded parts are hot and can cause burns when handled. During maintenance work on the torch or the electrode holder, you should make sure it’s cold enough and wait at least 10 minutes before any intervention. The cooling unit must be switched on when using a water-cooled gun to prevent the liquid from causing burns. It is important to ensure that the work area is safe before leaving it, to help protect both people and property.
WELDING FUMES AND GAS
Thefumes,gasesanddustsemittedbyweldingareharmfultohealth.Sucientventilationmustbeprovidedandanadditional air supply may be required. An air-fed mask could be a solution in situations where there is inadequate ventilation. Check the extraction system performance against the relevant safety standards. Careshouldbetakenwhenweldinginconnedspaces,andsupervisionfromasafedistanceisessential.Inaddition,thewelding of certain materials containing lead, cadmium, zinc, mercury or beryllium may be particularly harmful. Remove any grease from workpieces before welding. Welding should not be carried out near grease or paint. Caution:Weldinginconnedspacesrequiressafetymonitoringfromasafedistance.Inaddition,theweldingofcertainmaterialscontaininglead, cadmium, zinc, mercury or even beryllium can be particularly harmful. Remove any grease from workpieces before welding. Cylinders should be stored in open or well-ventilated areas. They should be stored in an upright position and kept on a stand or trolley. Welding should not be carried out near grease or paint.EN
Translation of the original instructions
RISK OF FIRES AND EXPLOSIONS
Fullyshieldtheweldingarea,ammablematerialsshouldbekeptatleast11metresaway. Fire-ghtingequipmentshouldbekeptclosetowherevertheweldingactivitiesarebeingundertaken. Becarefulofspatterandsparkprojections,eventhroughcracks.Itcanbethesourceofreorexplosion. Keeppeople,ammableobjectsandpressurisedcontainersatasafedistance. Weldinginclosedcontainersortubesistobeavoided.Ifthecontainersortubesareopen,theymustbeemptiedofallammableorexplosive materials (oil, fuel, gas residues, etc.). Grindingworkmustnotbedirectedtowardsthesourceoftheweldingcurrentortowardsanyammablematerials. ELECTRICAL SAFETY The electrical network used must be earthed. An electric shock, whether direct or indirect, can cause serious injury or death. Never touch live parts either inside or outside of the power source (cables, electrodes, arms, gun, etc.) as these are connected to the welding circuit. Before opening the welding machine power source, disconnect it from the mains and wait two minutes to ensure that all the capacitors have fully discharged. Ifthecables,electrodesorarmsaredamaged,theyshouldbereplacedbyqualiedandauthorisedpersonnel.Measurethecablecross-section according to the intended application. Always use dry and in-tact clothing to insulate yourself from the welding circuit. Always wear insulated footwear, in all working environments. Warning! Very hot surface. Risk of burns.
- Hot workpieces and equipment can cause severe burns.
- Do not touch hot parts with bare hands.
- Wait for all parts and equipment to cool before handling them.
- In the event of burns, rinse with plenty of water and seek medical attention immediately.
EMC MATERIAL CLASSIFICATION
This Class A device is not intended for use in a residential location where electrical power is supplied by the public low-voltage powersupplynetwork.Ensuringelectromagneticcompatibiltymay be dicult at these sites due to conducted, as wellas radiated, radio frequency interference. This equipment does not comply with IEC 61000-3-12 and is designed to be plugged into private, low voltage power supply networks connected to the public mains supply only at medium or high voltage level. If it is connected to a public low-voltage supply network, it is the responsibility of the installer or user of the equipment to ensure, by consulting the distribution network operator, that the equipment may be connected. ELECTROMAGNETIC INTERFERENCES Anelectriccurrentpassingthroughanyconductor produceslocalisedelectricandmagneticelds(EMF).Theweldingcurrent producesanelectromagneticeldaroundtheweldingcircuitandtheweldingequipment. RECOMMENDATIONS FOR ASSESSING THE WELDING AREA AND INSTALLATION General Information The user is responsible for the proper installation and usage of the resistance welding equipment as per the manufacturer’s instructions. If electromagnetic disturbances are detected, it is the user’s responsibility to resolve the situation with the manufacturer’s technical assistance. In some cases, this corrective action may be as simple as earthing the welding circuit. In other cases, it may be necessary to construct an electromagnetic shieldaroundtheweldingcurrentsource,andaroundtheentireworkpiece,bysettingupinputlters.Inanycase,electromagneticinterferenceshould be reduced until it is no longer a cause for concern. Assessing the welding area Before installing resistance welding equipment, the user must assess any potential electromagnetic problems in the surrounding area. The following should be taken into account: a) the presence of other power, control, signal and telephone cables above, below and adjacent to the resistance welding equipment; b) radio and television receivers and transmitters; c) computers and other control equipment; d) safety-critical equipment, e.g. industrial machinery protection; e) the health of nearby persons, e.g. those using pacemakers or hearing aids; f) equipment used for calibrating or measurement; g) the sensitivity of other equipment in the surrounding area. The user must ensure that other equipment installed in the vicinity is compatible. This may require further protective measures; h) the time of day when welding or other operations are to be carried out.36 User manual
GYSPOT PTI MASTER - 400 V
Translation of the original instructions The size of the surrounding area to be taken into account depends on the structure of the building and other activities taking place there. The surrounding area may extend beyond the boundaries of the facility. Assessment of the welding equipment In addition to assessing the surrounding area, the evaluation of resistance welding installations can be used to identify and resolve cases of interference.ItisappropriatethattheassessmentofanyemissionsshouldincludeinsituproceduresasspeciedinArticle10ofCISPR11.In-situ measurementscanalsobeusedtoverifytheeectivenessofanymitigationmeasures. RECOMMENDATIONS ON METHODS FOR REDUCING ELECTROMAGNETIC EMISSIONS a. The mains supply network: Resistance welding equipment should be connected to the public mains power supply in accordance with the manufacturer’srecommendations.Ifanyinterferenceoccurs,itmaybenecessarytotakeadditionalprecautionarymeasuressuchaslteringthe mains power supply. Consideration should be given to shielding the power cable in a metal sleeve or equivalent for permanently installed resistance welding equipment. The power cable should be protected along its entire length. The shield should be connected to the welding power source to ensure that there is good electrical contact between the conduit and the welding power source enclosure. b. Maintaining resistance welding equipment : Resistance welding equipment should undergo routine maintenance in accordance with the manufacturer’s recommendations. All accesses, service doors and covers must be closed and properly locked when resistance welding equipment isinuse.Resistanceweldingequipmentmustnotbemodiedinanyway,apartfromthechangesandadjustmentsspeciedinthemanufacturer’s instructions. c. Welding cables: Cables should be as short as possible, placed close together, either near or on the ground. d. Equipotential bonding: Consideration should be given to linking all metal objects in the surrounding area. However, metal objects connected to the workpiece increase the risk of electric shocks to the user should they touch both these metal parts and the electrode. It is necessary to insulate the operator from such metal objects. e. Earthing the workpiece: In cases where the workpiece is unearthed for electrical safety reasons or due to its size and location, such as ship hulls or structural steel buildings, an earthed connection can reduce emissions in some cases, although not always. Care must be taken to avoid earthing parts that could increase the risk of injury to the user or cause damage to other electrical equipment. If necessary, the connection from the workpiece to earth should be made directly, but in some countries where this direct connection is not permitted, the connection should be made with a suitable capacitor chosen in accordance with national regulations. f. Protection and shielding: Selective protection and shielding of other cables and equipment in the surrounding area can help minimise interference problems. Protection and sheilding of the entire welding area may be required for certain specialist applications. TRANSPORT AND TRANSIT OF THE WELDING POWER SOURCE Theweldingpowersourceisttedwithhandlesonthetopsothatitcanbemovedbyhand.Becarefulnottounderestimatethe weight of the unit. The handle cannot be used to lift the product. Do not use the cables or torch to move the machine. Do not carry the power source over the heads of people or objects.
- The welding power source should be protected from heavy rain and not exposed to direct sunlight.
- The unit has an IP20 protection rating, which means: - the dangerous parts of the machine are protected against entry by objects greater than 12.5 mm and, - there is no protection against splashing water. Power, extension and welding cables must be completely uncoiled in order to avoid overheating. The manufacturer assumes no responsibility for damage to persons or objects caused by improper and dangerous use of this equipment. MAINTENANCE / RECOMMENDATIONS
- Anyone using this machine needs to have received appropriate training in the use of the device, in order to get the most out of its performance, and to carry out the work in accordance with the instructions (e.g: panel beater training).
- Check which welding processes are authorised by the manufacturer before attempting any vehicle repair. The maintenance and repair of the machine can only be undertaken by the manufacturer. Any work undertaken by a third party on the machine will invalidate the warranty. The manufacturer will not be held responsible for any incident or accident occurring after this work is carried out. Ensure the machine is unplugged from the mains, and then wait 2 minutes before carrying out maintenance work. Inside the ma- cine, the voltages and currents are high and dangerous.
- Theunitisttedwithabalancingsystemforeasierhandlingofthegun.However,donotallowtheclamptohangfromtheendofthebalancing cable for extended periods, as this may cause premature wear on the balancing system. Do not drop the clamp repeatedly without supporting it, as this may damage the balancing system.EN
Translation of the original instructions
- It is possible to adjust the tension of the balancing system spring using the allen key provided.
- The level of coolant is important to ensure that the machine runs smoothly. It must always be between the «minimum» and «maximum» marks on the machine. Regularly check the level and top-up when needed.
- It is recommended to renew the cooling liquid every 2 years.
- All welding equipment is subject to deterioration over time. Make sure that you keep your equipment clean in order to ensure that it is working at maximumeciency.
- Before using the pneumatic clamp, ensure that the electrodes/caps are in good condition (whether at,domedorangled).Iftheyarenot,cleanthemwithne-grainsandpaperorreplacethem(seepart number(s) on the machine).
Warning: the caps must be perfectly aligned. If they are not, Contact the after-sales service, except in
the case of the G9 arm where the electrodes can be oriented.
- Regularly review the condition of the power cable and welding connection cables. In case of visible signs of damage, organise for them to be replacedbythemanufactureroraqualiedtechnician. After each use, take care not to leave the cabling bundle twisted. A persistently twisted cable will lead to premature degradation, and may present an electrical hazard for the operator.
- Leave the air inlet and outlet vents of the welding power source clear and unobstructed.38 User manual
GYSPOT PTI MASTER - 400 V
Translation of the original instructions
3. INSTALLATION - USING THE PRODUCT
Only experienced personnel, authorised by the manufacturer, may carry out the set-up of the machine. During set-up, ensure that the power source is unplugged from the mains. Connecting power sources in series or in parallel is prohibited.
3.1 PRODUCT DESCRIPTION
Fig.1 This machine is designed to carry out the car body repair operations described below: - spot welding sheet metal with a pneumatic clamp, - welding sheet metal using a gun, - welding of nails, rivets, washers, studs, mouldings, - repair of bumps and impacts (hail impacts with optional pulling clamp).
4- Coolant gauge 9- Castors with brakes
Translation of the original instructions
12- Electrode 17- Single-point gun connector
13- Interchangeable arm 18- Over-opening lever
3.3 ACCESSORIES AND OPTIONS
Single-point QUICK FIX gun kit
Translation of the original instructions
G1 (550 daN) - ref. 022768 INCLUS G2 (300 daN) - ref. 022775 G3 (550 daN) - ref. 022782
G2 + G3 + G4 - ref. 022898 G6 (550 daN) - ref. 022812 G7 (150 daN) - ref. 022829
G5 (550 daN) (6.25 kg) - ref. 022805G10 (370 daN) (5 kg) - ref. 067165
Translation of the original instructions
- This equipment is designed for use only in a three-phase 400V (50-60 Hz) four-wire electrical installation with earthed neutral and a 20A de- layed-current circuit breaker, curve D (or type aM fuse). The continuous absorbed current (I
) is indicated in the electrical characteristics’ section of this manual and corresponds to maximum operating conditions. Check that the power supply and its protection (fuse and/or circuit brea- ker) are compatible with the current required during use. In some countries, it may be necessary to change the plug to enable use under maximum conditions. Check that the installation and its protection (cable section, fuse and/or circuit breaker) are compatible with the current required for use. Power supply cable Connection example with Male 400V CEE 32A 3P+N+E plug
- This unit is not protected against surges regularly produced by generators and is therefore not suitable for connection to this type of power sup- ply.
3.5 COMPRESSED AIR SUPPLY
Never exceed the maximum air pressure stated on the back of the machine and in this manual. Compressed air supply: Usea¼»gasttingtoconnectthecompressedairtothelterregulatoronthe machine. Max. compressed air pressure: Do not exceed the maximum operating air pressure of 10 bar (150psi). Pressure adjustment: If necessary, adjust the air pressure so that a reading of 8.3 bar is displayed on the screen. Clean compressed air: Ensure that only clean, dry compressed air is used to supply the spot welder. Mois- ture and impurities can cause performance issues and/or damage the unit. Air consumption : The machine is partly cooled by compressed air. We recommend using a quality compressor. For example, at 6 bar (87 PSI), the machine’s air consumption is 162l/min (43 US gpm).
The coolant recommended by GYS must be used: 5 l : Ref. 062511
- The use of other coolants, particularly standard automotive coolant, can lead to the accumulation of solid deposits in the cooling circuit through electrolysis, resulting in poor cooling performance and potentially a complete blockage of the cooling system. Any damage to the machine caused by the use of another coolant is excluded from the warranty. When using the recommended coolant liquid undiluted, it provides anti-freezing protection down to -20°C. It can be diluted, but only with demineralised water; do not use tap water to dilute the coolant!
- Togetthebestperformancefromyourmachine,llthetanktotheMAXmark.
- Inallsituations,thetankmustbelledtoatleasttheMINlevel.Themachinewillgointoprotectionmodeifthereisaproblemprimingthe cooling circuit (a fault will appear on the screen). Any damage to the machine caused by freezing will not be covered by the warranty. Tollthecoolanttank,proceedasfollows: - Place the pneumatic clamp on its support. - Pour in 5 litres of liquid (1.32 US Gal) into the tank. If necessary, top up to MAX level. Coolant safety data: - in the event of contact with eyes, remove contact lenses if worn and rinse eyes thoroughly with clean water for several minutes. Seek medical advice if complications occur. - in case of contact with the skin, clean thoroughly using soap and remove any contaminated clothing immediately.42 User manual
GYSPOT PTI MASTER - 400 V
Translation of the original instructions
4. COMMISSIONING THE MACHINE
- It is switched on by turning the switch to the ON position (Fig 1 - n° 8). The machine will start a testing and initialisation cycle lasting approximately 10 seconds (hourglass display on screen). At the end of that cycle, the machine is ready to be used.
- ItisturnedobyswitchingtotheOFFposition.Warning! Never interrupt the power supply to the machine while it is performing a spot weld.
- As soon as the machine is switched on, liquid can circulate around the system. Check for any leaks.
4.1 1st TIME OPERATING AND UPDATING YOUR PRODUCT
Thersttimeyouuseyourmachine,downloadthelatestsoftwareversionfrom https://planet.gys.fr/getlastupdate or scan the QR code opposite. Placethedownloaded‘.egf’ledirectlyattherootofaUSBkeyandfollowtheprocedurebelow. We recommend that you check annually to see if a new software version is available, so that you can benetfromthelatestdevelopmentstoyourmachine.
OFF ON Following the update, the machine will restart normally.
The status light on the clamp handle (no. 16 Fig 2) indicates the current status of the machine. Duringtheself-testphaseofthemachine,theLEDashesredandgreen. Flashing green light: Unit in the process of welding Unit being calibrated Fixed green light: Unit is ready to weld - «on standby» Theweldingparametershavebeenreached(ifthekA/daNcontroloptionisactivated:see§4.2.2.3) Fixed red light: Theweldingparametershavenotbeenreached(ifthekA/daNcontroloptionisactivated:see§4.2.2.3) Hardware fault detected Machine overheating Flashing red light: New calibration in Automatic mode requested Cap change procedure in progress Clamping force unattainable Air pressure too low or too high, mains supply problem (LED returns to green as soon as the fault is cleared)
4.2.2 Human Machine Interface of the machine
On start-up, the unit automatically initialises and performs a self-check of its various systems (supply voltage, sensors, IGBTs, diodes, solenoid valves, pumps, etc.).EN
Translation of the original instructions
1 : Operates with clamp or single-point gun. 2 : Current time. 3 : USB stick connected to the machine. 4 : Traceability enabled. 5 : Spot counter. 6 : Compressed air system pressure. 7:Righthandpushbutton:AccessestheGeneralmenu,orconrm. 8 : Navigation and selection thumbwheel. Press and hold to access the Advanced menu. 9 : Left hand push button: Accesses the General menu, or cancel. Press and hold to access the cap change function. 10 : Arms and caps selected, as well as machine operating mode. 11 : Progress bar for access to the cap change function.
4.2.2.2 General menu
The General Menu is accessed by quickly pressing the right or left-hand push-buttons.
1 : Access to the arm change or accessory selection menu on the gun. 2 : Access to operating mode (Automatic, Manual or Synergic). 3 : Repair area: visible only when Traceability is activated (see§4.5.3Traceability).Allowsyoutospecifytheareabeingrepairedsothatit appears in the repair report generated by the GYSPOT software. 4 : Access to the parameters menu (Glue mode, weld parameter controls). 5 : Back to the Main Display. Arm change menu Operating mode Settings menu
4.2.2.3 Main display
Glue Mode In Manual and Synergic mode, the user can specify whether glue is present between the plates. When this mode is in use, a pre-spot is performed before the weld. The duration of this pre-spot is set in milliseconds, from 0 (OFF) to 400 ms, in 50 ms steps. When glue mode is selected, «Glue» appears at the bottom of the main screen.44 User manual
GYSPOT PTI MASTER - 400 V
Translation of the original instructions Spot counter The user can enable or disable the spot counter. To reset the counter, press the push-button on the right of the display . Test kA/daN This setting is used to activate or deactivate the clamping force and current settings of the clamp during welding. The kA/daN control option is activated and the welding parameters have been reached. The kA/daN control option is activated and the welding force has not been reached. Welding without kA/daN Control
Whichever operating mode is selected (Automatic, Synergic, Manual or Manufacturer), welding conditions must be checked at the start of each job. «Test» spot welds should be carried out on pieces of sheet metal that are representative of the work being undertaken. Carry out 2 spot welds spaced at the same distance as those required on the job itself. Test the pulling strength of the second spot weld. The spot is good when the pulling action causes the core to be torn out of the sheet metal, with a minimumcorediameterinaccordancewiththevehiclemanufacturer’sspecications. Insucient air pressure Iftheinputairpressureisinsucienttodelivertherequiredclampingforce,themachinewillindicatethisprior tothespotwith the followingerrormessage: «Insucientair pressure».Pressingthetriggera second time will «force» the spot, but there is a risk that the required force will not be delivered. Adaptive Welding function WhenthemachineisoperatinginAutomaticorSynergicmode,the‘AdaptiveWelding’algorithmwilladjustthewelding parameters in real time according to the pressure of the compressed air network and the supply voltage. This function does not work in Manual and Manufacturer mode. We therefore recommend using Automatic or Synergy mode.
4.3.1 Automatic Mode
This function only works in clamp mode. It is displayed by default when the machine is switched on if there is no gun connected. It allows you to weld sheet metal without specifying any parameters on the screen. The machine determines the appropriate welding parameters automatically. Arm change menu
Main display To use this mode, calibration is required at the start, each time the arms or caps are changed, and after every 25 spots. To do this, perform a no-load test (with no sheet metal between the electrodes). Once calibration has been successfully completed, the machine displays «ready to weld». If the calibration fails, check that the caps are in good condition and that the arm is securely locked, and repeat the calibration procedure. When the machine is ready, close the clamp onto the area you want to weld, and the weld will start. The machine will display a fault if it measures a sheet assembly of greater than 7.5mm, or if it measures no material at all.EN
Translation of the original instructions
This mode determines the welding parameters based on the thickness of the sheets and the type of steel. The thickness of each sheet can be set between 0.5mm and 3mm. The types of steel are: steel and coated steel, HLE/THLE steel, UHLE steel, and boron steel (BORON). It is possible to insert an assembly consisting of up to 3 sheets, with a maximum assembly thickness of 7.5mm.
Use the thumbwheel to select the thickness and type of steel for each sheet. To activate the third sheet, select it and enter the thickness. To deactivate it, enter a thickness of zero «---». To help make the display easier to interpret, the type of material is colour-coded. - Blue: STEEL - Yellow: HLE (and THLE) - Orange: UHLE - Purple: BORON
4.3.3 Manufacturer mode
This mode allows you to set the parameters of the weld spot manually, following the instructions in a repair manual. The parameters that can be set in this mode are: - Current - Time - Clamping force Limitation of force and current parameters according to the type of arm To prevent damage to the arm, the machine automatically limits the maximum force and current that can be selected by the user in relation to each arm. Example: G1 arm Max current = 13kA Max force = 550daN G7 arm Max current = 5.5kA Max force = 150daN Impact of the power supply network on the welding current The maximum welding current (I2cc) also depends on the mains voltage. The lower the voltage, the lower the current. The machine analyses the mains voltage and adjusts the maximum welding current that can be selected by the user. For example, if the voltage is 400V, then I2cc is 13kA. If this voltage drops to 380V, then I2cc decreases to 12.5kA.46 User manual
GYSPOT PTI MASTER - 400 V
Translation of the original instructions
The warranty does not cover faults or damage caused by incorrect installation of the G-clamp arms. Important: - Do not use copper grease on the arms. -Keepthearmplateandthearmsupportontheclampclean,toensurethatthecurrentcanowsmoothlybetweenthepartsthatareincontact. - If the machine is not going to be used for a long time, always store it with the arm mounted on the clamp to avoid dust accumulating on the arm support. How to change the arms: Whenchangingthearms,thecoolingcircuitpumpmustbeswitchedo.Weldingparametersdependonthetypeofarmtted.Therearetwo possibilities: Option 1: Access the Arm change menu from the General menu,andspecifythearmttedtothemachine. Option 2: Switch the power supply to the machine o, change the arm, restart the machine and input the new arm.
1) The electrode is over-opened
2) The latch is protruding on the closed side
3) The lever must be in the rear position (~120°)
4) The arrows must be aligned
5) Tilt the arm by about 15° and remove it from its housing (the pins must slide into the groove) Go to the General menu and select the arm
The Advanced Menu is accessed from the Main Display by pressing and holding the HMI thumbwheel. Press and hold the thumb wheel
This menu allows access to the Traceability function, and also to the system information for the machine (time, languages, etc.).EN
Translation of the original instructions PARAMETERS This tab is used to select the Easy or Expert mode of the machine. Select the language (EN, FR, etc.), unit system (bar, PSI) and screen brightness. The machine is in Easy mode by default. Expert mode lets you set additional parameters (number of spots before changing caps, number of spots between two Automatic calibrations, activation of current slopes). You will need to contact your distributor/retailer to obtain expert mode.
Contains date and time settings, the ability to reset the machine to factory settings, and all hardware and software version information (required in the event of a Aftersales problem).
This tab is used for Technical Support and After-Sales Service purposes.
This function allows you to record your operations in the form of job reports, and export them to a USB stick so that they can be retrieved and processed using a PC running the GYSPOT software (see «GYSPOT software» section). Tasks carried out with the single-point gun accessory are not recorded. To start recording, select .
The list of previously created jobs is displayed on the screen. To create a new job: press and hold the button on the right . Press the thumbwheel once to continue an existing job.
Press the button on the right to start recording. The symbol at the top of the screen indicates that the weld spots are being recorded.
To stop traceability, return to the Traceability menu and select . To export the current job report, you need to stop recording. Connect the USB stick supplied with the product to the USB port on the machine, then select Export48 User manual
GYSPOT PTI MASTER - 400 V
Translation of the original instructions
To start the cap change procedure, press the left-hand HMI push button until the progress bar is complete. Use a cap remover and a 17 mm spanner to lock the electrode in place to remove the worn caps and tanewpairofcaps. Press the push button on the clamp until the caps make contact. The machine will automatically continue to tighten the caps.
The purpose of this software is to generate and save job reports produced using a GYSPOT spot welding machine (or a GYSPRESS 10T PP CONTROL rivetingmachine).TheGYSPOTsoftwarecanbeinstalledfromleslocatedontheUSBstickthatcomessuppliedwiththeproduct.IntheGYSPOTVX. XXdirectory,double-clickontheINSTALL.EXEle,andfollowtheinstructionstoinstallthesoftwareonyourPC.AGYSPOTiconwillbeautomatically installed on your PC desktop. The GYSPOT software only works on PCs. 5.1. LANGUAGE SELECTION The software supports several languages. The current available languages are: French, English, German, Spanish, Dutch, Danish, Finnish, Italian, Swedish, Russian and Turkish. To select a language, click on «Options» in the menu bar, then on «Languages». Please note that once a language has been selected, GYSPOT will automatically restart using the new language.EN
Translation of the original instructions 5.2. MACHINE SELECTION The functionality of the GYSPOT software depends on the type of machine you’re using (spot welder or Connected riveting machine). To select a spot welder, in the menu, click Modes, then GYSPOT, then Traceability. The next time you start the GYSPOT software, it will automatically be in GYSPOT mode (spot welder). By default, the GYSPOT software opens in «Traceability» mode. User spot settings are not available on this machine. 5.3. USER IDENTIFICATION In order to personalise the reports with your personal information, certain information is required. Tollthemin,inthemenu,clickonOptionsthenonIdentity.Anewwindowappearswiththefollowing information: Company name Address / Postcode / Town Telephone / Fax / Email / Website Logo This information will then be displayed on the reports. 5.4. IMPORT REPORTS STORED ON YOUR USB STICK To import the job reports produced using a GYSPOT (previously saved on your USB stick from the machine, see «Traceability» section) into your PC, insert the USB stick into your PC’s USB port. Then select the drive in which your USB stick is connected, and click on the button. Whentheimporttakesplace,theworkthathasbeencarriedoutisgroupedtogetherusingtherepairorderidentier.Theseidentierscorrespondto thenamesofthereportsspeciedintheGYSPOT(seeTraceability). Thisidentierisdisplayedinthe«Inprogress»tab.Oncethereportshavebeenimported,itispossibletosearch,editorarchiveeachreport.Toview the actions undertaken on a report, select a report. The operations carried out are displayed in the table. Tocarryoutasearch,llinthesearcheldandclickonthebutton
To edit a report, select a report and click on the button. To archive a report, select a report and click on the button. Please note that imported reports cannot be deleted until they have been archived.
5.5. INFORMATION CONTAINED IN A SERVICE REPORT
For each spot weld, the operating mode (Automatic, Manual, etc.), the arm, the parameters set, and the values actually measured are entered. The thickness measured when applying a spot in Automatic mode, and the status of the spot if the Weld Control option is activated.
5.6. CONSULT ARCHIVED SPOT REPORTS
To view archived reports, click on the «Archives» tab. Reports are grouped together by year and month. To view the actions completed, select a report. The operations carried out are displayed in the table. For archived reports, it is possible to search, edit or delete a report. Please note that an archived report that has been deleted will be re-imported if thetraceabilitydirectoryontheUSBstickhasnotbeencleared.Tocarryoutasearch,llinthesearcheldandclickonthebutton
To edit a report, select a report and click on the button
To delete a report, select the report you’d like to delete and click on the button
5.7. DELETE THE TRACEABILITY FILES ON THE USB STICK Deleting will remove all the operation reports that have been saved on the USB stick. To delete these traceability les, insert the USB stick into the PC, then in the menu, click on «Options», then «GYSPOT», then «Delete USB traceability». Please note that when you delete a report, any completed reports that have not yet been imported will be imported automatically. It is alsopossibletodeletetraceabilitylesbydirectlydeletingthelescontainedinthedirectory: Removabledisc\TRACABILITY50 User manual
GYSPOT PTI MASTER - 400 V
Translation of the original instructions
5.8. COMPLETE THE INFORMATION IN A REPORT
Each report can contain the following information: - Operator; - Vehicle type; - Repair order; - Vehicle registration number; -Dateofrstregistration; - Action; - Comments. To enter this data, select a report and type the information in the report header.
To print a report, select a report and click on the button . A preview of the report will be displayed. Click on the button to start printing .EN
Translation of the original instructions
6. USE OF THE G9 ARM (OPTIONAL)
Setting up : Switchothemachineorfollowtheprocedureforchangingthewritingarmin§4.4Fittingand changing arms. Remove the arm from the clamp and operate the over-opening so that the electrode is fully retracted into the cylinder.
Position the G9 arm on the clamp base.
With the G9 arm in place and the locking lever closed, press the clamp close button to drive the arm.52 User manual
GYSPOT PTI MASTER - 400 V
Translation of the original instructions
Arm removal : Switchothemachineorfollowtheprocedureforchangingthewritingarmin§4.4Fittingand changing the arm. Simultaneously press the PUSH button on the arm and the over-open trigger on the gripper.
Unlock the clamping lever and release the arm.
With the machine running, connect the gun control cable to the Jack plug located on the handle of the gun. A message appears on the screen asking you to press the gun trigger. Oncethegunhasbeenttedtotheclamp(seeparagraphsbelow),selectthetool(star, ring,corrugatedwire,etc.)andconrm. The single-point gun can be used in Manual and Synergic mode. The kA/daN control option (see section 4.2.2.3) is not available with the single-point gun.EN
Translation of the original instructions
Fit the gun manifold while pressing the trigger until the gun locks. We recommend using a G1 or G6 arm to get the best performance from the Quick Fix single-point gun.
7.2 OLDER GENERATION GUNS
Attach the earth cable to the mobile electrode. Slide and tighten the knob.
Check that the screw connecting the shoe to the cable lug is tight.54 User manual
GYSPOT PTI MASTER - 400 V
Translation of the original instructions
8. PRECAUTIONS FOR USE AND MAINTENANCE
Operator training People operating this machine must be given suitable training in order to get the most out of the machine’s capabilities, and to carry out their work in accordance with the manufacturer’s instructions (for example: panel beater training). Preparing workpieces for assembly It is essential to strip and prepare the area that is to be welded. In the case of a protective application, make sure that it is conductive by testing a sample beforehand. Welding with a single-point gun When repairing a vehicle, check that the manufacturer authorises this type of welding process. Coolant level and eciency Thelevelofcoolantisimportanttoensurethatthemachinerunseectively.Itmustbechangedevery2years.
9. FAULTS, CAUSES, REMEDIES
FAULTS CAUSES SOLUTIONS
Clamp welding The spot doesn’t hold / holds poorly The caps are worn out. Change the caps. The sheets are not clean enough. Check surface preparation. The arm selected does not match the one mounted. Check the arm selected in the software. The machine makes a hole in the sheet. The caps are worn out. Change the caps. Insucientairpressure. Check the air pressure (min. 8 bar). The surface is not properly prepared. Prepare the surface you are working on. Lack of power Power supply problem. Check that the mains voltage is stable. Caps blackened or damaged. Change the caps. Poor arm lock. Refer to the section on «Fitting and replacing arms». - The machine overheats rapidly. - Fan may be damaged Fan obstruction. Checkthatairisowingthroughthe fan. - Pump stopped - Contaminated coolant - Clogged circuit Obstruction in the cooling circuit (pinched hose). Check the wiring harness sheath between the trolley. Check that the pump is working properly. Check the condition of the coolant. Gun Abnormal heating of the gun Incorrect tightening of the chuck. Check that the chuck and star chuck are tight, and that the sheath is in good condi- tion. Gun sheath loose. Replace the sheath so that the air is cooled inside of the gun Incorrect positioning of the earth plate. Check that the earth plate is in contact with the correct metal sheet. Lack of power in the gun Poor contact of the earth plate. Check the earth contact. Improperly tightened chuck or accessories. Check that the chuck and accessories are tight and that the sheath is in good condi- tion. Damaged consumables. Replace the consumables.
10. FRANCE WARRANTY CONDITIONS
The warranty covers any defects or manufacturing faults for two years from the date of purchase (parts and labour). The warranty does not cover:
- Any other damage caused during transport.
- The general wear and tear of parts (i.e. : cables, clamps, etc.).
- Incidents caused by misuse (incorrect power supply, dropping or dismantling).
G1 (550 daN) - ref. 022768 INCLUS G2 (300 daN) - ref. 022775 G3 (550 daN) - ref. 022782
G2 + G3 + G4 - ref. 022898 G6 (550 daN) - ref. 022812 G7 (150 daN) - ref. 022829
G5 (550 daN) (6.25 kg) - ref. 022805G10 (370 daN) (5 kg) - ref. 067165
Equipment complying with Chinese requirements on the restricted use of hazardous substances in electrical and electronic products.