H10W35W - Air Conditioning TCL - Free user manual and instructions
Find the device manual for free H10W35W TCL in PDF.
Download the instructions for your Air Conditioning in PDF format for free! Find your manual H10W35W - TCL and take your electronic device back in hand. On this page are published all the documents necessary for the use of your device. H10W35W by TCL.
USER MANUAL H10W35W TCL
- Hi! Let’s Get Started. 5K-14K UM Window AC English / Spanish / French2 Table of Contents English Register and Protect Your Purchase p. 3
- Important Safety Instructions p. 4
- What’s in the Box 5K-14K Units p. 7
- Let’s Get Started! p. 8
- How to Control Your AC p. 10
- Troubleshooting p. 12
- WiFi App Installation (WiFi Modules Only) p. 13
- Warranty Information p. 16
- Spanish Registre y proteja su compra p. 18
- Instrucciones Importantes De Seguridad p. 19
- Contenidos de la Caja 5K-14K Units p. 22
- ¡Comencemos! p. 23
- Cómo Manejar su Aire Acondicionado p. 25
- Solución de Problemas p. 28
- Instrucciones de la aplicación WiFi (Solo modelos con WiFi) p. 29
- Información de garantía p. 32
- French Enregistrez et protégez votre achat p. 34
- Consignes De Sécurité Importantes p. 35
- Contenu de la boîte 5K-14K Units p. 38
- C’est parti! p. 39
- Comment régler votre climatiseur p. 41
- Conseils de dépannage p. 44
- Installation de l’application WiFi (Modèles WiFi seulement) p. 45
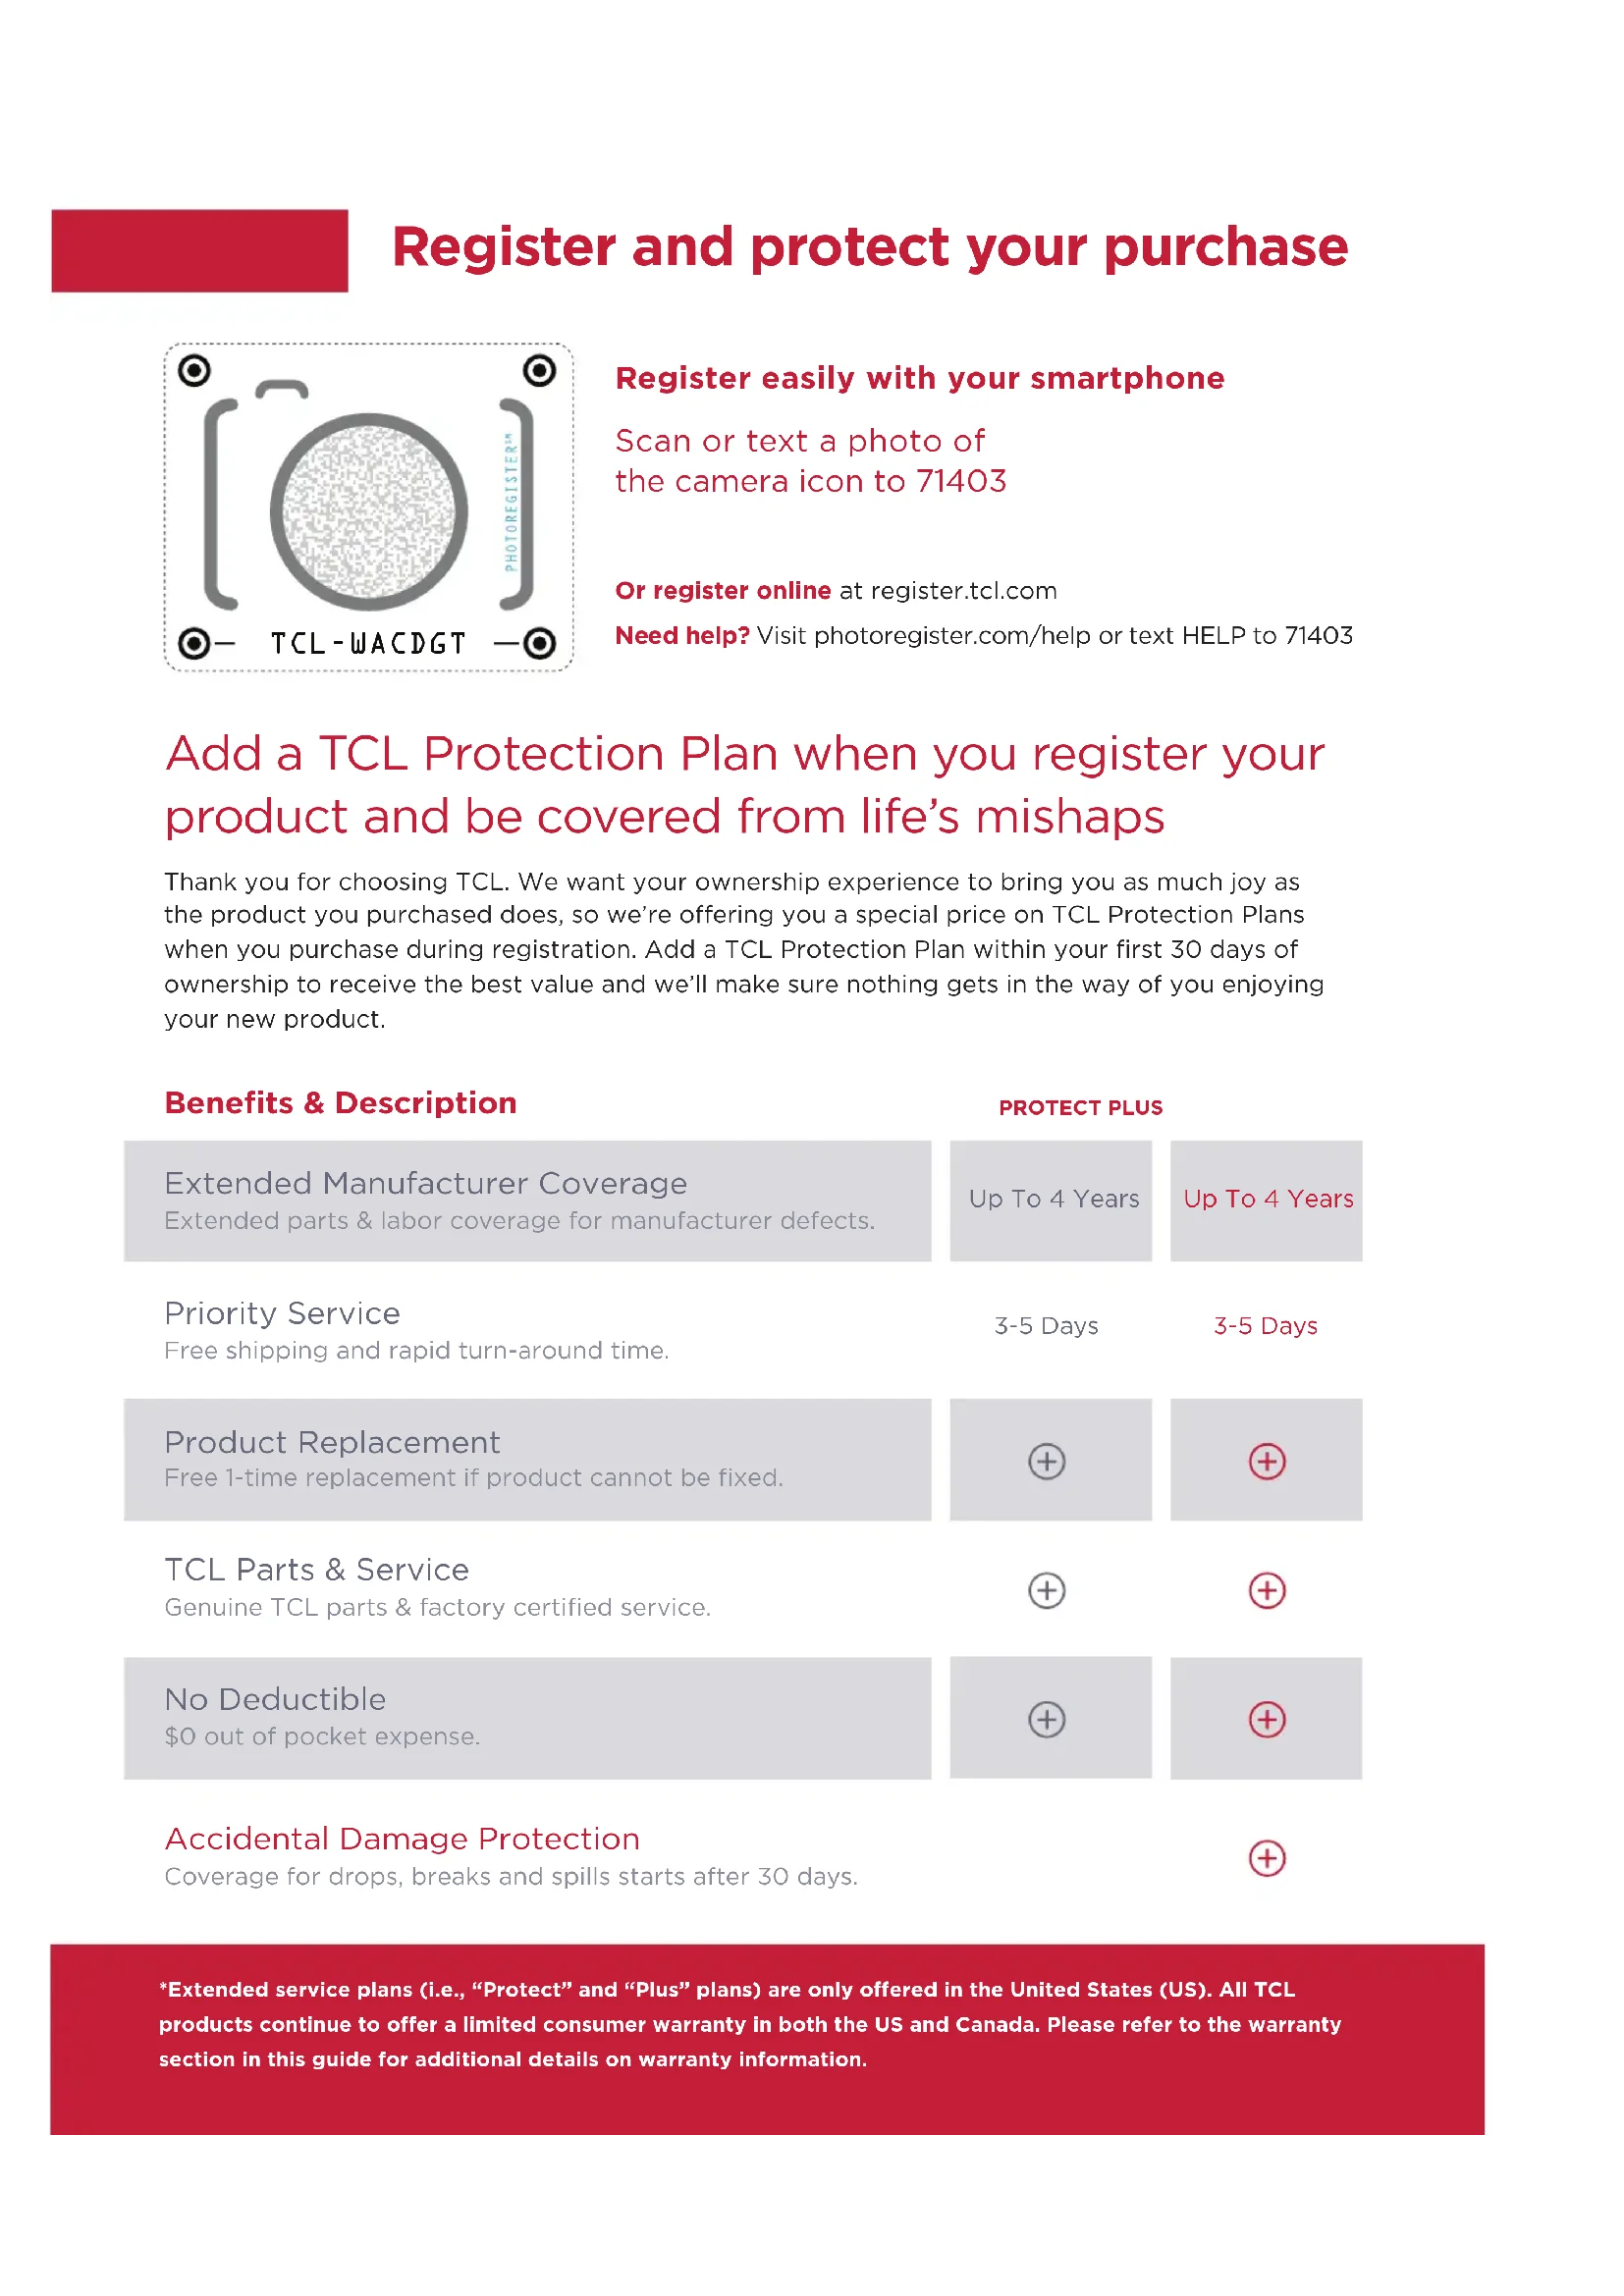
- Informations de garantie Product Replacement Free 1-time replacement if product cannot be fixed. TCL Parts & Service Genuine TCL parts & factory certified service. No Deductible $0 out of pocket expense. Priority Service Free shipping and rapid turn-around time. Extended Manufacturer Coverage Extended parts & labor coverage for manufacturer defects.PROTECT PLUSThank you for choosing TCL. We want your ownership experience to bring you as much joy as the product you purchased does, so we’re oering you a special price on TCL Protection Plans when you purchase during registration. Add a TCL Protection Plan within your first 30 days of ownership to receive the best value and we’ll make sure nothing gets in the way of you enjoying your new product. Add a TCL Protection Plan when you register your product and be covered from life’s mishaps Benefits & Description Up To 4 Years3-5 Days3-5 DaysUp To 4 Years Register easily with your smartphone Scan or text a photo of the camera icon to 71403 Or register online at register.tcl.com Need help? Visit photoregister.com/help or text HELP to 71403 Register and protect your purchase Accidental Damage Protection Coverage for drops, breaks and spills starts after 30 days. ENGLISH *Extended service plans (i.e., “Protect” and “Plus” plans) are only oered in the United States (US). All TCL products continue to oer a limited consumer warranty in both the US and Canada. Please refer to the warranty section in this guide for additional details on warranty information.TCL-WACDGTIMPORTANT SAFETY INSTRUCTIONS Before installing and using your air conditioner, please read this owner’s manual carefully. Store this manual in a safe place for future reference. Your safety and the safety of others is very important to us. Please pay attention to all safety messages outlined in this owner’s manual. WARNING: To reduce the risk of fire, electrical shock or injury when using your air conditioner, follow the following basic precautions: ELECTRICAL REQUIREMENTS The electrical ratings for your air conditioner are listed on the model and serial number label located on the front right hand side of the unit (when facing the front).REGISTER YOUR APPLIANCEYou can register your appliance online by going to register.tcl.comBe sure to retain your original sales receipt. A valid proof of purchase is required for all warranty claims. BATTERY WARNING STATEMENT Do not mix old and new batteries and do not mix alkaline, standard (carbon-zinc) or rechargeable (ni-cad, ni-mh, etc.) batteries Document your model and serial numbers here: Model #___________________________________ Serial #___________________________________ You can locate your 20 digit serial number underneath the bar code (On the right hand side of the AC). WARNING Specific electrical requirements are shown in the diagram below. Follow the requirements below for the type of plug on the power supply cord.Electrical Shock HazardPlug into a grounded 3 prong outlet.Do not remove the ground prong. Do not use an adapterDo not use an extension cord.Failure to follow these instructions can result in death, fire, or electrical shockWiring Requirements Power Supply CordRECOMMENDED GROUND METHOD For your personal safety, this air conditioner must be grounded. This air conditioner is equipped with a 3 prong power supply cord with a grounded plug. To minimize the possibility of electrical shock, the cord must be plugged into a 3 prong outlet and grounded in accordance with all local codes and ordinances. If a 3 prong outlet is not available, it is the customer’s responsibility to have a properly grounded 3 prong outlet installed by a qualified electrician.FCC CAUTION This device complies with part 15 of the FCC Rules. Operation is subject to the following two conditions: (1) This device may not cause harmful interference, and (2) this device must accept any interference received, including interference that may cause undesired operation. Any Changes or modifications not expressly approved by the party responsible for compliance could void the user’s authority to operate the equipment. Note: This equipment has been tested and found to comply with the limits for a Class B digital device, pursuant to part 15 of the FCC Rules. These limits are designed to provide reasonable protection against harmful interference in a residential installation. This equipment generates uses and can radiate radio frequency energy and, if not installed and used in accordance with the instructions, may cause harmful interference to radio communications. However, there is no guarantee that interference will not occur in a particular installation. If this equipment does cause harmful interference to radio or television reception, which can be determined by turning the equipment o and on, the user is encouraged to try to correct the interference by one or more of the following measures:-Reorient or relocate the receiving antenna.-Increase the separation between the equipment and receiver.-Connect the equipment into an outlet on a circuit dierent from that to which the receiver is connected.-Consult the dealer or an experienced radio/TV technician for help.The distance between user and device should be no less than 20cm.• 115 Volt (103 min – 127 max)• (5K-8K) (0-8 amps)• (10K-14 K) (0-12 amps)• (5-8K) (10 amp time-delay fuse or circuit breaker)• (10K-14 K) (15 amp time-delay fuse or circuit breaker)• Use on single outlet circuit only p. 483
TCL SUPPORT: support.tcl.com/us 1-800-825-6747 contact us first with any questions WE ARE READY TO HELP
BE CAREFUL WHEN REMOVING
THE AIR CONDITIONING UNITINSTALLATION MANUAL---Important considerations When compared with other refrigerants, R32 is more environmentally friendly. Please use this product as instructed. This refrigerant is flammable and may combust under certain conditions, however when this product is used as directed these risks are significantly reduced. Always consult with a trained professional when maintaining or repairing an air conditioner. Important Considerations
- The air conditioner you buy must be installed by professional personnel and the “Installation manual” is used only for the professional installation personnel!
- The installation specifications should be subject to our after-sale service regulations.
- When filling the flammable refrigerant, please use caution to avoid serious injury.
- A leak test must be done after the installation is completed.
- It is a must to perform the safety inspection before maintaining or repairing an air conditioner using flammable refrigerant in order to ensure that the fire risk is reduced to a minimum.
- Requirements for the total weight of filled refrigerant and the area of a room to be equipped with an air conditioner (are shown as in the following Tables GG.1 and GG.2) The maximum charge and the required minimum floor area m1 = (4 m3) x LFL , m2 = (26 m3)) x LFL, m3 = (130 m3 )x LFL Where LFL is the lower flammable limit in kg/ m3,R290 LFL is 0.038 kg/ m3,R32 LFL is 0.038 kg/ m3. For the appliances with a charge amount m1 < M = m2: The maximum charge in a room shall be in accordance with the following:mmax= 2.5 x (LFL)(5/4) x h0 x (A)1/2 The required minimum floor area Amin to install an appliance with refrigerant charge M (kg) shall be in accordance with following: Amin = (M/ (2.5 x (LFL)(5/4) x h0)) 2 Where: mmax is the allowable maximum charge in a room, in kg; M is the refrigerant charge amount in appliance, in kg; Amin is the required minimum room area, in m2; A is the room area, in m2; LFL is the lower flammable limit, in kg/m3; h0 is the installation height of the appliance,in meters for calculating mmax or Amin, 1.8 m for wall mounted; Warning
- Please read the manual before installing, using, or conducting maintenance.
- Do not use means to accelerate the defrosting process or to clean, other than those recommended by the manufacturer.
- Be aware that refrigerants may not contain an odor.
- Do not pierce or burn the appliance.
- The appliance shall be stored in a room without continuously operating sources (for example: open flames, an operating ignition gas appliance or an operating electric heater).
- Please contact the nearest after-sale service center when maintenance is necessary. At the time of maintenance, the maintenance personnel must strictly comply with the Operation
- Manual provided by the corresponding manufacturer and any non-professional is prohibited to maintain the air conditioner.
- It is necessary to comply with the provisions of gas-related federal, state, and local laws and regulations.
- It is necessary to clear away the refrigerant in the system when maintaining or recycling an air conditioner by a trained professional.
& Dangerous Read the user manual Read the installation manual Read the service manual6 Table GG.1 - Maximum charge (kg) Category LFL (kg/m
Open Flames Prohibited Ventilation Necessary
Open Flames Prohibited
- Appropriate Installation Location The left picture is the schematic diagram of a refrigerant leak detector. Please note that:
1. The installation site should be in a well-ventilated area.
2. The sites for installing and maintaining an air conditioner using Refrigerant R32 should be free from open fire or welding, smoking, drying oven or any other heat source higher than 548°C which easily produces open fire. 3. When installing an air conditioner, it is necessary to take appropriate anti-static measures such as wear anti-static clothing and/or gloves. 4. Installation or maintenance location should not be surrounded by obstacles or close to any heat source, flammable, and/or explosive areas or objects. 5. If the product suers refrigerant leak during the installation, all personnel should go out till the refrigerant leaks completely for 15 minutes. If the product is damaged, a professional must carry such damages product back to the maintenance station. It is prohibited to weld the refrigerant pipe or conduct other operations on the contaminated site.
6. The air conditioner unit needs to sit on a flat even surface.
7. It is necessary to avoid the places where there are other electrical products, power switch plugs and sockets, kitchen cabinet, bed, sofa and other valuables directly under the lines on two sides of the indoor unit.
8. Any ventilation openings of unit should be free from obstructions.
Mind Static Electricity Must wear protective clothing and anti-static gloves Don`t use mobile phone7 What’s in the Box Open the carton and remove the below parts.
NO. APPEARANCE PART NAME QUANTITY
Filler Panels (labeled “Left” & “Right”)
Foam Insulation (only for E-star models)
Tip! Before unboxing, cut the tape along the top of the box to loosen contents inside. Once you lift and remove the box, check the inside of the box as some parts may be stuck at the top. You can find the screws and other parts located in the tray beneath the AC uni
Note: Illustrations in this manual are for explanatory purposes only. Product design and aesthetics may vary.8 Let’s get started! Step 1: Testing Before installing your AC, let’s test it to make sure it works properly and your outlet has the proper power level. First, place it on a flat surface, plug it directly into a wall outlet (never use a power strip or other device), and turn it on. Next, use the Mode button on your control panel to change the AC to Cool Mode and press the down arrow to set the temperature to the lowest setting. After 3 minutes, the AC should be blowing cool air. If so, please continue to the next step. If not, see detailed troubleshooting tips at support.tcl.com/us. Step 2: Installation A few quick notes before installing:
- This unit is made to fit inside a standard double-hung window.
- Check the size of your window before installing.
1. Use the (4) included 3/8” screws to fasten the top mounting rail to the unit.
2c. Top Mounting Rail(4) 3/8” Screws Top Mounting RailFiller panelFiller panelBottom RailWindowFrameWindow sillTop Mounting RailBottom Rail 4a./4b. (2) 3/4” Screws(3) 1/2” Screws1/4”
2. Fasten the accordion styled window panel expander pieces to the unit (some models come
with the panel extenders already attached). They are marked “Right” and “Left”. Pull the leading edge of them to its maximum width. Then slide the panel expanders into the grooved notches on the sides of the unit, (slide downward) and make sure they are inserted into the metal rails tightly. 2a. 2b.
2c. Top Mounting Rail(4) 3/8” Screws Top Mounting Rail Filler panel Filler panel Bottom Rail Window Frame Window sill Top Mounting Rail Bottom Rail 4a./4b. (2) 3/4” Screws (3) 1/2” Screws 1/4”9
3. Carefully place the window air conditioner into the window where it is to be installed
(2 people are recommended for this step). Close the window securely. The AC unit should be slightly tilted to the outside area to allow water to drain out from the unit. 2a. 2b.
2c. Top Mounting Rail(4) 3/8” ScrewsTop Mounting RailFiller panelFiller panelBottom Rail WindowFrameWindow sillTop Mounting RailBottom Rail 4a./4b. (2) 3/4” Screws(3) 1/2” Screws 1/4” 4a. Fasten the air conditioner to the window frame, using the included ½” screws. Fasten each of the panel extenders (Left and Right). You may have to drill a pilot hole in the window frame to fasten these screws to the window sash. 4b. Attach the lock frame between the panel extender and the window sill and then fasten them together with the included ¾” locking screw. Repeat for each side. 2a. 2b.
2c. Top Mounting Rail (4) 3/8” Screws Top Mounting RailFiller panelFiller panelBottom RailWindowFrameWindow sillTop Mounting RailBottom Rail 4a./4b. (2) 3/4” Screws(3) 1/2” Screws 1/4” 4c. Attach the sash lock between the top of the sliding window and window frame, using 1 of the included ¾” screws to secure the window closed. Sash Lock 3/4” Screw Window sill Lock frame Filler panel Sash Seal10 4d. To prevent outside air from entering the room, insert the foam top window gasket. You can cut the foam top to match the width of the window. Sash Lock 3/4” Screw Window sill Lock frame Filler panel Sash Seal
5. Plug the unit into the electrical outlet as specified above in the electrical requirements. Set the
unit to Cool Mode. How to Control Your AC All the basics you need to know to stay cool!
3. Display – By pressing the Display button on the remote, it can switch
o/on all lights and LED Display. When the timer is not in use, the operation mode and the set temperature will be displayed.
4. Modes – Press the mode button on the control panel to cycle and
select a Mode, or select a Mode by pressing the desired button on the remote.
- Auto Mode – The unit automatically chooses the mode of operation (cool or fan). In this mode the temperature will be set according to the room temperature (tested by the temperature sensor which is incorporated in the indoor unit.).
- Cool Mode - The cooling function allows the air conditioner to cool the room and reduce air humidity at the same time. Adjust the fan speed and temperature to your desired comfort level. In this mode, if Eco is not enabled, the fan may continue to run after reaching the desired temperature.
- Eco Mode – In Eco mode, the unit will turn o once the room is cooled to the user-set temperature. The unit will turn back on when the room temperature rises above the user-set temperature. While in Eco mode, the fan will occasionally turn on for a few seconds in order to take an accurate temperature reading. (Cool/Dry mode only)
- Fan Mode – Fan Mode helps to circulate air in your home, but only works when the air conditioner is vented.
- Fan Speed – Press the Fan Speed button to choose the fan speed options. You can choose Hi, Med, Lo or auto speed in cool mode and choose Hi, Med, Lo in fan mode.11
- Dry Mode – This function reduces the humidity of the air to make the room more comfortable. Press the Mode button to set to Dry mode. An automatic function of alternating cooling cycles and air fan is activated.
- Set Timer On: With the AC o, press the Timer button and then use the and buttons to set the desired temperature. Press the Timer button again and use the and buttons to set the desired amount of time before the AC turns on. Press the timer button again to start the countdown.
- Set Timer O: With the AC on, press the Timer button and then use the and buttons to set the length of time before the AC will turn o. Press the timer button again to start the countdown. Note: It can be set to automatically turn o or on in 0.5-24 hours. Each press of the buttons will increase or decrease the timer. The Timer can be set in 0.5 hours increment below 10 hours and 1-hour increments for 10 hours or above. The Set light will turn on while setting. To cancel the set function, press the Timer button again.
6. Sleep Button – In Sleep mode, all of the display lights will turn o after a while, but the Sleep
light stays on. In Sleep mode, the air conditioner will automatically adjust the temperature and fan speed to make the room more comfortable during the night.
7. Filter Button – After the fan motor runs for 500 total hours, the Filter Check light will turn on
to remind the user to clean the filter. After you clean the filter, you can turn o the light by pressing the Filter button.
Remove the filter by sliding it out of the front right side of the air conditioner. Gently wash it with a mild dish washing detergent and let dry completely before reinstalling it into the AC.
Remove the filter by removing the air intake grille using the two notches on the top left and right side of the grille cover. Once the grille is removed, you can then remove the filter. Gently wash it with a mild dish washing detergent and let dry completely before reinstalling it into the AC. Normal Operating Sounds You may hear a pinging noise, caused by the water hitting the condenser on rainy days, or when the humidity is high. This design feature helps remove moisture and increase eciency. You may hear the thermostat click when the compressor cycles on and o. Water will collect in the base pan on rainy days, or high humidity days. The water may overflow and drip from the unit on the outside. The fan may run, even when the compressor is not on. Remove filter Remove filter Remove filter Remove filter12 Troubleshooting Having trouble completing installation? Don’t worry, it’s usually an easy fix.
PROBLEM POSSIBLE CAUSES SOLUTIONS
Air Conditioner will not start The air conditioner is unplugged
- Make sure the air conditioner is plug is pushed completely into the outlet The fuse is blown/circuit breaker is tripped
- Check the house fuse/circuit breaker box and replace the fuse or reset the breaker Power Failure
- The unit will automatically re-start when power is restored
- There is a protective time delay (approx. 3 minutes) to prevent damage to the compressor. For this reason, the unit may not start normal cooling for 3 minutes after it is turned back on. The current interrupter device is tripped
- Press the RESET button located on the power cord plug
- If the RESET button will not stay engaged, discontinue use of the air conditioner and contact a qualified service technician. Air Conditioner does not cool as it should Airflow is restricted
- Make sure there are no curtains, blinds, or furniture blocking the front of the air conditioner The temperature control may not be set correctly
- Lower the set thermostat tempera ture The air filter is dirty
- Clean the filter. See the Cleaning and Care Section of the manual The room may be too warm
- Please allow time for the room to cool down after turning on the air conditioner Cold air is escaping
- Check for open furnace registers and cold air returns The Cooling Coils are frozen • See “Air Conditioner Freezing Up” below Air Conditioner is freezing up Ice blocks the air flow and stops the air conditioner from cooling the room
- Set the Mode to High Fan or High Cool and set the thermostat to a higher temperature Remote Control is not working The batteries are inserted incorrectly • Check the position of the batteries The batteries may be dead • Replace the batteries Water is dripping outside Hot and humid weather • This is normal Water is dripping inside the room The air conditioner is not correctly tilted outside
- For proper water drainage, make sure the air conditioner is slightly tilted downward from the front of the unit to the rear Water collects in the base pan Moisture removed from the air is draining into the base pan
- This is normal for a short period in areas with low humidity and nor mal for a longer period in areas with high humidity Digital Display reads “E1”, “E2” A sensor has failed • Contact customer service The buzzer responds abnormally Energy management systems are controlling devices through networks
- Disconnect the device from the network13 WiFi App Installation (for WiFi models only) TCL Home App Setup (Smart Phone Required) Step 1: Download & Install the TCL Home App Scan the QR code below or search for the TCL Home App in the Apple or Google app store. Download and open the app. Step 2: Create an Account Once you have opened the app, select “Create account.” You will then be sent a verification code to your email. Input the code and continue. Step 3: Add Your Device Select the “Add Devices” button and follow the in-app instructions to complete the setup.
Note: The App only supports the 2.4 GHz WiFi band (all routers have a 2.4 GHz band). Please connect to the 2.4 GHz band before you begin the app setup process. Smart ecosystems and their companion speakers can only support matter when using these versions or newer. Device Version Alexa App 2.2.536317 Alexa Echo Device 9094439556 Android Google Play: 22.36.15 Google Home: 2.58.24.1 Google Home Hub 1.56.324896 iPhone iOS 16.5 Apple Home Pod 16.5 Matter Setup (Smart Phone OR Smart Speaker Required)14 Step 1: Getting Started (For Android & iOS Smart Phones: TCL Home App OR Smart Speakers)
- Method 1 – Smart Speaker Required: Open the Google or Apple app store on your smart phone and search for your smart speaker’s companion app if not already downloaded (Amazon Alexa, Google Home, SmartThings, Apple Home).
- Method 2: Using the camera function on your smartphone, scan the QR code below or search TCL Home in Google or Apple app store and download the TCL Home App (it does not require the use of a smart speaker and has more features). Note: The App only supports the 2.4 GHz WiFi band (all routers have a 2.4 GHz band). Please connect to the 2.4 GHz band before you begin the app setup process. Step 2: Connect Your Air Conditioner to Matter
1. Ensure your smart phone and smart speaker are connected to your WiFi network. If you do not
have a smart speaker, please use the TCL Home App you downloaded from the previous section.
2. Turn on Bluetooth on your mobile device.
3. Press “Display” or “Eco” 6 times on the remote controller OR press and hold “Mode” & “^” for 3s.
The device will beep twice and show “CF” after a few seconds.
5. Tap the “+” and “Add Device/Accessory” or tap “+Add” in your app, select
your Matter device, and scan the Matter QR code found on the side of the device. Then, follow the in-app instructions to complete setup.
- If setting up without a smart speaker using the TCL Home App, please select the device titled “Matter Window AC”. Once completed, you can control your device through the TCL Home App, Smart Assistant App, or Smart Speaker.15 Troubleshooting Having trouble completing installation? Don’t worry, it’s usually an easy fix.
PROBLEM POSSIBLE CAUSES SOLUTIONS
TCL Home App loses connectivity to AC during setup Wireless router may be too far from AC • Relocate wireless router closer to AC. Network error
- Restart wireless router, AC, and mobile device. TCL Home App cannot find AC Network error
- Restart wireless router, AC, and mobile device. App & AC are not on the same 2.4GHz channel
- Confirm your device is connected to the 2.4GHz channel. Router blocking TCL Home App
- Verify App is not being blocked by the router’s firewall. Incorrect WiFi Password • Reinput and verify WiFi password. Unable to find or connect to Wireless Network App may need permission to location
- Give TCL Home App permission to Location in phone settings.16
All New TCL Product Models including LCD/LED Televisions, Sound Bars, and Appliances including Window Air Conditioners, Portable and Through-The-Wall Air Conditioners, Dehumidifiers, Air Purifiers, and Robot Vacuums (each individually referred to as a “Product” or “Unit”, and together referred to as the “Products”). What your warranty covers: Defects in materials or workmanship to the original owner of this TCL Product when purchased as new from an Authorized Dealer of TCL brand Products in the United States and packaged with this warranty statement. New Products (Non-Commercial Use) For how long after your purchase: One (1) year from date of purchase for parts and labor for non-commercial use. New Products (Commercial Use) For how long after your purchase: Six (6) months from date of purchase for parts and labor for commercial use. Commercial use includes, but is not limited to, the use of this Product in a commercial or business environment, the use of this Product in an institution or for institutional purposes, or other commercial purposes including rental purposes. What we will do At TCL’s discretion, (1) pay an Authorized TCL Service Center for both labor charges and parts to repair your Product, or (2) replace your Product with a new or refurbished/remanufactured equivalent value Product. The decision to repair or replace will be made solely by TCL. See section entitled “How to get service.” How to get service
- Before submitting a request for warranty service, please visit support.tcl.com for helpful FAQs and additional troubleshooting suggestions.
- To get warranty service, contact TCL Customer Support by visiting support.tcl.com/contact-us. Please have your Product type, model number, serial number, and ZIP code ready. Troubleshooting and prior approval from a TCL representative MUST occur before sending in your Product to a TCL Service Center.
- A representative must troubleshoot your problem over the telephone, via chat, or through e-mail before receiving service. If it is determined that your Unit requires service, the service location will be at the sole discretion of TCL based upon the Limited Warranty Statement.
- At the sole discretion of TCL, television screen sizes 43-inches and smaller will either be repaired at an Authorized TCL Service Center or directly exchanged for a new or refurbished/re-certified Unit. At the sole discretion of TCL, television screen sizes 44-inches or larger will either be repaired or directly exchanged for a new or refurbished/re- certified Unit at an Authorized TCL Service Center or in-home. At the sole discretion of TCL, Sound Bars, and Appliances including Window Air Conditioners, Portable and Through-The-Wall Air Conditioners, Dehumidifiers, Air Purifiers, and Robot Vacuums will either be repaired or directly exchanged for a new or refurbished/re-certified Unit at an Authorized TCL Service Center or in-home. In the event of a service visit where the on-site technician, in his-her sole discretion, deems the home or property conditions to be hazardous and/or unsafe, TCL reserves the right to cancel or re-schedule the service visit, or opt for an exchange of the in-warranty Unit for a refurbished/re-certified Unit in lieu of the in- home service visit.
- TCL is not responsible for transportation costs for warranty coverage, including but not limited to Unit repair or replacement, to the Authorized TCL Service Center or TCL-designated address. However, TCL will pay for return shipping to a United States address only. TCL will provide instructions for packaging and shipping the Unit to the Authorized TCL Service Center or TCL-designated address. Units that are improperly packed and damaged during shipping are not covered under your limited Product warranty.
- Proof of purchase in the form of a bill of sale or receipted invoice from an Authorized Dealer which is evidence that the Product is within the warranty period must be presented to obtain warranty service.
- In the event that a Unit is to be replaced, a picture of the back of the Unit showing the model and serial number and picture of the Product issue itself may be required.
- PRE-AUTHORIZATION MUST BE OBTAINED BEFORE (1) SENDING ANY PRODUCT TO AN AUTHORIZED TCL SERVICE CENTER, OR (2)
OBTAINING ANY IN-HOME REPAIR/REPLACEMENT/RENTAL
SERVICES. What your warranty does not cover
- A Unit sold in “As-Is”, “Used”, “Factory Reconditioned”, “Factory Re- Certified”, or “Refurbished”, condition or with faults.
- Damage caused by transportation or handling, including damage during shipment from a Retailer (please contact your Retailer for assistance).
- Extended Service Plans purchased from Retailers. Please contact your Retailer for assistance.
- Customer instruction. (Your Owner’s Manual describes how to install, adjust, and operate your Unit. Any additional information should be obtained from your Authorized Dealer).
- Service calls to your home for delivery or pick-up, installation, instruction, replacement of house fuses, connection of house wiring or plumbing, or to correct unauthorized repairs.
- Installation and related adjustments, or damage resulting from installation.
- Damage resulting from non-approved installation or repair methods.
- Failure of the Product to perform due to signal reception problems not caused by your Unit, or due to power failures or interruptions, or inadequate electrical service.
- Damage from misuse, abuse, neglect, insects, normal wear and tear, cosmetic damage, mishandling, faulty installation, inadequate electrical wiring, or power line surges.
- Damage caused by operating the Product in a corrosive or wet atmosphere.
- Markings or images on the television’s panel resulting from viewing fixed images (including but not limited to certain 4:3 images on wide screen televisions, or data or images in fixed screen locations from banners, video games, or certain broadcast networks).
- Units that have original factory serial numbers that are unreadable or missing, or that have been changed, defaced, or altered in any manner.
- A television that has been modified or incorporated into other Products, or that has had the serial number removed or altered.
- Use of accessories or components that are not compatible with this Product.
- A Unit purchased or serviced outside of the United States.
- Costs of shipping the Unit to the Authorized TCL Service Center or TCL- designated address. TCL will pay for return shipping to the customer to a United States address only.
- Acts of nature or God (as illustrative examples and for the avoidance of doubt, such acts of nature or God include but are not limited to damage caused by earthquakes, fires, lightning, or flood whether caused by nature or humans).
- Special, incidental, or consequential damages.
- Some states may not allow the exclusion or limitation of incidental or consequential damages, or limitations on how long an implied warranty lasts, so the above limitations or exclusions may not apply to you.