BG90014 - Safe Perel - Free user manual and instructions
Find the device manual for free BG90014 Perel in PDF.
User questions about BG90014 Perel
0 question about this device. Answer the ones you know or ask your own.
Ask a new question about this device
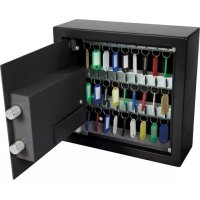
Download the instructions for your Safe in PDF format for free! Find your manual BG90014 - Perel and take your electronic device back in hand. On this page are published all the documents necessary for the use of your device. BG90014 by Perel.
USER MANUAL BG90014 Perel
natural_image
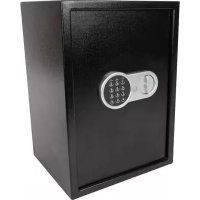
Black metal safe with a dial and control panel (no visible text or symbols)USER MANUAL 3
HANDLEIDING 7
MODE D'EMPLOI 11
MANUAL DEL USUARIO 15
text_image
Diagram of a safe with numbered parts indicating internal components and status
text_image
⑤ ⑥ ⑦ ⑧USER MANUAL
1. Introduction

To all residents of the European Union
Important environmental information about this product
This symbol on the device or the package indicates that disposal of the device after its lifecycle could harm the environment. Do not dispose of the unit (or batteries) as unsorted municipal waste; it should be taken to a specialized company for recycling. This device should be returned to your distributor or to a local recycling service. Respect the local environmental rules.
If in doubt, contact your local waste disposal authorities.
Thank you for choosing Perel! Please read the manual thoroughly before bringing this device into service. If the device was damaged in transit, do not install or use it and contact your dealer.
2. Safety Instructions
Read and understand this manual and all safety signs before using this appliance.
Indoor use only.
This device can be used by children aged from 8 years and above, and persons with reduced physical, sensory or mental capabilities or lack of experience and knowledge if they have been given supervision or instruction concerning the use of the device in a safe way and understand the hazards involved. Children shall not play with the device. Cleaning and user maintenance shall not be made by children without supervision.
3. General Guidelines
Refer to the Velleman® Service and Quality Warranty on the last pages of this manual.
All modifications of the device are forbidden for safety reasons. Damage caused by user modifications to the device is not covered by the warranty.
Only use the device for its intended purpose. Using the device in an unauthorised way will void the warranty.
Damage caused by disregard of certain guidelines in this manual is not covered by the warranty and the dealer will not accept responsibility for any ensuing defects or problems.
Nor Velleman nv nor its dealers can be held responsible for any damage (extraordinary, incidental or indirect) – of any nature (financial, physical...) arising from the possession, use or failure of this product.
Images are for illustrative purposes only
Keep this manual for future reference.
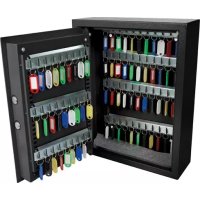
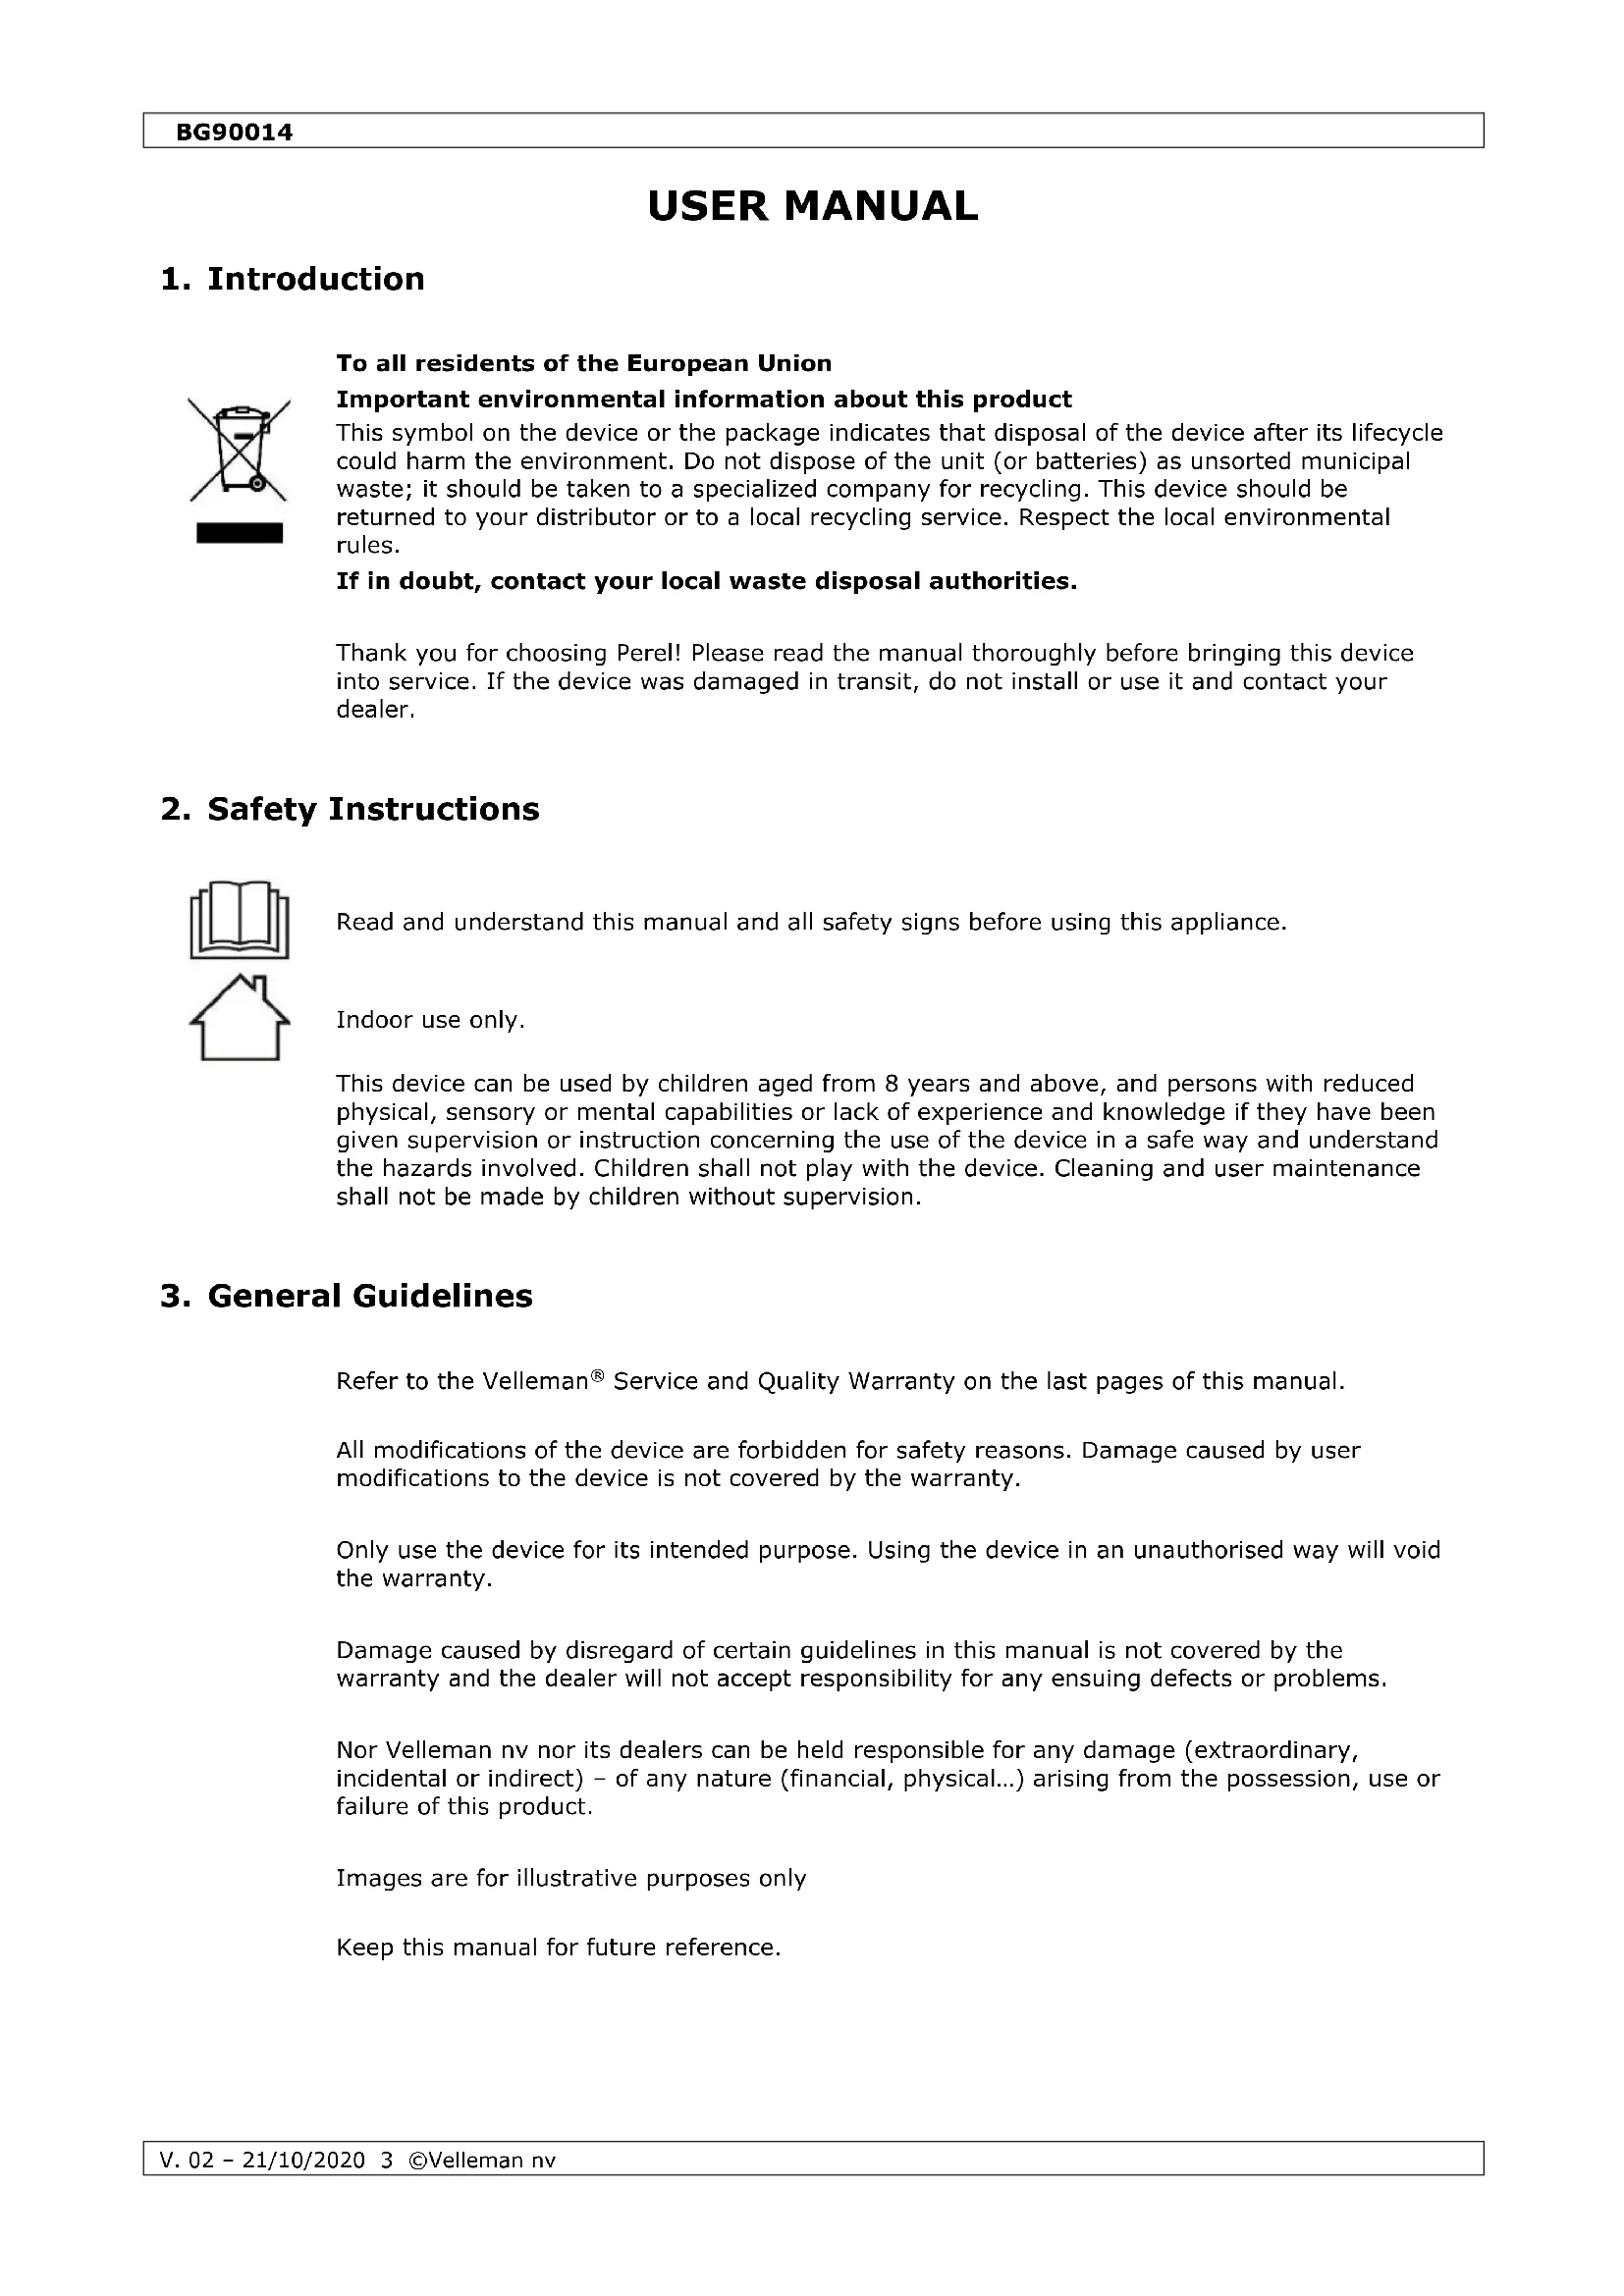
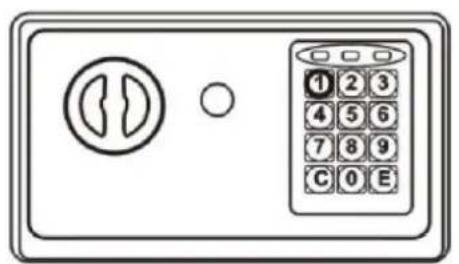
4. Overview
Refer to the illustrations on page 2 of this manual.
| 1 | battery compartment |
| 2 | bolts |
| 3 | storage hooks |
| 4 | reset button |
| 5 | emergency lock |
| 6 | master lock |
| 7 | control panel |
| 8 | confirming button |
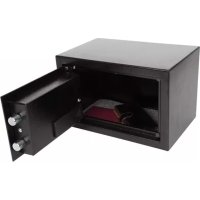
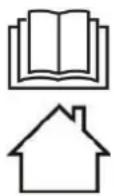
5. Installing the Safe
To reduce the risk of theft, the safe can be secured to the floor, wall or in a cupboard. Use the predrilled holes at the bottom and/or back to define the position of the drill holes. Fix the safe using the supplied expansion bolts. Install the safe in a horizontal position.
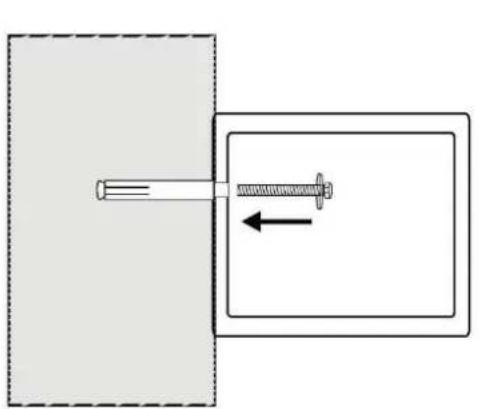
natural_image
Diagram showing a screw being inserted into a rectangular housing, with an arrow indicating direction (no text or symbols)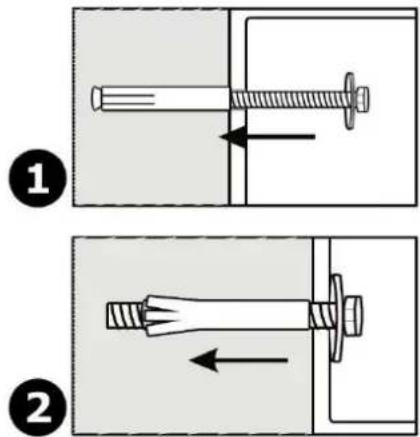
text_image
Technical diagram showing two mechanical assembly steps with arrows indicating movement of a bolt and nut assembly.6. Operation
6.1 First Use/Emergency Mode

The override key will open the safe without need of a code. It is therefore important never to store the override key inside or near the safe. The override key is also the only key with which you can open the safe in case of a lost code or empty batteries.
- Insert the override key in the emergency lock and turn to the left.
- At the same time, turn the master lock to the right.
6.2 Installing the Batteries
- Open the battery compartment and install the batteries according to the indicated polarity. It is recommended to use alkaline batteries only.
- Close the battery compartment.
- Change the batteries as soon as the red low battery LED lights.

Removing the batteries will delete the code. Re-enter your personal code. Refer to Setting/Changing the Personal Code.
6.3 Setting/Changing the Personal Code
- With the door open, press the reset button.
- When the yellow LED burns, enter a personal code (3 to 8 digits) and press the confirming button (C, E). The two beeps mean that your code has been validated.
Please re-enter your code and confirm if the yellow LED flashes and the safe beeps three times. - Proceed with programming the manager code.
6.4 Setting/Changing the Master Code
- With the door open, press 0 (zero) twice and press the reset button.
- When the yellow LED burns, enter a master code (3 to 8 digits) and press the confirming button (C, E). The two beeps mean that your code has been validated.
Please re-enter your code and confirm if the yellow LED flashes and the safe beeps three times.
6.5 Closing the Door
Close the door and turn the master lock to the left.
6.6 Opening the Door
- Enter your personal code and press the confirming button (C, E).
- As soon as the green LED burns, turn the master lock to the right and pull the door open. Please retry if the yellow LED flashes and the safe beeps three times.
text_image
1 2 3 4 5 6 7 8 9 C 0 E
text_image
Icon showing a gear with a circular symbol and a keypad displaying numbers 1-9, alongside a circular arrow pointing to it.6.7 Auto Lock
The safe will disable the keypad automatically for 20 seconds after three erroneous code entries.
After three more erroneous code entries, the keypad will be locked for 4 minutes and 30 seconds.
Disabling the alarm can only be done by opening the safe with the override key and removing the batteries.
7. Cleaning and Maintenance
Occasionally wipe with a damp cloth to keep it looking new. Do not use harsh chemicals, cleaning solvents or strong detergents.
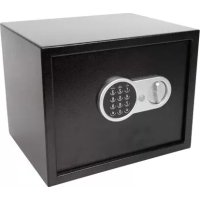
8. Technical Specifications
outer dimensions....17 x 23 x 17 cm
inner dimensions 16.8 x 22.8 x 12 cm
steel thickness
body....1 mm
door 2.5 mm
weight....2.3 kg
power supply 4x AA/LR6 1.5 V batteries (not incl.)
capacity....4.6 L
Use this device with original accessories only. Velleman nv cannot be held responsible in the event of damage or injury resulting from (incorrect) use of this device. For more info concerning this product and the latest version of this manual, please visit our website www.velleman.eu. The information in this manual is subject to change without prior notice.
© COPYRIGHT NOTICE
The copyright to this manual is owned by Velleman nv. All worldwide rights reserved.
No part of this manual may be copied, reproduced, translated or reduced to any electronic medium or otherwise without the prior written consent of the copyright holder.
HANDLEIDING
1. Inleiding
natural_image
Diagram showing a screw being inserted into a rectangular housing with an arrow indicating direction (no text or symbols)
text_image
Technical diagram showing two mechanical assembly steps with arrows indicating movement of a bolt and fastener component.6. Gebruik
text_image
Icon set of an email receiver with a clock and download symbol, indicating email or app access.natural_image
Diagram showing a screw being inserted into a rectangular housing with an arrow indicating direction (no text or symbols)
text_image
Technical diagram showing two mechanical assembly steps with arrows indicating movement or force direction6. Emploi
text_image
Diagram of a device control panel with labeled buttons and a circular indicator symbol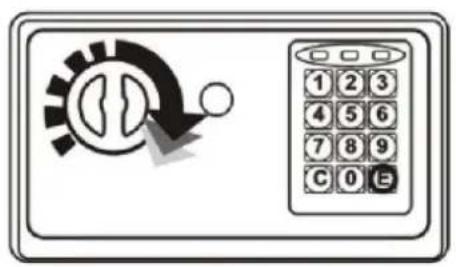
text_image
Icon set with gear and clock face, indicating speed control or navigationnatural_image
Diagram showing a screw being inserted into a rectangular housing with an arrow indicating direction (no text or symbols)
text_image
Technical diagram showing two mechanical assembly steps with arrows indicating movement of a bolt and nut assembly.6. Funcionamiento
text_image
Icon set with a speedometer and a keypad, symbolizing email or app controlnatural_image
Diagram showing a screw being inserted into a rectangular housing with an arrow indicating direction (no text or symbols)
text_image
Technical diagram showing two mechanical assembly steps with arrows indicating movement of a bolt and fastener component.6. Anwendung
text_image
Icon set with a clock and gear symbol, indicating email or account managementnatural_image
Diagram showing a screw being inserted into a rectangular housing with an arrow indicating direction (no text or symbols)
text_image
Technical diagram showing two mechanical assembly steps with arrows indicating movement of a bolt and fastener component.6. Obsługa
text_image
Icon set with a clock and gear symbol, likely representing email or digital interfacenatural_image
Diagram showing a screw being inserted into a rectangular housing with an arrow indicating direction (no text or symbols)
text_image
Technical diagram showing two mechanical assembly steps with arrows indicating movement of a bolt and fastener component.6. Utilização
6.2 Colocar as pilhas
text_image
Digital icon set with a speedometer and a keypad, symbolizing speed control or email access.Velleman® Service and Quality Warranty
Since its foundation in 1972, Velleman® acquired extensive experience in the electronics world and currently distributes its products in over 85 countries.
All our products fulfil strict quality requirements and legal stipulations in the EU. In order to ensure the quality, our products regularly go through an extra quality check, both by an internal quality department and by specialized external organisations. If, all precautionary measures notwithstanding, problems should occur, please make appeal to our warranty (see guarantee conditions).
General Warranty Conditions Concerning Consumer Products (for EU):
- All consumer products are subject to a 24-month warranty on production flaws and defective material as from the original date of purchase.
- Velleman® can decide to replace an article with an equivalent article, or to refund the retail value totally or partially when the complaint is valid and a free repair or replacement of the article is impossible, or if the expenses are out of proportion.
You will be delivered a replacing article or a refund at the value of 100% of the purchase price in case of a flaw occurred in the first year after the date of purchase and delivery, or a replacing article at 50% of the purchase price or a refund at the value of 50% of the retail value in case of a flaw occurred in the second year after the date of purchase and delivery.
- Not covered by warranty:
- all direct or indirect damage caused after delivery to the article (e.g. by oxidation, shocks, falls, dust, dirt, humidity...), and by the article, as well as its contents (e.g. data loss), compensation for loss of profits;
- consumable goods, parts or accessories that are subject to an aging process during normal use, such as batteries (rechargeable, non-rechargeable, built-in or replaceable), lamps, rubber parts, drive belts... (unlimited list);
- flaws resulting from fire, water damage, lightning, accident, natural disaster, etc....;
- flaws caused deliberately, negligently or resulting from improper handling, negligent maintenance, abusive use or use contrary to the manufacturer's instructions;
- damage caused by a commercial, professional or collective use of the article (the warranty validity will be reduced to six (6) months when the article is used professionally);
- damage resulting from an inappropriate packing and shipping of the article;
- all damage caused by modification, repair or alteration performed by a third party without written permission by Velleman®.
- Articles to be repaired must be delivered to your Velleman® dealer, solidly packed (preferably in the original packaging), and be completed with the original receipt of purchase and a clear flaw description.
- Hint: In order to save on cost and time, please reread the manual and check if the flaw is caused by obvious causes prior to presenting the article for repair. Note that returning a non-defective article can also involve handling costs.
• Repairs occurring after warranty expiration are subject to shipping costs.
- The above conditions are without prejudice to all commercial warranties.