KC1262F - Drill BLACK & DECKER - Free user manual and instructions
Find the device manual for free KC1262F BLACK & DECKER in PDF.

User questions about KC1262F BLACK & DECKER
0 question about this device. Answer the ones you know or ask your own.
Ask a new question about this device
Download the instructions for your Drill in PDF format for free! Find your manual KC1262F - BLACK & DECKER and take your electronic device back in hand. On this page are published all the documents necessary for the use of your device. KC1262F by BLACK & DECKER.
USER MANUAL KC1262F BLACK & DECKER
On the purchase of your Black & Decker product. To ensure the best results from your power tool please read these safety and usage instructions carefully. If you have any questions or queries after reading this user manual please do not hesitate to call our Service and Information Centre, whose number you will find towards the back of this user manual, or one of our Authorised Repair Agents. A list of these Agents and further information is available on the Internet at www.2helpU.com.
ESPANOL
1ENHORABUENA!
Additional Safety instructions for charger and battery pack KC1261FC/KC1262FC/KC1282FC/KC2000FC
SYMBOLS USED THROUGHOUT THIS MANUAL

Denotes risk of personal injury, loss of life or damage to the tool in case of non-observation of the instructions in this manual.

Denotes risk of electric shock.

Fire hazard!
LABELS ON CHARGER AND BATTERY PACK
In addition to the pictographs used in this manual, the labels on the charger and the battery pack show the following pictographs:
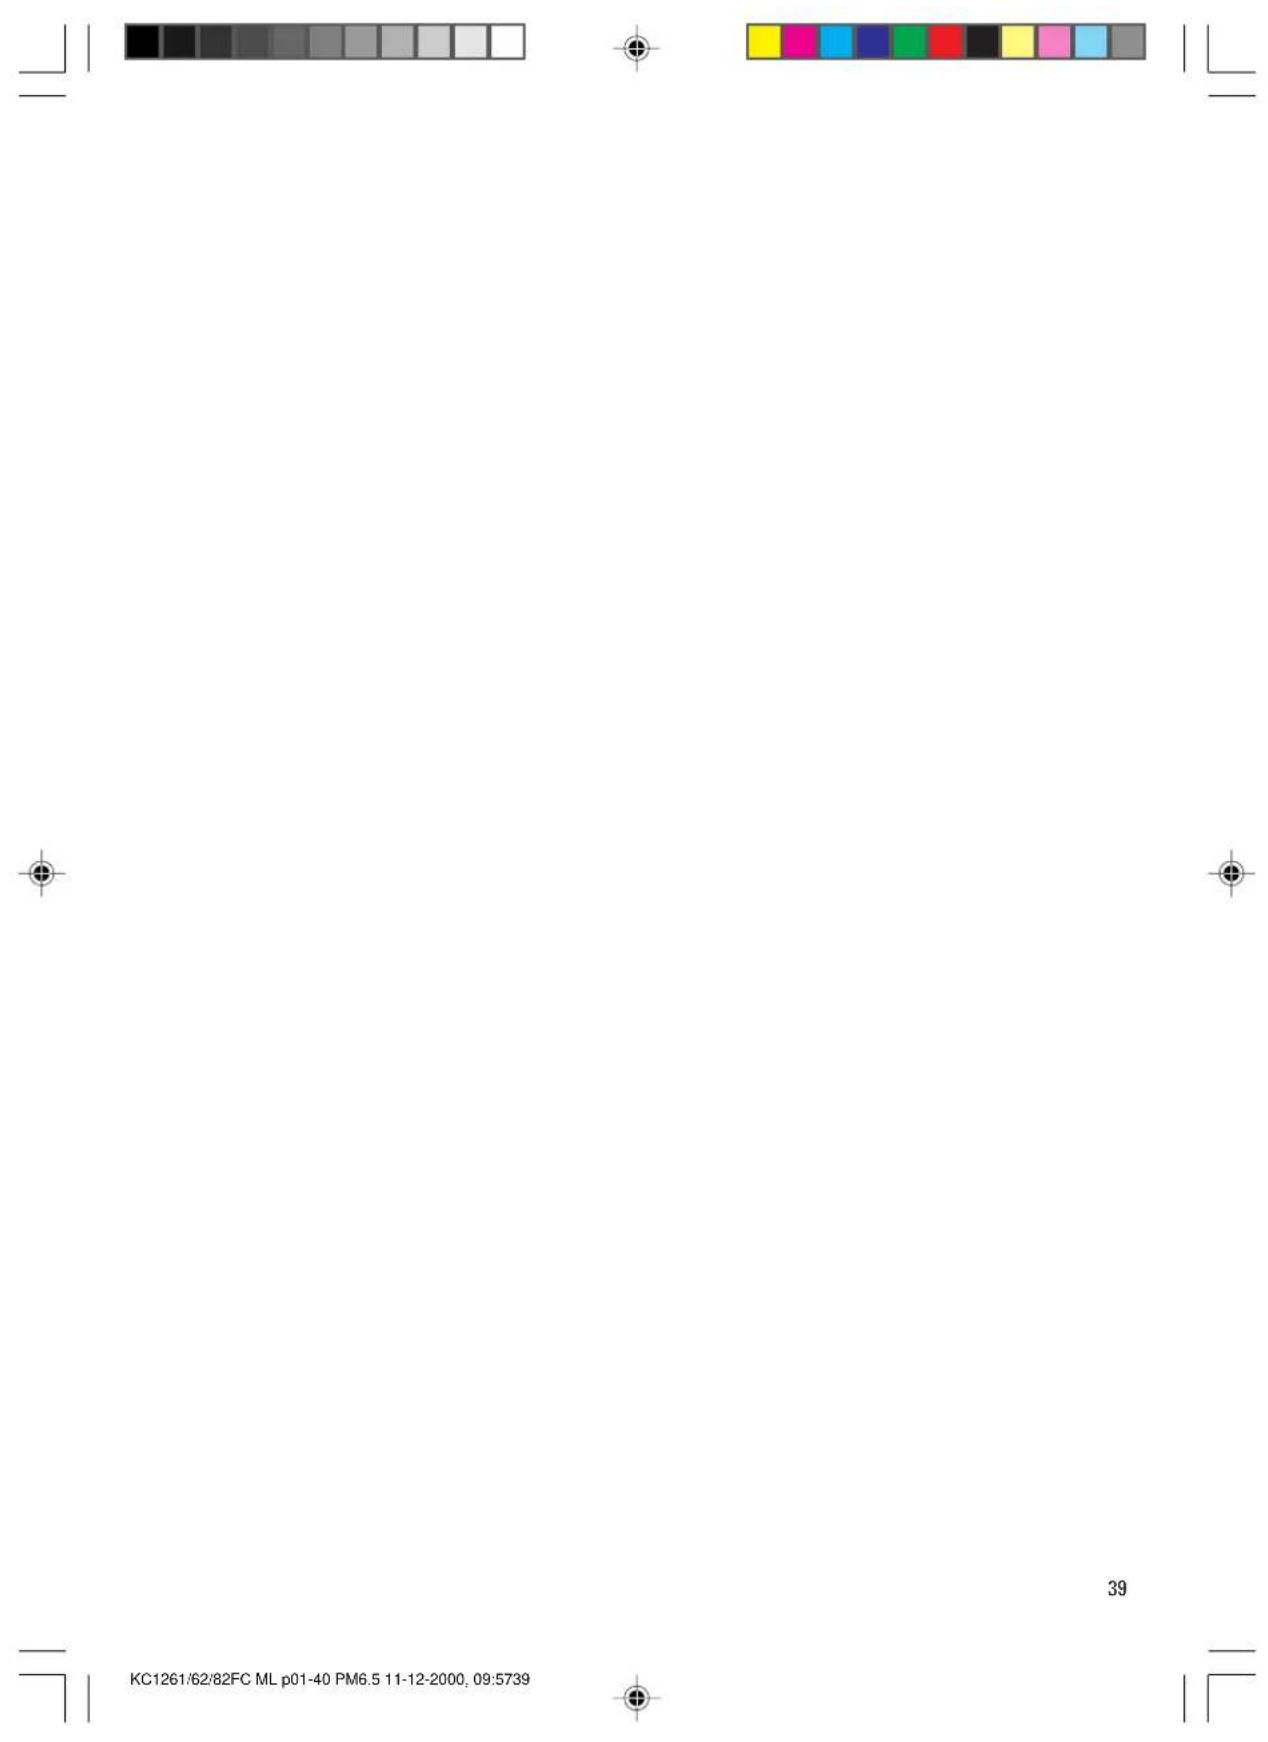
Battery charging
Battery charged

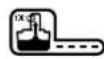
Battery defective

Do not probe with conductive objects

Do not chargedamaged battery packs

Read instruction manual before use

Do not expose to water

Have defective cords replaced immediately

Charge only between 4^ and 40^

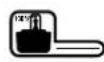
Discard the battery pack with due care for the environment
Do not incinerate the battery pack
RECHARGABLE BATTERIES & THE ENVIRONMENT
Black & Decker cordless tools use nickel cadmium (NiCad) batteries or battery packs which can be charged many times to give long life and repeatedly full power. This symbol indicates th NiCad batteries contained within this unit must be disposed of properly and not discarded in everyday household waste which may be disposed of in an incinerator or landfill site.
NiCad batteries can be harmful to the environment and can explode when exposed to fire.

Do not incinerate
Therefore, when your tool or battery pack needs replacing, think of the protection of our environment. Black & Decker recommends the following:
- Discharge batteries completely by running the unit until the energy is completely discharged and then remove from the tool.
Take the battery pack to your local dealer or your recycling station. If necessary, contact your local council for disposal information. The collected batteries will be disposed of properly and/or used for recycling purposes whilst protecting the environment.
Note: You as a customer are responsible for proper disposal or recycling of the battery pack.
CHARGER
Your charger accepts Black & Decker 12V NiCad battery packs with a 1.5Ah rating. (A9275)
ELECTRICAL SAFETY
Always check that the battery pack power corresponds to the voltage on the rating plate. Also make sure that the voltage of the charger corresponds to that of the mains.
ENGLISH
DOUBLEINSULATION

Your Black & Decker charger is double insulated in accordance with EN60335.
REPLACEMENT OF THE SUPPLY CORD. (AUSTRALIA/NEW ZEALAND)
If the supply cord is damaged, it must be replaced by the manufacturer or its service agent or similarly qualified person in order to avoid a hazard.
MAINS PLUG REPLACEMENT (U.K. & IRELAND ONLY)
- Should your mains plug need replacing and you are competent to do this, proceed as instructed below. If you are in doubt, contact an authorised repair agent or a qualified electrician.
- Disconnect the plug from the supply.
- Cut off the plug and dispose of it safely; a plug with bared copper conductors is dangerous if engaged in a live socket outlet.
Only fit 13 Amperes BS1363A approved plugs fitted with the correctly rated fuse (1). - The cable wire colours, or a letter, will be marked at the connection points of most good quality plugs. Attach the wires to their respective points in the plug (see below). Brown is for Live (L) (2) and Blue is for Neutral (N) (4).
Before replacing the top cover of the mains plug ensure that the cable restraint (3) is holding the outer sheath of the cable firmly and that the two leads are correctly fixed at the terminal screws.
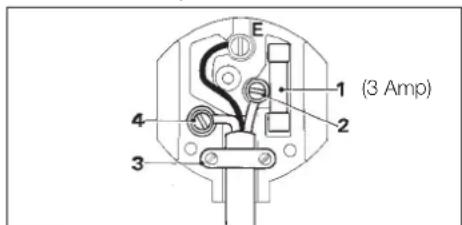

Never use a light socket.
Never connect the live (L) or neutral (N) wires to the earth pin marked E or 1一
USING AN EXTENSION CABLE
An extension cord should not be used unless absolutely necessary. Use an approved extension cable suitable for the power input of your charger (see technical data). The minimum conductor size is 0.5 mm²; the maximum length is 30 m.
BATTERY PACK
The Battery pack of your drill is not charged when supplied as new. A new Battery, or one that has not been used for an extended period, achieves full performance only after approximately 5 charging and discharging cycles.
Before attempting to charge your drill, read all the safety instructions.
To charge your drill, proceed as follows: Putthe forward/reverse switch in the centre (lock-off) position. Remove all accessories from the chuck. To remove the battery pack, depress the two release buttons and withdraw the battery pack. Plug the charger into a standard 220/240V socket. Place the pack in the charger.
While charging, your battery pack may hum and become warm to touch; this is normal.
After normal use your battery pack should be fully charged in 15 minutes. If your power pack has been run down completely, it may take up to 30 minutes to be fully charged.
To prolong your power packs life, avoid leaving it on charge for more than 8 hours.

Do not charge the battery pack at ambient temperatures < 4^ or >40^ . Recommended charging temperature 24^ / 74^ .
CHARGINGINDICATION MODES
Red charging indicator blinks.
This indicates that the battery is being charged.
Red light remains on.
This indicates that the battery is fully charged.
Red indicator flashes rapidly.
This indicates there is a fault. Remove battery from charger and reinsert. If this fails try a new pack. If your new pack also refuses to charge, have your charger tested by an authorised repair agent.
Red indicator blinks twice.
This indicates a temporary problem with the power source; switch off supply and repeat charging process.
ENGLISH
Additional safety instructions for battery packs
Fire hazard! Avoid metal short circuiting the contacts of a detached battery pack (e.g. keys carried in the same pocket as a battery pack).

Only use Black & Decker batteries.
Cleaning

Unplug the charger before cleaning the
TECHNICAL DATA
Charger:
Mains Voltage V 230/240
Approx Charging Time min 15
Weight kg 0.4
Fuses:
Europe 230V Tools 10 Amp, Mains
UK & Ireland 230V Tools 3 Amp, In Plug
EC DECLARATION OF CONFORMITY
We declare that units: KC1261FC, KC1262FC,
KC1282FC, KC2000FC conform to 89/336/EEC.
73/23/EEC. EN60335, EN55014-2, EN55014.
EN61000-3-2, EN61000-3-3

Colin Wills - Director of Engineering
BDCI, 4/F, 2 Dai Wang Street, Tai Po Industrial Estate,
Tai Po, N.T. Hong Kong
The Black & Decker company policy is one of
continuous improvement to our product and as such
we reserve the right to change the product
specification without prior notice.
KC1261FC, KC1262FC, KC1282FC, KC2000FC
Colin Wills - Director of Engineering
BDCI, 4/F, 2 Dai Wang Street, Tai Po Industrial Estate,
Tai Po, N.T. Hong Kong
Colin Wills - Director of Engineering, BDCI
4/F, 2 Dai Wang St, Tai Po Ind Est, Tai Po,
N.T. Hong Kong
KC1261FC/KC1262FC/KC1282FC/KC2000FC
SYMBOLES UTILISES DANSCE MANUEL

Pack-batteries charge

NE PAS BRULER

Colin Wills - Director of Engineering
BDCI, 4/F, 2 Dai Wang Street, Tai Po Industrial Estate,
Tai Po, N.T. Hong Kong
KC1261FC/KC1262FC/KC1282FC/KC2000FC
SYMBOLDIE IN DEZE HANDLEIDING WORDEN GEBRUKT

KC1261FC, KC1262FC, KC1282FC, KC2000FC in
overeenstemming is met 89/336/EEC, 73/23/EEC,
EN60335, EN55014-2, EN55014, EN61000-3-2,
EN61000-3-3

Colin Wills - Director of Engineering
BDCI, 4/F, 2 Dai Wang Street, Tai Po Industrial Estate,
Tai Po, N.T. Hong Kong
Colin Wills - Director of Engineering
BDCI, 4/F, 2 Dai Wang Street, Tai Po Industrial Estate, Tai Po, N.T. Hong Kong
KC1261FC/KC1262FC/KC1282FC/KC2000FC
SIMBOLOS UTILIZADOS AO LONGO DESTE MANUAL

BDCI, 4/F, 2 Dai Wang Street, Tai Po Industrial Estate,
Tai Po, N.T. Hong Kong
KC1261FC, KC1262FC, KC1282FC, KC2000FC eri
overensstemmelse med 89/336/EEC, 73/23/EEC,
EN60335, EN55014-2, EN55014, EN61000-3-2,
EN61000-3-3

Colin Wills - Director of Engineering, BDCI
4/F, 2 Dai Wang Street, Tai Po Industrial Estate,
Tai Po, N.T. Hong Kong
Colin Wills - Director of Engineering,
BDCI 4/F, 2 Dai Wang St, Tai Po Ind Est,
Tai Po, N.T. Hong Kong
Colin Wills - Director of Engineering
BDCI, 4/F, 2 Dai Wang Street, Tai Po Industrial Estate,
Tai Po, N.T. Hong Kong
Colin Wills - Director of Engineering
BDCI, 4/F, 2 Dai Wang Street, Tai Po Industrial Estate, Tai Po, N.T. Hong Kong