USER MANUAL SKG 1700 B3 SILVERCREST
- Overview 2
- Intended purpose 3
- Safety information 3
- Items supplied 6
5.How to use 6
- Operation 6
6.1 Heating up 7
6.2 Preparation 7
6.3 Grill plate setting 8
6.4 Switching off 8
- Cleaning 8
- Storage 9
- Disposal 9
- Trouble-shooting 10
- Recipes 10
- Technical specifications 14
- Warranty of the HOYER Handel GmbH 14
1. Overview
1 Handle
2 Lid
3 Grill plates
4 Power cable with mains plug
5 Cable spool on device base
6 Oil/ fat runoff on lower grill plate
7 Handle
8 Grip clamps for grill plates
9 Oil/ fat runoff on upper grill plate
10 Base (foldable)
11 Thermostat control for upper grill plate
12 Control light for upper grill plate
13 Thermostat control for lower grill plate
14 Control light for lower grill plate
15 Power indicator
16 Grease drip tray
Figure A: position grease drip tray / Figure B: contact grill / Figure C: barbecue / Figure D: grill oven / Figure E: cable spool
Thank you for your trust!
Congratulations on your new Contact Grill.
For a safe handling of the device and in order to get to know the entire scope of features:
- Thoroughly read these operating instructions prior to initial commissioning.
- Above all, observe the safety instructions!
- The device should only be used as described in these operating instructions.
- Keep these operating instructions for reference.
- If you pass the device on to someone else, please include these operating instructions. The user instructions are a part of the product.
We hope you enjoy your new Contact Grill!
Symbols on your appliance
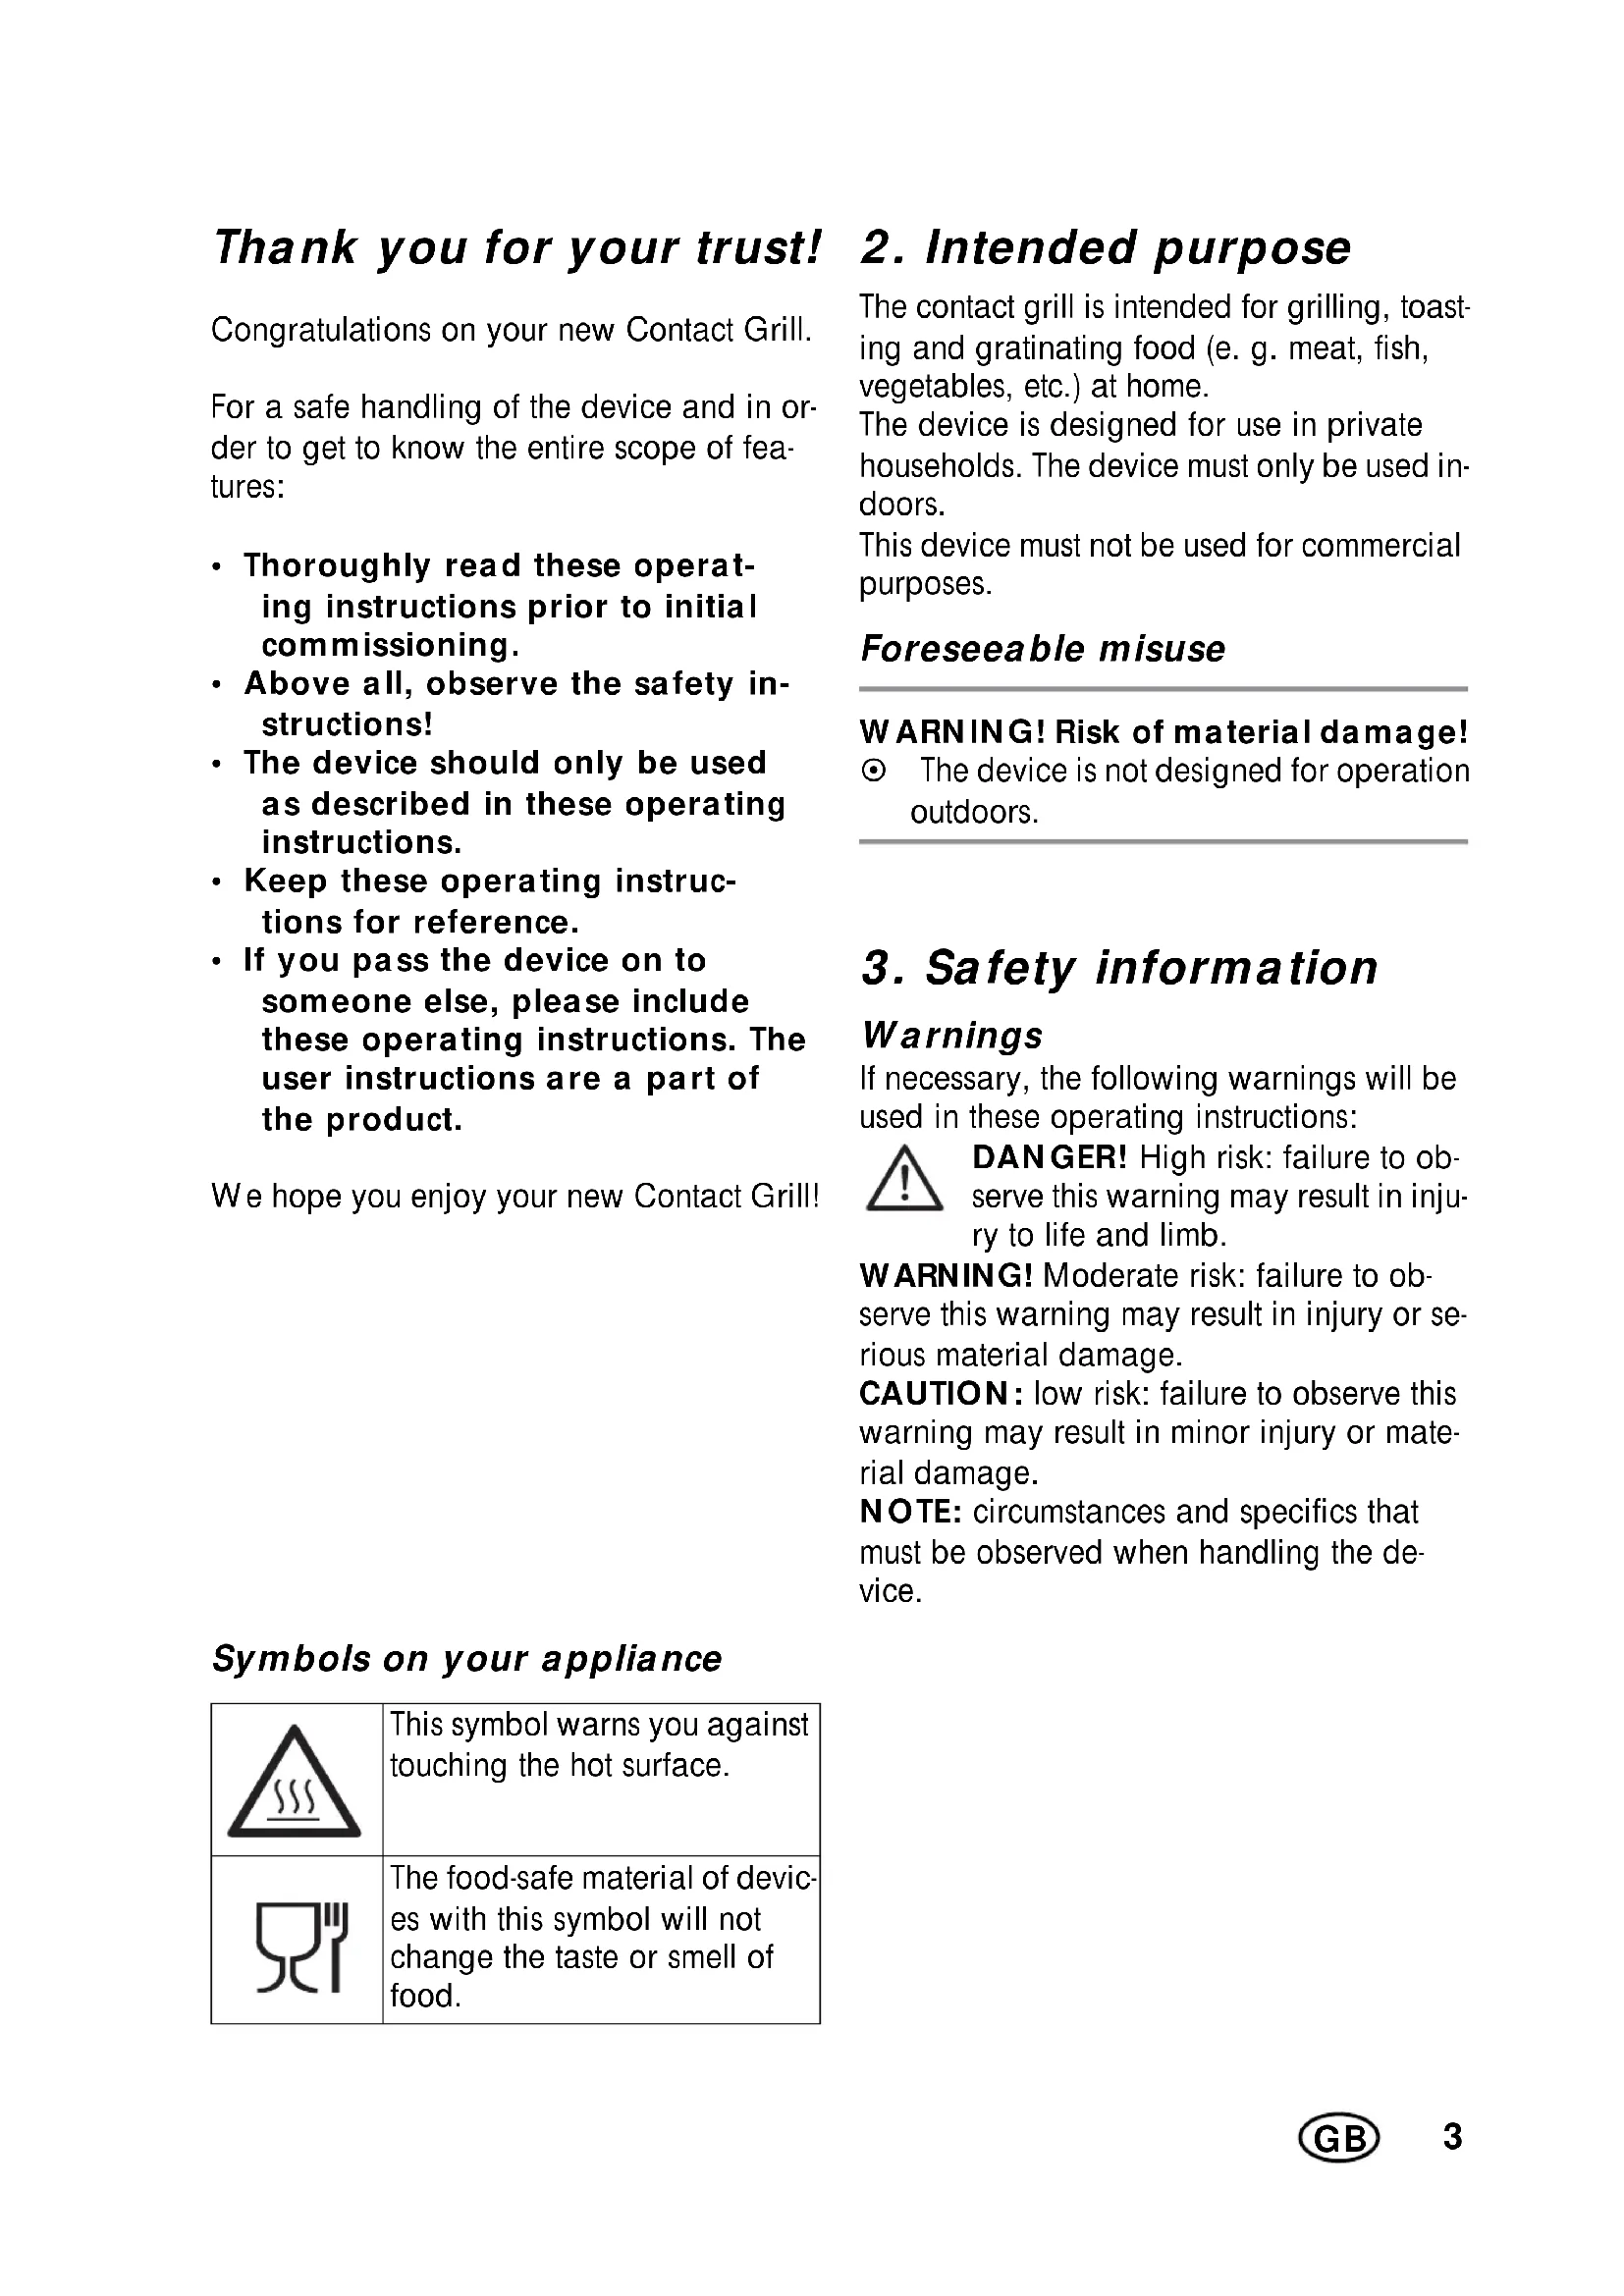
| This symbol warns you against touching the hot surface. |
| The food-safe material of devices with this symbol will not change the taste or smell of food. |
2. Intended purpose
The contact grill is intended for grilling, toasting and gratinating food (e. g. meat, fish, vegetables, etc.) at home.
The device is designed for use in private households. The device must only be used indoors.
This device must not be used for commercial purposes.
Foreseeable misuse
WARNING! Risk of material damage!
The device is not designed for operation outdoors.
Warnings
If necessary, the following warnings will be used in these operating instructions:

DANGER! High risk: failure to observe this warning may result in injury to life and limb.
WARNING! Moderate risk: failure to observe this warning may result in injury or serious material damage.
CAUTION: low risk: failure to observe this warning may result in minor injury or material damage.
NOTE: circumstances and specifics that must be observed when handling the device.
Instructions for safe operation
This device can be used by children from the age of 8 and people with restricted physical, sensory or intellectual abilities or people without adequate experience and/ or understanding, if they are supervised or instructed on how to use this device safely and if they are aware of the resulting risks.
Children must not play with the device.
- Cleaning and user maintenance must not be performed by unsupervised children unless they are older than 8 years and supervised.
Children under the age of 8 must be kept away from the device and the power cable.
- The outer surfaces of the device become very hot during operation. Only touch the control elements of the device during operation.
This device is not intended to be operated using an external timer clock or a separate remote control system.
- If the power cable of this device should become damaged, it must be replaced by the manufacturer, the manufacturer's customer service department or a similarly qualified specialist, in order to avoid any hazards.
Charcoal and similar fuels must not be used in this device.
The heating spirals must not be wiped with a damp cloth.
- Clean all parts and surfaces that will come into contact with food before using the device for the first time (see “Cleaning” on page 8).

DANGER for children
- Packing materials are not children's toys. Children should not be allowed to play with the plastic bags: There is a risk of suffocation.
- Please ensure that children are not able to pull the device down from the work surface with the power cable.
- Keep the device out of the reach of children.

DANGER to and from pets and livestock
- Electrical devices can represent a hazard to pets and livestock. In addition, animals can also cause damage to the device. For this reason you should keep animals away from electrical devices at all times.

DANGER! Risk of electric shock due to moisture
The device, the power cable and the mains plug must not be immersed in water or any other liquids.
- Protect the device from moisture, water drops and water spray.
- If liquid gets into the device, remove the mains plug immediately. Have the device checked before reusing.
- Never touch the device with wet hands.
- If the device falls into water, disconnect the mains plug immediately. Only then is it safe to retrieve the device.

DANGER! Risk of electric shock
- Only plug the mains plug into the wall socket after the device has been completely assembled.
- Only connect the mains plug to a properly installed and easily accessible earthed wall socket whose voltage corresponds to the specifications on the rating plate. The wall socket must continue to be easily accessible after the device is plugged in.
- Ensure that the power cable cannot be damaged by sharp edges or hot points. Do not wrap the power cable around the device.
The device is not fully disconnected from the power supply, even after it is switched off. In order to fully disconnect it, pull out the mains plug.
- When using the device, ensure that the power cable cannot be trapped or crushed.
- When removing the mains plug, always pull the plug and never the cable.
- Disconnect the mains plug from the wall socket ...
... if there is a fault,
... when you are not using the device,
... before you clean the device, and
... during thunderstorms.
To avoid any risk, do not make modifications to the device.
Do not use the device if there is visible damage to the device or the power cable.

DANGER! Risk of fire
The device must not be operated close to flammable liquids or materials, or in a potentially explosive environment. Keep at a distance of at least 30~cm from walls. In order to prevent overheating of the device or a potential fire, the device must not be covered. The grill plates must under no circumstances be covered with aluminium foil, aluminium containers or heat-resistant materials.
The power cable must not touch the metal surfaces during operation.

DANGER! Risk of injury through burning
The metal surfaces become very hot during operation. Only touch the handles and control elements of the device during operation.
The device remains very hot after it is switched off, and must not be touched.
- Only transport the device when it has cooled down, and when doing so only use the handles intended.

DANGER for birds
- Birds breathe faster, distribute the air differently in their bodies and are significantly smaller than humans. For this reason, it may be dangerous for birds to inhale even the smallest smoke quantities, which develop while this device is running. When using this device, birds should be relocated into a different room.
WARNING! Risk of material damage
- Ensure that the device is switched off before you plug it into a wall socket (turn both thermostat controls to "●" until they go no further).
Only use the original accessories.
Do not use kitchen utensils made of metal to lift grilled food from the grill plate. Use e.g. a wooden spatula.
- Do not use any astringent or abrasive cleaning agents.
The device is fitted with non-slip plastic feet. As furniture is coated with a wide array of varnishes and synthetics, and is also treated with different care products, it cannot be fully ruled out that some of these materials contain ingredients that could attack and soften the non-slip plastic feet. If necessary, place a non-slip mat under the device.
4. Items supplied
1 Contact grill with two grill plates
2 Grease drip trays
1 Set of operating instructions
5. How to use

DANGER! Risk of fire!
- Place the device on a dry, level, non-slip and heat-resistant surface.
The device must not be operated close to flammable liquids or materials, or in a potentially explosive environment. Keep at a distance of at least 30~cm from walls.
NOTE: when in operation for the first time, some smoke and odour may be generated by the device. This is related to materials used on the heating elements during assem
bly, and is not a defect with the product. Ensure adequate ventilation.
6. Operation

DANGER! Risk of injury through burning!
- The metal surfaces become very hot during operation. Only touch the handles and control elements of the device during operation.
6.1 Heating up
- Open the lid 2 of the contact grill upwards. Be careful not to raise the lid any further after it is vertical.
- Grease the grill plates 3 with a little vegetable oil or vegetable fat (e.g. coconut or palm oil) if appropriate.
- Figure A: Place a grease drip tray 16 under the oil/ fat runoff of the bottom grill plate 6.
- Close the lid 2 downwards in order to close the contact grill.
- Before plugging in the device, check that both thermostat controls 11 + 13 are set to the marking "·".
- Insert the mains plug 4 into an earthed wall socket corresponding to the specifications of the rating plate.
-
Turn the thermostat controls 11 + 13 to the desired temperature setting 1, 2, 3, 4 or 5.
-
Setting 1: thaw
- Setting 2: warm
- Settings 3 and 4: moderate grill settings
-
Setting 5: highest grill setting
The device then heats up the grill plates 3, and the control lights 12 and 14 are illuminated.
-
The control lights 12 and 14 go out when the corresponding grill plate 3 has reached the selected temperature setting.
6.2 Preparation
Temperature setting
On the lid 2 there is an overview with the recommended temperature settings for various foods. The following table contains the
meanings of the food symbols (with the corresponding temperature settings).
| Symbol | Meaning | Temperature setting |
| Thaw 1 | |
| Wam 2 | |
| Vegetables 3 | |
| Prawns 3 | |
| Fish 4 | |
| Hamburger, sandwich | 5 |
| Meat (e.g. steaks, spare ribs) | 5 |
| Sausages 5 | |
| Poultry (e.g. chicken, turkey) | 5 |
Preparation time
The required preparation time depends on the quantity, the thickness and the type of food, and the desired level of cooking.
6.3 Grill plate setting
Depending on what you wish to prepare, there are 3 different ways to set up the grill plates 3.
NOTE: please note that opening the lid 2 may cause any oil or fat present to drip from the lid onto the work surface.
This contact setting of the grill plates 3 allows double-sided, rapid grilling of pieces of meat, e.g. filet steak, rump steak, cutlets, sausages, or of vegetables.
- Preheat the grill plates 3 (see "Heating up" on page 7).
- Open the lid 2 of the contact grill upwards. Be careful not to raise the lid any further after it is vertical.
- Place the food to be grilled on the lower grill plate 3.
- Close the lid 2 and press it down gently onto the food to be grilled, so that both grill plates 3 are in contact with the food.
The open position of the grill plates is suitable ...
... for slow grilling of comparatively thick food,
... for preparing food with different temperature settings simultaneously, and
... for preparing comparatively large quantities of food.
- Fold out the base 10.
- Open the lid 2 upwards, lift it up, and open it further until it is horizontal.
- Preheat the grill plates 3 (see "Heating up" on page 7), however do so with the lid open.
- For the barbecue position, also place the second grease drip tray 16 under
the oil/ fat runoff 9 of the upper grill plate 3.
5. Place the food to be grilled on both grill plates 3.
The oven function is particularly suitable for the gratinating of food.
- Preheat the grill plates 3 (see "Heating up" on page 7).
- Open the lid 2 of the contact grill upwards. Be careful not to raise the lid any further after it is vertical.
- Place the food to be grilled on the lower grill plate 3.
- Lift the lid 2 upwards and pull it forwards and down, until it is parallel above the lower grill plate 3.
6.4 Switching off
- Set both thermostat controls 11 + 13 to the setting "●".
2.Pull out the mains plug 4.
- Lift the grilled food off the grill plate 3 using a suitable kitchen utensil. Use e.g. a spatula made from wood or heat-resistant plastic, but never from metal.
7. Cleaning
Clean the device prior to its first use!

DANGER! Risk of electric shock!
Pull the mains plug 4 out of the wall socket before you clean the contact grill.
The device, the power cable and the mains plug 4 must not be immersed in water or any other liquids.

DANGER! Risk of injury through burning!
- Allow all the parts to cool down before cleaning.
WARNING! Risk of material damage!
- Do not use any astringent or abrasive cleaning agents.
Clean the device after each use and remove all food residues.
Outer surfaces
- Clean the outer surfaces using a soft, damp cloth with a mild soap solution.
Grease drip trays
The grease drip trays 16 may be cleaned by hand or in a dishwasher.
Grill plates
For purposes of cleaning, remove the grill plates 3 from the device after it has cooled down.
- Press the grip clamps 8 to the side and remove the grill plates 3 from their brackets.
- The grill plates 3 may be cleaned by hand or in a dishwasher. Dry them completely before re-inserting.
- Place the grill plates 3 into the device and press them against the grip clamps 8 until the grill plates click into position.
NOTE: burnt-on food or fat residue is often easier to remove if you leave a damp washcloth on the baked-on residue overnight to soften it.
8. Storage

DANGER for children!
-
Keep the contact grill out of the reach of children.
-
Clean all parts, and allow them to dry properly before you put the contact grill away.
Figure E: wind the power cable 4 around the cable spool 5 when the device is upright.
- The device can be stored in an upright position.
- Select a location where neither high temperatures nor moisture can affect the device.
9. Disposal
This product is subject to the provisions of European Directive 2012/19/EC. The symbol showing a wheelie bin crossed through indicates
that the product requires separate refuse collection in the European Union. This applies to the product and all accessories marked with this symbol. Products identified with this symbol may not be discarded with normal household waste, but must be taken to a collection point for recycling electric and electronic appliances.
This recycling symbol marks e.g. an object or parts of the material as valuable for recycling. Recycling helps to reduce the consumption of raw
materials and protect the environment.

Packaging
When disposing of the packaging, make sure you comply with the environmental regulations applicable in your country.
10. Trouble-shooting
If your device fails to function as required, please try this checklist first. Perhaps there is only a minor problem, and you can solve it yourself.

DANGER! Risk of electric shock!
Do not attempt to repair the device yourself under any circumstances.
| Fault | Possible causes/Action |
| No function | • Has the device been connected to the power supply?
• Check the connection.
• Are the thermostat controls 11 and 13 set to the marking “●”? |
11. Recipes
Sirloin beef steaks
2 sirloin beef steaks
- S a l t
- Pepper, freshly ground
1 sprig of rosemary (leaves plucked off)
- Olive oil
- Remove the steaks from the refrigerator around 1 hour before cooking them, so that they reach room temperature.
- Preheat the contact grill to setting 5.
- Rub both sides of the steaks with a little olive oil, then season them with salt and pepper, and sprinkle with rosemary.
-
Place the steaks into the preheated contact grill.
-
Grill plate setting: contact grill
-Grilling time:approx.4-7 minutes
NOTE: the grilling time varies depending on the thickness and size of the steaks, and on how you want them cooked (rare, medium, well done).
- Remove the steaks from the contact grill, cover them, and let them rest for a little while.
Burger with cheese and bacon
- 250 g minced beef
- S a l t
- Pepper, freshly ground
- 2 hamburger buns
2 slices of cheese (e.g. Chester)
4 slices of bacon
2 leaves of lettuce
4 slices of tomato
- a few slices of gherkin
- K et c h u p
-
Bar b e c u e s a u c
-
Season the minced beef, knead it thoroughly, and shape it into two flat, round hamburgers.
- Preheat the contact grill to setting 5.
-
Grill the bacon until crispy in the preheated contact grill.
-
Grill plate setting: grill oven
-
Remove the slices of bacon from the contact grill and put them aside.
-
Place the hamburgers into the lightly oiled contact grill.
-
Grill plate setting: contact grill
-
Grilling time: approx. 5 - 8 minutes, depending on the thickness and size of the hamburgers.
-
Remove the hamburgers from the contact grill and put them aside.
- Turn the temperature of the lower grill plate down to setting 3.
-
Cut the hamburger buns open and place them on the contact grill, placing the hamburgers and one slice of cheese on each of the bottom halves.
-
Grill plate setting: grill oven
-
Grilling time: approx. 2 - 3 minutes, until the cheese melts.
-
Add the bacon, ketchup, barbecue sauce, gherkin and tomato slices to the burgers to taste, and place the upper halves of the buns on top.
Fast panini with pesto
1 ciabatta
Green pesto
- 2 - 4 tomatoes (in thin slices)
- 2 balls of mozzarella (in thin slices)
- To taste: salt
- Cut ciabatta into slices and spread thinly with pesto.
- Place slices of mozzarella and tomato on the ciabatta.
- Season to taste with a little salt.
- Preheat the contact grill to setting 5.
- Grill the paninis in the lightly greased contact grill until the mozzarella melts. - Grill plate setting: grill oven
NOTE: vary this basic recipe, e.g. with ham and rocket, or with tuna fish and onions.
Pita bread sandwich with cheese and ham
1 pita bread
4 tbs mayonnaise
- 3 tbs mustard (medium hot)
1 tbs honey
Salt, cayenne pepper
- Approx. 8 slices of cheese
- Approx. 8 slices of cooked ham, salami and/ or Parma ham
- Approx. 8 slices of tomato (hard)
- Mix together the mayonnaise, mustard and honey, and season to taste with salt and cayenne pepper.
- Cut the pita bread into quarters, and separate these into top and bottom halves.
- Spread the mustard-mayonnaise on the inside surfaces of the pita bread.
- Place the cheese and the ham/ salami on the lower halves, and place the upper halves on top.
- Preheat the contact grill to setting 5.
- Grill the sandwiches in the lightly greased contact grill until the cheese melts. - Grill plate setting: contact grill
- Do not place the tomato slices inside the pita bread until after grilling it.
Aubergine rolls
1 small onion
1 clove of garlic
A little olive oil
- 2 tins of tomatoes (in pieces)
- 2 tbs tomato paste
Salt, pepper, dried Italian herbs
2 small aubergines
- 1 ball of mozzarella
- 50g of Parmesan (freshly grated)
Tomato sauce
- Finely dice the onions and garlic, and fry them lightly in olive oil.
- Add the tinned tomatoes and the tomato paste, and season with salt, pepper and the Italian herbs.
- Allow everything to simmer lightly for around 1 hour, initially in a closed saucepan, then later with the pot open.
Aubergine rolls
- In the meantime, cut the aubergines into thin slices lengthwise, and cut the mozzarella into strips.
- Preheat the contact grill to setting 3.
- Grill the aubergine slices in the lightly greased contact grill.
- Grill plate setting: contact grill
- Grilling time: approx. 3 - 4 minutes
- After cooling, roll each of the mozzarella strips into a slice of aubergine to make rolls.
Gratinating
- Heat the oven to 175^ .
- Pour the tomato sauce into an ovenproof dish.
- Place the aubergine rolls on the sauce, and sprinkle with the grated Parmesan.
- Bake everything for approx. 30 minutes in the oven, until the cheese has melted.
Drawn skewers with lemon-garlic marinade
King prawn tails (deep-frozen, approx. 450g drained weight)
Salt, pepper
O l i v e o i l
- 1 untreated organic lemon
4 cloves of garlic
2 sprigs of lemon thyme
Wooden skewers
Marinating
- Allow the prawn tails to thaw, rinse them with cold water, and drain, then season with salt and pepper.
- Prepare a marinade from olive oil, finely chopped lemon, finely chopped garlic, and the lemon thyme, in a container that closes well.
- Place the prawn tails into the marinade, and allow to marinate in the refrigerator for approx. 12 hours.
Grilling
- Remove the prawn tails from the marinade, allow them to drip dry a little, and then place them on the wooden skewers. Season a little more to taste.
- Preheat the contact grill to setting 4.
-
Place the skewers on the open contact grill and have them grilled from all sides.
-
Grill plate setting: barbecue
-Grilling time:approx.5-8 minutes
Gilthead seabream in aluminium foil
Salt, pepper
2 sprigs of thyme
1 clove of garlic
- Olive oil
1 gilthead seabream
1 slice of lemon
1 small onion (in thin slices)
- 2 tomatoes (in slices)
- Tear-resistant aluminium foil
- Mix the salt, pepper, thyme leaves and finely chopped garlic with a little oil.
- Wash the inside and outside of the seabream, dab it dry, and make two diagonal incisions along each side.
- Thoroughly rub the inside and outside of the seabream with the mixture of seasonings.
- Insert the slice of lemon into the abdominal cavity.
- Brush the aluminium foil with olive oil, distribute the slices of tomato and onion over it, and place the seabream on top.
- Wrap the aluminium foil tightly around the seabream.
- Preheat the contact grill to setting 4.
-
Carefully place the aluminium foil wrap onto the lower grill plate.
-
Grill plate setting: contact grill
-Grilling time:approx.14-20 minutes
12. Technical specifications
| Model: SKG 1700 B3 | |
| Mains voltage: 230 V | ~ 50 Hz |
| Protection class: I | |
| Power rating: Max. 1700 W |
Symbols used
| Protective earth connection |
| GS | Certified Safety. Devices must comply with the generally acknowledged rules of technology and the German Product Safety Act (Produktssicherheitsgesetz - ProdSG). |
| CE | With the CE marking, HOYER Handel GmbH declares the conformity with EU guidelines. |
| This symbol reminds you to dispose of the packaging in an environmentally friendly manner. |
| 21PAP | Recyclable materials: cardboard (except corrugated cardboard) |
| The symbol identifies parts that can be cleaned in the dishwasher. |
Subject to technical modifications.
13. Warranty of the HOYER Handel GmbH
Dear Customer, your device is provided with a 3 year warranty starting with the purchase date. In the event of product defects, you are entitled to statutory rights against the vendor. These statutory rights are not restricted by our warranty presented in the following.
Warranty conditions
The warranty period starts with the purchase date. Please keep the original purchase receipt in a safe place. This document is required to verify the purchase.
If within three years from the purchase date of this product a material or factory defect occurs, the product will be repaired or replaced by us - at our discretion - free of charge to you, or the purchase price will be refunded. This warranty implies that within the period of three years the defective device and the purchase receipt are presented, including a brief written description of the defect and the time it occurred.
If the defect is covered by our warranty, the repaired or a new product will be returned to you. No new warranty period starts with a repair or replacement of the product.
Warranty period and statutory claims for defects
The warranty period is not extended when the warranty has been claimed. This also applies to replaced and repaired parts. Any damages and defects already existing at the time of purchase must be reported immediately upon unpacking. Repairs arising after the expiration of the warranty period are subject to a charge.
Warranty coverage
The device was produced carefully according to strict quality guidelines and tested diligently prior to delivery.
The warranty applies to material or factory defects.
Excluded from the warranty are wear parts subject to normal wear and damages to fragile parts, e.g. switches, batteries, lamps or other parts manufactured from glass.
This warranty expires if the product is damaged, not used as intended or not serviced. For the proper operation of the product, all instructions listed in the operating instructions must be observed carefully. Any form of use and handling that is advised against in the operating instructions or warned against must always be avoided.
The product is only intended for private and not for commercial use. In the case of incorrect and improper treatment, use of force and interventions not performed by our authorised Service Centre, the warranty shall cease.
Handling in case of a warranty claim
In order to ensure prompt processing of your matter, please observe the following notes:
- Please keep the article number
IAN: 321535_1901 and the purchase receipt as a purchase verification for all inquiries.
- The article number can be found on the rating plate, an engraving, the title page of your instructions (in the bottom left), or as a label on the rear or underside of the device.
- If faulty operation or other defects occur, first contact the Service Centre listed in the following by telephone or email.
- Then, you are able to send a product reported as defective free of charge to the service address specified to you, including the purchase receipt and the information on the defect and when it occurred.
At www.lidl-service.com you can download this and many other manuals, product videos and installation software.

This QR code takes you directly to the Lidl Service website (www.lidl-service.com), where you can enter the article number (IAN) 321535_1901 to open your user instructions.

Service Centre
GB Service Great Britain
Tel.: 0800 404 7657
E-Mail: hoyer@lidl.co.uk
IE Service Ireland
Tel.: 1890 930 034
(0,08 EUR/ Min., (peak))
(0,06 EUR/ Min., (off peak))
E-Mail: hoyer@lidl.ie
IAN:321535_1901

Supplier
Please note that the following address is no service address. First contact the aforementioned Service Centre.
HOYER Handel GmbH
Tasköprüstraße 3
DE-22761 Hamburg
GERMANY
Indhold