RTH2300 - Thermostat HONEYWELL - Free user manual and instructions
Find the device manual for free RTH2300 HONEYWELL in PDF.
Download the instructions for your Thermostat in PDF format for free! Find your manual RTH2300 - HONEYWELL and take your electronic device back in hand. On this page are published all the documents necessary for the use of your device. RTH2300 by HONEYWELL.
USER MANUAL RTH2300 HONEYWELL
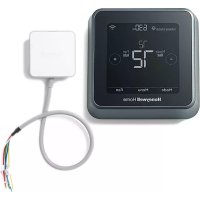
Owner’s Manual Read and save these instructions. For help please visit honeywellhome.com RTH2300/RTH221 Series Programmable Thermostat M37777 Heat Off Cool Auto OnFanHeat Off Cool Auto OnFan Set Hold Run Identify System Type This thermostat is compatible with the following systems:
- Gas, oil or electric furnace
- Central air conditioner
- Hot water system with or without pump
- Central heating and cooling system
- Heat pump without auxiliary/backup heat Do you need assistance? We are here to help. Visit http://honeywellhome.com/support for wiring assistance before returning the thermostat to the store. This thermostat cannot be used on heat pumps with backup heat or on multistage systems.2 NOTICE: To avoid possible compressor damage, do not run air conditioner if the outside temperature drops below 50°F (10°C).
ATTENTION: MERCURY RECYCLING NOTICE
This product does not contain mercury. However, this product may replace a product that contains mercury. Mercury and products containing mercury should not be discarded in household trash. For more information on how and where to properly recycle a thermostat containing mercury in the United States, please refer to the Thermostat Recycling Corporation at www.thermostat-recycle.org. For mercury thermostat recycling in Canada, please refer to Switch the Stat at www.switchthestat.ca NO MERCUR
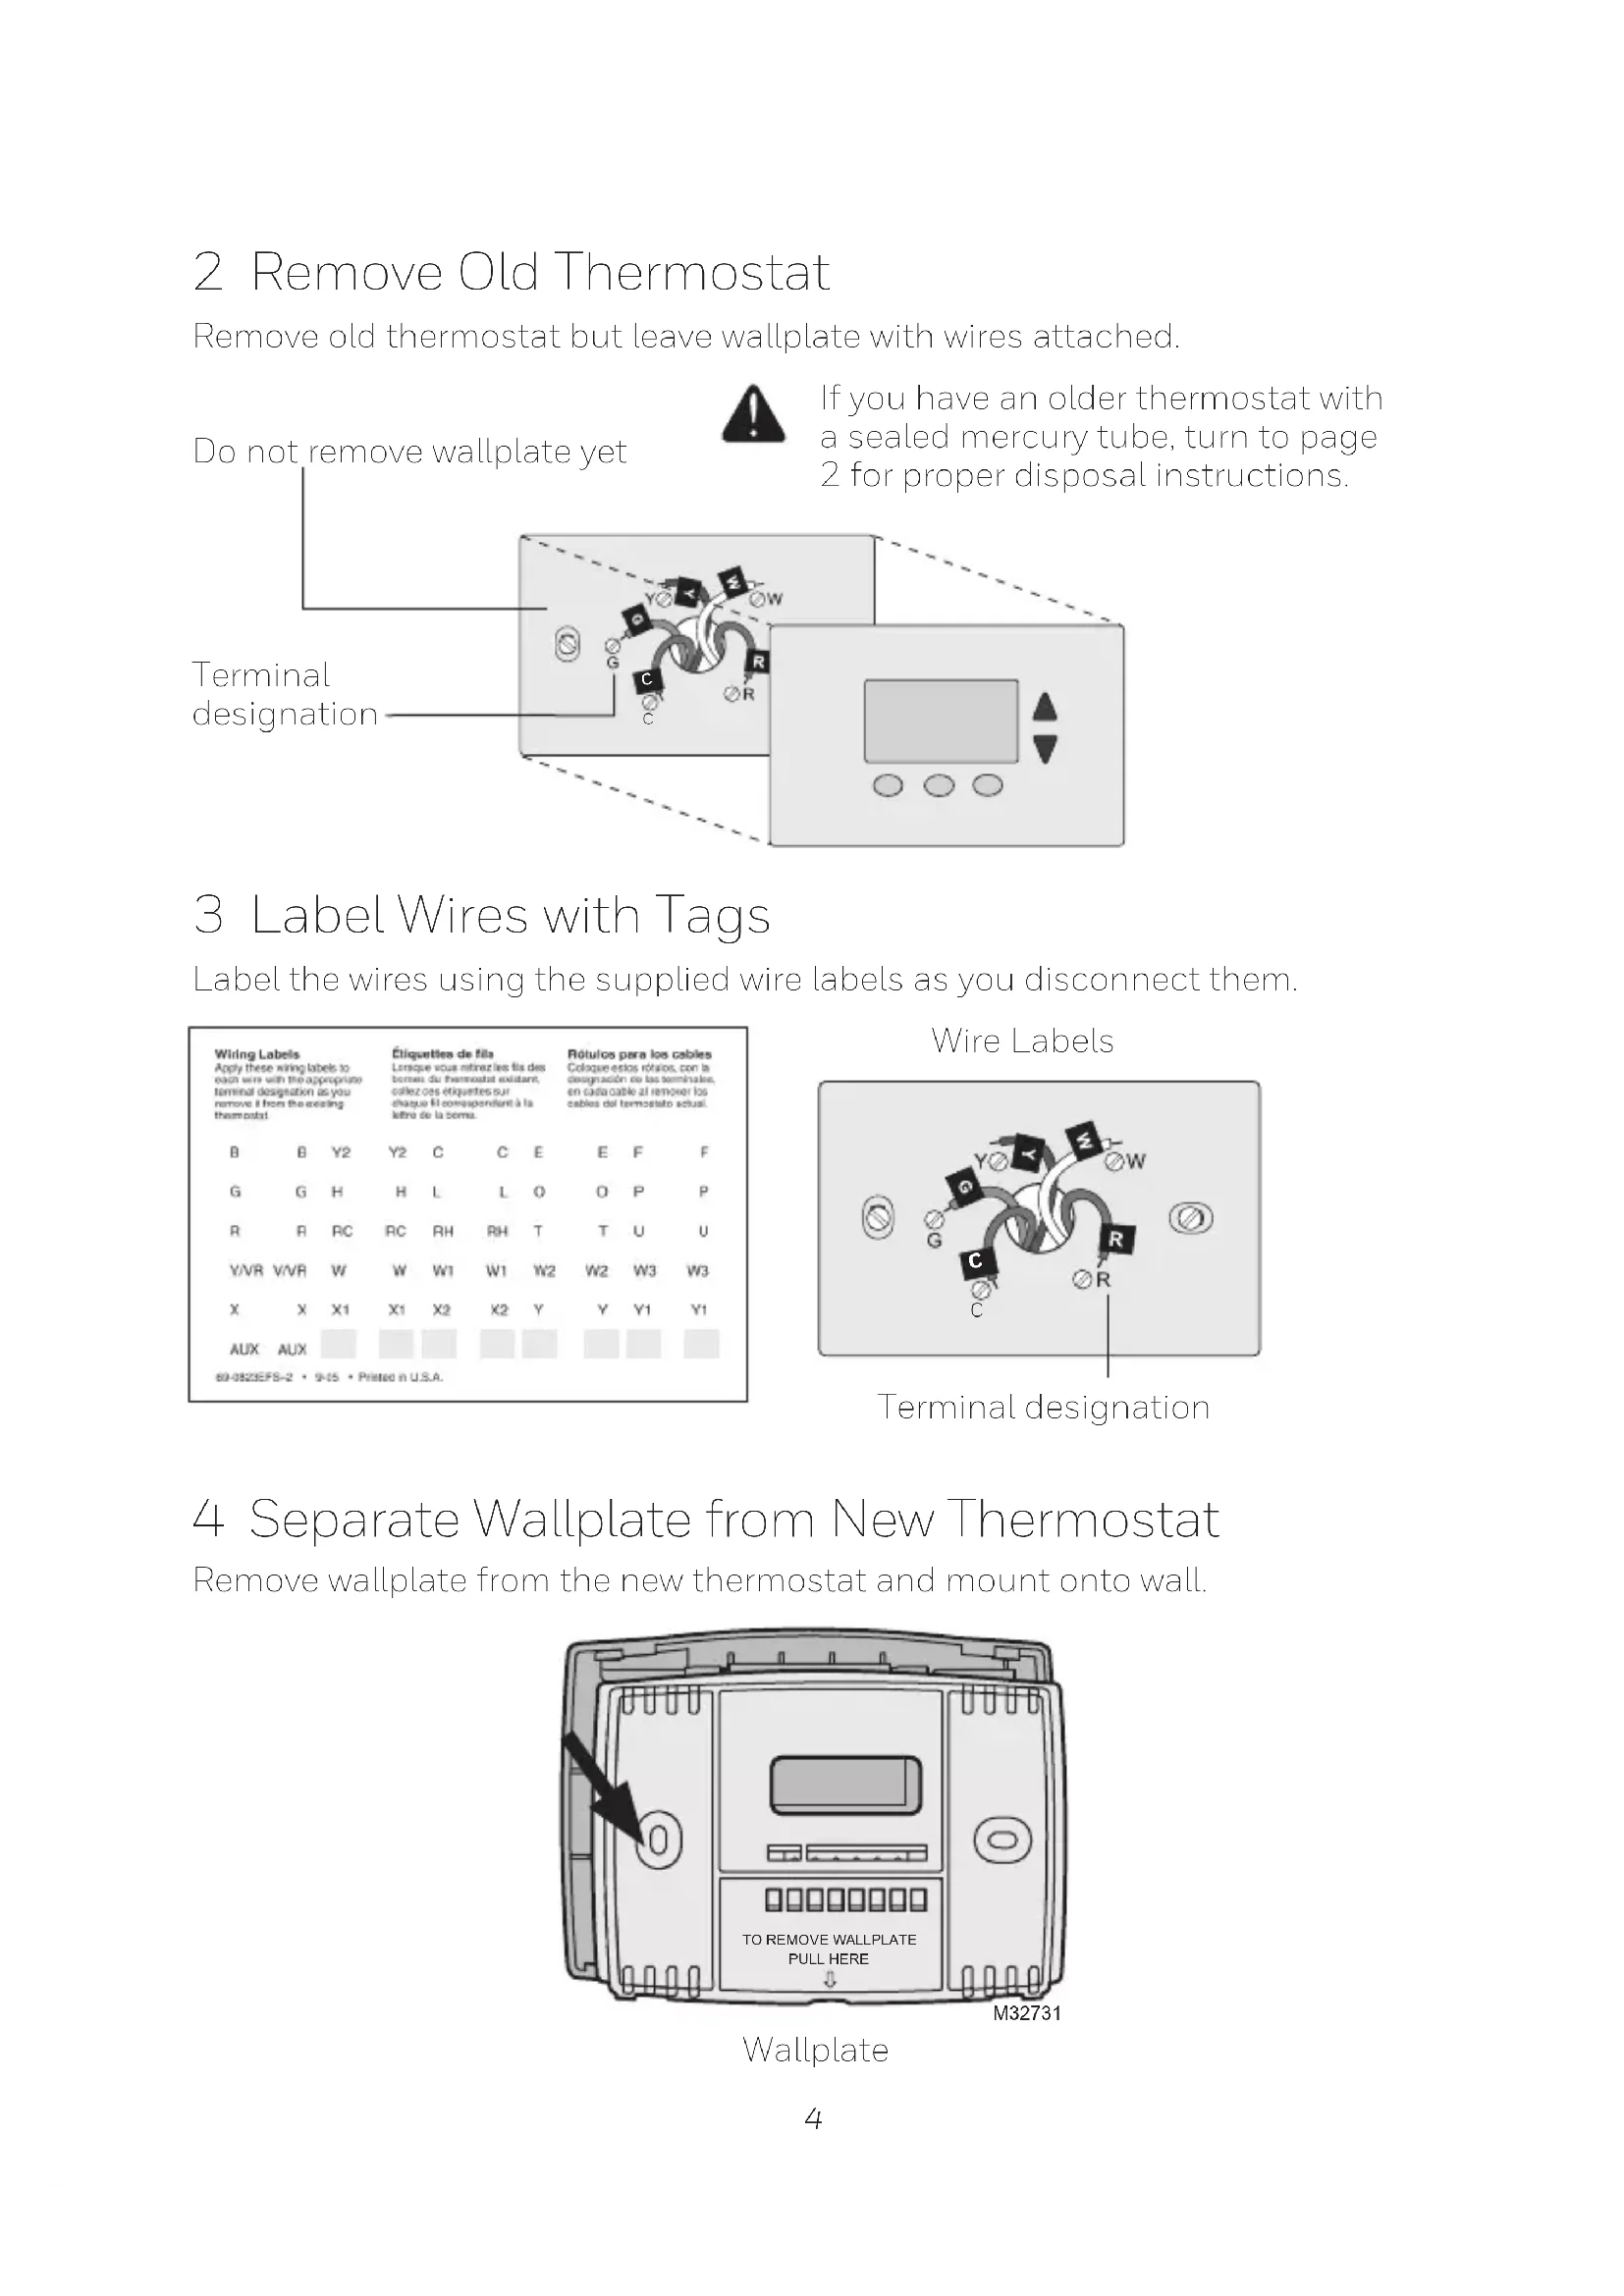
M31535 Circuit breaker box Heating/cooling system power switch4 Do not remove wallplate yet 3 Label Wires with Tags Label the wires using the supplied wire labels as you disconnect them. Wire Labels
MCR33823 Terminal designation If you have an older thermostat with a sealed mercury tube, turn to page 2 for proper disposal instructions. Terminal designation
MCR31537 2 Remove Old Thermostat Remove old thermostat but leave wallplate with wires attached. 4 Separate Wallplate from New Thermostat Remove wallplate from the new thermostat and mount onto wall.5 5 Mount Wallplate Mount the new wallplate using the included screws and anchors. Drill 3/16-in. holes for drywall Drill 3/32-in. holes for plaster 6 Connect Wires Simply match wire labels. If labels do not match letters on the thermostat, check “Alternate Wiring” on page 6 and connect to terminal as shown here (see notes, below). Thermostat does not work on Heat Pumps with auxiliary/backup heat. W/AuxNotUsed M32714 Remove metal jumper if you have both R and Rc wires. M32732
Alternate Wiring If wires will be connected to both R and Rc terminals, remove metal jumper. Do not use C or X. Wrap bare end of wire with electrical tape. If you have a heat pump without auxiliary/backup heat connect O or B, not both. If you do not have a heat pump, do not connect B. Wrap bare end of wire with electrical tape. Place a jumper (piece of wire) between Y and W if you are using a heat pump without auxiliary/backup heat. B O G Y
7 Install Batteries Install two AAA alkaline batteries. Back of thermostat RTHXXXXM327077 8 Set fan operation switch Move the switch to the proper setting: Gas or Oil: For gas or oil heating systems, leave the fan operation switch in this factory-set position (for systems that control the fan in a call for heat). Electric or Heat Pump: Change the switch to this setting for heat pump or electric heat systems. (This setting is for systems that allow the thermostat to control the fan in a call for heat, if a fan wire is connected to the G terminal.) 9 Install Thermostat onto Wallplate Install thermostat onto the wallplate on the wall. RTHXXXX M32716
Circuit breaker box Heating/cooling system power switch Turn the power back on to the heating/cooling system.8 11 If your system type is... If your system type is: q Single Stage Heat and Cool q Heat Only or Cool Only Congratulations, you’re done! If your system type is: q Heat pump q High efficiency furnace q Hot water q Electric furnace q Gas/oil steam q Gravity system Continue with Advanced Installation to match your thermostat to your system type. This thermostat works on 24 volt or 750 mV systems. It will NOT work on multi- stage conventional systems. Advanced Installation Enter System Setup To enter system setup, press and hold both the s and t buttons until the display changes (approximately 5 seconds). Changing Settings
1. Press the s or t button to change
2. Press the s and t buttons
simultaneously for one second to advance to the next function.
3. Press the RUN button to exit and save
settings. M33785 Heat Off Cool Auto OnFanHeat Off Cool Auto On Fan Set Hold Run Function Setting
M33786 Set Hold Run9 NOTE: If you do not press any button for 60 seconds while you are in the setup menu, the thermostat automatically saves any changes made and exits the menu. Function Description Press the s or t button to Setting 5 select your heating system and optimize its operation
as or oil furnace: Use this setting if you have a standard gas or oil furnace that is less than 90% efficient. 6 Electric furnace: Use this setting if you have any type of electric heating system.
eat pump, hot water or high-efficiency furnace: Use this setting if you have a hot water system or a gas furnace of greater than 90% efficiency.
(RTH2300 only) restore program schedule to default settings 0 Off
On: Program schedule default settings are listed on page 11.
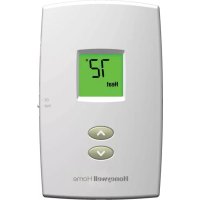
Compressor Protection: This feature forces the compressor to wait approximately 5 minutes before restarting, to prevent equipment damage. During the wait time, the message “Cool On” or “Heat On” flashes on screen. About your new thermostat Your new thermostat has been designed to give you many years of reliable service and easy-to-use, push-button climate control.
- Backlit display on RTH2300
- Displays ambient (measured) temperature at all times
- One-touch access to setpoint temperature
- Preset program settings
- Temporary and permanent override of schedule
- Built-in compressor protection10 Thermostat controls M33612 Heat Off Cool Auto OnFanHeat Off Cool Auto On Fan Set Hold Run Set: Press to set time/day/ schedule. Hold: Press to override programmed temperature control. Run: Press to resume program schedule. Temperature adjustment Press the up or down buttons until you reach the desired temperature. NOTE: Make sure the SYSTEM switch is set to the system you want to control (Heat or Cool). Fan Switch is used to control your fan. In “Auto” mode, the fan runs only when the heating or cooling system is on. If set to “On,” the fan runs continuously. System Switch is used to control your heating or cooling system.
- Heat: Heating system control.
- Off: All systems off.
- Cool: Cooling system control. Display screen M32701
Low battery warning (see page 15) Setpoint indicator Appears when the setpoint temperature is displayed. Temperature The ambient (measured) temperature is normally displayed. To view the setpoint temperature, press the Up or Down button once. The setpoint temperature will appear for five seconds. System status Cool on: Cooling system is on. Heat on: Heating system is on. When Cool On is flashing, compressor protection is engaged (see page 14). Current time (see page 11) Current day (RTH2300 only) (see page 11) Current program period Wake/Leave/Return/Sleep (see pages 11–13)11 Set Hold Run Set Time
Set Hold Run M33788 Set the time and day
1. Press the SET button, then press
s or t to set the clock time.
Pres s the SET button, then press s or t to select the day of the week. (RTH2300 only)
3. Press RUN to save & exit.
NOTE: If the clock flashes, the thermostat will follow your settings for the Monday “Wake” time period until you reset the time and day. Program Schedule You can program four time periods each day. The RTH2300 can be programmed with different schedules for weekdays and weekends. We recommend the pre-set settings (shown in the table below), since they can reduce your heating/cooling expenses. Wake - Set to the time you awaken and the temperature you want during the morning, until you leave for the day. Leave - Set to the time you leave home and the temperature you want while you are away (usually an energy-saving level). Return - Set to the time you return home and the temperature you want during the evening, until bedtime. Sleep - Set to the time you go to bed and the temperature you want overnight (usually an energy-saving level). NOTE: Leave and Return periods can be canceled on weekends (RTH2300 only). Heat Cool Wake (6:00 am)
1. Press SET until Set Schedule is
Pres s s or t to set your weekday Wake time (Mo-Fr), then press SET.
3. Press s or t to set the
temperature for this time period, then press SET.
et time and temperature for the next time period (Leave). Repeat steps 2 and 3 for each weekday time period.
Pres s SET to set weekend time periods (Sa & Su), then press RUN to save & exit. NOTE: Make sure the thermostat is set to the system you want to program (Heat or Cool). Set Hold Run M38262 Wake Set Schedule Set
1. Press SET until Set Schedule is
2. Press s or t to set your Wake
time (Mo-Su), then press SET.
3. Press s or t to set the
temperature for this time period, then press SET.
4. Set time and temperature for the
next time period (Leave). Repeat steps 2 and 3 for each time period.
5. Press RUN to save & exit.
NOTE: Make sure the thermostat is set to the system you want to program (Heat or Cool).13 Set Hold Run M3379
M33797 Set Hold Run Program schedule override (temporary) Press s or t to immediately adjust the temperature. This will temporarily override the temperature setting for the current time period. “Temporary” will appear on the display and the current program period will flash. The new temperature will be maintained only until the next programmed time period begins (see page 11). To cancel the temporary setting at any time, press RUN. NOTE: Make sure the thermostat is set to the system you want to control (heat or cool). Hold Set
M33797 Set Hold Run Program schedule override (permanent) Press HOLD to permanently adjust the temperature. This will override the temperature settings for all time periods. The “Hold” feature turns off the program schedule and allows you to adjust the thermostat manually, as needed. Whatever temperature you set will be maintained 24 hours a day, until you manually change it, or press RUN to cancel “Hold” and resume the program schedule. NOTE: Make sure the thermostat is set to the system you want to control (heat or cool).14 Built-in compressor protection Change filter (RTH2300 only) This feature helps prevent damage to the compressor in your air conditioning or heat pump system. Damage can occur if the compressor is restarted too soon after shutdown. This feature forces the compressor to wait 5 minutes before restarting. During the wait time, the display will flash the message Cool On (or Heat On if you have a heat pump). When the safe wait time has elapsed, the message stops flashing and the compressor turns on. If the filter reminder is turned on during installation, the words Change Filter will flash on the screen when the filter needs to be replaced. After you replace the air filter, press and hold the RUN button for 3 seconds to reset the alert.
M33632 Set Hold Run Change Filter – Press & Hold Run to Reset15 Change filter (RTH2300 only) Battery replacement Install two fresh AAA batteries when Lo Batt flashes on the screen. Lo Batt appears for 60 days before the batteries are depleted. Replace batteries once a year, or when you will be away for more than a month. Most settings are stored in non- volatile (permanent) memory. Only the clock and the day must be set after you replace the batteries. Pull at bottom to remove thermostat from wallplate. Turn thermostat over, insert fresh AAA alkaline batteries, then reinstall thermostat. Set the System switch to Off before removing the batteries. Otherwise, the heating/cooling system could remain activated even when batteries are removed. RTHXXXX M32707
Heat Off Cool Auto OnFan M33784A Heat Off Cool Auto On Fan Heat O Cool Auto On Fan Set Hold Run Electrical Ratings Terminal Voltage (50/60Hz) Max. Current Rating B 20-30 Vac 1.0 A O 20-30 Vac 1.0 A G 20-30 Vac 1.0 A Y 20-30 Vac 1.0 A W 20-30 Vac 1.0 A R 20-30 Vac 1.0 A Rc 20-30 Vac 1.0 A16 Troubleshooting If you have difficulty with your thermostat, please try the following suggestions. Most problems can be corrected quickly and easily. Display is blank
- Make sure fresh AAA alkaline batteries are correctly installed. Heating or cooling system does not respond
- Set system switch to Heat. Make sure the temperature is set higher than the Inside temperature.
- Set system switch to Cool. Make sure the temperature is set lower than the Inside temperature.
- Wait 5 minutes for the system to respond. Temperature settings do not change Make sure heating and cooling temperatures are set to acceptable ranges:
- Heat: 40° to 90°F (4.5° to 32°C).
- Cool: 50° to 99°F (10° to 37°C). “Cool On” or “Heat On” is flashing
- Compressor protection feature is engaged. Wait 5 minutes for the system to restart safely, without damage to the compressor. “Heat On” is not displayed
- Set the System switch to Heat, and set the temperature level above the current room temperature. “Cool On” is not displayed
NOT USED R Rc MF32734