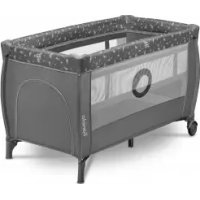
Stefi Plus - Baby bed Lionelo - Free user manual and instructions
Find the device manual for free Stefi Plus Lionelo in PDF.

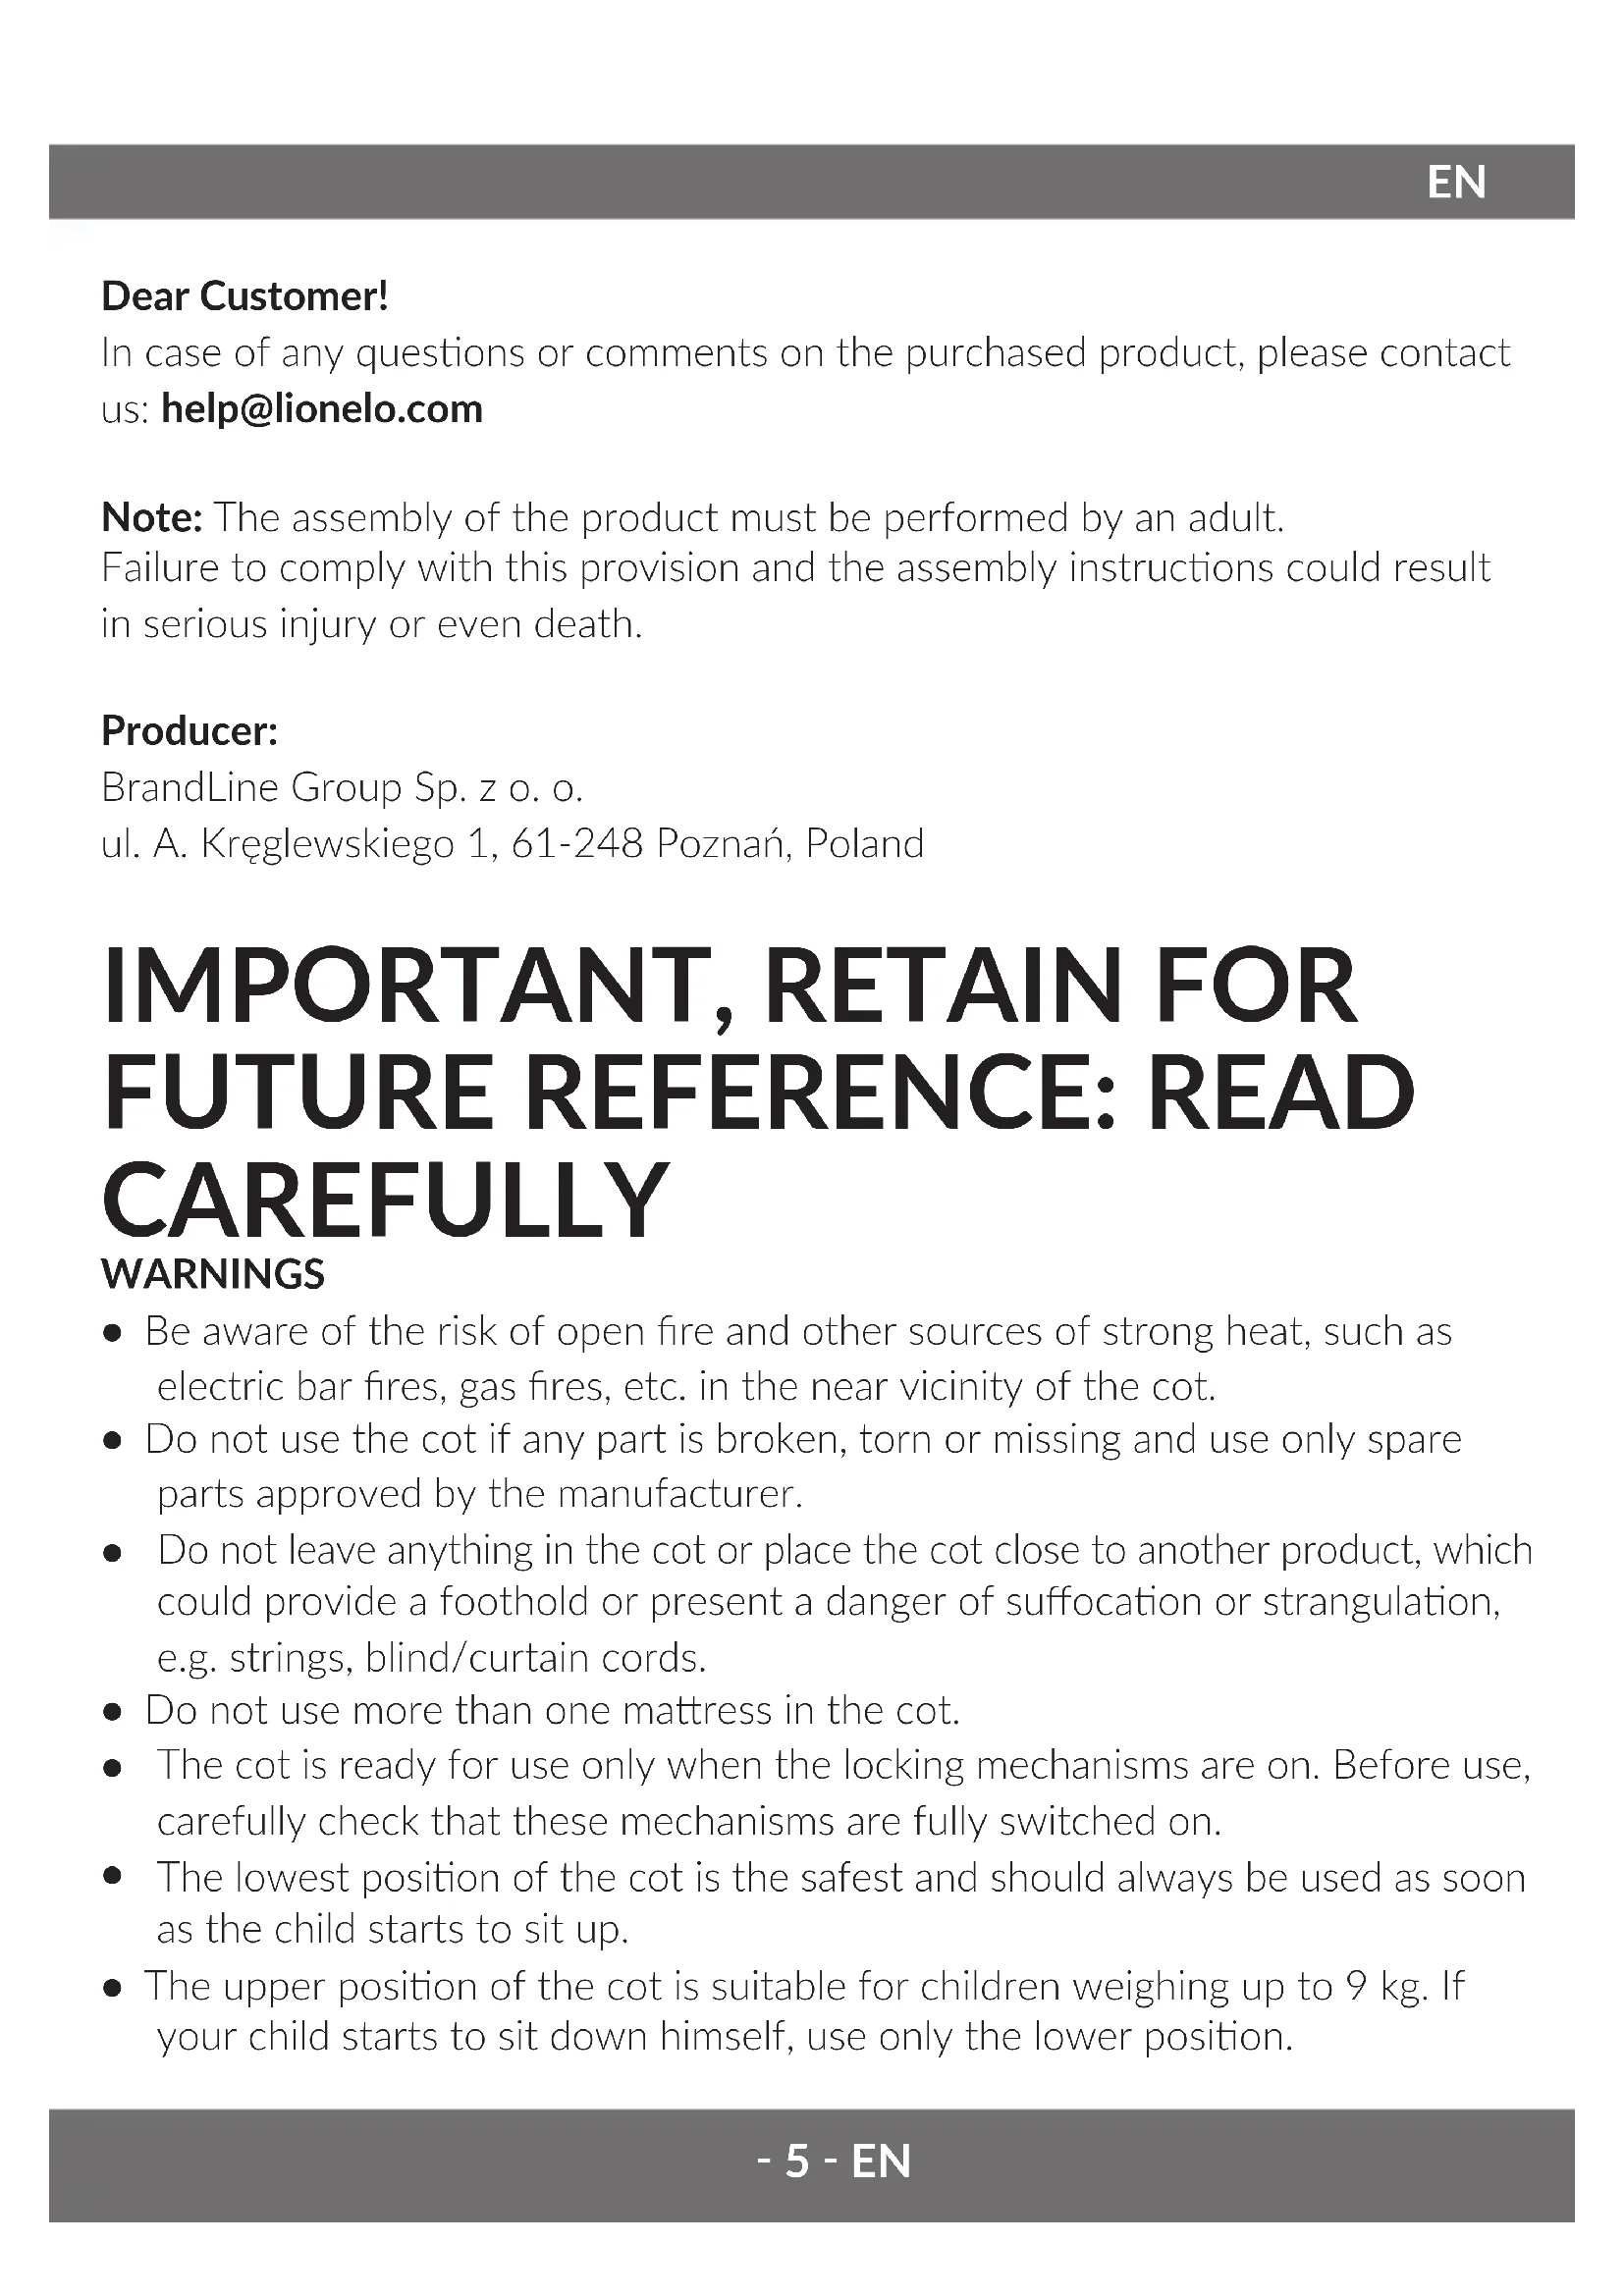


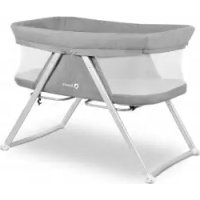
| Product type | Travel baby bed / travel cot |
| Brand / Model | Lionelo Stefi Plus |
| Dimensions | Approximately 120 x 60 x 75 cm (typical estimate) |
| Weight | Approximately 7 kg (typical estimate) |
| Materials | Textile, metal tubes, integrated mattress |
| Recommended age | From birth to approximately 3 years (according to EN 716 standard) |
| Maximum child weight | 9 kg in upper position, lower position for children who can sit up independently |
| Main features | Foldable travel cot, removable mattress, carrying bag included, two height positions (upper and lower) |
| Safety | Compliant with standard EN 716-1:2017+AC:2019, locking mechanisms, side entry with zipper, non-slip feet, no mechanical play |
| Included accessories | Mattress with Velcro straps, carrying bag, user manual |
| Cleaning and maintenance | Wipe with a damp cloth, air dry. Do not use chemical cleaners, do not machine dry, do not iron. |
| Folding and unfolding | Unfold by central locking then extend the sides, fold by central handle and unlock side buttons |
| Warranty | Warranty conditions available on the manufacturer's website |
| Customer service | Contact by email: help@lionelo.com |
| Reparability | Replacement parts approved by the manufacturer, do not use if parts are broken or missing |
| Country of manufacture | Manufactured by BrandLine Group Sp. z o.o., Poland |
Frequently Asked Questions - Stefi Plus Lionelo
User questions about Stefi Plus Lionelo
0 question about this device. Answer the ones you know or ask your own.
Ask a new question about this device
Download the instructions for your Baby bed in PDF format for free! Find your manual Stefi Plus - Lionelo and take your electronic device back in hand. On this page are published all the documents necessary for the use of your device. Stefi Plus by Lionelo.
USER MANUAL Stefi Plus Lionelo
TypicTnuecka KpOBaTKa
Lettino da viaggio
In case of any questions or comments on the purchased product, please contact
us: help@lionelo.com
Note: The assembly of the product must be performed by an adult.
Failure to comply with this provision and the assembly instructions could result in serious injury or even death.
Producer:
BrandLine Group Sp. z o. o.
ul. A. Kriegewskiego 1, 61-248 Poznań, Poland
IMPORTANT, RETAIN FOR FUTURE REFERENCE: READ CAREFULLY
WARNING
- Be aware of the risk of open fire and other sources of strong heat, such as electric bar fires, gas fires, etc. in the near vicinity of the cot.
- Do not use the cot if any part is broken, torn or missing and use only spare parts approved by the manufacturer.
- Do not leave anything in the cot or place the cot close to another product, which could provide a foothold or present a danger of suffocation or strangulation, e.g. strings, blind/curtain cords.
- Do not use more than one mattress in the cot.
- The cot is ready for use only when the locking mechanisms are on. Before use, carefully check that these mechanisms are fully switched on.
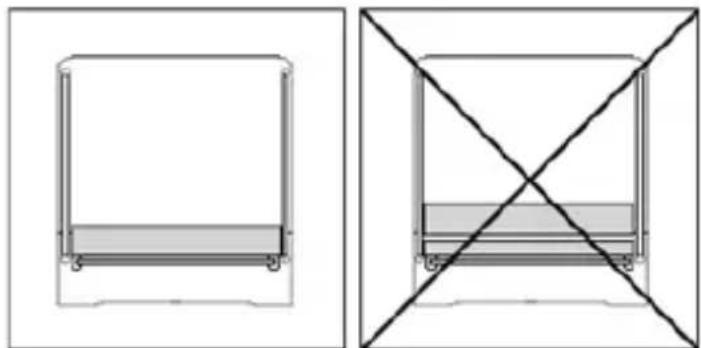
- The lowest position of the cot is the safest and should always be used as soon as the child starts to sit up.
-
The upper position of the cot is suitable for children weighing up to 9kg . If your child starts to sit down himself, use only the lower position.
-
If you leave the child unattended in the cot, always make sure that the side entrance is fastened with a zipper.
- Before replacing the base with the lowest one, it is necessary to remove the support rails.
- All mounting elements should always be tight, connections should be regularly checked and tightened if necessary.
- The cot can not be used by children who can get out of it themselves, it may cause a fall and serious injuries or even death.
- WARNING - Only use the mattress sold with this cot, do not add a second mattress on this one, suffocation hazards.
- The mattress is an integral part of the bed.
Assembly instruction
- Take the cot out of the bag and loosen the adhesive straps. Place the cot on the floor and put the bag aside (see fig. 1).
- Separate the legs pulling them apart. Keep the central lock up. Otherwise handrails will not fit in the right place (see fig. 2).
- Pull the middle part of each top rail covered with material so that they fit into place. Start with the longer rails, and then the shorter ones (see fig. 3).
Note! So that the sides of the cot / handrails are properly blocked, the central blockade of the floor must be raised upwards. The baby rails will not lock when the floor is unfolded.
- Push the middle lock until the surface is completely flat (you will hear the click sound) (see fig. 4).
- Place the mattress in the cot (see fig. 5). Fasten the mattress using Velcro on the two short sides of the mattress (there are special openings in the floor for fastening).
Base installation
The base should be attached using the zipper. Once the base is attached, secure the zipper with a buckle and cover it with a Velcro pad. Slide the reinforcement tubes into the sewn handles and connect them (they must be paired properly). Place the mattress onto the tube-reinforced base and fasten it with Velcro from below (fig. 6).
The cot folding instruction
- Remove all the cot accessories. Remove the mattress. Grasp the centre handle located in the middle of the floor and pull it up (see fig. 7). The upper level base doesn't need to be taken down before folding.
- To unlock the upper rails, press the indicated buttons on each side of them. Pull it slightly up and then push it down. Unlock the shorter sides first, and then do the same with the longer ones (fig. 8).
- While still pulling up the handle, lift the floor of the cot and fold the legs (see fig. 9).
- Wrap the folded cot with the mattress and fasten it with Velcro straps. Put the folded cot into the bag (see fig. 10). If this disassembly is unsuccessful, repeat the whole process again until the product is folded.
Cleaning
Wipe the product with a damp cloth, then allow to dry.
Do not dry clean and do not use caustic agents. Do not dry mechanically, do not iron.
The product has been tested and meets all the requirements of the: EN 716-1:2017+AC:2019.
The pictures in this manual are for illustrative purposes only. Therefore, they may differ from the actual product.
Drogi Kliencie!
BrandLine Group Sp. z o.o.
HctpyKzno CKlaDbBaHnO KpOBaTKN
-
BbInbTe Bce akceccyapbl n3 kpoBaTkN. BbInbTe MaTpac. Bo3bMntecb 3a ceHTpaIbHyIO pyuKy, paCNoIooKeHHyIO NO cEHTpy Nola, I NOTAHnte BBepx (cM. pnc. 7).ДЯ TOrO, UTo6bl CLOXHTb N3dJIeNe He HUJHO CHIMaTb yCTaHOBJIeHHbI NOIbEM.
2.Чтобл pa36лokиpoBaTь Верхнe Порун, НжмITE OTmeyehHbIe KhoIGNKn Ha KaJdoi StOpOHe Порун. ПOTЯнITE HeMHOrO BBePx I 3aTeM NaЖмITE BnI3.Снача la pa36lOkupyIte 6oJIe e KopOTKne cTOpOhbl, a 3aTeM 6oJIee ДлиHHbIe (pnc.8). -
Пюдолжая тянтув Вьерх держаель, понисту пол Кроватки и сложиные Ножки (см. рис. 9).
- Obepnite cIoxeHHyIO kpoBaTKy MaTpaOM n 3aKpeNITE ee peHЯMn C IomOuIIO JInnyek. IomeCTnte cIoxeHHyIO kpoBaTKy B cyMky (cM. pnc. 10) EcnI He ydaIacb BbINOJIHNTb DeMOHTaX, NOBTOpIte BeCb npOceCC CHOBA Do MOMeHTa DoCTNXeHnY ycHexa.
OuNTka
I3dJIe cIeIyET npOTnPaTb BlaJXHO TkaHbU, a 3aTeM daTb emy BblCOxHyTb. He nOdBepraTb XIMnuecko YnCTKe N He nCpOJIb3OBA Tb Kopp03nOHhIe CpeIcTBa. He cyuNTb MexAHnueckn, He rJaIITb.
Пюдунг 6ыл поразстураи И COOTBeTCTByeТ BCeM Tpeбованям CTандapта: EN 716-1:2017+AC:2019.
ΦOTOrpaΦH, INcNoJIb3YeMbIe B pyKOBoIDCTBe NOpJIb3OBaTeJIa, YBJIaIOTc HArJIaHbIMN I MOrYT OTInuHaETcR O T ΦaKTnueCKOro COCToHnra N3dEJIy.
IT
Egregio cliente!
Detailed warranty conditions are available on the website:

- Producer:
- IMPORTANT, RETAIN FOR FUTURE REFERENCE: READ CAREFULLY
- WARNING
- Assembly instruction
- Base installation
- The cot folding instruction
- Cleaning
- The product has been tested and meets all the requirements of the: EN 716-1:2017+AC:2019.
- Drogi Kliencie!
- HctpyKzno CKlaDbBaHnO KpOBaTKN
- OuNTka
- Пюдунг 6ыл поразстураи И COOTBeTCTByeТ BCeM Tpeбованям CTандapта: EN 716-1:2017+AC:2019.
- Egregio cliente!
Brand : Lionelo
Model : Stefi Plus
Category : Baby bed