
PS 38 CD - Shredder OLYMPIA - Free user manual and instructions
Find the device manual for free PS 38 CD OLYMPIA in PDF.
| Product type | Automatic paper and CD shredder |
| Brand and model | OLYMPIA PS 38 CD |
| Cutting capacity | 8 sheets DIN A4 (80 g/m²) or 1 CD |
| Paper cut type | Strip cut, 6 mm |
| CD cut type | 3 strips of 40 mm |
| Cutting speed | 2.5 to 3.0 m/min |
| Security level | P2 according to DIN 66399 |
| Duty cycle | 3.0 min on / 40 min off |
| Noise level | 72 dB |
| Types of media destroyed | Paper (max A4, 80 g/m²) and CD |
| Paper bin volume | 9 liters |
| CD bin | Separate integrated bin |
| Power supply | 220-240 V, 50 Hz, 1 A |
| Power consumption | 230 W |
| Dimensions (W x D x H) | 280 x 126 x 328 mm |
| Weight | Approx. 2.1 kg |
| Operating modes | Automatic (on/off) and reverse for CD |
| Thermal protection | Automatic shutdown in case of overheating or overload |
| Maintenance and cleaning | Oil the cutting block regularly with special oil; clean the housing with a damp, lint-free cloth |
| Safety | Keep fingers, hair, ties, and jewelry away; use in a dry place; unplug after use |
| Package contents | Shredder, paper bin, CD bin, instruction manual |
| Warranty | Return the device in its original packaging with the receipt to the store |
Frequently Asked Questions - PS 38 CD OLYMPIA
User questions about PS 38 CD OLYMPIA
0 question about this device. Answer the ones you know or ask your own.
Ask a new question about this device
Download the instructions for your Shredder in PDF format for free! Find your manual PS 38 CD - OLYMPIA and take your electronic device back in hand. On this page are published all the documents necessary for the use of your device. PS 38 CD by OLYMPIA.
USER MANUAL PS 38 CD OLYMPIA
natural_image
Black Olympus 15.000 industrial waste sorting device with warning labels (no readable text beyond branding)DE Inhalt
Verpackungsinhalt 3
Setting up the Shredder Safely 12
Operating the Shredder 12
Troubleshooting 13
Disposal.... 15
Technical Data.... 15
Declaration of Conformity 15
Warranty 15
Package Contents
Check the package contents of your shredder before putting the shredder into operation. If anything is missing or damaged, do not use the shredder. Contact our Service department.
■ Automatic shredder for paper and CDs PS 38 CD with waste bin for shredded paper and second waste bin for shredded CDs
■ Operating manual
For Your Safety
Read and observe all the safety information to protect yourself and the environment from any harm.
WARNING! Risk of injury through electric shock! Handling the shredder improperly could lead to an electric shock. Do not alter or modify your shredder yourself. Repairs may only be carried out by properly trained specialists. Place your shredder close to an easily accessible power socket so that in an emergency you can unplug it quickly. Never touch the shredder with wet hands. Avoid contact with water. Use your shredder exclusively in dry indoor rooms.


WARNING! Risk of suffocation through small parts, packaging materials or protective foils. Children can swallow small parts, packaging materials and protective foils. Keep children away from your shredder and its packaging.

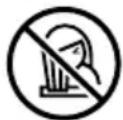
WARNING! Your shredder can be used by children from an age of eight years as well as by persons with restricted physical, sensory or mental capabilities or a lack of experience and/or knowledge under supervision or when they have been instructed in and understand the safe use of the shredder and the dangers it entails. Children may not play with the shredder. Cleaning and user servicing must not be carried out by children without supervision.

WARNING! Risk of injury through the insertion mechanism. Loose objects could be caught in the insertion slot and cause injuries. Keep fingers, hair, scarves, ties, jewellery etc. away from the insertion slot.

CAUTION! Risk of tripping through improperly laid cable. Lay cables so that they do not represent a risk of tripping. Ensure that no damage can occur to the power socket and cable.

ATTENTION! Risk of property damage. Prevent exposing the device to environmental influences such as smoke, dust, vibration, chemicals, moisture, heat or direct sunlight. Only use the shredder in indoor rooms and within the permissible ambient conditions stipulated in the Technical Data.
General View
The following figure illustrate the shredder in detail.
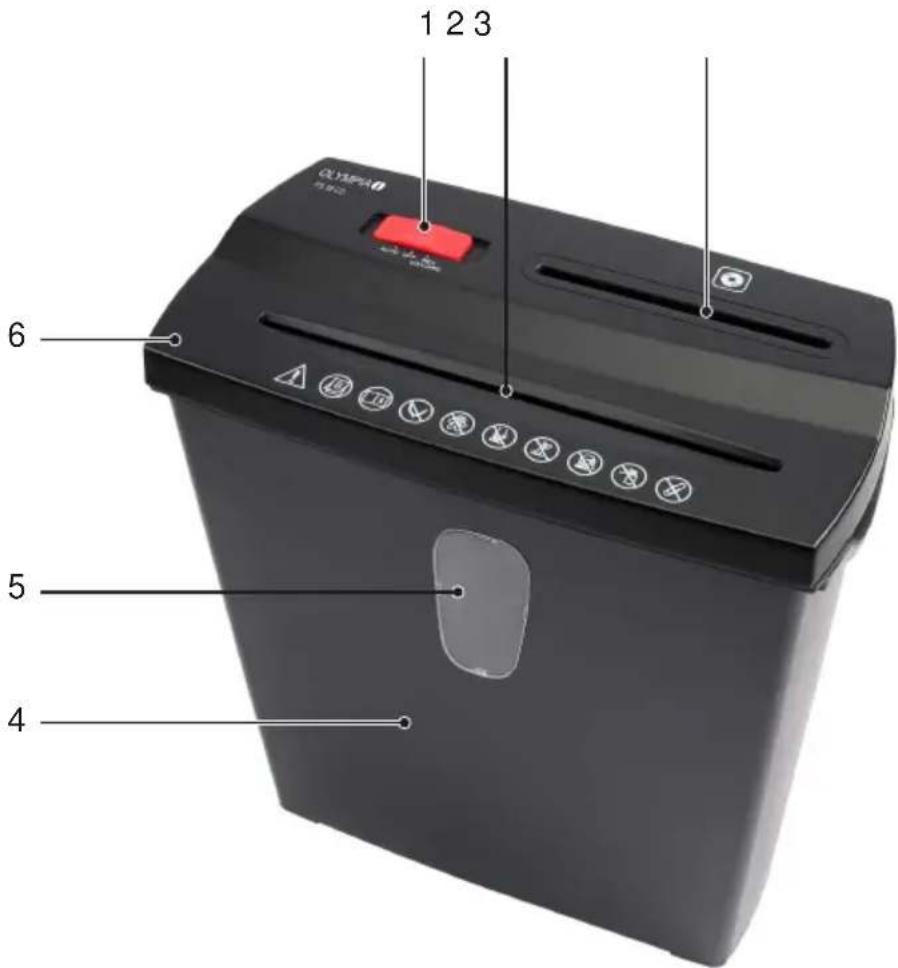
1 Sliding switch
2 Paper infeed
3 CD infeed
4 Waste bin
5 Window to waste bin
6 Shredder attachment
Intended Use
The automatic shredder can shred paper and CDs inserted into the automatic insertion slots. The material to be shredded must comply with the requirements stipulated in Technical Data.
The automatic shredder is not intended for shredding material which does not comply with the requirements stipulated in the Technical Data (e.g. cardboard). Any other use is considered unintended use.
Before You Start

Read this operating manual through carefully, observing all the information contained regarding handling and using the shredder. Keep the operating manual in a safe place for future reference.
The following information should help to ensure that the shredder always functions as you expect it to.
Keep ties away from the shredder.
Keep long hair away from the shredder.

Keep all loose pieces of clothing, jewellery or other loose items away from the shredder.
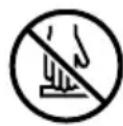
Never reach into the insertion slot.
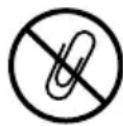
Before starting to shred material, remove any staples, paper clips, rubber bands or other foreign bodies from the material concerned.
Setting up the Shredder Safely
The shredder only operates when the waste bin supplied is fitted.

CAUTION! Risk of injury through sharp edges on the cutting mechanism. The underside of the cutting mechanism has sharp edges and corners. Do not take hold of the shredder from the underside.
1 Place the shredder onto the waste bin. The shredder latches audibly in place.
2 Set the shredder down on a stable, level, horizontal surface and in the vicinity of an easily accessible power socket.
3 Make sure the switch is set to its OFF position and then connect the power adapter plug to an easily accessible power socket.
Operating the Shredder
The shredder works using an automatic shredding mechanism. The optical sensor for automatic infeed of material is in the centre of both insertion slots.

CAUTION! Risk of injury through sharp edges on the cutting mechanism. NEVER touch the shredder on the underside when the shredder is in operation.
Shredding Paper
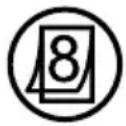
Your shredder can simultaneously shred a maximum of 8 sheets of DIN A4 paper with a weight of 80 g/m^2 . For this purpose, use the front insertion slot.
1 Set the switch to its Auto position. The shredder is now ready to operate.

WARNING! Risk of injury through automatic insertion. The infeed starts automatically when material is inserted. Keep all loose pieces of clothing, jewellery, long hair or other loose items away from the shredder's insertion slot.

ATTENTION! Risk of property damage through material jam! Observe the maximum cutting capacity of the insertion slot. Do not feed CDs into the paper slot.
2 Feed the material to be shredded in the centre of the insertion slot. The infeed draws the material in and stops shortly before shredding is finished and no further material is inserted.
Shredding CDs
Your shredder can shred a maximum of 1 CD at a time. For this purpose, use the rear insertion slot.
1 Set the switch to its Rev CD position. The shredder is now ready to operate.

WARNING! Risk of injury through infeed. The infeed operates continuously when the switch is at the Rev CD position. Keep all loose pieces of clothing, jewellery, long hair or other loose items away from the shredder's insertion slot.

ATTENTION! Risk of property damage through material jam! Observe the maximum cutting capacity of the insertion slot.
2 Feed the material to be shredded in the centre of the insertion slot. The infeed draws the material in and stops shortly before shredding is finished and no further material is inserted.
Switching the Shredder Off
Switch the shredder off when you no longer need to use it. This saves electricity and prevents third parties inadvertently injuring themselves with the shredder.
1 Set the switch to its OFF position.
2 Disconnect the power plug from the power socket.
Troubleshooting
The following information should help if something does not work as you expect it to.
Overheating Protection
The shredder motor switches off automatically if it overheats or is overloaded.
When the cool down phase has elapsed, the shredder is ready to operate again. Observe the permitted operating cycle.
Oiling the Cutting Mechanism
If you want to increase the working life of the shredder, you should oil the shredder's cutting mechanism at regular intervals. Olympia Business Systems Vertriebs GmbH offers a special oil for shredders. For more information, please contact our hotline:

ATTENTION! Risk of property damage through using the wrong oil! Do not use spray oils. Only use a special oil intended for shredders.
1 Apply the special oil for shredders in several lines horizontally across a sheet of paper.
2 Set the switch to its Auto position.
3 Insert the oiled sheet of paper in the paper infeed. The paper with oil applied is inserted and oils the cutting mechanism.
Emptying the Waste Bin
Empty the waste bin regularly. This prevents shredded material jamming and causing malfunctions as a result.
1 Set the switch to its OFF position.
2 Disconnect the power plug from the power socket.
3 Remove the shredder from the waste bin.
4 Empty the waste bin.
5 Mount the shredder on the waste bin again. The shredder latches audibly in place.
Clearing Residual Material
If the shredder no longer shreds material as you expect, remove any residual material from the cutting mechanism.
1 Set the switch to its Rev position. The cutting mechanism runs in reverse and releases any material remaining in the cutting mechanism.
2 Set the switch to its OFF position.
3 Disconnect the power plug from the power socket.
4 Remove any residual material carefully from the cutting mechanism using an appropriate pointed object.
Regular Cleaning
Clean the shredder at regular intervals.
1 Disconnect the power plug from the power socket.
2 Use a slightly damp, lint-free cloth to clean the surface of the shredder housing. Do not use any solvents or cleaning agents.
Disposal

In order to dispose of your device, take it to a collection point provided by your local public waste authority (e.g. recycling centre). According to laws on the disposal of electronic and electrical devices, owners are obliged to dispose of old electronic and electrical devices in a separate waste container. The symbol
indicates that the device must not be disposed of in normal domestic waste! Packaging materials must be disposed of according to local regulations.
Technical Data
Subject to change without prior notice.
Cutting capacity max. 8 sheets of DIN A4 (80 g/m ^2 ), 1 CD
Cutting method Paper: strips of 6 mm CDs: 3 strips of 40 mm
Shredding speed 2.5 - 3.0 m/min.
Security level P2 compliant with DIN 66399
Intermittent operation 3.0 mins. on / 40 mins. off
Noise level 72 dB
Operating modes Automatic mode (Start-Stop function) Reverse mode (CD infeed) Overheating protection
Waste bin 9 litre volume for paper Separate waste bin for CDs
Power supply 220 - 240 V, 50 Hz, 1 A
Power consumption 230 W
Dimensions 280 x 126 x 328 mm
Weight Approx. 2.1 kg
Declaration of Conformity
The CE Mark on the device confirms conformity.
The Declaration of Conformity can be viewed at www.olympia-vertrieb.de

Warranty
Dear Customer,
we are pleased that you have chosen this equipment.
In the case of a defect, please return the device together with the receipt and original packing material to the point-of-sale.
ContentFR

- DE Inhalt
- Package Contents
- For Your Safety
- General View
- Intended Use
- Before You Start
- Setting up the Shredder Safely
- Operating the Shredder
- Shredding Paper
- Shredding CDs
- Switching the Shredder Off
- Troubleshooting
- Overheating Protection
- Oiling the Cutting Mechanism
- Emptying the Waste Bin
- Clearing Residual Material
- Regular Cleaning
- Disposal
- Technical Data
- Declaration of Conformity
- Warranty
- ContentFR
Brand : OLYMPIA
Model : PS 38 CD
Category : Shredder