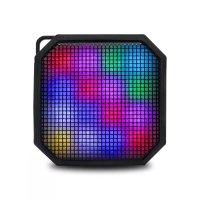
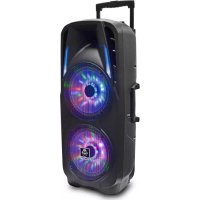
Party Box BLASTER 10 - Docking station iDance - Free user manual and instructions
Find the device manual for free Party Box BLASTER 10 iDance in PDF.
| Product type | Docking station / Portable Bluetooth speaker |
| Brand | iDance |
| Model | Party Box BLASTER 10 |
| Dimensions (W x H x D) | 202 x 288 x 125 mm |
| Power supply | USB 5V 1A (built-in rechargeable battery) |
| Output power | 9 W |
| Frequency response | 90 Hz - 20 kHz |
| Speakers | 2 × 4 inches |
| Signal-to-noise ratio | ≥ 60 dB |
| Supported audio formats | MP3, WMA, WAV (via USB and TF card) |
| Connectivity | Bluetooth, USB, TF card, 3.5mm auxiliary input, 1/4" microphone input, FM |
| Main functions | MP3 player, FM radio, LED lighting, compatible wireless microphone (not included), hands-free function |
| Controls | Mode, Light, Repeat, Play/Pause, Previous/Next track, Master volume, Mic volume, Bass volume |
| Display | LED (mode, FM frequency, playback time, battery level) |
| Battery | Rechargeable (first charge > 12 h) |
| Included accessories | USB cable, user manual |
| Care and cleaning | Clean with a dry cloth only |
| Safety | Do not open the enclosure; do not expose to water or moisture; unplug during storms |
| Spare parts and repairability | No user-serviceable parts; refer all servicing to qualified personnel |
| General information | Compliant with Industry Canada RSS-210 Class B |
Frequently Asked Questions - Party Box BLASTER 10 iDance
User questions about Party Box BLASTER 10 iDance
0 question about this device. Answer the ones you know or ask your own.
Ask a new question about this device
Download the instructions for your Docking station in PDF format for free! Find your manual Party Box BLASTER 10 - iDance and take your electronic device back in hand. On this page are published all the documents necessary for the use of your device. Party Box BLASTER 10 by iDance.
USER MANUAL Party Box BLASTER 10 iDance
Portable BLUETOOTH Speaker with DISCO LIGHTING
ENGLISH...EN1-EN3
FRANÇAIS...FR1-FR3
NEDERLANDS....D1-D3
DEUTSCH....DE1-DE3
ESPANOL....ES1-ES3
ITALIANO....IT1-IT3
PLEASE READ THIS USER MANUAL COMPLETELY BEFORE OPERATION THIS UNIT AND RETAIN THIS BOOKLET FOR FUTURE REFERENCE
WORLD
HEADQUARTERS:
Dance H.K.
100H
133 Hs Bn Rsa, Kvun Teng, Kawloon Hora Kong
UK OFFICE:
Dance Audio U.K.
Graham Lavii Bajaj
Struktur Industriali
AmphillRoad, BedfordMK429JJ
United Kingdom
EUROPE OFFICE:
IDance Audio Europe
Gaasterlan: 2c
The Netherlands
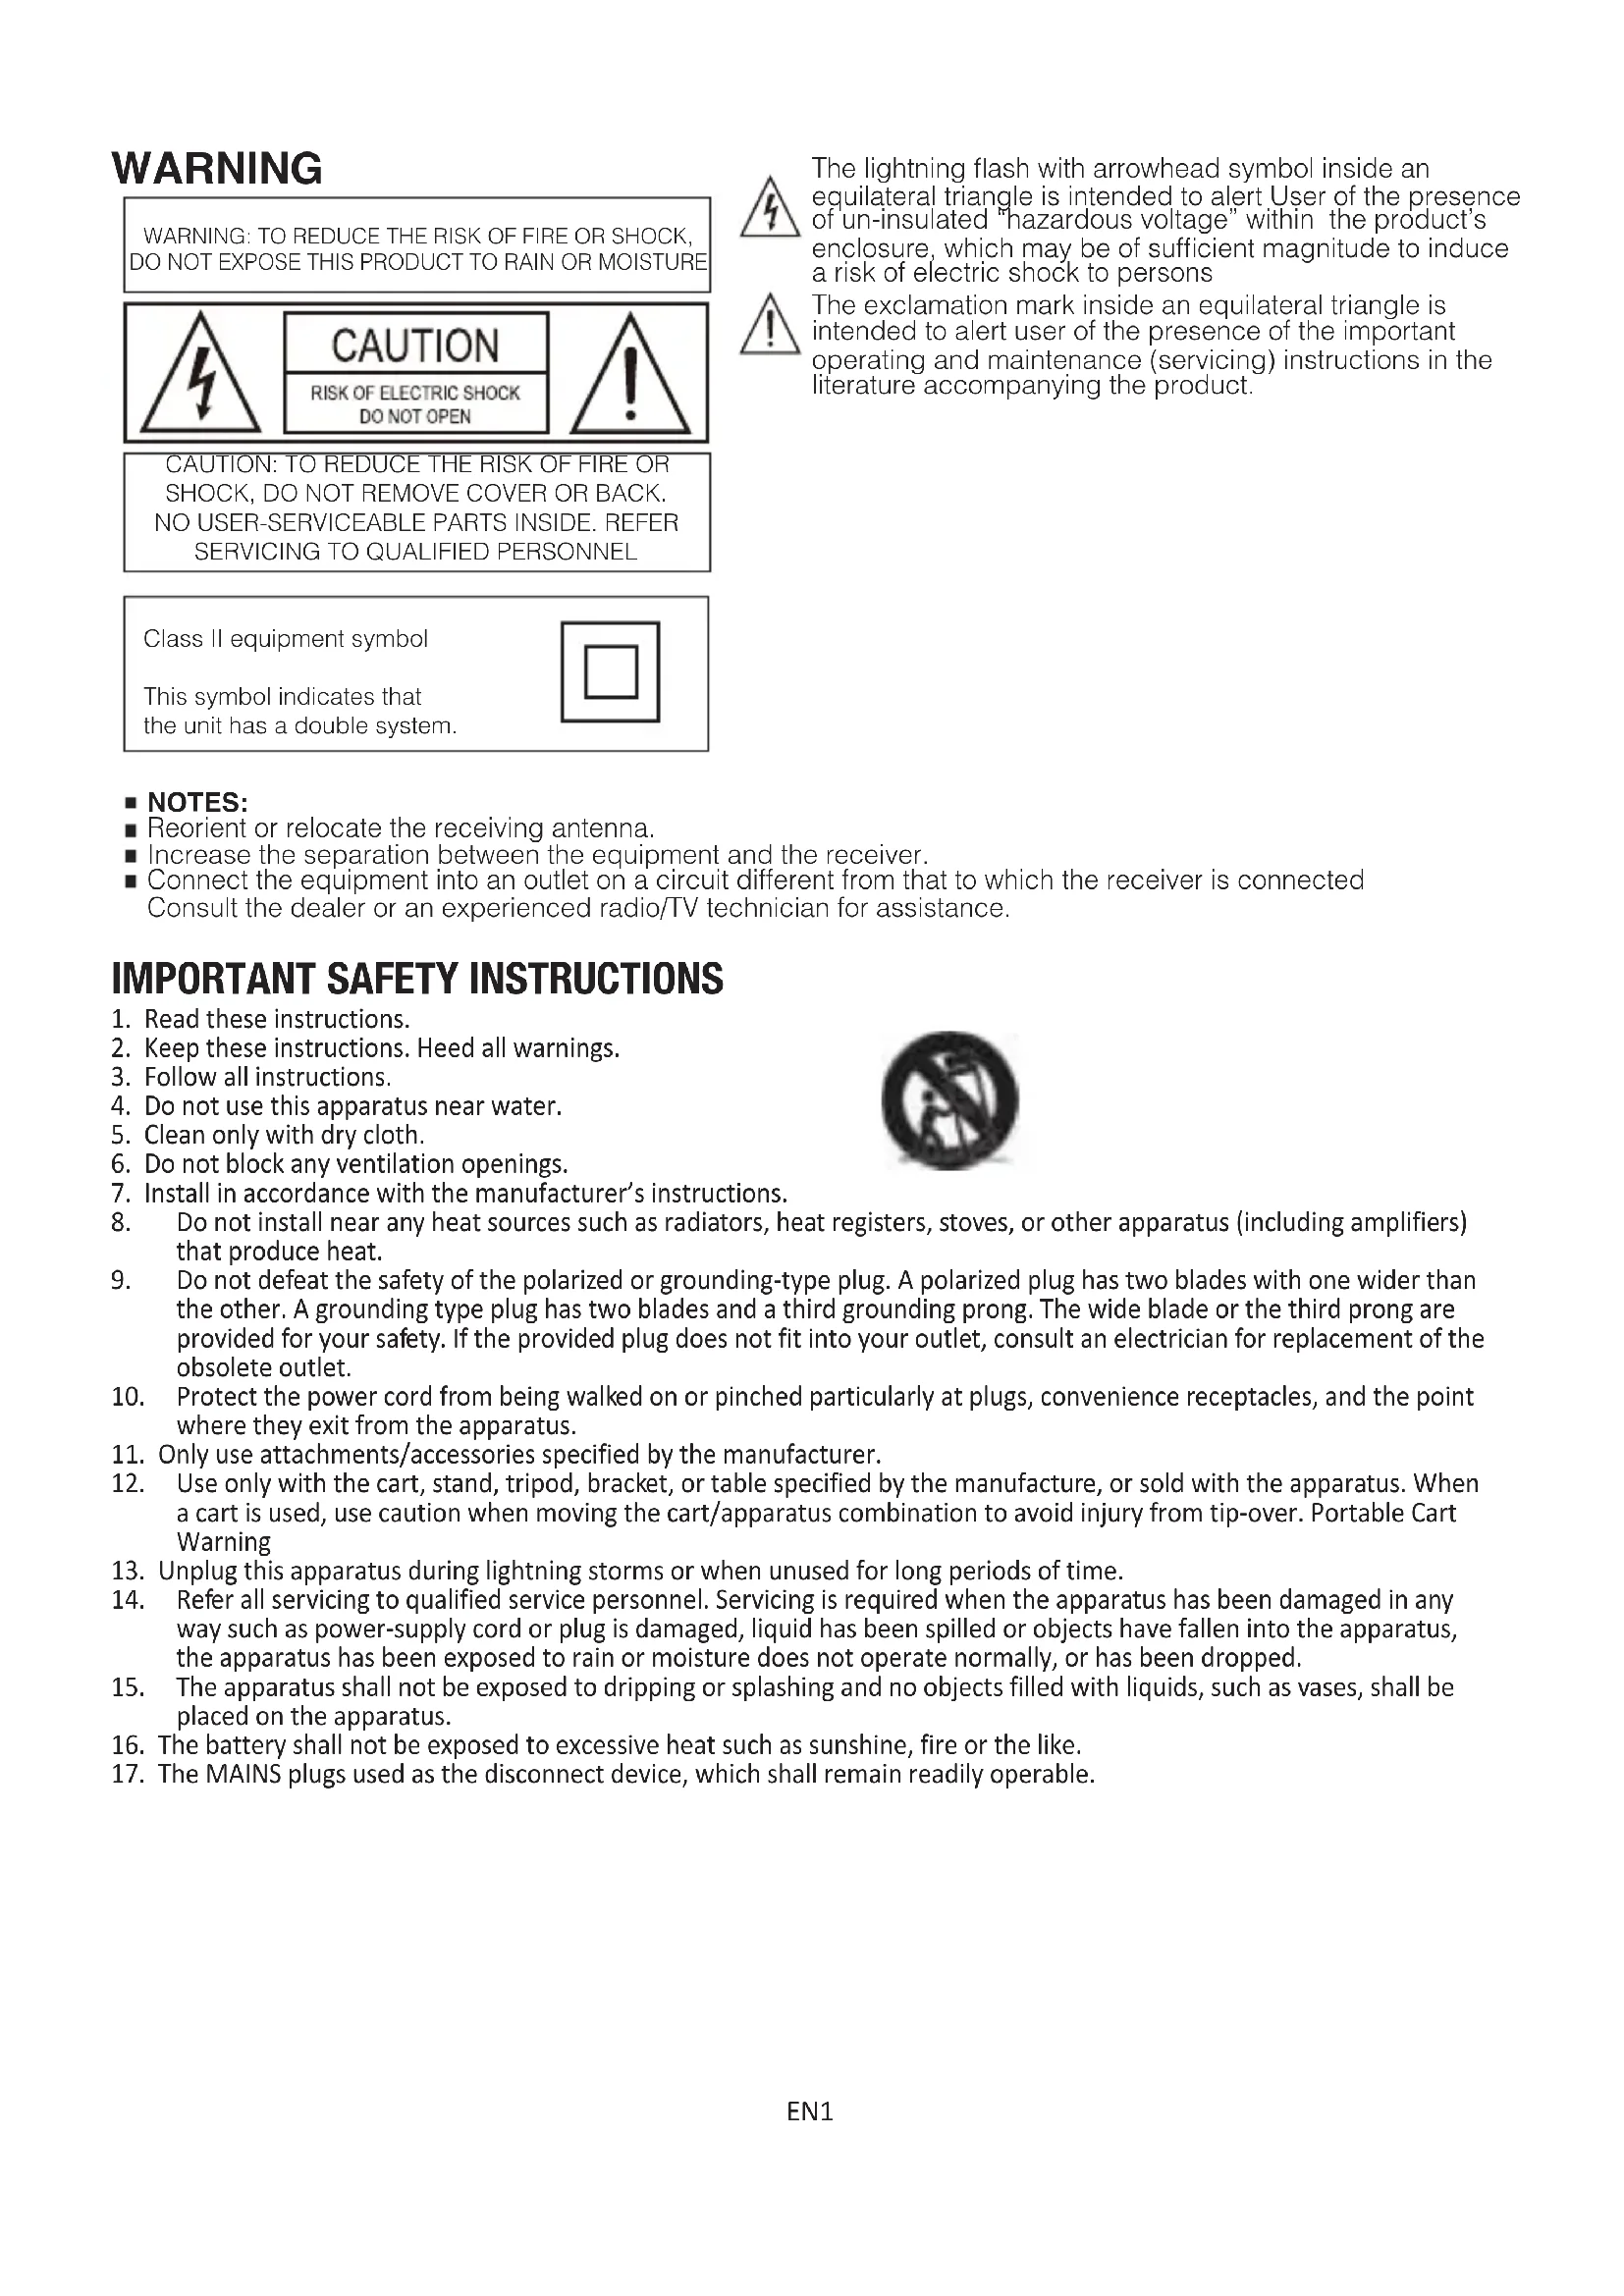
WARNING
WARNING: TO REDUCE THE RISK OF FIRE OR SHOCK, DO NOT EXPOSE THIS PRODUCT TO RAIN OR MOISTURE
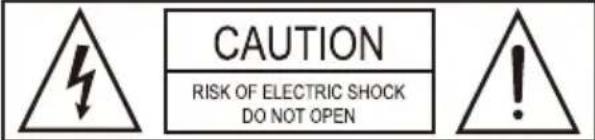
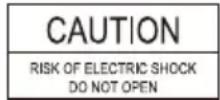
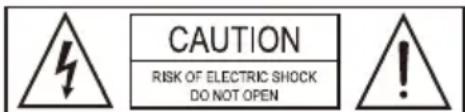
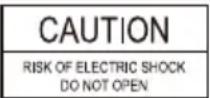
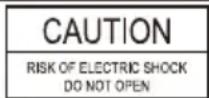
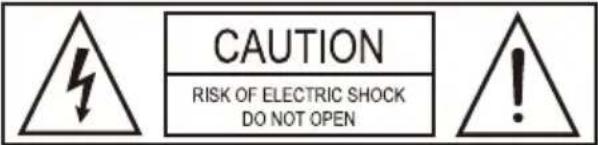
CAUTION: TO REDUCE THE RISK OF FIRE OR SHOCK,DO NOT REMOVE COVER OR BACK. NO USER-SERVICEABLE PARTS INSIDEREFER SERVICING TO QUALIFIED PERSONNEL
Class II equipment symbol
This symbol indicates that the unit has a double system.


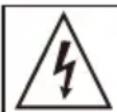
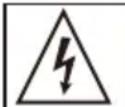
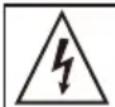
The lightning flash with arrowhead symbol inside an equilateral triangle is intended to alert User of the presence of un-insulated "hazardous voltage" within the product's enclosure, which may be of sufficient magnitude to induce a risk of electric shock to persons

The exclamation mark inside an equilateral triangle is intended to alert user of the presence of the important operating and maintenance (servicing) instructions in the literature accompanying the product.
NOTES:
Reorient or relocate the receiving antenna.
- Increase the separation between the equipment and the receiver.
- Connect the equipment into an outlet on a circuit different from that to which the receiver is connected. Consult the dealer or an experienced radio/TV technician for assistance.
IMPORTANT SAFETY INSTRUCTIONS
- Read these instructions.
- Keep these instructions. Heed all warnings.
- Follow all instructions.
- Do not use this apparatus near water.
- Clean only with dry cloth.
- Do not block any ventilation openings.
- Install in accordance with the manufacturer's instructions.
- Do not install near any heat sources such as radiators, heat registers, stoves, or other apparatus (including amplifiers) that produce heat.
- Do not defeat the safety of the polarized or grounding-type plug. A polarized plug has two blades with one wider than the other. A grounding type plug has two blades and a third grounding prong. The wide blade or the third prong are provided for your safety. If the provided plug does not fit into your outlet, consult an electrician for replacement of the obsolete outlet.
- Protect the power cord from being walked on or pinched particularly at plugs, convenience receptacles, and the point where they exit from the apparatus.
- Only use attachments/accessories specified by the manufacturer.
- Use only with the cart, stand, tripod, bracket, or table specified by the manufacture, or sold with the apparatus. When a cart is used, use caution when moving the cart/apparatus combination to avoid injury from tip-over. Portable Cart Warning
- Unplug this apparatus during lightning storms or when unused for long periods of time.
- Refer all servicing to qualified service personnel. Servicing is required when the apparatus has been damaged in any way such as power-supply cord or plug is damaged, liquid has been spilled or objects have fallen into the apparatus, the apparatus has been exposed to rain or moisture does not operate normally, or has been dropped.
- The apparatus shall not be exposed to dripping or splashing and no objects filled with liquids, such as vases, shall be placed on the apparatus.
- The battery shall not be exposed to excessive heat such as sunshine, fire or the like.
- The MAINS plugs used as the disconnect device, which shall remain readily operable.
Display description
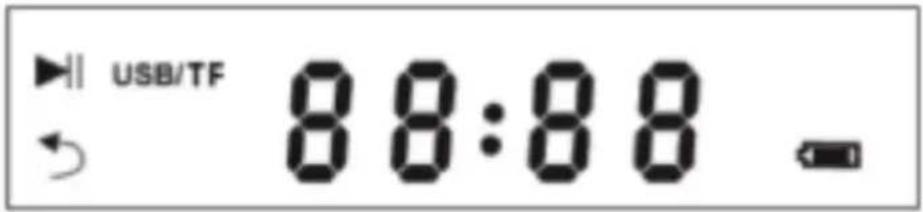
USB/TF mode, the icon means music is paused In AUX-IN / FM Mode, the icon will blink when muted
- USB/TF: Turn ON when playing USB or TF card.
- MIC: Turn ON when microphone is active
:ReplaymodeisonON
88:8.8
- Shows "AUX" in Aux in mode.
- Shows "FM Frequency" in FM mode
- Shows "playing time" of the song in USB/TF mp3 mode.
H
The icon will blink when the internal battery level is low and please recharge with included charging adaptor. Or Blaster 10 will enter protection mode when battery is too low to operate.
Control Panel description
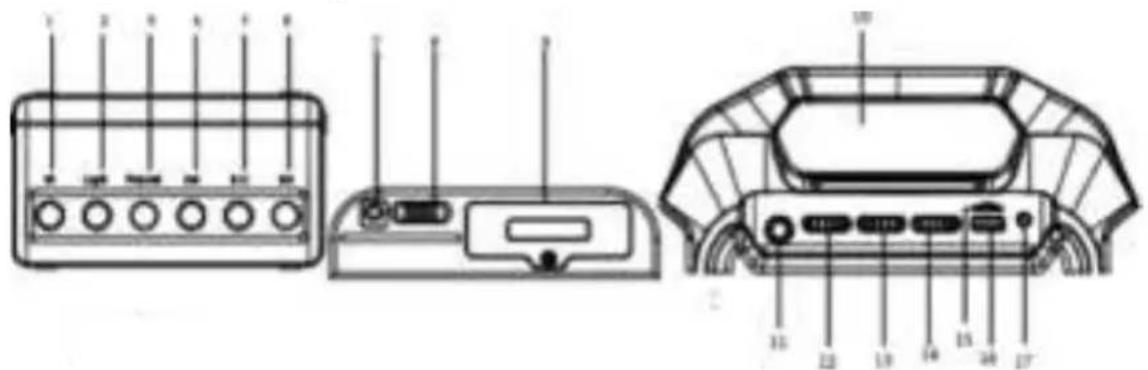
- Mode - Press to switch between different modes (Bluetooth-USB-TF-FM-LINE IN)
- Light ON/OFF - Press to turn on/off LED light show
- Repeat - Press to turn ON/OFF report mode.
- Previous Song - Press to select previous song in USB/TF mp3 mode or Bluetooth mode
- Play/Stop - Press to play/pause the music
- Next song - Press to select previous song in USB/TF mp3 mode or Bluetooth mode
- USB power input - micro USB power input
(PleasesettoUSBchargerwithoutput5Vwithminimum1Aorabove)
- Power switch
- Battery Cover - compartment for internal rechargeable battery (Please DON'T open the compartment with the help of a technician)
- Display - LED status display
- Mic input - 1/4 "microphone jack input
- Mic Volume - Turn to adjust microphone volume
- Bass Volume - Turn to adjust master bass level
- Mater Volume- Turn to adjust master volume level
- TF Card receptacle - Insert your TF card with MP3 files
- USB receptacle - Insert your USB drive with MP3 files
- AUX IN - 3.5mm mini jack Line-in to connect external line-level music player
Operation: MP3 player
- Insert USB to the USB receptacle and Blaster 10 will play the mp3 files stored inside USB.
- Insert TF card to the TF receptacle and Blaster 10 will play the mp3 files stored inside TF. (Blaster 10 supports MP3,WMA,WAV format)
- Play/Pause: Press to Play / Pause current song
- Previous/Next Song Key: Press to nagivate Previous/Nex Song
- Repeat: Press to turn on/off playback repeat mode
Operation: FM mode
- Press mode key to switch to FM mode
- Play/Pause key: Press and hold for automatic searching, Press to mute and unmute
- Previous/Next Song Key: Press to navigate stored radio.
Opertion:Bluetooth
Press mode button to enter Bluetooth mode, the display shows "BLUE". Using the native controls on your Bluetooth device to scan for available devices and select "Blaster 10" to connect. Speaker will announce "Connected" once paired successfully.
Music playing: Press Play/Pause and Previous/Next Song Key to control the music
- Pairing mode: Press and hold "Play / Pause" Key for 5 sec to enter Pairing mode.
Operation: LED light show
Light will on when power on.
- In any mode, it will light on when no music.
- In any mode, with music, LED light will jump up and down with volume high and down.
- In any mode, press the "Light ON/OFF" button to turn LED ON/OFF
Operation:Charging the Blaster 10
- Charging is needed when the battery symbol is empty and blinking, the Blaster 10 will enter low power self-protect state, the volume will drop to 70% , please use our adapter to charge. Red light is on when charging and turn off when charging is completed.
Note: Please charge for more than 12H for first time
Technical Index
Output power:9W
Frequency:90Hz-20KHz
- Speaker size: 4^ 2^1
S/N:≥60dB
Power voltage: USB 5V
Product size: W202H288*D125
Packing List:
- Unit speaker*1pcs
- User manual1pcs
USB Cable 1 pcs
AVERTISSEMENT
WARNING: TO REDUCE THE RISK OF FIRE OR SHOCK, DO NOT EXPOSE THIS PRODUCT TO RAIN OR MOISTURE

CAUTION:TO REDUCE THE RISK OF FIRE OR SHOCK,DO NOT REMOVE COVER OR BACK. NO USER-SERVICEABLE PARTS INSIDE.REFER SERVICING TO QUALIFIED PERSONNEL
Class II equipment symbol
This symbol indicates that the unit has a double system.

WARNING: TO REDUCE THE RISK OF FIRE OR SHOCK, DO NOT EXPOSE THIS PRODUCT TO RAIN OR MOISTURE
CAUTION: TO REDUCE THE RISK OF FIRE OR SHOCK,DO NOT REMOVE COVER OR BACK. NO USER-SERVICEABLE PARTS INSIDE,REFER SERVICING TO QUALIFIED PERSONNEL
Class II equipment symbol
This symbol indicates that the unit has a double system.

WARNING: TO REDUCE THE RISK OF FIRE OR SHOCK, DO NOT EXPOSE THIS PRODUCT TO RAIN OR MOISTURE

CAUTION: TO REDUCE THE RISK OF FIRE OR SHOCK,DO NOT REMOVE COVER OR BACK. NO USER-SERVICEABLE PARTS INSIDE.REFER SERVICING TO QUALIFIED PERSONNEL
Class II equipment symbol
This symbol indicates that the unit has a double system.

WARNING: TO REDUCE THE RISK OF FIRE OR SHOCK. DO NOT EXPOSE THIS PRODUCT TO RAIN OR MOISTURE

CAUTION: TO REDUCE THE RISK OF FIRE OR SHOCK,DO NOT REMOVE COVER OR BACK. NO USER-SERVICEABLE PARTS INSIDE.REFER SERVICING TO QUALIFIED PERSONNEL
Class II equipment symbol
This symbol indicates that the unit has a double system.

WARNING: TO REDUCE THE RISK OF FIRE OR SHOCK, DO NOT EXPOSE THIS PRODUCT TO RAIN OR MOISTURE
CAUTION: TO REDUCE THE RISK OF FIRE OR SHOCK,DO NOT REMOVE COVER OR BACK. NO USER-SERVICEABLE PARTS INSIDEREFER SERVICING TO QUALIFIED PERSONNEL
Class II equipment symbol
This symbol indicates that the unit has a double system.