Aub200h+sa - Phone DORO - Free user manual and instructions
Find the device manual for free Aub200h+sa DORO in PDF.
Frequently Asked Questions - Aub200h+sa DORO
User questions about Aub200h+sa DORO
0 question about this device. Answer the ones you know or ask your own.
Ask a new question about this device
Download the instructions for your Phone in PDF format for free! Find your manual Aub200h+sa - DORO and take your electronic device back in hand. On this page are published all the documents necessary for the use of your device. Aub200h+sa by DORO.
USER MANUAL Aub200h+sa DORO
1 Wall mounting hanger hook
2 Headset socket
3 Handset socket
4 Store/Mute button and LED
5 Recall button
6 Memory button
7 Handset/Headset volume control
8 Pause button
9 Headset button and LED
10 Redial button
11 Hold button and LED
12 One-Touch memories
13 Ring/Message Wait Indicator
14 Input socket for additional equipment
Svenska
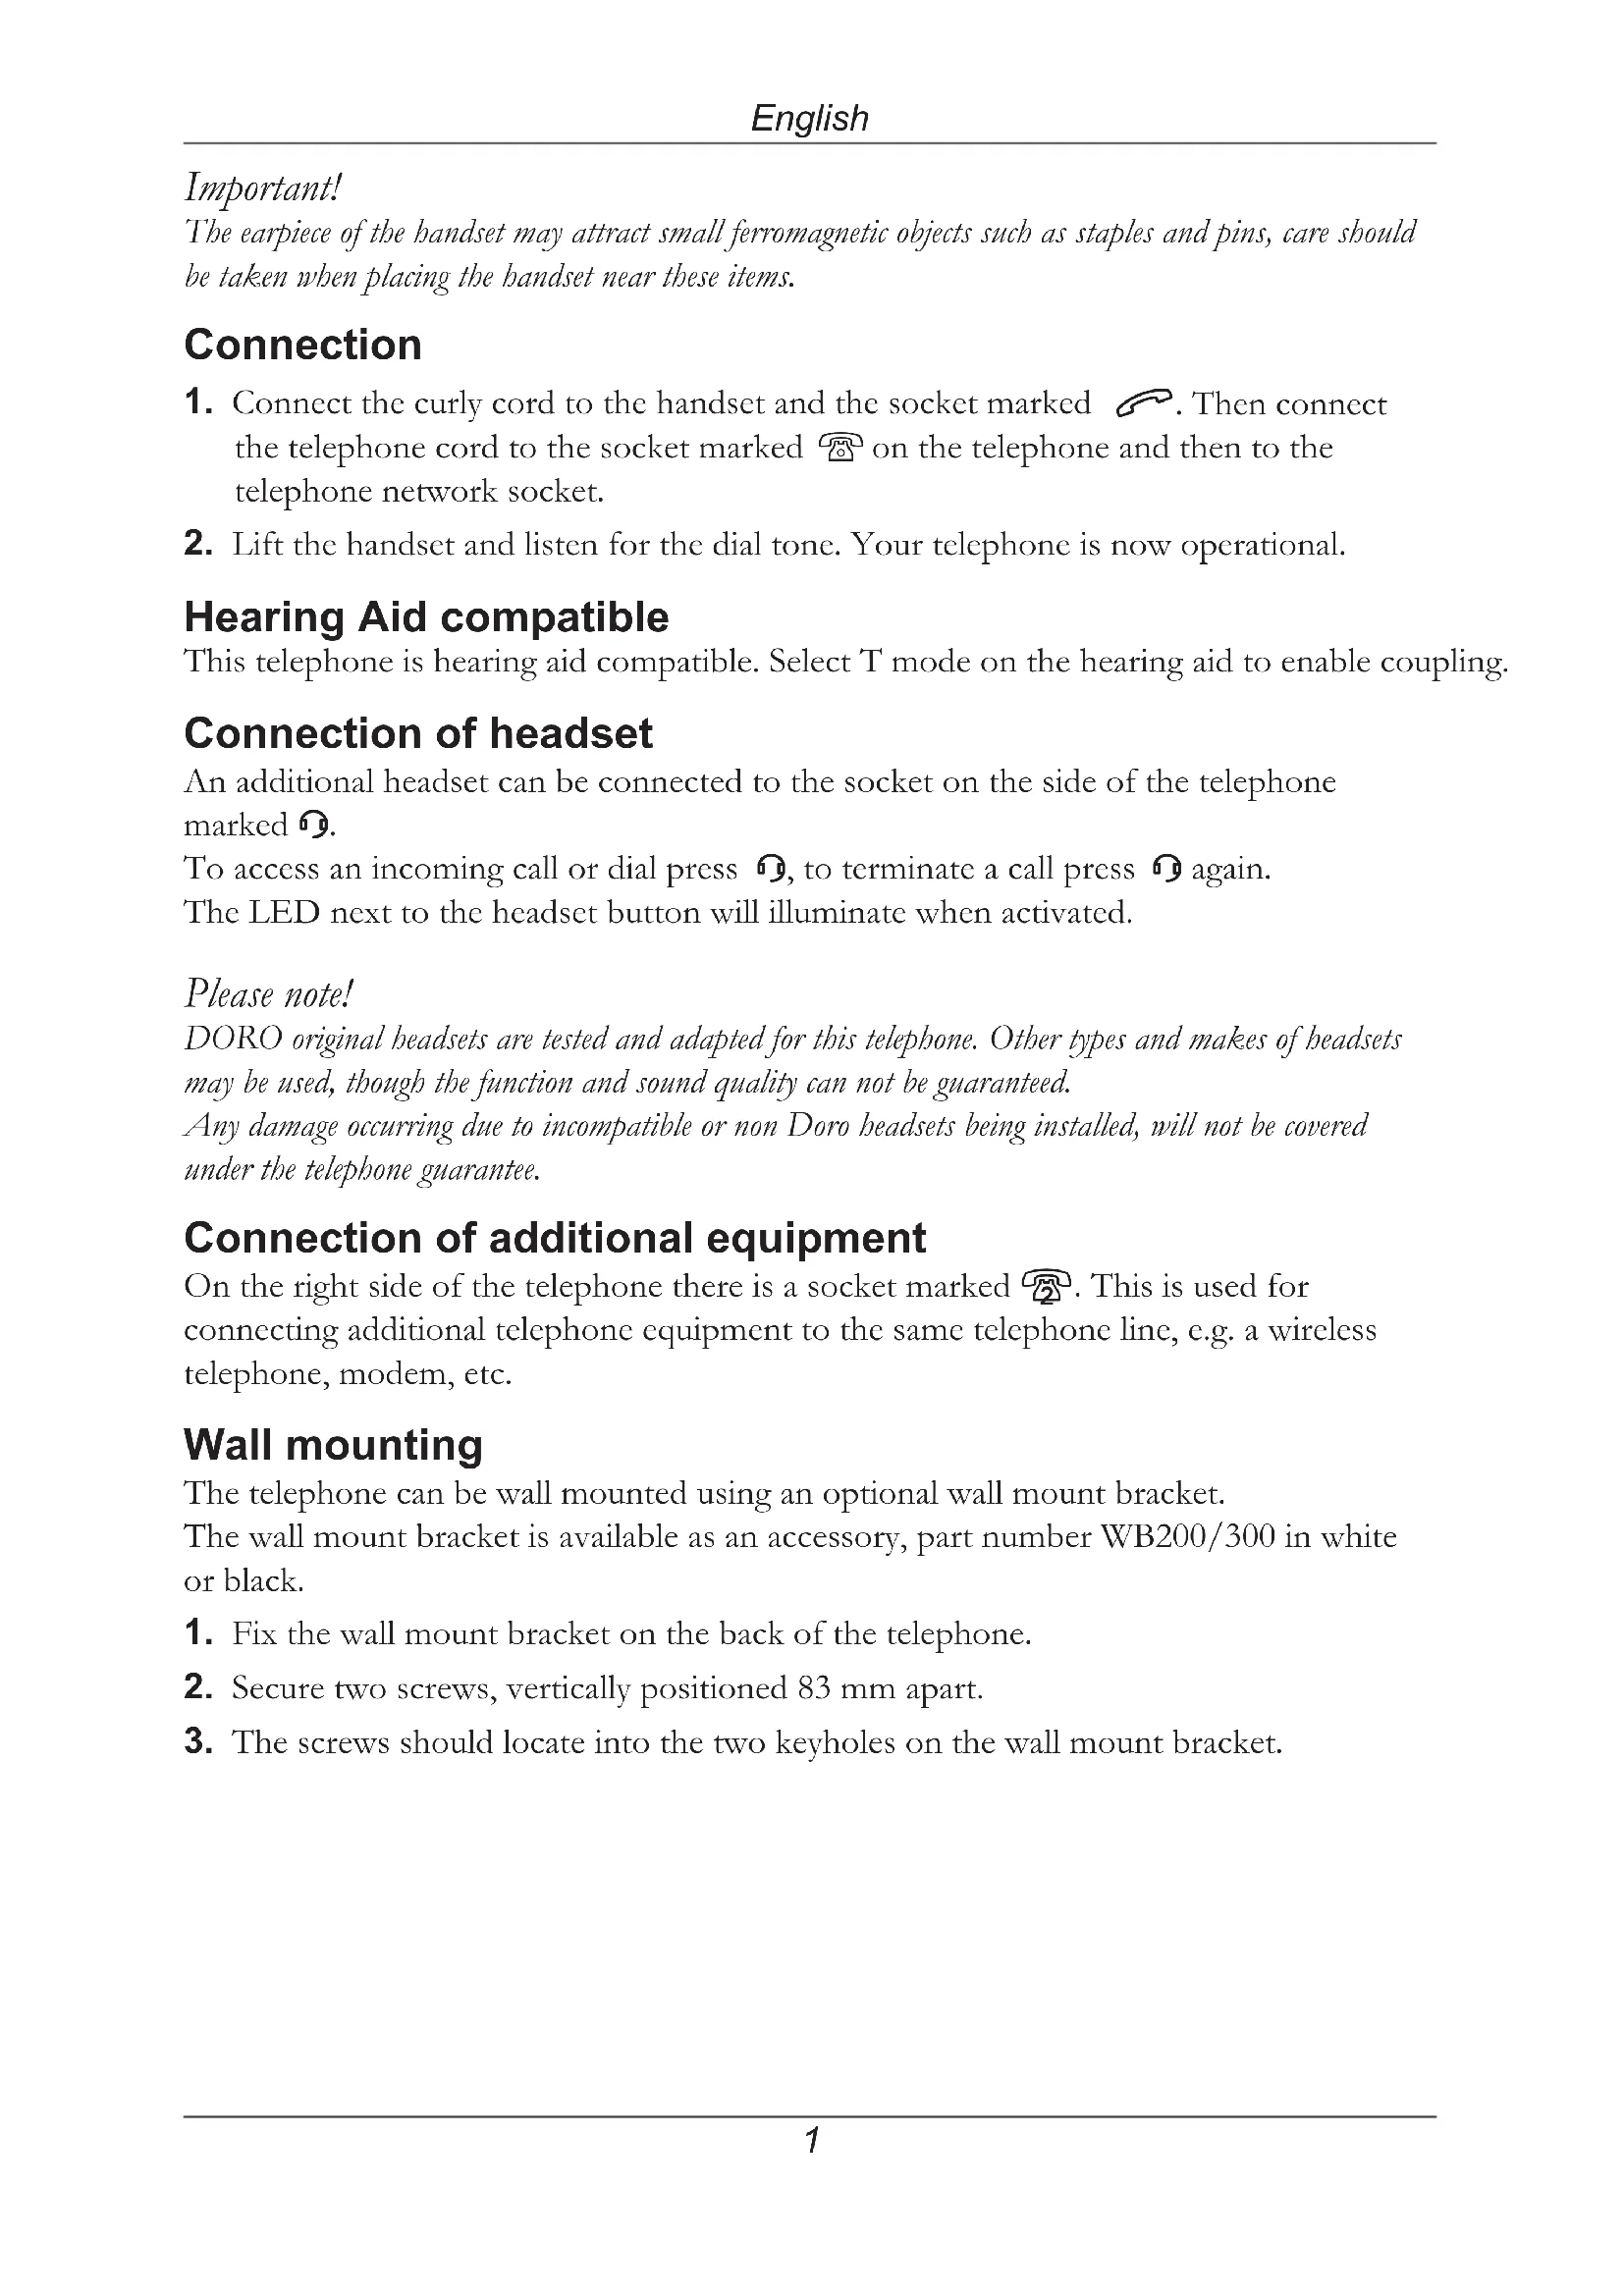
The earpiece of the handset may attract small ferromagnetic objects such as staples and pins, care should be taken when placing the handset near these items.
Connection
- Connect the curly cord to the handset and the socket marked . Then connect the telephone cord to the socket marked on the telephone and then to the telephone network socket.
- Lift the handset and listen for the dial tone. Your telephone is now operational.
Hearing Aid compatible
This telephone is hearing aid compatible. Select T mode on the hearing aid to enable coupling.
Connection of headset
An additional headset can be connected to the socket on the side of the telephone marked .
To access an incoming call or dial press , to terminate a call press again.
The LED next to the headset button will illuminate when activated.
Please note!
DORO original headsets are tested and adapted for this telephone. Other types and makes of headsets may be used, though the function and sound quality can not be guaranteed.
Any damage occurring due to incompatible or non Doro headsets being installed, will not be covered under the telephone guarantee.
Connection of additional equipment
On the right side of the telephone there is a socket marked . This is used for connecting additional telephone equipment to the same telephone line, e.g. a wireless telephone, modem, etc.
Wall mounting
The telephone can be wall mounted using an optional wall mount bracket. The wall mount bracket is available as an accessory, part number WB200/300 in white or black.
- Fix the wall mount bracket on the back of the telephone.
- Secure two screws, vertically positioned 83mm apart.
- The screws should locate into the two keyholes on the wall mount bracket.
Volume control
The volume level in the earpiece can be increased or decreased using the volume control / .
Mute button
The microphone can be turned on/off during a call by pressing .
Redial button
If the number dialled is engaged or if the last number dialled is to be redialled, lift the receiver or press the headset button and press the button.
On Hold
Press the button to place a call on hold. The LED next to the button will illuminate.
The call can be resumed by pressing the button again or from another telephone connected to the same line.
Recall
Press the R button followed by the extension number to transfer calls when connected to a PBX. Access to additional network services can be gained by using the R button, and keys. Contact your network operator for more information.
Select either TIME/EARTH recall using the switch located on the underside of the unit.
Memory
The telephone will store 3 one-touch (M1-M3) and 10 two-touch memories (up to 21 digits).
When a number is stored, you need only press one or two buttons to make a call.
Storing One-touch Memories
- Lift the handset and press (ignore anything you hear in the earpiece).
- Press desired location M1-M3.
- Enter the phone number. Press and replace the handset.
Dialing using One-touch Memories
Lift the handset and press desired location M1-M3.
Storing Two-touch Memories
- Lift the handset and press (ignore anything you hear in the earpiece).
- Press
- Press desired location 0-9.
- Enter the phone number. Press and replace the handset.
Dialing using Two-touch Memories
- Lift the handset and press
- Press desired location 0-9.
If you need to insert a pause in the telephone number press P.
If you need to change a number, store the new number in the same location as the old one.
Ringer
- Lift the receiver (ignore the dialling tone) and press the store button and
- Select ring signal by pressing the number key0 -9 in accordance with the table below.
- Press store button and replace the receiver. The ring signal is now set.
Melody type Key/level
Melody A 1=Low, 2=Normal, 3=High
Melody B 4=Low, 5=Normal, 6=High
Melody C .........7=Low, 8=Normal, 9=High
Off* 0
- If the key O is selected, the ring signal will be turned off until the next time the receiver is lifted. After that, the ring signal will revert to the previous setting.
Technical information
Some selector switches are located in a compartment on the underside of the telephone.
These switches control technical parameters for connection to PBX equipment.
IMPORTANT NOTE:
These switches should only be adjusted by qualified personnel.
Recall time
Selection of 100 / 300 / 600ms timed loop break for recall functionality.
The standard setting is 100ms for UK/Australia and 600ms for New Zealand.
EARTH/TIME (UK only)
Selection of either earth or timed loop break recall method.
Tone/Pulse
Selection of either dialling method depending on PBX.
Message Waiting Indicator
Some PBX systems have a function called Message Waiting.
The switch is located behind the battery cover on the underside of the telephone.
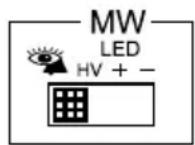
The MW function operates differently depending on the PBX in question. The following four alternatives are available: + , - , ringer indicator (and high DC voltage (HV).
Declaration of conformity
Doro hereby declares that this product, Doro aub200h, conforms with the essential requirements and other regulations contained in the directives 1999/5/EC (R&TTE), 2002/95/EC (ROHS).
A copy of the manufacturer's declaration is available at www.doro.com/dofc
Troubleshooting
Check that the telephone cord is undamaged and properly plugged in.
Disconnect any additional equipment that may be connected.
If the problem is resolved the fault is with the other equipment.
Test the equipment on a known working line. If the product works, then the fault is probably with your line. If you are still experiencing difficulties, contact the place of purchase.
Guarantee
This product is guaranteed for a period of 10 years from the date of purchase. Proof of purchase is required for any service or support required during the guarantee period.
This guarantee shall not apply to a fault caused by an accident or a similar incident or damage, liquid ingress, negligence, abnormal usage, not reasonably maintained or any other circumstances on the purchaser's part. Furthermore, this guarantee shall not apply to a fault caused by a thunderstorm or any other voltage fluctuations.
This guarantee does not in any way affect your statutory rights. (As a matter of precaution, we recommend disconnecting the telephone during a thunderstorm.)
UK
If you cannot resolve the fault using the faultfinder section, technical support is available by email on tech@doro-uk.com or via a premium rate telephone number: 0905 895 0854, calls cost 50 pence per minute (prices correct at the time of publication). Further contact details are available on our website: www.doro-uk.com
Alternatively you can write to:
Customer Services
Doro UK Ltd
1 High Street
Chalfont St Peter
Buckinghamshire
SL9 9QE
Inkoppling
Declaration of conformity
Doro declarerar harmed attenna produit, Doro aub200h, overensstammer med de vasantiga kraven och overiga bestammelser i direktiven 1999/5/EG (R&TTE), 2002/95/EG (ROHS).