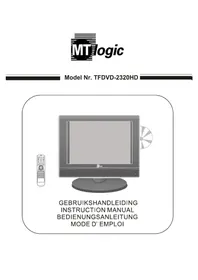
TFDVD2022MT - TV MT Logic - Free user manual and instructions
Find the device manual for free TFDVD2022MT MT Logic in PDF.
Document temporarily unavailable
The manual is currently being transferred to our new server. It will be accessible again in a few hours. Thank you for your patience.
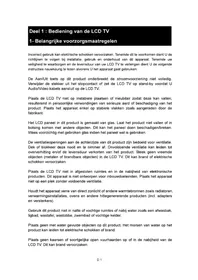
| Product type | LCD TV with built-in DVD player |
| Power supply | DC 12V (adapter included) |
| Audio power | 2 × 5 W (built-in speakers) |
| Video inputs | HDMI, VGA, SCART, Composite (CVBS), S-Video |
| Audio inputs | 2 RCA inputs (left/right) for Composite/S-Video, PC audio input for VGA |
| Outputs | Digital coaxial audio, headphone |
| Additional connectivity | USB port, SD/MMC/MS card reader |
| Playable formats | DVD, Super VCD, VCD, CD, CD-R/RW, MP3, JPEG |
| Remote control | Yes, with 2 AAA batteries |
| TV compatibility | PAL / NTSC (auto) |
| Main functions | Automatic and manual channel search, teletext, NICAM, parental control (PIN code 0000), child lock, programming |
| Image settings | Image mode (Personal/Movie/Sports/Mild/Game), contrast, brightness, color, tint (NTSC), sharpness, color temperature, DNR |
| Sound settings | Volume, sound mode (Personal/Voice/Music/Theater), bass, treble, balance |
| Timer | Sleep timer, OSD timer |
| Cleaning | Unplug the device, use a soft cloth, do not use chemical products |
| Safety | Do not open the casing, do not obstruct ventilation openings, do not expose to water or flames |
| Repairability | No user-serviceable parts – contact qualified service center |
| Environmental information | Recyclable product – do not dispose with household waste, follow WEEE instructions |
Frequently Asked Questions - TFDVD2022MT MT Logic
User questions about TFDVD2022MT MT Logic
0 question about this device. Answer the ones you know or ask your own.
Ask a new question about this device
Download the instructions for your TV in PDF format for free! Find your manual TFDVD2022MT - MT Logic and take your electronic device back in hand. On this page are published all the documents necessary for the use of your device. TFDVD2022MT by MT Logic.