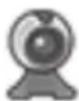
Magnetic Mic SL6841 - Webcam Speedlink - Free user manual and instructions
Find the device manual for free Magnetic Mic SL6841 Speedlink in PDF.
| Product type | Webcam |
| Brand | Speedlink |
| Model | Magnetic Mic SL6841 |
| Photo resolution | 1.3 megapixels (1280 x 1024 pixels max) |
| Video resolution | VGA (1280 x 1024 pixels) |
| Frame rate | 30 frames per second |
| Focus | Progressive from 30 mm to infinity |
| Microphone | Built-in |
| Connection | USB 2.0 (compatible with USB 1.1 and 1.0) |
| System compatibility | Windows XP SP2 / Vista |
| Power | Via USB port |
| Dimensions (estimated) | Height: 10 cm, Width: 6 cm, Depth: 6 cm |
| Weight (estimated) | 100 g |
| Stability | Wide base for stability on flat surfaces |
| Cleaning | With a soft, dry cloth; do not use benzene, thinner, or chemicals |
| Safety | Do not open or repair yourself; avoid humidity, high temperatures, and direct sunlight |
| Warranty | 2 years from purchase date (manufacturing defects) |
| Spare parts and repairability | No user-serviceable parts; repair by qualified personnel only |
| General information | Allows to take photos, videos, and use for video chat / VoIP |
Frequently Asked Questions - Magnetic Mic SL6841 Speedlink
User questions about Magnetic Mic SL6841 Speedlink
0 question about this device. Answer the ones you know or ask your own.
Ask a new question about this device
Download the instructions for your Webcam in PDF format for free! Find your manual Magnetic Mic SL6841 - Speedlink and take your electronic device back in hand. On this page are published all the documents necessary for the use of your device. Magnetic Mic SL6841 by Speedlink.
USER MANUAL Magnetic Mic SL6841 Speedlink
Einbinding in MSN® Messenger 7.5
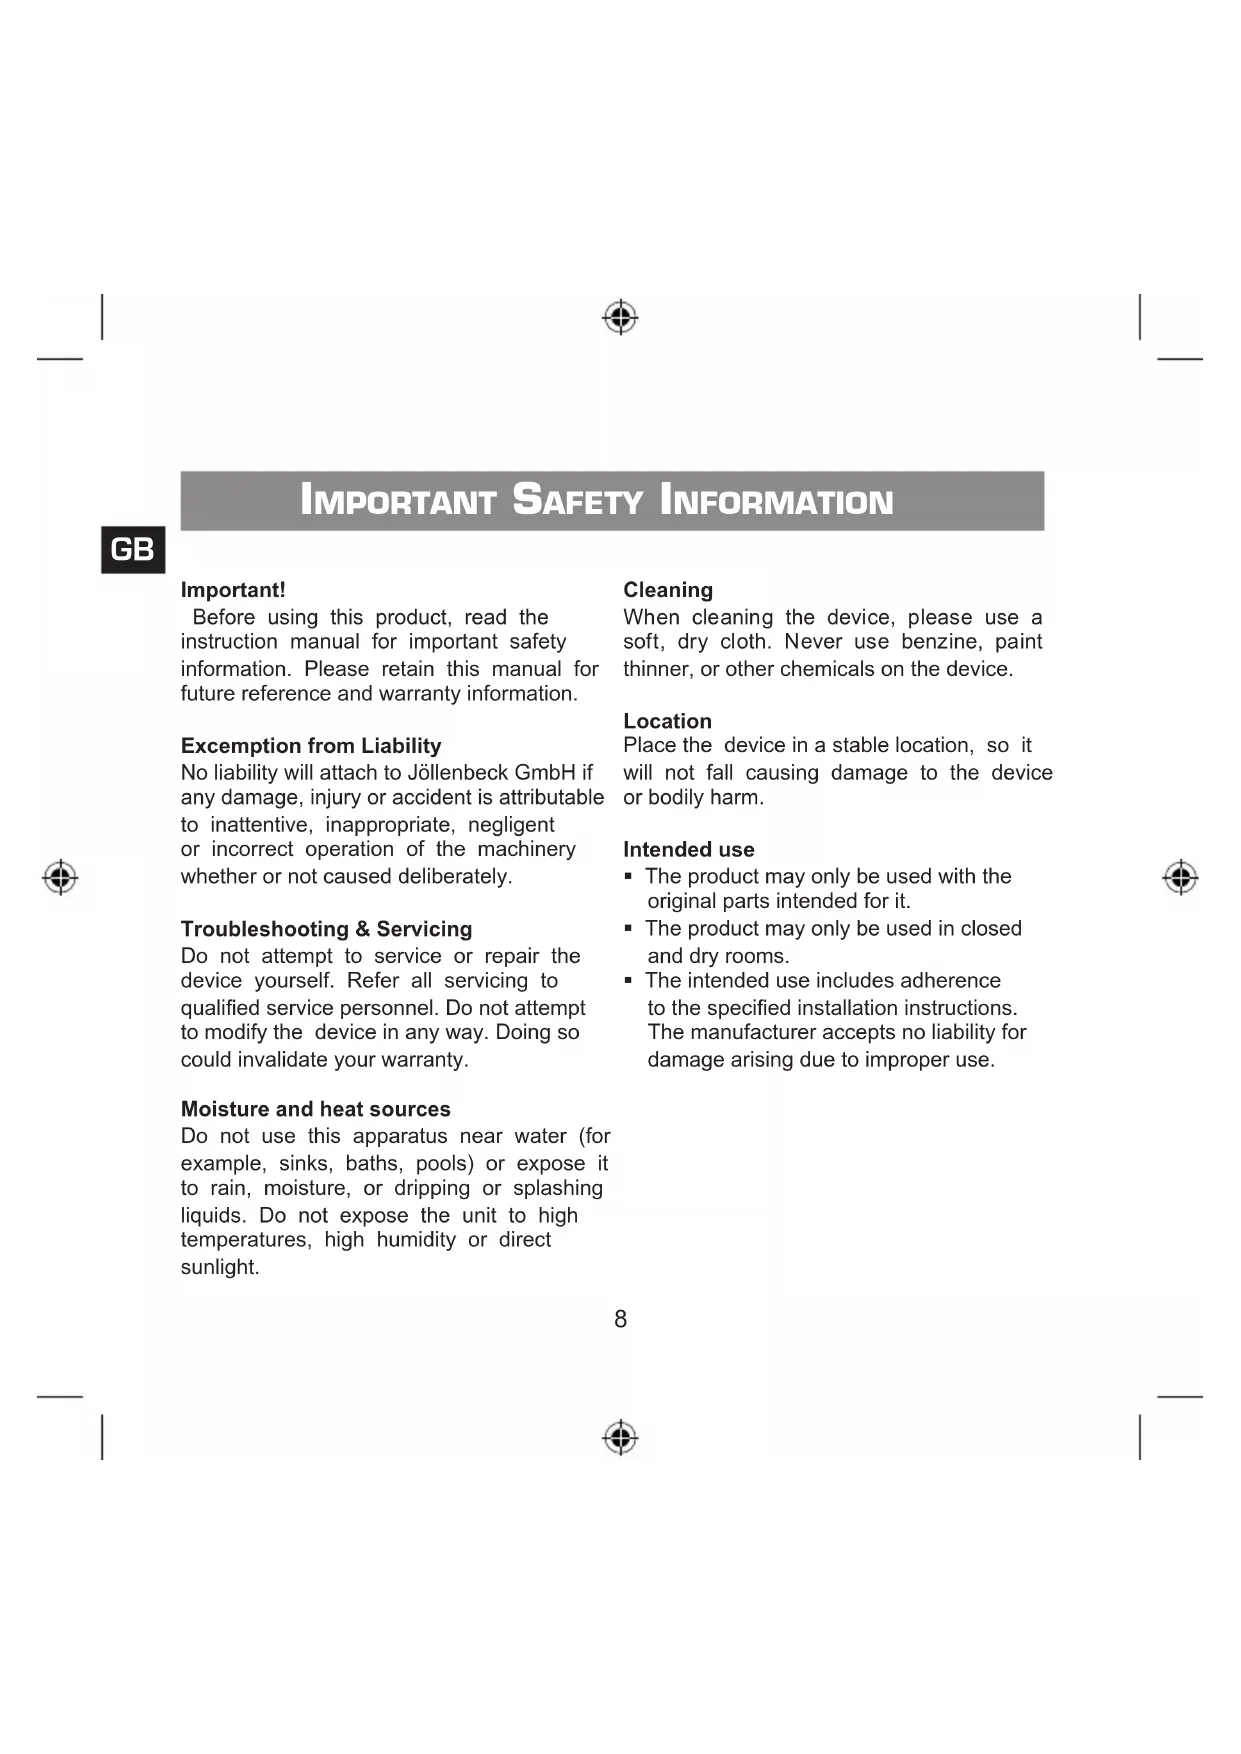
IMPORTANT SAFETY INFORMATION
Important!
Before using this product, read the instruction manual for important safety information. Please retain this manual for future reference and warranty information.
Exemption from Liability
No liability will attach to Jöllenbeck GmbH if any damage, injury or accident is attributable to inattentive, inappropriate, negligent or incorrect operation of the machinery whether or not caused deliberately.
Troubleshooting & Servicing
Do not attempt to service or repair the device yourself. Refer all servicing to qualified service personnel. Do not attempt to modify the device in any way. Doing so could invalidate your warranty.
Moisture and heat sources
Do not use this apparatus near water (for example, sinks, baths, pools) or expose it to rain, moisture, or dripping or splashing liquids. Do not expose the unit to high temperatures, high humidity or direct sunlight.
Cleaning
When cleaning the device, please use a soft, dry cloth. Never use benzine, paint thinner, or other chemicals on the device.
Location
Place the device in a stable location, so it will not fall causing damage to the device or bodily harm.
Intended use
The product may only be used with the original parts intended for it.
The product may only be used in closed and dry rooms.
- The intended use includes adherence to the specified installation instructions. The manufacturer accepts no liability for damage arising due to improper use.
Introduction
Thank you for purchasing the Magnetic Webcam. With this Webcam you can take photos, record video, create video emails and even send pictures of yourself live over the Internet to your friends.
Features
1.3 megapixel photo-quality resolution in a picture format up to 1280 × 1024 pixels
Video transfer with no delay thanks to USB 2.0 (USB 1.1 and 1.0 backwards compatible)
VGA quality video (1280 x 1024 pixels) with a frame rate of 30fps
Focus-free lens (30mm to infinity) - allowing you to capture the finest details of nearby objects
- Wide base for secure positioning on any level surface
- Integrated microphone for clear voice chat
Simple USB connection
Including drivers for Windows XP SP2 / Vista
Installation under Windows XP SP2 / Vista
Connect the USB connector on the camera to any free USB port on your PC.
- Insert the supplied driver CD into the CD-ROM drive of your computer. The Speed-Link driver installation menu will load automatically (if this doesn't happen, open Windows Explorer, navigate to your CD-ROM drive and then double click on the file "Setup.exe").
- Click on the button according to your operating system. The InstallShield Wizard will now guide you through the software installation process. Follow the on-screen instructions.
If Windows asks if the installation should continue despite not passing Windows

Logo testing click on Continue Anyway.
- Windows will now ask you if it should search for a Windows Update on the Internet. Select No, not this time and then click on Next.
- Select Install the software automatically and click on Next.
If Windows asks if the installation should continue despite not passing Windows Logo testing click on Continue Anyway. - Click on "Finish" once the files have been installed.
- Click on OK and reboot your computer
Using the Microphone
In order to use the integrated microphone, you are required to set this microphone as standard recording device in the Windows Control Panel under Sounds and Audio Devices.
The messenger programs normally use the standard Windows settings, though you may be required to manually set the microphone in your messenger.
Recording a Video
- Open the capture program from the Start Menu by navigating to Start > All Programs > Webcam > VideoView.
If you are unable to see the live camera picture in the program window you can turn this feature on under Options > Preview.
Before recording video you first have to create a file where the video can be stored:
- Click on File > Set Capture File..., select the directory where you would like to save your video and then enter a filename. The filename should be based on the following format: Filename.avi
- If you would like to limit the size of the video file then click on File > Allocate File Space... and enter the required maximum size of the video file.
- Other settings can be adjusted under Options > Video Capture Filter. Change the contrast, brightness and other settings to suit your individual requirements.
You can now record a video by clicking on Capture > Start Capture and then pressing OK in the ensuing window.
To stop video capture, click on Capture > Stop Capture. Now save the file by clicking on File > Save Captured Video... and enter the required directory and filename. Please ensure that you add the file extension ".avi" to the end of your filename.
You can view the video that you have created using Windows Media Player or any other player which supports the AVI file format.
Taking a Photo
You have to open the program VideoView in order to take a photo with the webcam. Press the button on the top of the webcam to open the program. Press the button again to take a photo. The photo will be displayed in a separate window and can now be saved.
Using the Webcam with Chat and VoIP Programs
You can use the Webcam with a variety of different chat and VoIP programs for video chat or video telephony. In the following we have included a selection of the most popular programs together with details on how to configure them for use with your webcam.
Using the Webcam with SkypeTM
Start SkypeTM and then click on Tools > Options... On the "Video" tab, tick the checkbox Enable Skype Video provided that this is not already enabled. From cameras listed under Select webcam select: WEB13AB.
Click on Test Webcam. You should now see the picture transmitted by your webcam in the SkypeTM window. If you would like to change the video settings then click on Webcam Settings. It is recommended that automatic white balancing is deactivated and adjusted manually.
Using the Webcam with MSN Messenger 7.5
Note: Please note, the contact who you would like to invite to a video conversation must also have a video-capable version of MSN Messenger.
Right click on the person you want to contact from your contact list and click on Voice/Video > Start a Video Conversation. MSN Messenger will now guide you through configuring your webcam. Follow the on-screen instructions. Wait until your contact accepts the video conversation.
To change webcam settings, click on the small arrow in the lower right-hand corner of your webcam image and click on
Web Camera Settings. Click on Advanced. It is recommended that automatic white balancing is deactivated and adjusted manually.
Using the Webcam with ICQ® 5
In the ICQ window, right click on the contact who you would like to start a video conversation with and then click on ICQ Video. Wait until the contact accepts the video conversation. ICQ will automatically detect if you and your contact have a webcam.
If you have already commenced with a conversation and would like to transmit your webcam image then click on the camera symbol on the left of the conversation win
dow and wait until your partner accepts your request for a video conversation.
Using the Webcam with Yahoo! Messenger 7.5 Right click on the person you want to contact from your contact list and click on More Actions > Invite to View My Webcam. A separate window with the webcam image will open. Yahoo! Messenger will now ask you if you would like to activate Super Webcam mode. Click on Yes, always.
To change the camera settings click on File > Preferences. In the window that opens, click on the tab "Webcam" and then on Camera Settings... and adjust the properties to suit your individual requirements. It is recommended that automatic white balancing is deactivated and adjusted manually.
Warranty
We guarantee this product to be free of defects in workmanship and materials for a period of two years from the original date of purchase.
Technical Support
Our Technical Support team is there for you in the event of any questions or problems. Visit our website at http://www-speed-link.com or send an email to: support@speedlink.com
INSTRUCTIONS DE SÉCURITÉ
FR
Important!
Assistance technique
© Jöllenbeck GmbH. All rights reserved. Any product names mentioned in this manual may be trademarks or registered trademarks and are the property of their respective owners. Information contained herein is subject to change without notice. This publication or parts of it may not be reproduced without the express consent of the publisher.