
ST 31 EC+ - Vacuum Cleaner TEAM - Free user manual and instructions
Find the device manual for free ST 31 EC+ TEAM in PDF.
| Product Type | Canister vacuum cleaner with bag |
| Brand | Team |
| Model | ST 31 EC+ |
| Dimensions (approx.) | 40 x 30 x 30 cm |
| Weight (approx.) | 5 kg |
| Power supply | 220-240 V ~ 50/60 Hz |
| Power | Not specified in the manual |
| Cord length | Approximately 6 meters |
| Bag capacity | Not specified, paper bag |
| Filtration system | Motor protection filter in the dust container + air filter (outlet) |
| Power adjustment | Electronic, by dial |
| Bag full indicator | Yes, red when the bag is full |
| Cord rewind | Yes, automatic by pedal |
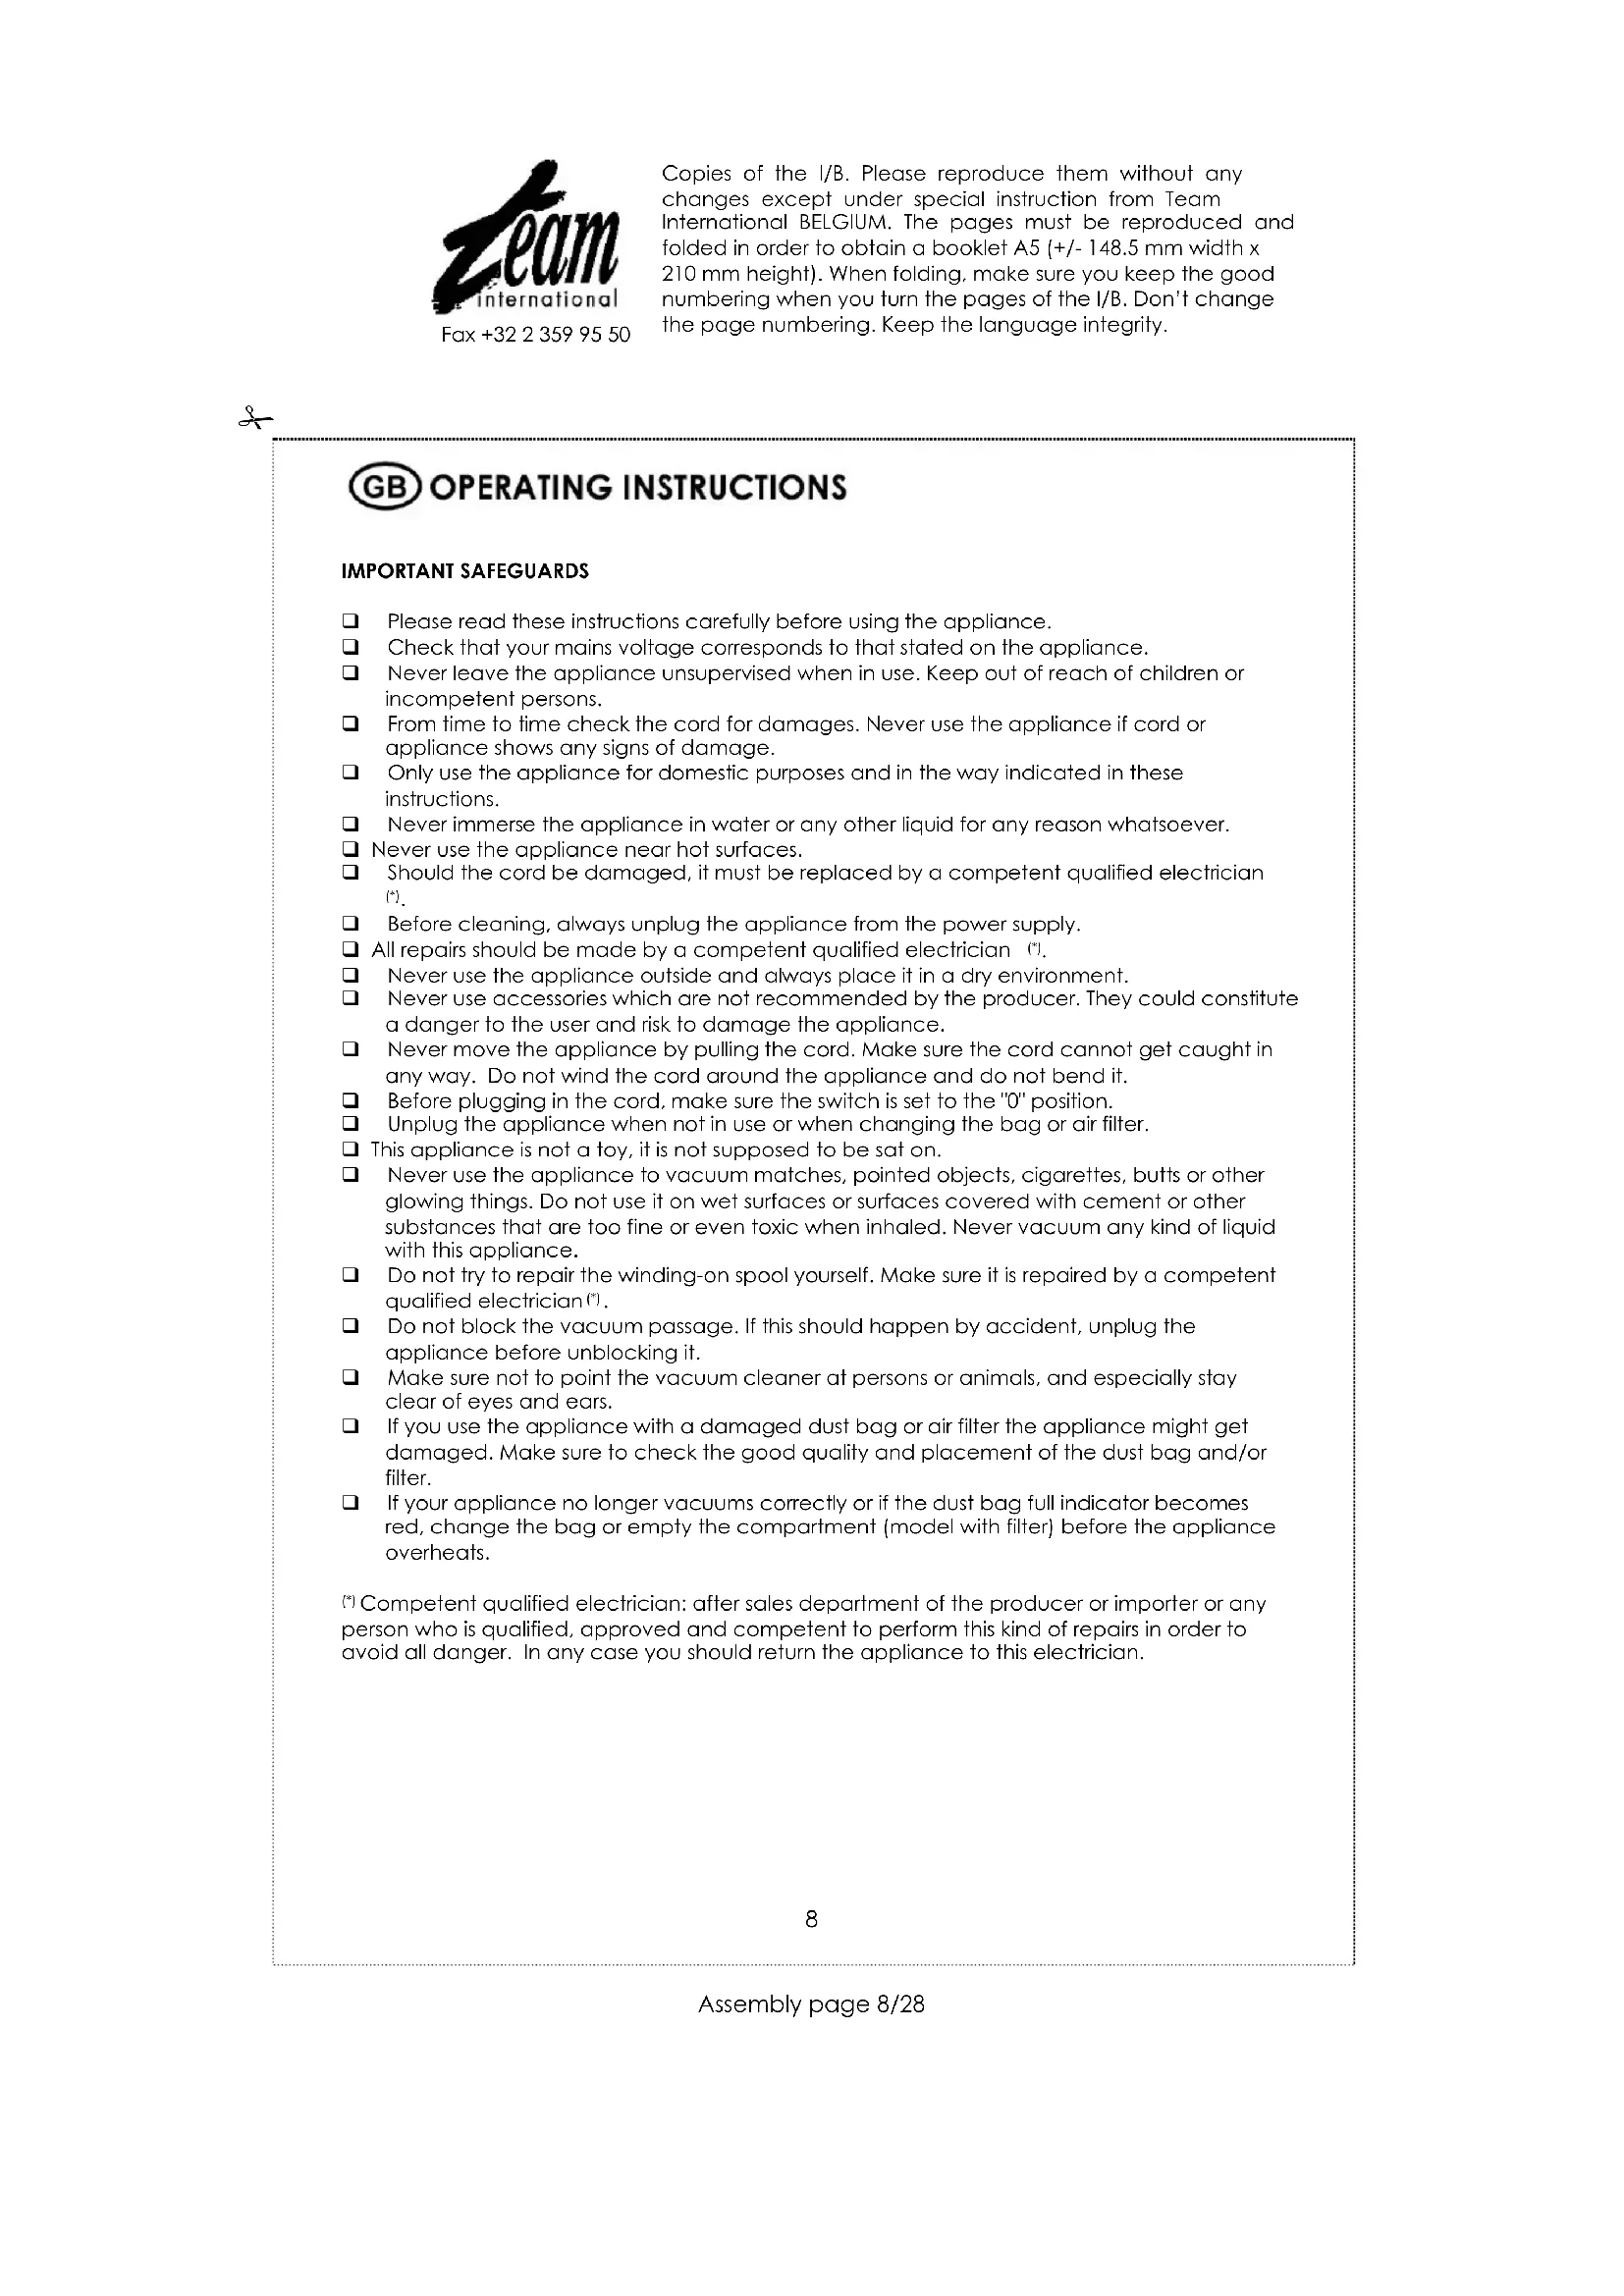
| Included accessories | Telescopic tube, universal 2-position brush, small furniture brush, shoulder strap |
| Motor filter maintenance | Clean every 3 months |
| Air filter replacement | Approximately every 3 months |
| Bag change | When the indicator turns red or if suction decreases |
| Safety | Automatic shut-off not mentioned; do not vacuum liquids, do not use without filter |
| Repairability | Repair by authorized after-sales service only |
Frequently Asked Questions - ST 31 EC+ TEAM
User questions about ST 31 EC+ TEAM
0 question about this device. Answer the ones you know or ask your own.
Ask a new question about this device
Download the instructions for your Vacuum Cleaner in PDF format for free! Find your manual ST 31 EC+ - TEAM and take your electronic device back in hand. On this page are published all the documents necessary for the use of your device. ST 31 EC+ by TEAM.
USER MANUAL ST 31 EC+ TEAM
natural_image
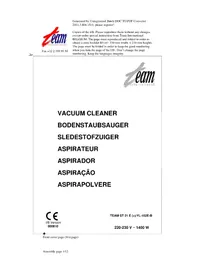
Illustration of a vacuum cleaner with attached circuit board and accessories (no text or symbols)Bodenstaubsauger
Vacuum cleaner
Aspirateur
Stofzuiger
Aspirador
Aspirador
Aspirapolvere
CE
I/B Version
030916
TEAM ST 31 EC+
230 V \~ 1500W max


natural_image
Black mesh strap with metal clips and a numbered label '8' pointing to it (no text or symbols on the strap itself)D
- Handle
- Dust cover
- Hose connection inlet
- Dust bag level indicator
- Electrical power control switch
- ON/OFF switch
- Cable rewind button
- Shoulder strap
F
natural_image
Line drawing of a hand using a tool to clean or repair a car body (no text or symbols)Fig. 1
natural_image
Illustration of a hand performing a medical or physical procedure with an arrow indicating motion (no text or symbols present)Fig. 2
natural_image
Line drawing of a hand inserting a pen into a device (no text or symbols)Fig. 3

Fig. 4
☐ Please read these instructions carefully before using the appliance.
☐ Check that your mains voltage corresponds to that stated on the appliance.
☐ Never leave the appliance unsupervised when in use. Keep out of reach of children or incompetent persons.
From time to time check the cord for damages. Never use the appliance if cord or appliance shows any signs of damage.
☐ Only use the appliance for domestic purposes and in the way indicated in these instructions.
□ Never immerse the appliance in water or any other liquid for any reason whatsoever.
☐ Never use the appliance near hot surfaces.
☐ Should the cord be damaged, it must be replaced by a competent qualified electrician (1).
Before cleaning, always unplug the appliance from the power supply.
☐ All repairs should be made by a competent qualified electrician (1).
□ Never use the appliance outside and always place it in a dry environment.
☐ Never use accessories which are not recommended by the producer. They could constitute a danger to the user and risk to damage the appliance.
☐ Never move the appliance by pulling the cord. Make sure the cord cannot get caught in any way. Do not wind the cord around the appliance and do not bend it.
Before plugging in the cord, make sure the switch is set to the "0" position.
☐ Unplug the appliance when not in use or when changing the bag or air filter.
☐ This appliance is not a toy, it is not supposed to be sat on.
☐ Never use the appliance to vacuum matches, pointed objects, cigarettes, butts or other glowing things. Do not use it on wet surfaces or surfaces covered with cement or other substances that are too fine or even toxic when inhaled. Never vacuum any kind of liquid with this appliance.
☐ Do not try to repair the winding-on spool yourself. Make sure it is repaired by a competent qualified electrician ^17 .
☐ Do not block the vacuum passage. If this should happen by accident, unplug the appliance before unblocking it.
☐ Make sure not to point the vacuum cleaner at persons or animals, and especially stay clear of eyes and ears.
☐ If you use the appliance with a damaged dust bag or air filter the appliance might get damaged. Make sure to check the good quality and placement of the dust bag and/or filter.
☐ If your appliance no longer vacuums correctly or if the dust bag full indicator becomes red, change the bag or empty the compartment (model with filter) before the appliance overheats.
UK STYLE PLUG WIRING INSTRUCTIONS (IN THE UK ONLY)
This product must only be used from a 13 amp power socket. If a BS1363 approved 13 amp plug is used, it should be fitted with a 13 amp fuse. The wires on the power cord are colour coded:
blue = neutral, brown = live.
The blue wire must be connected to the terminal marked N or coloured in black.
The brown wire must be connected to the terminal marked L or coloured in red.
ASSEMBLING THE VACUUM CLEANER
• Always remove the plug from the power socket before fitting or removing accessories!
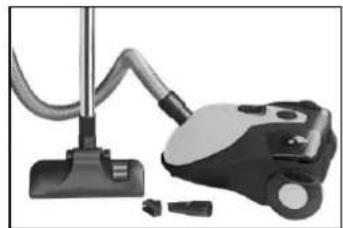
- Insert the connection wand into hose connection inlet until it locks (Fig. 1).
- Connect both parts of the tube.
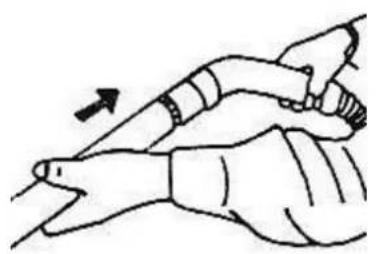
• Fitting the tube to the handle (Fig. 2).
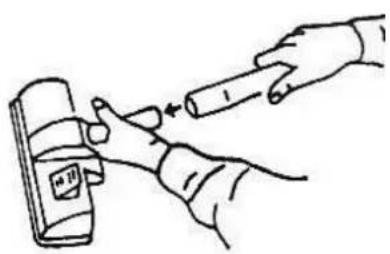
- Fitting the tube to the desired brush (Fig. 3).
- The floor brush is ideal for the daily cleaning of carpets and hard floors. (Fig 4) Press the lever (A) for cleaning hard floors. Press the lever (B) for cleaning carpets.
- The appliance is delivered with a shoulder strap and a small brush for furniture, Venetian blinds, books, lamp shades and shelves.
OPERATION
- Pull out a sufficient length of power cord and insert the plug into the power socket. A yellow mark on the power cable shows the ideal cable length. Do not extend the cable beyond the red mark.
- It is advisable to set the electronic power regulator to MIN before switching the appliance on. By turning the regulator button, the suction power can be adjusted. Use a low suction power for furniture and other delicate surfaces and use high suction power for fitted carpet and other floors.
AFTER USE
- Stop the vacuum cleaner by pressing the ON/OFF switch.
- Unplug the appliance from the power supply.
• Simply press the carrying handle down to activate the cable rewind mechanism.
REPLACING THE DUST BAG AND CLEANING THE FILTERS
The filter system consists of: 1 Motor filter
1 Air filter, to vacuum the smallest particles
It is necessary to clean the filters regularly to avoid operating problems.
Paper dust bag
• The dust bag level indicator indicates when the dust bag should be replaced.
- The hose might get blocked by a larger object. In this case the dust bag level indicator will be red. However this does not mean that you have to replace the dust bag. Just remove the object, which blocks your tube or flexible hose, and your appliance will function properly again. Do not forget to unplug the appliance before removing the blocking object. Replace the dust bag when the dust bag level indicator is completely red.
- Remove the hose from the hose connexion inlet.
- Open the front cover.
- Remove the dust bag from its holder and throw it in the dustbin without folding it.
- Put a new dust bag in its holder and put it in the appliance.
- Close the front cover by pressing it slightly. The flexible hose will connect automatically to the connection inlet.
Motor filter
To clean the motor filter, remove it and wash it in soapsuds. (approximately every 3 months). Make sure it is completely dry before inserting it back in the appliance.
Air Filter
- This filter guarantees fresh air during cleaning. It should be rinsed clean at least three times a year or when it becomes visibly solid. Always operate the cleaner with filter installed, otherwise, reduced suction or motor damage may result.
- Unplug the appliance, open the filter-supporting grate situated at the back of the appliance and remove the filter. Replace it, and close back the grate.
PRACTICAL HINTS
- When cleaning stairs, we advise you to keep the unit in a vertical orientation.
- There is a tube park at the back of the appliance. To attach the tube to the tube park, put the appliance in vertical position.
- The vacuum cleaner requires no other regular maintenance other than the filter cleaning and bag replacement tasks as detailed elsewhere.
If you notice a loss of suction power, it is probably due to one or a combination of the following events: blocked filter, full or punctured bag or blockage in tubes. If your appliance still does not work properly after you have checked those problems, please ask a qualified electrician for advice.
FR MODE D'EMPLOI
POUR VOTRE SECURITE


Brand : TEAM
Model : ST 31 EC+
Category : Vacuum Cleaner