EH1434 - Heating Prem-I-Air - Free user manual and instructions
Find the device manual for free EH1434 Prem-I-Air in PDF.
User questions about EH1434 Prem-I-Air
0 question about this device. Answer the ones you know or ask your own.
Ask a new question about this device
Download the instructions for your Heating in PDF format for free! Find your manual EH1434 - Prem-I-Air and take your electronic device back in hand. On this page are published all the documents necessary for the use of your device. EH1434 by Prem-I-Air.
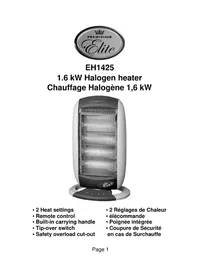
USER MANUAL EH1434 Prem-I-Air
text_image
PREM~I~AIREH1434
natural_image
White electric heater with black heat exchanger and control panel (no visible text or symbols)- 3 Heat settings
- Adjustable room thermostat
- Noiseless operation
- Convenient built-in carrying handle
- Safety overload cut-out
Installer and Users please note:
These instructions should be read carefully and left with the user of the product for future reference.
INSTALLATION
For free-standing use: attach the feet to the underneath of the heater using the four 12 mm ( 12 ) screws. The feet at end of the case.
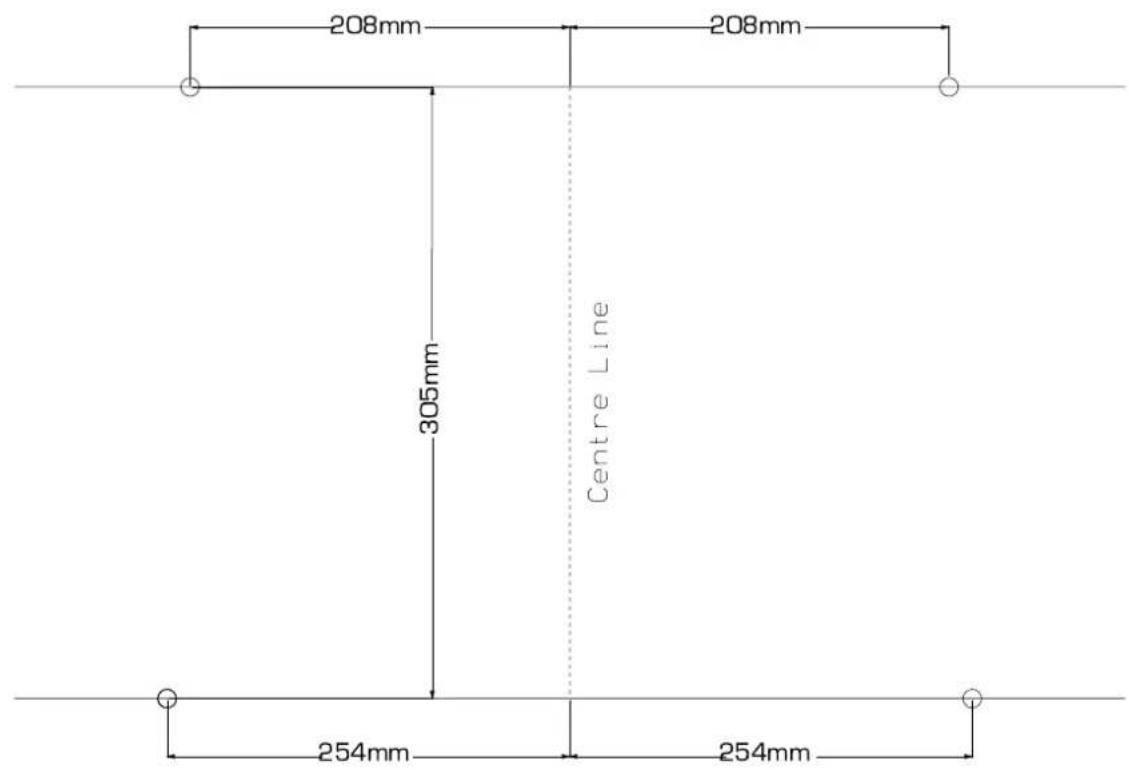
To wall-mount: Referring to the diagram opposite, draw two horizontal lines on the wall 305 mm (12") apart, the lower line more than 50 mm (2") from the floor.
- On the upper line, drill holes 208 mm (8 ^1/4 ") from the centre line, using a 6mm (1/4") masonry bit, and insert a wall plug.
- On the lower line, drill holes 254 mm (10") from the centre line using a 6mm (1/4") masonry bit, and insert a wall-plug.
- Fix the two hook-brackets to the upper holes using the 30 mm (1 ^1/4 ") screws.
- Fix the two L-shaped brackets to the underside of the heater using the 12 mm ( 12 ) screws through the round hole in the bracket - the oval hole in the bracket locates over the screw that fixes the case together,
- Hang the heater on the hook-brackets using the two slots.
- The L-shaped brackets will now line up with the lower holes in the wall. Attach to the wall using the other two 30 mm (1 ^1/4 ) screws.
Page 3
text_image
254mm 305mm 208mm Centre Line 254mm 208mmPRODUCT SAFETY
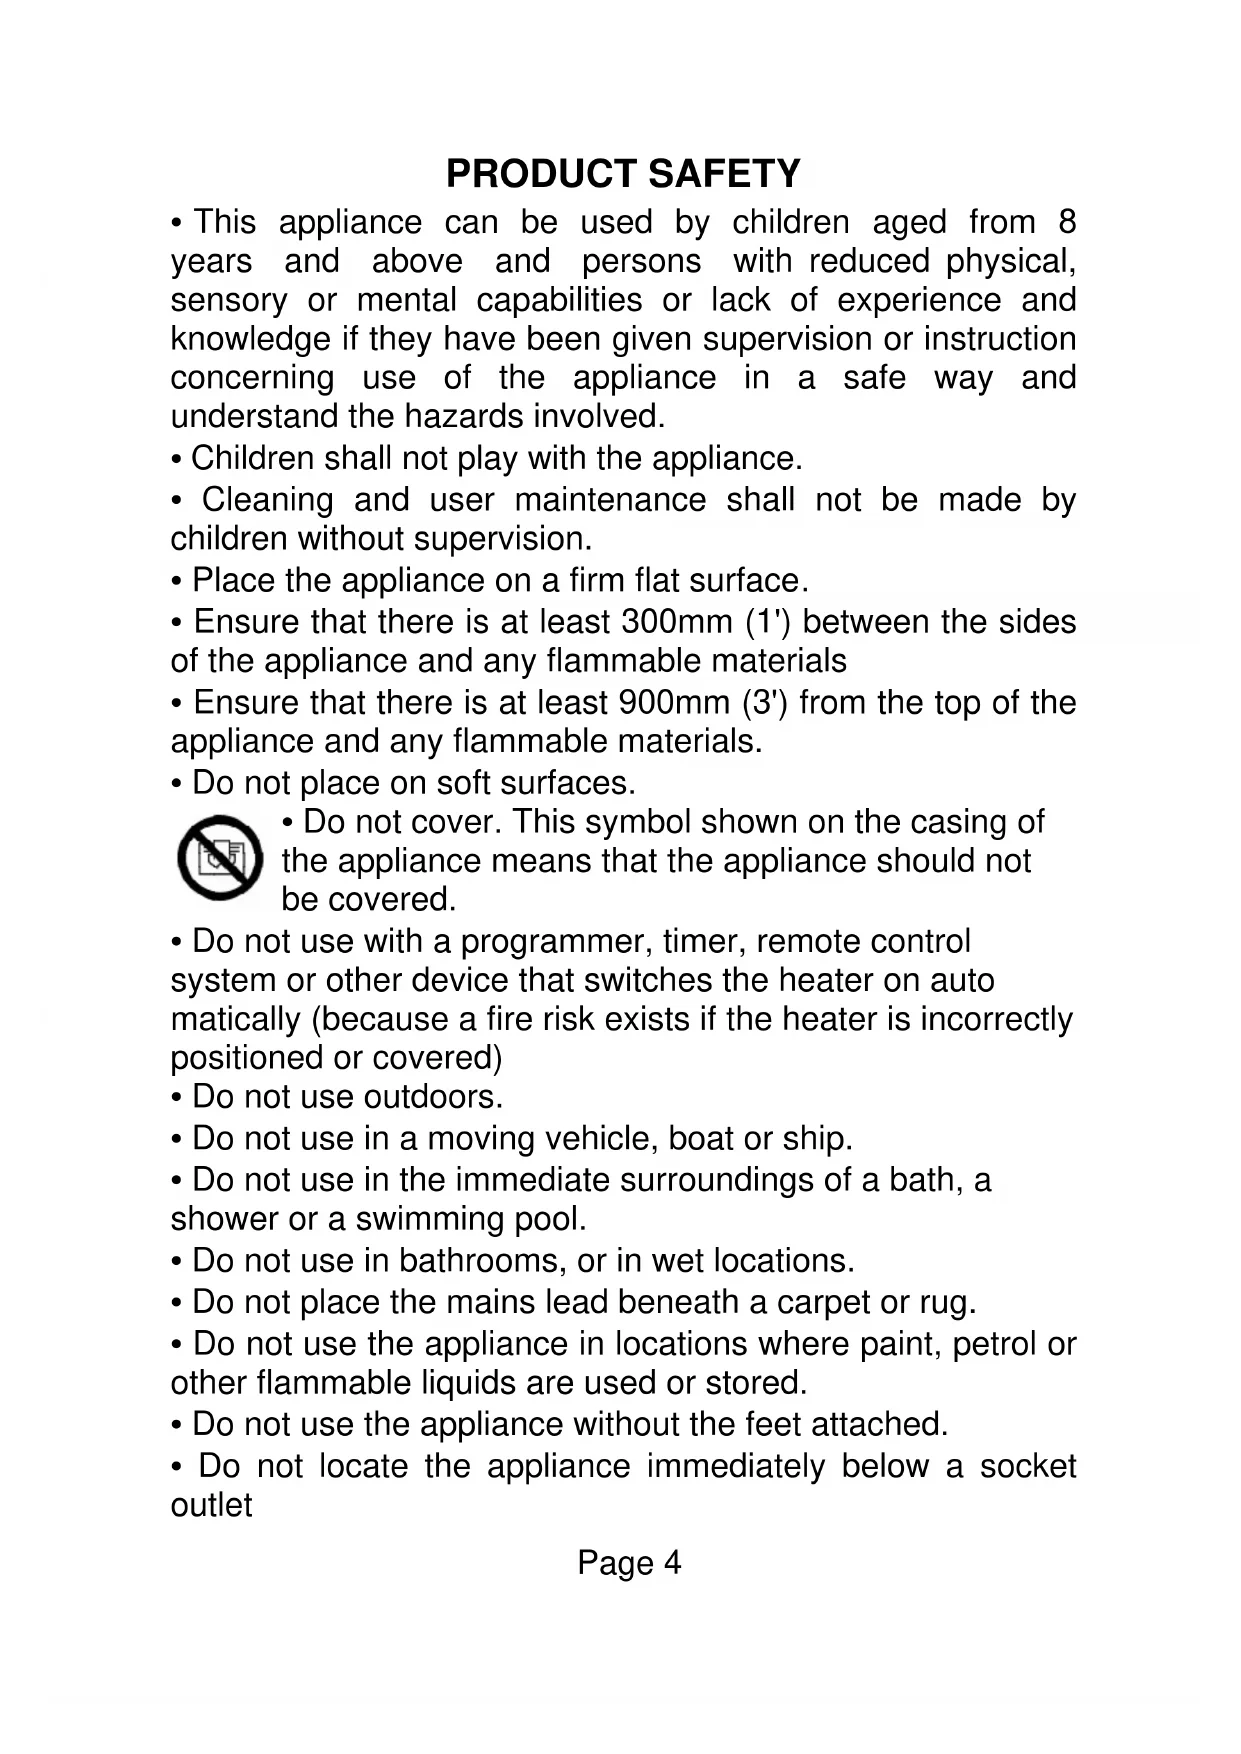
- This appliance can be used by children aged from 8 years and above and persons with reduced physical, sensory or mental capabilities or lack of experience and knowledge if they have been given supervision or instruction concerning use of the appliance in a safe way and understand the hazards involved.
- Children shall not play with the appliance.
- Cleaning and user maintenance shall not be made by children without supervision.
- Place the appliance on a firm flat surface.
- Ensure that there is at least 300mm (1') between the sides of the appliance and any flammable materials
- Ensure that there is at least 900mm (3') from the top of the appliance and any flammable materials.
- Do not place on soft surfaces.

- Do not cover. This symbol shown on the casing of the appliance means that the appliance should not be covered.
- Do not use with a programmer, timer, remote control system or other device that switches the heater on automatically (because a fire risk exists if the heater is incorrectly positioned or covered)
- Do not use outdoors.
- Do not use in a moving vehicle, boat or ship.
- Do not use in the immediate surroundings of a bath, a shower or a swimming pool.
- Do not use in bathrooms, or in wet locations.
- Do not place the mains lead beneath a carpet or rug.
- Do not use the appliance in locations where paint, petrol or other flammable liquids are used or stored.
- Do not use the appliance without the feet attached.
- Do not locate the appliance immediately below a socket outlet
PAT TESTING
When used in an office environment, this product must be safety-tested yearly by a qualified electrician (PAT Tested) in order to comply with the Electricity at Work Regulations.
It is good practice that appliances are regularly PAT tested when used in a domestic environment.
GENERAL SAFETY REQUIREMENTS
Domestic wiring must be tested periodically by a qualified electrician at least once every 10 years or at every change of occupancy. For office and retail premises, and buildings such as village halls, the wiring must be inspected at least once every 5 years.
It is recommended that all building be fitted with smoke alarms (it is mandatory for new buildings).
OPERATION
Plug the mains lead into a 13 Amp mains socket.
If connecting via an extension lead, make sure that the lead is rated at 10 Amps or more, and that it is fully unwound.
Switch the unit on at the mains socket.
Use the two switches on the side to select the required operation:
- 750 W switch on = Low Heat (750 W)
- 1250W switch on = Medium heat (1250 W)
- Both switches on = High Heat (2000 W)
Do not touch the air output grille when the heater is in operation, because it will be hot and may cause burns.
Unplug the heater from the mains when not in use.
USING THE THERMOSTAT
The thermostat can be use to regulate the room temperature.
Turn both switches on (high heat), and rotate the temperature control fully clockwise.
The heater will then operate at maximum output. When the desired temperature is reached, rotate the temperature control anticlockwise until a click is heard. The heater will then switch on and off to keep the room at the desired temperature. The indicator lights in the switches will show that this is happening.
Any of the heat settings may be used.
If the temperature control is rotated fully anticlockwise to the snowflake symbol, it will operate as a "frost-stat" and switch the heater on if the temperature drops below 4^ C, preventing damage by frost.
MAINTENANCE
Before cleaning, turn the heater off, and disconnect from the mains supply. The heater may then be cleaned using a damp cloth with a drop of washing-up liquid to remove any dust or dirt from the case. Do no use stronger detergents or solvents as these may damage the paint finish.
Using a dry 1" (25mm) paint-brush, remove any dust from the grilles.
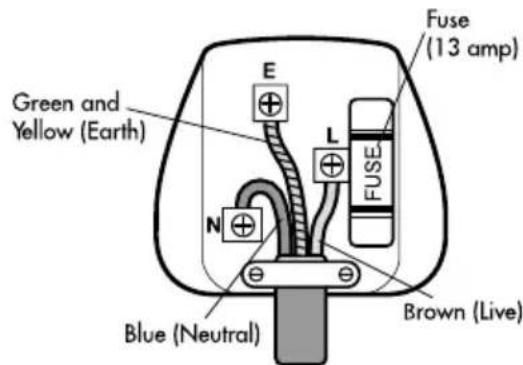
If the mains lead is damaged, it must be replaced by the manufacturer or and authorised service centre. If the mains plug needs to be replaced, proceed as follows:
text_image
Green and Yellow (Earth) E L FUSE FUSE (13 amp) N Blue (Neutral) Brown (Live)- Connect the brown wire to the terminal labelled "L".
- Connect the blue wire to the terminal labelled "N".
- Connect the green/yellow wire to the terminal labelled with the earth symbol or "E".
- Make sure that the cord-grip is positioned correctly (over the outer sheath of the cable) and it fully tightened.
OPERATING COSTS
At time of going to press, the average cost of electricity is £0.12 per unit (kilowatt-hour). The amount you are being charged will be shown on your electricity bill.
At this cost, the EH1434 will cost 10p per hour to run on the "low heat" setting, 15p per hour to run on the "medium heat" setting, and 23p per hour to run on the "high heat" setting with the thermostat set to its maximum.
If the thermostat is used to regulate the temperature the operating costs will be lower, depending on the room temperature.
FAULT-FINDING
The appliance has an overheat protection switch, which disconnects the power if the element gets too hot. The usual reason for this is because the air-flow has been obstructed, or the grilles have been blocked. If the heater ceases to operate, leave it for 20 minutes to cool down, then check that the grilles are not being obstructed.
Switch back on, and check that the unit is operating normally. If not, contact an authorised service agent for repair.
DISPOSAL AND RECYCLING
You must not dispose of this appliance with domestic household waste.
Most local authorities have specific collection system for appliances and disposal is free of charge to the end-user.
When replacing an existing appliance with a similar new appliance your retailer may take the old appliance for disposal.
TECHNICAL SPECIFICATION
Dimensions (floor standing): 585×425×200 mm
Dimensions (wall mounting): 585×425×108 mm
Weight: 2·9 kg
Power supply: 230 V \~
Power consumption: 2000 W
Operating current: 8.7 A
SERVICE WARRANTY
Prem-i-Air guarantees the product free from defects in materials and workmanship for a period of twelve months.
Should this unit be operated under conditions other than those recommended, at voltages other than the voltage indicated on the unit, or any attempts made to service or modify the unit, then the warranty will be rendered void.
The product you buy may sometimes differ slightly from illustrations. This warranty is in addition to, and does not affect, your statutory rights.
If you have any problems with this product, please call our Help Desk on (0845) 459 4816.
Prem-i-Air Appliances Ltd.,
Lancots Lane,
Sutton Oak,
St. Helens,
Merseyside.
WA9 3EX
website: www.prem-i-air.com