
ST8227A - Iron TRISTAR - Free user manual and instructions
Find the device manual for free ST8227A TRISTAR in PDF.
| Product Type | Steam iron |
| Brand | TriStar |
| Model | ST8227A |
| Soleplate | Ceramic |
| Functions | Dry ironing, steam, steam burst, spraying |
| Water tank | Yes, top-fill |
| Temperature control | Adjustable thermostat (nylon, wool/silk, cotton/linen) |
| Power indicator | Yes, indicates when temperature is reached |
| Self-cleaning | Yes, dedicated button |
| Power supply | 220-240 V ~ 50/60 Hz |
| Maintenance | Use distilled water if water is hard, empty after use, clean soleplate with soft cloth |
| Safety | Do not immerse, unplug after use, do not leave unattended |
| Spare parts | Original replacement parts available |
Frequently Asked Questions - ST8227A TRISTAR
User questions about ST8227A TRISTAR
0 question about this device. Answer the ones you know or ask your own.
Ask a new question about this device
Download the instructions for your Iron in PDF format for free! Find your manual ST8227A - TRISTAR and take your electronic device back in hand. On this page are published all the documents necessary for the use of your device. ST8227A by TRISTAR.
USER MANUAL ST8227A TRISTAR
natural_image
Exterior view of a Tristar air iron with blue and white casing (no text or symbols visible)ST-8227A
NL
natural_image
Technical line drawing of a mechanical component with no visible text or symbols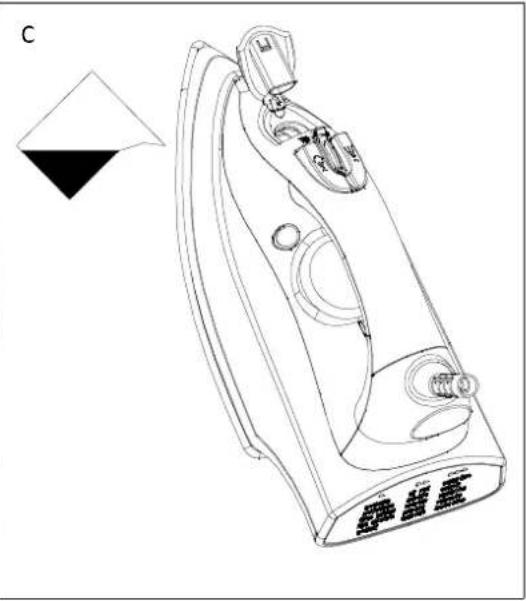
natural_image
Line drawing of a steam iron with control knobs and a triangular base (no text or symbols)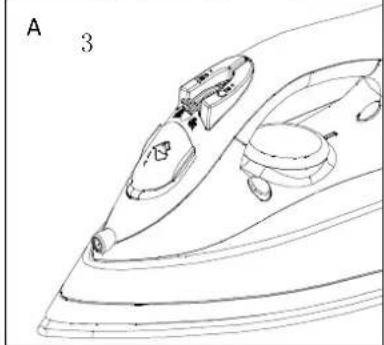
natural_image
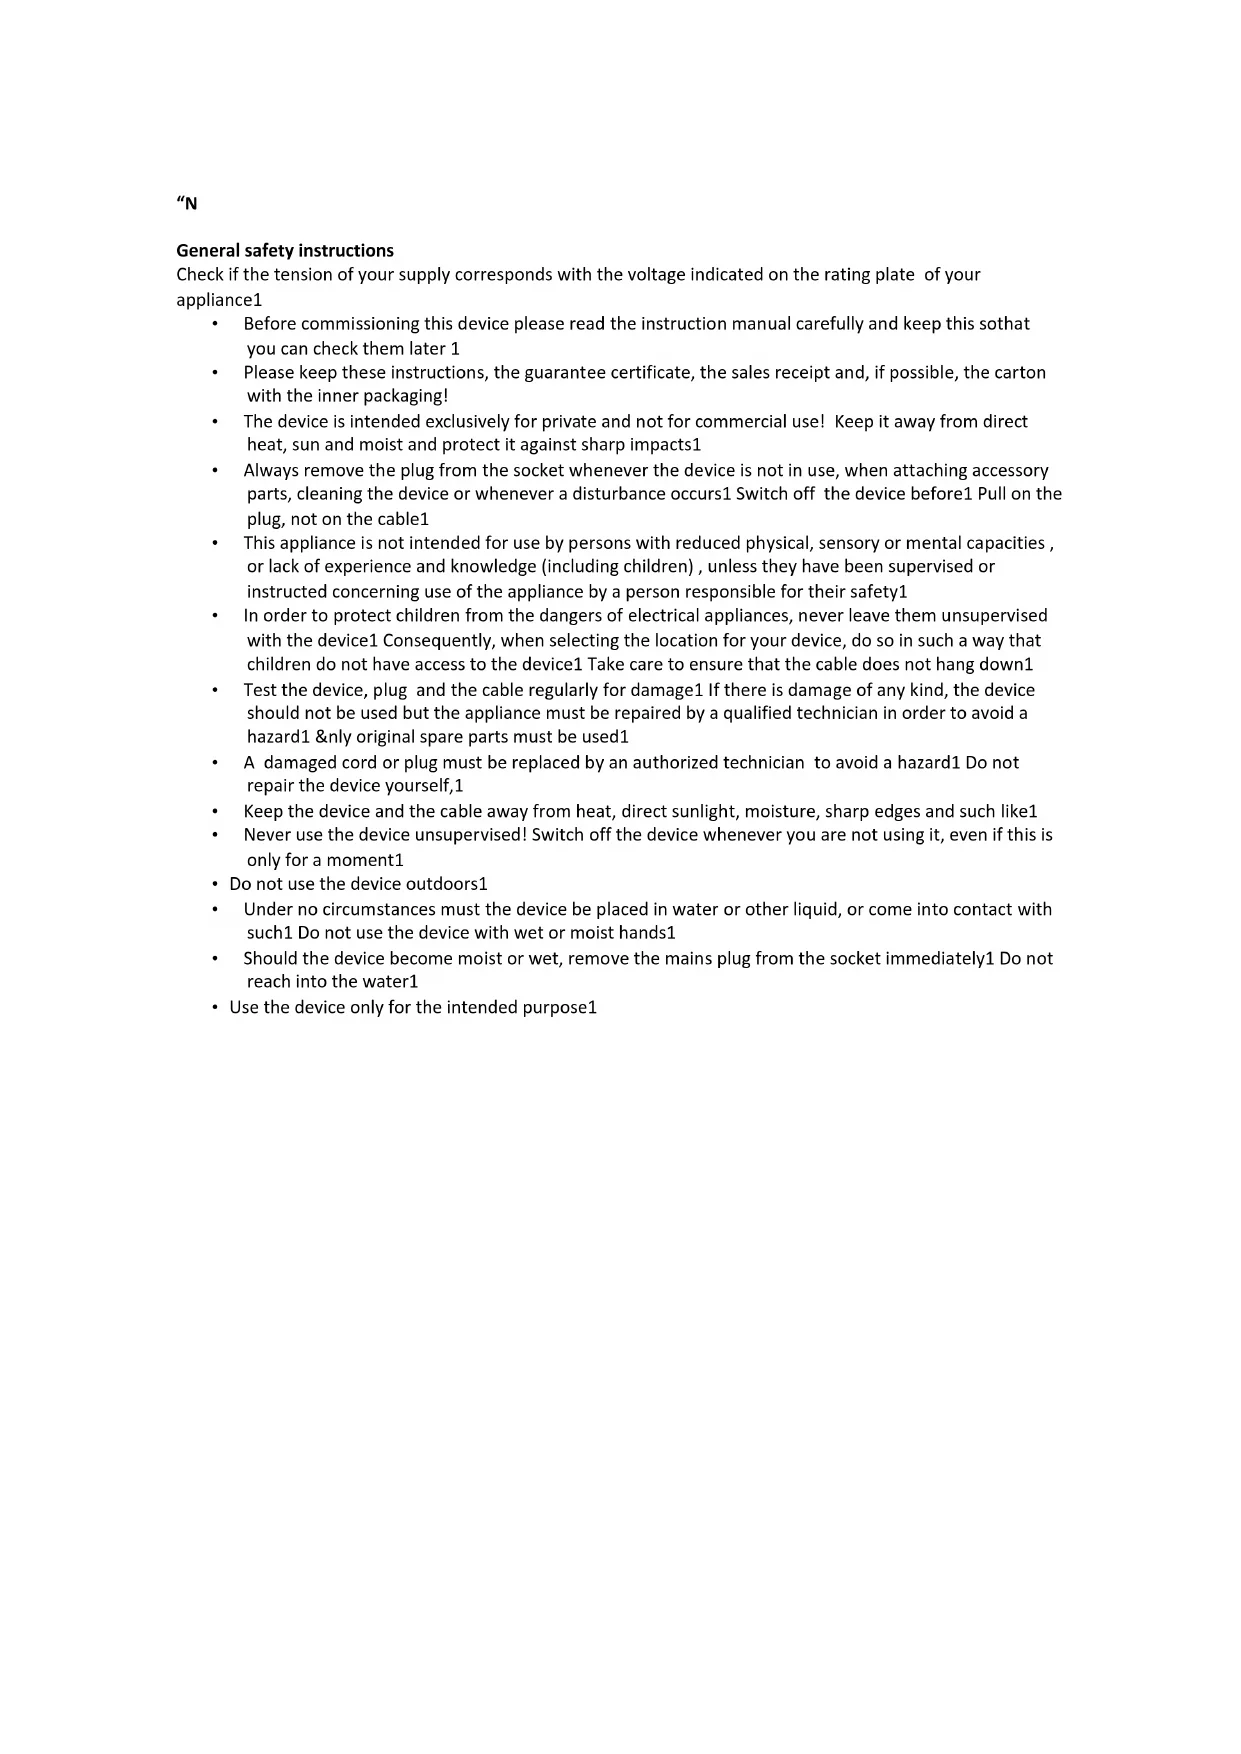
Line drawing of a mechanical device with labeled parts (A and 3), no readable text or symbols present.General safety instructions
Check if the tension of your supply corresponds with the voltage indicated on the rating plate of your appliance1
- Before commissioning this device please read the instruction manual carefully and keep this sothat you can check them later 1
- Please keep these instructions, the guarantee certificate, the sales receipt and, if possible, the carton with the inner packaging!
- The device is intended exclusively for private and not for commercial use! Keep it away from direct heat, sun and moist and protect it against sharp impacts1
- Always remove the plug from the socket whenever the device is not in use, when attaching accessory parts, cleaning the device or whenever a disturbance occurs1 Switch off the device before1 Pull on the plug, not on the cable1
- This appliance is not intended for use by persons with reduced physical, sensory or mental capacities, or lack of experience and knowledge (including children), unless they have been supervised or instructed concerning use of the appliance by a person responsible for their safety1
- In order to protect children from the dangers of electrical appliances, never leave them unsupervised with the device1 Consequently, when selecting the location for your device, do so in such a way that children do not have access to the device1 Take care to ensure that the cable does not hang down1
- Test the device, plug and the cable regularly for damage1 If there is damage of any kind, the device should not be used but the appliance must be repaired by a qualified technician in order to avoid a hazard1 &nly original spare parts must be used1
- A damaged cord or plug must be replaced by an authorized technician to avoid a hazard1 Do not repair the device yourself,1
- Keep the device and the cable away from heat, direct sunlight, moisture, sharp edges and such like1
- Never use the device unsupervised! Switch off the device whenever you are not using it, even if this is only for a moment1
- Do not use the device outdoors1
- Under no circumstances must the device be placed in water or other liquid, or come into contact with such1 Do not use the device with wet or moist hands1
- Should the device become moist or wet, remove the mains plug from the socket immediately1 Do not reach into the water1
- Use the device only for the intended purpose1
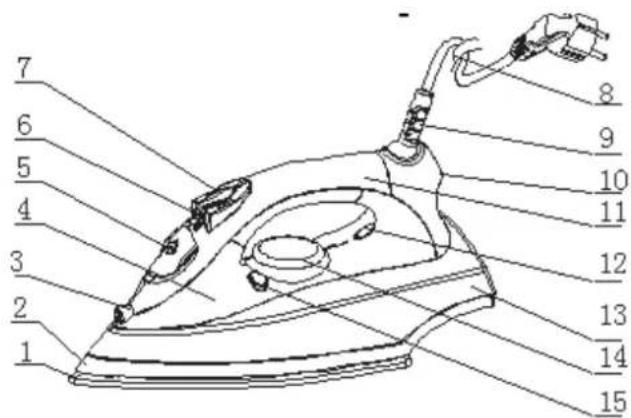
Parts list
- Ceramic soleplate
- Base
- Spray nozzle
- Housing
- Water filler
- Steam button
- Spay/ burst button
- Power cord
- Cord guard
- Rear cover
- Top cover
- Power indicator light
- Water tank
- Temperature knob
- Self clean knob
Important points before using the iron
- Do not allow the cord to touch hot surfaces. Make sure the iron is completely cooled down before putting away.
- Burns can occur from torching hot metal parts, hot water or steam. Use caution when you turn a steam iron upside down, there may be hot water in the reservoir.
- If the iron is not operating normally, disconnect it from the power supply and contact the nearest authorized service agent.
- Your iron is designed to rest on the heel. Do not leave the iron unattended when switched on. Do not place the iron on an unprotected surface even if it is on its heel rest.
- Keep the base very smooth. Do not run it over metal objects (buttons, zips, etc.)
- Certain parts of the iron have been lightly greased, therefore the iron could smoke a little when plugged in for the first time. This will stop after a short while.
- Remove the plastic protector from the base(if it has one) clean the base with a soft cloth.
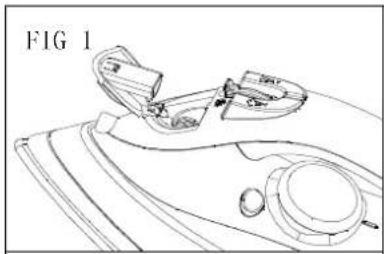
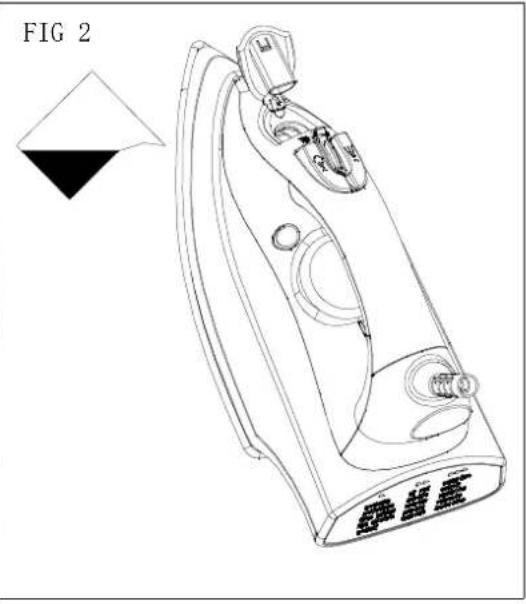
How to fill the water tank.
natural_image
Line drawing of a steam iron with control knobs and a triangular pointer (no text or symbols)
natural_image
Line drawing of a steam iron with internal components (no text or symbols)- Unplug the iron.
- Set the steam button to dry ironing .(fig.3)
• Fill the tank through the filling hole.(fig.1, 2)
Do not store the iron with water in the tank.
Do not use chemically de-limed water or perfumed.
If you have hard water, it is advisable to use only distilled or demineralized water.
Selecting the temperature
- Check the ironing instructions on the garment to be ironed.
- If the garment does not have any ironing instructions but you know the kind of fabric in question, use the chart below.
- Fabrics that have some kind of finish (polishing, wrinkles, contrasts....) can be ironed at the lowest temperatures.
- If the fabric contains several kinds of fibres, always select the temperature applicable, if an article contains 60% polyester and 40% cotton, you must always choose the temperature corresponding to polyester and without steam.
- First classify the articles to be ironed according to the most suitable ironing temperature : wool with wool, cotton with cotton, etc. as the iron heats up as fast as it cools , start by ironing the articles requiring the lowest temperature such as those made of synthetic fibres. Progress towards those that require the highest temperatures.
- Turn the temperature control until it is in front of the appropriate signal according to the following:
- position for nylon and acetate.
… position for wool, silk or mixures.
… position for cotton or linen (steam).
Operation procedures
- Fill the iron as described in the section "how to fill the water tank".
- Plug the iron into the electric socket.
- Steam ironing is only possible when the highest temperatures on the temperature control (16) are selected.
Otherwise, water may escape through the soleplate. - Wait until the power indicator light (12) goes out, which indicates that the selected temperature has been reached.
- Turn the steam button to the required position.
- When the ironing is finished and during breaks, place the iron in its upright position.
- Disconnect the iron from the mains supply when finished. Pour of any remaining water out of it and make sure the iron cools down before putting away.
Spray
- The spray can be used in any position, either in dry or steam ironing, as long as the water tank is filled with water.
- Press the spray button for this function.
• This button has to be pressed repetitively to start this function for the first time.
Shot of steam
Shot of steam give extra steam for removing persistent wrinkles.
- Place the temperature selector at the "max" position and wait until the power indicator light goes out
- Wait for a few seconds for the steam to penetrate the fibre before pressing again.
- For the best steam quality, do not use more than three successive bursts each time.
Several pumping actions are needed to start this function.
Excessive use of this feature will cause the iron to cool, ensure that the power indicator light is out, before operating the shot of steam control.
Guidelines for protection of the environment
This appliance should not be put into the domestic garbage at the end of its useful life, but must be disposed of at a central point for recycling of electric and electronic domestic appliances. This symbol on appliance, instruction manual and packaging puts your attention to this important issue. The materials used in this appliance can be recycled. By recycling used domestic appliances you contribute an important push to the protection of our environment. Ask your local authorities for information regarding the point of recollection.

natural_image
Line drawing of a steam iron with labeled parts and a triangular pointer (no text or symbols on the diagram itself)
natural_image
Line drawing of a steam iron with internal components (no text or symbols)
Brand : TRISTAR
Model : ST8227A
Category : Iron