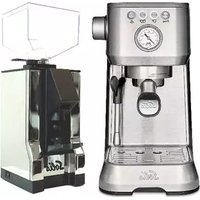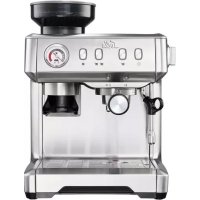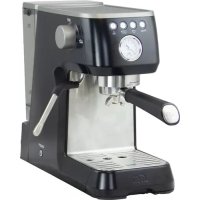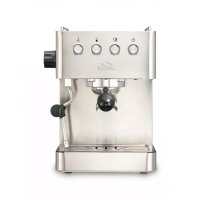
Crema SL 90 - Coffee machine Solis - Free user manual and instructions
Find the device manual for free Crema SL 90 Solis in PDF.


User questions about Crema SL 90 Solis
0 question about this device. Answer the ones you know or ask your own.
Ask a new question about this device
Download the instructions for your Coffee machine in PDF format for free! Find your manual Crema SL 90 - Solis and take your electronic device back in hand. On this page are published all the documents necessary for the use of your device. Crema SL 90 by Solis.
USER MANUAL Crema SL 90 Solis
Chère cliente, cher client,
text_image
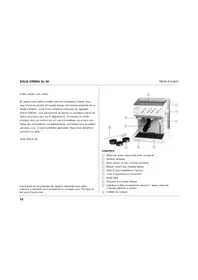
Labeled diagram of a coffee machine with numbered parts for identification and assembly reference.Légendes:
text_image
Black-and-white photo showing a person in patterned clothing and a red X symbol inside a machine, likely indicating a prohibition or rejection.
natural_image
Black-and-white photo of a person reading a book (no visible text or symbols)
natural_image
Electrical socket with three pins and a red X symbol on a tiled wall (no text or labels)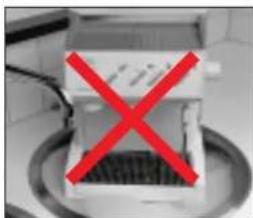
natural_image
Exterior view of a white electronic device with a red X mark on its side (no text or symbols visible)natural_image
Exterior view of a modern office building (no signage)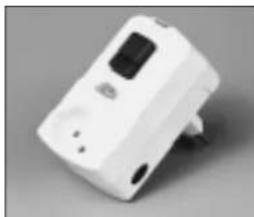
natural_image
White handheld electrical plug device with a display and terminal socket (no visible text or symbols)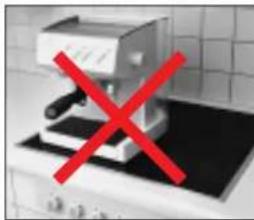
natural_image
Exterior view of a kitchen stove with a red X mark on top (no signage or text)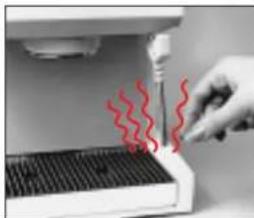
natural_image
Close-up of a hand using a tool to test a red, wavy line on a grid-patterned surface (no text or symbols visible)Mode d'emploi
SOLIS CREMA SL 90
natural_image
Hand touching a wall-mounted electrical outlet with three slots, against a tiled wall (no text or symbols visible)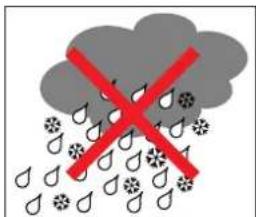
text_image
Weather warning sign showing a red 'X' over raindrops falling with raindrops, indicating no rainfall or precipitation.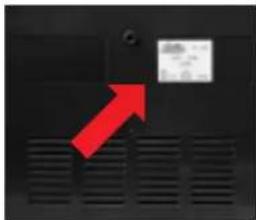
text_image
Black electronic device with a red arrow pointing to a labeled component, showing text 'JDS' and a small white square.
natural_image
Close-up of a metallic mechanical component with a red arrow pointing to its edge (no visible text or symbols)natural_image
Black-and-white photo of a white espresso machine on a desk with a glass and notebook nearby (no visible text or symbols)
text_image
CREMA SL90
natural_image
Black snowflake symbol with red X mark, no text or numbers presentSOLIS CREMA SL 90
Mode d'emploi
3.0 Mise en service
natural_image
Hand holding a transparent container with liquid, no visible text or symbols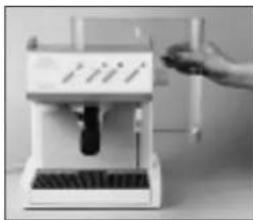
natural_image
White espresso machine with a hand operating it (no visible text or symbols)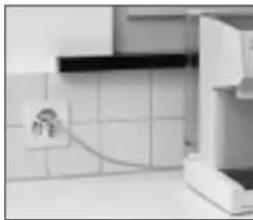
natural_image
Kitchen countertop with tiled walls and a power outlet (no visible text or symbols)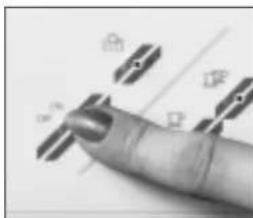
natural_image
Close-up of a finger pointing at abstract icons (no readable text or symbols)natural_image
Hand operating a white appliance with a red circular indicator overlay (no visible text or symbols)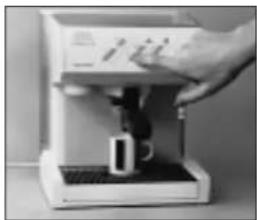
natural_image
Hand using a espresso machine to press a cup (no visible text or symbols)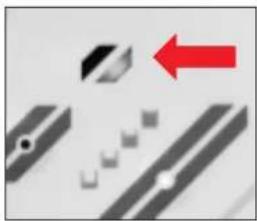
natural_image
Abstract pattern with diagonal stripes and scattered geometric shapes, no text or symbols presentnatural_image
Close-up of a metallic mechanical component with a red arrow pointing to a section (no visible text or symbols)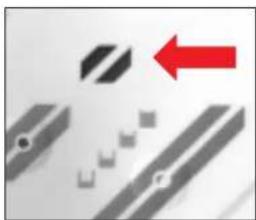
natural_image
Abstract graphic with geometric shapes and a red arrow, no readable text or symbols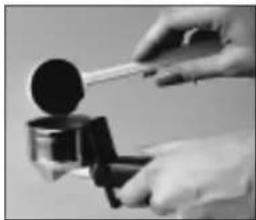
natural_image
Close-up of hands using a tool to press or inspect a small object (no visible text or symbols)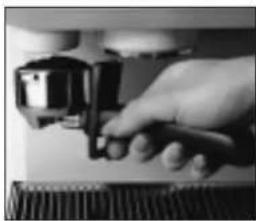
natural_image
Close-up of a hand using a tool to press or install a mechanical component (no visible text or symbols)natural_image
Close-up of a hand using a microscope to press or adjust a component, with a red curved arrow indicating motion (no text or symbols visible)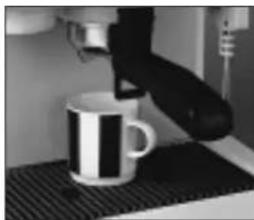
natural_image
Close-up of a hand using a espresso machine to press a mug on a metal tray (no visible text or symbols)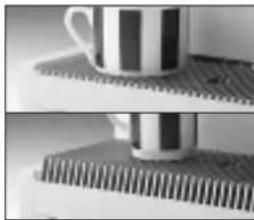
natural_image
Close-up of a striped mug placed on a textured surface next to a corrugated metal object (no text or symbols visible)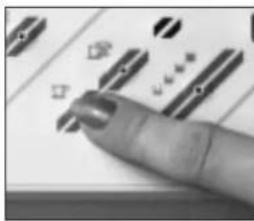
natural_image
Close-up of a finger pressing down on a surface with abstract geometric shapes (no text or symbols visible)natural_image
Close-up of a finger pointing at electronic components (no visible text or symbols)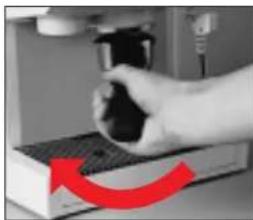
natural_image
Hand operating a mechanical device with a red curved arrow indicating motion (no text or symbols visible)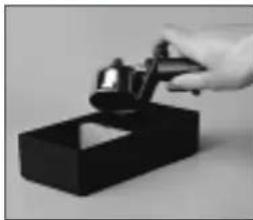
natural_image
Hand holding a spray gun over a black box (no text or symbols visible)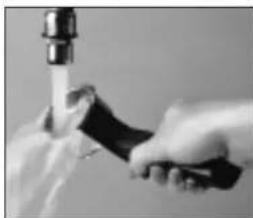
natural_image
Close-up of hands holding a black object with a metallic object above them (no visible text or symbols)natural_image
Abstract graphic with diagonal stripes and a red arrow, no readable text or symbols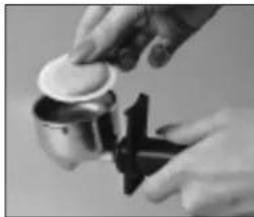
natural_image
Close-up of hands holding a small container with a lid, partially open by a black tool (no visible text or symbols)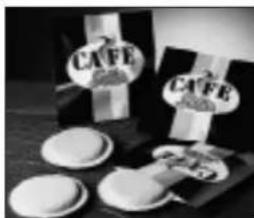
natural_image
Black-and-white photo of two CAFÉ coffee bags and several round food items on a dark surface (no visible text or symbols)natural_image
Close-up of a coffee maker using a minder on a metal cup (no visible text or symbols)natural_image
Abstract diagram with geometric shapes and a red arrow, no readable text or symbols
natural_image
Person using a portable water dispenser with a red warning symbol (no visible text or symbols)natural_image
Person using a portable water dispenser with a red arrow indicating motion (no visible text or symbols)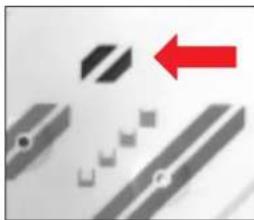
natural_image
Abstract graphic with geometric shapes and a red arrow, no readable text or symbols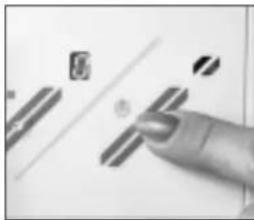
natural_image
Close-up of a finger pressing down on a white surface with abstract geometric shapes (no text or symbols visible)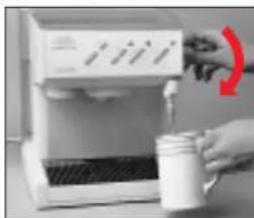
natural_image
Hand pouring liquid into a white portable coffee machine with a red arrow indicating flow (no text or symbols visible)natural_image
White espresso machine with a hand inserting a red arrow to its side, next to a cylindrical container (no visible text or symbols)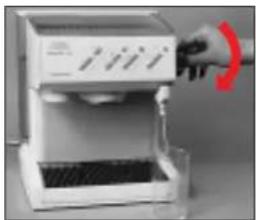
natural_image
White espresso machine with control panel and hand holding a glass (no visible text or symbols)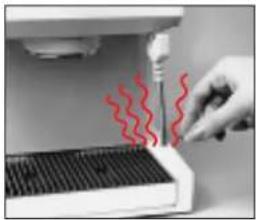
natural_image
Close-up of a hand holding a white appliance with red wavy lines indicating thermal or heat absorption (no text or symbols visible)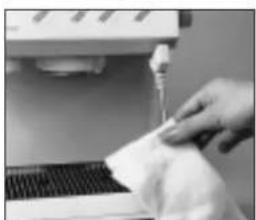
natural_image
Close-up of a hand holding a white cloth next to a laptop keyboard (no visible text or symbols)8.0 Programmation
natural_image
Abstract grayscale graphic with diagonal stripes and scattered squares, no text or symbols present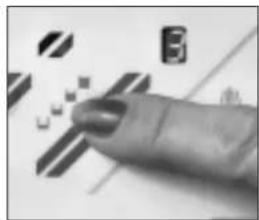
text_image
Hand interacting with a computer screen displaying 'LEEM' and a large number 'B' symbol, likely indicating a game or app interface.natural_image
Abstract geometric design with diagonal lines and a small icon (no text or symbols)natural_image
Hand pressing a button on a coffee machine with two mugs (no visible text or symbols)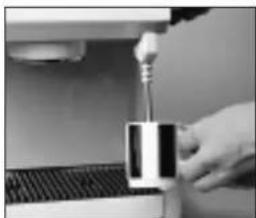
natural_image
Close-up of a hand using a handheld tool to press or<|rotate_right|> a metallic object on a machine (no visible text or symbols)natural_image
White industrial machine with black components and a small inset device (no visible text or symbols)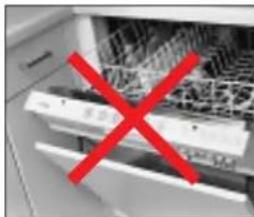
natural_image
Close-up of a computer monitor with a red X mark indicating a prohibition (no text or symbols present)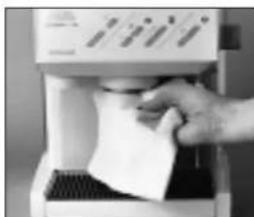
natural_image
Hand inserting a paper into a digital device (no visible text or symbols)SOLIS CREMA SL 90
Mode d'emploi
natural_image
Hand holding a coin next to a mechanical component with a red downward arrow (no text or symbols visible)natural_image
Close-up of hands cleaning a white object from a machine (no visible text or symbols)natural_image
Exterior view of a microwave oven with a red X mark on the lid (no text or symbols visible)11.0 Détartrage
natural_image
Close-up of a white spray bottle with visible label (no readable text or symbols)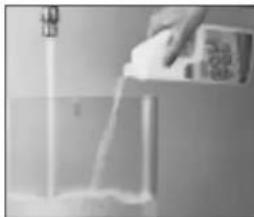
natural_image
Person pouring liquid from a bottle into a glass container (no visible text or symbols)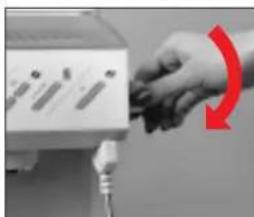
natural_image
Close-up of a hand pressing down on a device with a red curved arrow indicating motion (no text or symbols visible)text_image
Close-up of a hand pointing at a computer screen with a red clock face and partial text visible on the screen.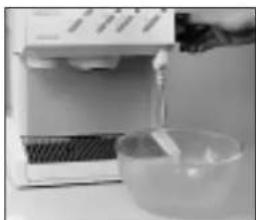
natural_image
Person pouring liquid from a white appliance into a glass bowl (no visible text or symbols)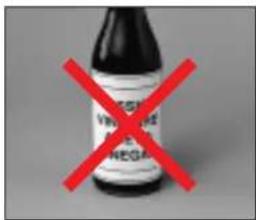
text_image
VIRAGE REGAnatural_image
Clear glass tea set with a side view of its glass (no text or symbols visible)
natural_image
Black-and-white photo of two CAFÉ coffee machines with open cups and a tray, no visible text or symbols.14.0 Accessoires recommandés
Congratulations on acquiring this new Crema espresso machine, a Swiss quality product. Please read these instructions carefully and follow them. By doing so, you and your guests will truly enjoy your SOLIS CREMA. Please keep these instructions in a safe place. If you are not sure about anything or would like more information, please ask us or your local dealer. We are always ready to help.
SOLIS LTD.
This espresso machine is partially registered and patented in Europe and overseas.
text_image
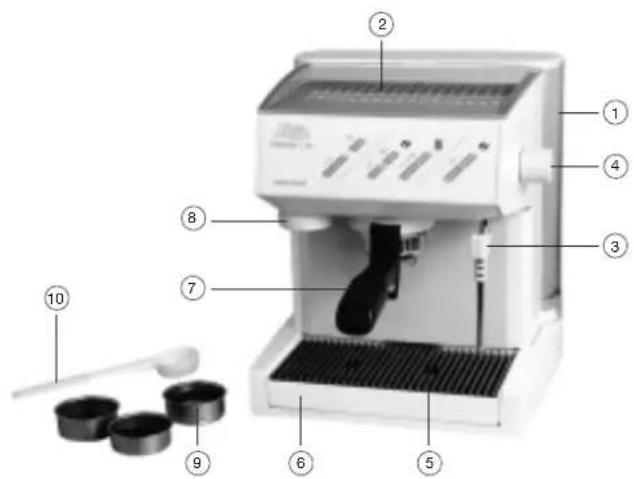
Labeled diagram of a coffee machine with numbered parts for identification and assembly reference.Legend:
① Removable water reservoir and cover
② Warming plate for cups
③ Swivelling steam and hot-water nozzle
④ Hot-water/steam knob
⑤ Height-adjustable cup tray
⑥ Removable drip tray
⑦ Filter holder
⑧ Built-in grounds tamper
⑨ Filter set, containing: one-cup insert, two-cup insert and portion-insert
⑩ Measuring spoon
text_image
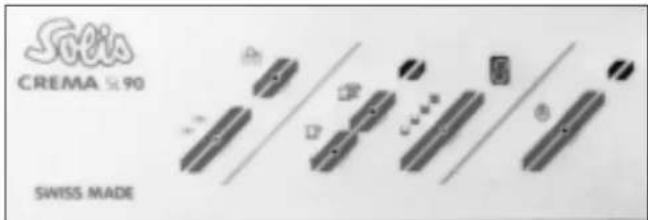
Crema 90 SWISS MADEControl panel:
| ON OFF | Main switch ON/OFF |
| Heated warming plate 0-1 | |
| Coffee switch | |
| Coffee switch, two-cup | |
| Programming key | |
| Coffee temperature indicator | |
| Steam temperature indicator | |
| Steam switch |
Table of contents:
| 1.0 Safety instructions page 48-49 | |
| 2.0 General comments page 49 | |
| 3.0 Starting up / Before using for first time page 50-51 | |
| 4.0 Making coffee with ground coffee page 51-52 | |
| 5.0 Making coffee with portions page 52-53 | |
| 6.0 Making hot water page 53 | |
| 7.0 Making steam page 53-54 | |
| 8.0 Programming | page 54-55 |
| 9.0 Pre-heating the cups | page 55 |
| 10.0 Care and cleaning | page 55-56 |
| 11.0 Decalcifying | page 56 |
| 12.0 Trouble-shooting | page 57 |
| 13.0 Useful tips for coffee | page 58 |
| 14.0 Recommended accessories | page 59 |
| 15.0 Technical data | page 59 |
SOLIS CREMA SL 90
User's manual
1.0 Safety instructions
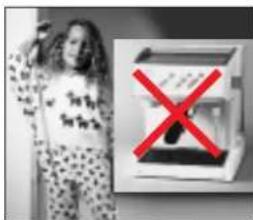
Children do not understand how dangerous electrical appliances can be. For that reason, children should never be allowed around electrical appliances without supervision.
Do not use the appliance without studying the user manual or being shown how to operate it.
Never use an appliance with a faulty cord. Since special tools are needed to replace a damaged cord, this work must be carried by a manufacturer-designated repair station.
Do not immerse the appliance in water. Do not use the appliance with wet hands.
text_image
Black-and-white photo showing a person in patterned clothing next to a machine with a red X symbol, likely indicating a prohibition or rejection.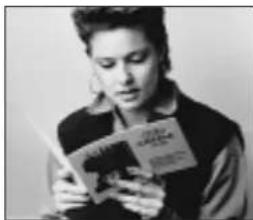
natural_image
Black-and-white photo of a person reading a book (no visible text or symbols)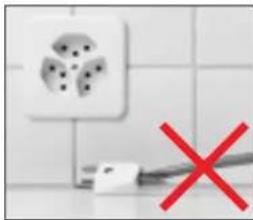
natural_image
Electrical socket with three pins and a red X symbol on a tiled wall (no text or labels)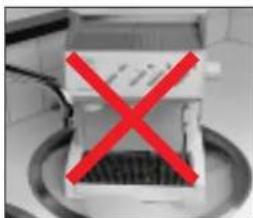
natural_image
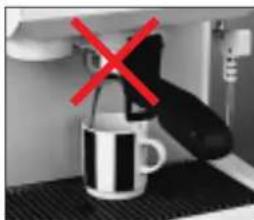
Exterior view of a white electronic device with a red X mark on its side, placed on a circular base (no text or symbols visible)Do not remove the filter holder while the coffee is pouring. As the appliance is under pressure, wait until the coffee has stopped pouring.
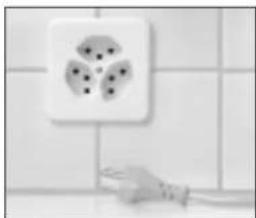
The socket to which the appliance is connected must be earthed. For your safety, we recommend the use of an FI safety adapter (available from all good electricians).
Place the appliance on a firm, level surface. The surface must not be warm or hot. Choose a position which is out of reach of children or pets.
Be careful when touching the steam nozzle and filter holder as they become hot when the appliance is in operation (DANGER OF SCALDING!).
natural_image
Exterior view of a modern office building (no signage)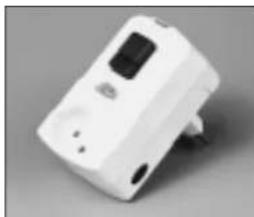
natural_image
White portable electrical plug device with a black LCD screen and terminal socket (no visible text or symbols)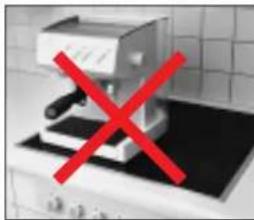
natural_image
Exterior view of a kitchen appliance with a red X mark on top (no text or symbols visible)
natural_image
Close-up of a hand using a tool to press down a white appliance with red wavy lines indicating thermal or mechanical damage (no text or symbols visible)User's manual
SOLIS CREMA SL 90
Be sure to remove the plug before cleaning the appliance. Do not allow the cord to come into contact with hot parts of the appliance.
Do not expose the appliance to climatic conditions (rain, snow, frost, etc).
When you unpack the appliance, please check that the voltage indicated on the plate on the base of the appliance is the same as your own main supply.
2.0 General comments
Do not operate the appliance without water and coffee.
natural_image
Hand touching a wall-mounted electrical outlet with three slots (no text or symbols visible)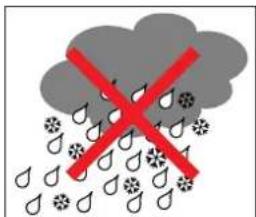
text_image
Weather warning sign showing a red 'X' over raindrops falling with raindrops, indicating no rainfall or precipitation.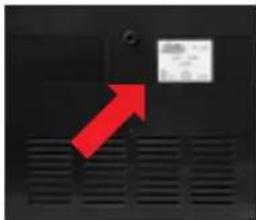
natural_image
Black electronic device with ventilation grilles and a red arrow pointing to a small white label (no readable text or symbols)
natural_image
Close-up of a metallic door with a red arrow pointing to the side panel (no visible text or symbols)Any work on the appliance must be carried out by authorised technicians. Otherwise, all guarantee claims and warranties are invalidated.
The appliance is intended for the preparation of hot water, steam and coffee and must not be used for any other purpose. The appliance is designed for domestic use. If it is used for commercial purposes, warranty conditions will change. Please observe the guarantee conditions.
The original packaging has been made specially strong so that the appliance can be sent by post. Please retain the packaging in case it should be necessary to return the appliance.
The appliance may be damaged by freezing. For this reason, it must be protected against frost and should not be left overnight in a car during winter.
text_image
Soleis SERVICE
natural_image
Black-and-white photo of a white espresso machine on a desk with a glass and notebook nearby (no visible text or symbols)
natural_image
Product box of Crema SL90 industrial vacuum cleaner (no visible text or symbols on the device itself)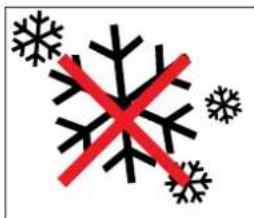
natural_image
Black snowflake symbol with red X mark, no text or numbers presentSOLIS CREMA SL 90
User's manual
3.0 Starting up
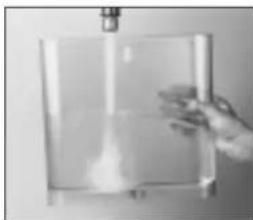
3.1 Fill the water container with cold water up to a maximum of 3 liters. Insert it into the rear of the appliance and press home firmly so that the base valve opens. Close the cover.
Note: Use only fresh cold water to fill the container. Do not use mineral water, milk or any other fluid.
3.2 Pull the required length of cord out from the back of the appliance. Leave the rest in the special cable compartment. Connect the appliance to an earthed socket.
3.3 Turn the main switch to ON. The appliance must now be vented and rinsed out.
Note: The best time to remove air from the appliance is when it is cold. For this reason, start the venting operation as quickly as possible after switching on.
natural_image
Hand holding a transparent container with liquid, no visible text or symbols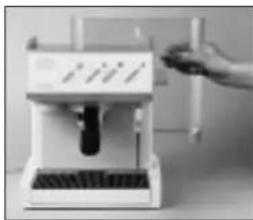
natural_image
Close-up of a white espresso machine with a hand adjusting its tray (no visible text or symbols)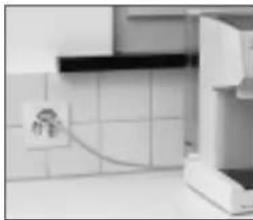
natural_image
Kitchen countertop with tiled wall and electrical outlet (no visible text or symbols)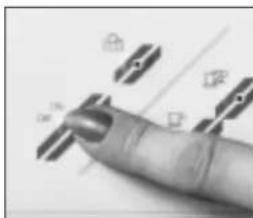
natural_image
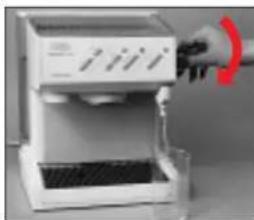
Close-up of a finger pointing at abstract icons (no readable text or symbols)3.4 Vent the appliance. To do this, place a large container under the hot water/steam jet and turn the rotary switch until a steady stream of water comes out of the nozzle. Let it run until about 2 dl of water has been collected and then turn the rotary switch off again. The appliance has now been vented.
3.5 Rinse the appliance out. To do this, fit the empty filter holder and place a cup underneath. Turn the coffee switch ☐ on until the cup is full. Turn the switch ☐ off again. The appliance has now been rinsed out.
Note: If the coffee temperature light remains red when the appliance is first heated, no water can flow through the filter holder. The appliance can only be rinsed out when the green light comes on. When the appliance has heated up, the temperature light may change from green to red. This is perfectly normal and has no effect on the quality of the coffee.
3.6 The appliance is ready to operate when the temperature /light shows green. We recommend leaving the empty filter holder in place while the appliance is heating up so that it is pre-warmed.
natural_image
White laboratory brush applying liquid into a digital machine (no visible text or labels)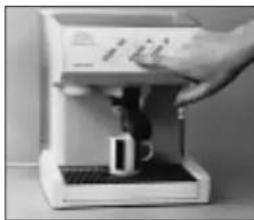
natural_image
Person using a espresso machine with a small cup (no visible text or symbols)
natural_image
Abstract pattern with diagonal stripes and scattered squares, no text or symbols presentIMPORTANT: Never operate the appliance without water. For reasons of hygiene, we would recommend you to vent and rinse out the appliance before it is used for the first time or after any long period of non-use (e.g. after the holidays).
4.0 Making coffee with ground coffee
It is assumed that the appliance has been started up in accordance with Point 3 and is ready to operate, i.e. the container has been filled with water and the temperature light is showing green.
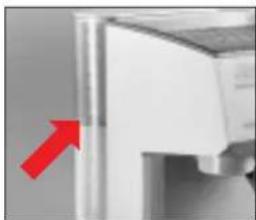
4.1 When the appliance is ready, fit the appropriate filter (one-cup or two-cup) into the filter holder. Depending on the filter size, fill with one or two level measuring spoons of coffee and press down lightly with the built-in tamper. Wipe the edge of the filter holder to remove any coffee grains.
natural_image
Close-up of a metallic mechanical component with a red arrow pointing to its edge (no visible text or symbols)
natural_image
Abstract diagram with geometric shapes and a red arrow, no readable text or symbols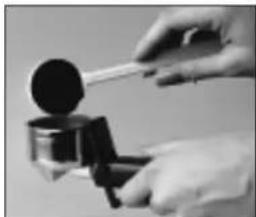
natural_image
Close-up of a hand using a tool to measure a dark object, possibly a container or mechanical component (no visible text or symbols)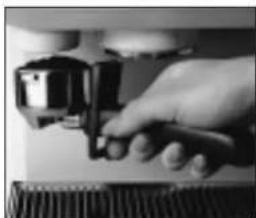
natural_image
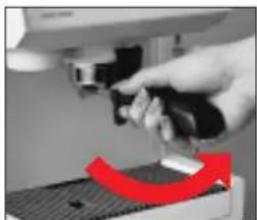
Close-up of a hand pressing down on a mechanical component (no visible text or symbols)4.2 Insert the filter holder into the brewing unit by moving from left to right and close tightly. Check that the filter holder is fully tightened.
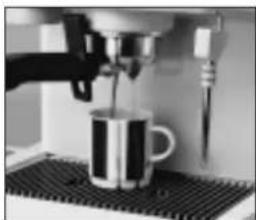
4.3 Place one or two cups on the tray under the filter holder.
Note: The height of the tray can be adjusted to take small espresso cups simply by turning it round.
4.4 To start pouring, briefly press the coffee switch ☐ or ☐
Note: The SOLIS CREMA model SL 90 is fitted with an automatic pre-brew device. The coffee is first moistened and then pouring is stopped briefly. The real brewing process begins only from this point.
natural_image
Close-up of a hand using a microscope to press or adjust a component, with a red curved arrow indicating motion (no text or symbols visible)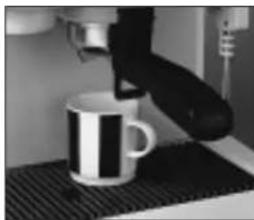
natural_image
Close-up of a hand using a espresso machine to press a mug on a flat surface (no text or symbols visible)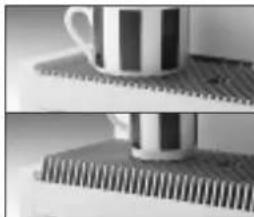
natural_image
Close-up of a striped mug placed on a textured surface, with no visible text or symbols.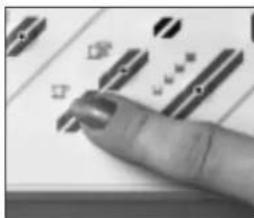
natural_image
Close-up of a finger pointing at abstract geometric shapes on a white surface (no text or symbols visible)SOLIS CREMA SL 90
User's manual
4.5 As soon as your cup is full, briefly press the key or .This will stop the pouring.
Note: The SL 90 model can be programmed to deliver a preset quantity of water for both one or two cups. See the programming section. You can stop pouring at any time simply by pressing the switch P / P .
4.6 Now remove the filter holder from the brewing unit by moving it from right to left. Holding the filter firmly with the filter holder, knock out the grounds.
Note: You can use a special SOLIS tray for your grounds (see Section 14.0, recommended accessories).
Rinse the filter under running water and replace the filter holder in the brewing unit. Once the filter has been refilled, the next cup of coffee can be prepared.
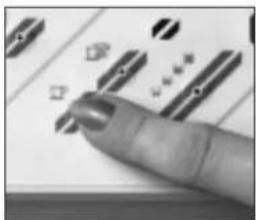
natural_image
Close-up of a finger pointing at abstract geometric shapes on a white surface (no text or symbols visible)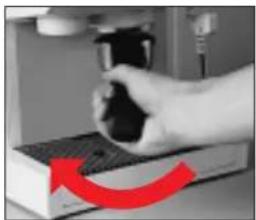
natural_image
Hand pressing a button on a device with a red curved arrow indicating motion (no text or symbols visible)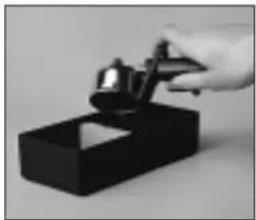
natural_image
Hand holding a spray gun over a black box (no text or symbols visible)
natural_image
Close-up of hands holding a tool with a metallic object above them (no visible text or symbols)5.0 Making coffee with portions
It is assumed that the appliance has been started up in accordance with Point 3 and is ready to operate, i.e. the container has been filled with water and the temperature light √ is showing green.
5.1 The procedure is just the same as for ground coffee, except that the following points must be observed.
Please prepare SOLIS coffee portions (see adjacent illustration and section 14.0 «Recommended accessories») with the special portion-filter insert only, and do not use the 1 or 2 cup filter. The portion filter is specially designed for the «hard» portion bags.
«Soft» SOLIS portions or other brand name portions should be prepared in the 1 or 2 cup filter as recommended by the coffee producer.
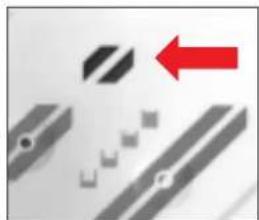
natural_image
Abstract graphic with geometric shapes and a red arrow, no readable text or symbols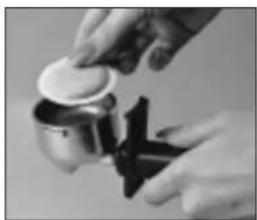
natural_image
Close-up of hands holding a small container with a lid, partially open by a black tool (no visible text or symbols)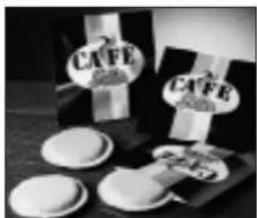
natural_image
Black-and-white photo of two CAFÉ coffee cups on a table with additional flasks and a lamp (no visible text or symbols)Note: If the coffee comes out of the sides of the filter holder, the portion is either too big for the filter insert or the filter holder has not been properly inserted.
As all SOLIS CREMA espresso machines are fitted with both portion inserts and one-cup and two-cup filters, you will have no problem in using any ordinary filter-paper portions, provided that you take note of the points listed above. However, please be sure to follow the coffee manufacturer's instructions.
natural_image
Close-up of a coffee maker using a mugs on a metal tray (no visible text or symbols)6.0 Making hot water
For tea, broth, etc. It is assumed that the appliance has been started up in accordance with Point 3 and is ready to operate, i.e. the container has been filled with water and the temperature light ☐ is showing green.
6.1 When the appliance is ready, place your glass or cup directly under the hot water/steam nozzle and turn the rotary switch on. The hot water now runs automatically.
natural_image
Abstract diagram with diagonal stripes and arrows, no readable text or symbols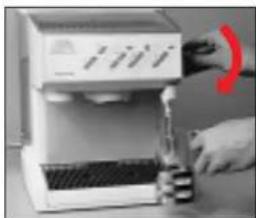
natural_image
Hand using a handheld device to press or install a white electronic device with a red warning symbol (no visible text or symbols on device)6.2 After pouring the water required, turn the rotary switch off.
7.0 Making steam
For heating milk and for cappuccino or other drinks. It is assumed that the appliance has been started up in accordance with Point 3 and is ready to operate, i.e. the container has been filled with water and the temperature light //is showing green.
7.1 When the appliance is ready, press the steam switch 🔊 and wait until the temperature light 🏠 shows green.
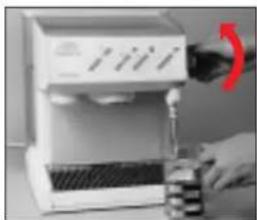
7.2 Turn the rotary switch slightly, allowing the condensed water to run out into the drip tray. Next, swing the steam jet out and immerse it in the liquid to be heated. Slowly open the rotary switch and heat the liquid by making circular movements from bottom to top.
natural_image
Person using a portable water dispenser with a red arrow indicating motion (no visible text or symbols)
natural_image
Abstract geometric shapes with a red arrow pointing to a black diamond shape (no text or symbols)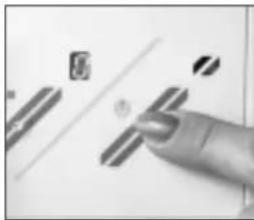
natural_image
Close-up of a finger pressing down on a white surface with abstract geometric shapes (no text or symbols visible)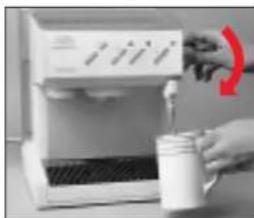
natural_image
Hand pouring liquid into a white portable coffee machine with a red arrow indicating flow (no text or symbols visible)SOLIS CREMA SL 90
User's manual
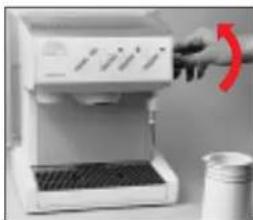
7.3 When no more steam is needed, turn the rotary switch off again. Swing the steam nozzle back to the cup tray or leave in an empty container. Turn off the steam switch
natural_image
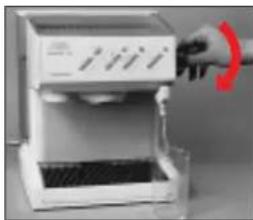
White espresso machine with a hand pointing to it, showing its lid and handle (no visible text or symbols)7.4 When the steam switch is off, turn the rotary switch on again and allow the appliance to vent/cool down until water emerges from the jet in a steady stream and the green temperature light is no longer blinking. Then, turn the rotary switch off again. The appliance is now ready to make coffee again.
natural_image
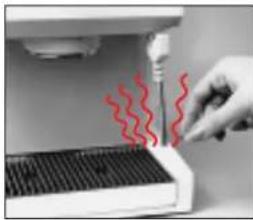
White industrial machine with control panel and hand holding a red circular button (no visible text or symbols)IMPORTANT: After steam has been used, the appliance must be vented and allowed to cool (see also under Point 3.4). Coffee cannot be prepared until this has been done. The steam nozzle can become very hot. To prevent scalding, avoid direct contact with the skin.
natural_image
Close-up of a hand using a tool to test red wavy lines on a computer monitor (no text or symbols visible)Note: We recommend that you clean the steam nozzle immediately after use. Otherwise, milk can leave residues which are difficult to remove.
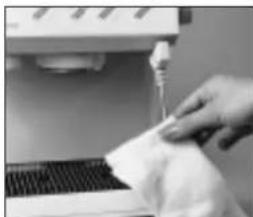
natural_image
Close-up of a hand cleaning a white cloth on a keyboard (no visible text or symbols)8.0 Programming
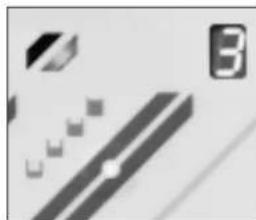
The SOLIS CREMA SL 90 is fitted with a device for programming the water quantity for both one or two cups. This allows you to pre-programme six different quantities with automatic switching off.
8.1 Programming the quantity of water. You can select various quantities by pressing the programming key to obtain numbers from 0 to 6. The quantities are set as follows:
Pos. 0 water quantity restricted only by the amount in the container. Control is by turning the coffee switch on ☐ and ☐ off.
Pos. 1 water quantity 0.4 dl ristretto
Pos. 2 water quantity 0.62 dl espresso
Pos. 3 water quantity 0.95 dl
Pos. 4 water quantity 1.25 dl café crème
Pos. 5 water quantity 1.7 dl large cup
Pos. 6 water quantity 2.1 dl
natural_image
Abstract grayscale graphic with geometric shapes and a number 3, no readable text or symbols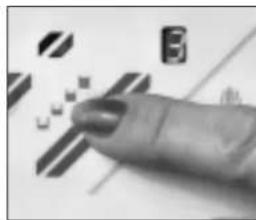
text_image
Close-up of a finger pressing down on a striped surface with the number 'B' and partial text visibleThe amount selected is displayed automatically by LED numbers. They remain programmed even if the appliance is switched off. Pressing the coffee key PP automatically doubles the quantity to give two cups.
Note: You can stop pouring at any time by briefly pressing the coffee key ☐ or ☐.
natural_image
Abstract geometric pattern with diagonal stripes and a central dot (no text or symbols)9.0 Pre-heating the cups
Apart from the type of blend and the quality of the water, the most important factor in making a good cup of coffee is getting the right temperature.
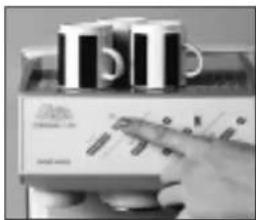
9.1 The SL 90 is fitted with an actively heated warming plate
When necessary, switch the plate on, using the key and place the espresso cups on top. In this way, they are always warm when needed. To save electricity, switch the plate off when it is not needed.
9.2 If you need to heat cups
quickly, you can rinse them out with hot water from the hot water nozzle.
natural_image
Hand interacting with a coffee machine (no visible text or symbols)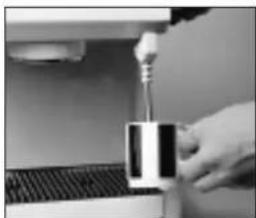
natural_image
Close-up of a hand using a handheld tool to press or install a machine component (no visible text or symbols)10.0 Care and cleaning
If you always keep your SOLIS CREMA machine clean, you will be sure of good quality coffee and will extend the useful life of the appliance.
10.1 Daily and weekly care
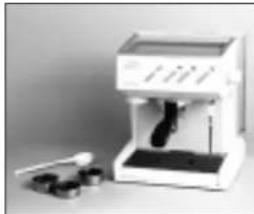
Regularly clean the water container, the drip tray, the cup tray, the filter holder and the filter inserts. Simply use hot water and, when necessary, a non-scouring detergent.
DO NOT place in the dishwasher!
Brewing unit: Remove coffee residues regularly and wipe with a clean damp cloth. We recommend you to let about half a litre of hot water run through from time to time, as this keeps the brewing unit clear of fat residues.
natural_image
White industrial machine with control panel and accessories (no visible text or symbols)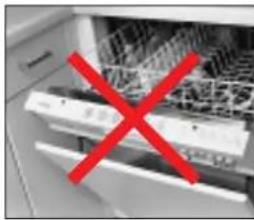
natural_image
Exterior view of a kitchen appliance with a red X mark indicating a prohibition (no text or symbols present)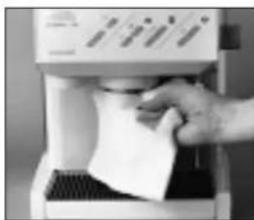
natural_image
Hand inserting a paper into a machine (no visible text or symbols)SOLIS CREMA SL 90
User's manual
If the brewing filter becomes very stained, remove it with a screwdriver and brush both sides thoroughly.
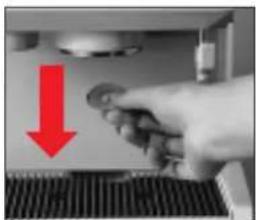
natural_image
Hand holding a coin inside a kitchen appliance with a red downward arrow indicating a drop (no text or symbols visible)Filter inserts: Rinse the 1 and 2 cup filter inserts from time to time to keep them clean. To do so, place the filter holder with empty filter inserts in the SOLIS Crema, position a cup under the filter holder and switch on the pump until the cup is full. Switch off the pump. The rinsing operation is now complete.
Housing: When necessary, the housing should be cleaned with a damp cloth and then rubbed dry with a cloth.
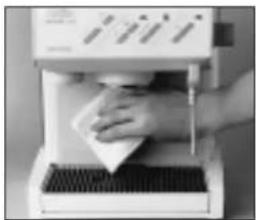
natural_image
Person using a handheld device to clean or wash a white object on a machine (no visible text or symbols)IMPORTANT: The appliance must not be immersed in water. Switch off the appliance and remove the plug during all cleaning and care operations.
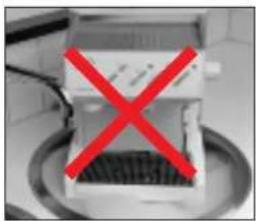
natural_image
Exterior view of a computer monitor with a red X symbol on its screen (no text or symbols visible)11.0 Decalcifying
Even if a water filter is used, the appliance should be decalcified regularly in accordance with the hardness of your local water and, in any event, at least every four to six months.
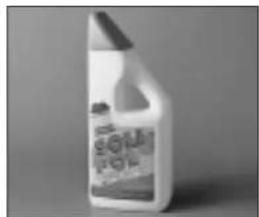
11.1 For decalcification, it is best to use SOLIPOL, a product specially designed for this purpose.
11.2 With the appliance switched off, fill the water container in proportions of one part water and one part SOLIPOL (0.5 litres of water and 0.5 litres of SOLIPOL).
11.3 Turn on the hot water/steam rotary switch and place a container under the steam jet. Now, turn the main switch ON and let water run from the jet for about 1 minute.
text_image
SOFA PO4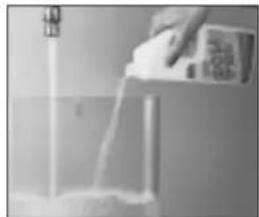
natural_image
Person pouring liquid into a beaker with a label '液' (liquid) above, no other text or symbols visible.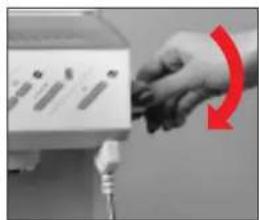
natural_image
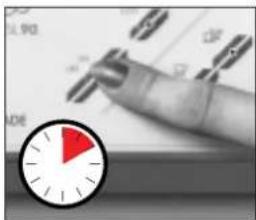
Close-up of a hand pressing down on a device with a red curved arrow indicating rotation (no text or symbols visible)11.4 Turn the main switch OFF and leave the decalcifying product to take effect for about 10 minutes.
11.5 Repeat 11.3 and 11.4 twice. Then, rinse out the water container thoroughly and fill with fresh water.
11.6 Turn the main switch ON and rinse the appliance out thoroughly by allowing the fresh water (approx. 2 litres) to run out through the hot water nozzle. This will ensure that nothing remains which might affect the taste of the coffee. The SOLIS CREMA is now ready for use again.
IMPORTANT: Regular decalcification will protect your machine from the need for expensive repairs. It should be noted that damage caused by failure to carry out the necessary decalcification, by misuse or by not following the above instructions IS NOT COVERED BY THE WARRANTY. Vinegar must not be used for decalcifying purposes as it will damage the appliance.
text_image
Close-up of a hand pointing at a computer screen with a red clock face icon and partial text visible on the screen.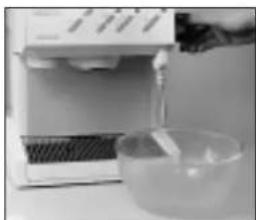
natural_image
Person pouring liquid from a water dispenser into a glass bowl (no visible text or symbols)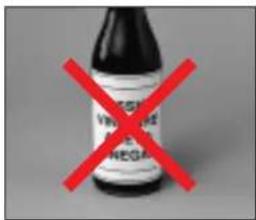
text_image
VIRAGE REGA12.0 Trouble-shooting
Before returning the appliance for repair, please read the following points carefully. This will often solve the problem and save you a lot of bother.
12.1 Coffee comes out of the sides of the filter holder
● the filter holder is not properly fitted
● the filter holder is not tight enough
● there are coffee residues on the edge of the filter
● the seal is damaged or worn. Return the appliance for repair.
12.2 Pump is noisy
● the water container is empty
● the water container is not properly fitted
● the pump is not producing enough pressure because the coffee
- is old or too coarsely ground.
12.3 No coffee comes out
● there is no water in the container
● the water container is not properly fitted
● the coffee is too finely ground or has been pressed down too hard
● the appliance is set for steam
● the filter or the brewing unit are blocked and needs cleaning
● the appliance needs decalcifying
● the appliance is not vented/cooled and needs venting.
12.4 The coffee has no foam, pours too quickly or too slowly
● the coffee blend is unsuitable
● the coffee is too finely or too coarsely ground
• the coffee is no longer fresh
● there is not enough coffee in the filter
● the coffee needs to be pressed down more
● the cups are too cold and need pre-heating
● the appliance is not reaching the correct operating temperature.
SOLIS CREMA SL 90
User's manual
If the problem still cannot be solved after checking the above points, please return the appliance in the original packaging to our customer service department, stating the nature of the fault.
In Switzerland, send the appliance to:
SOLIS PRODUZIONE SA
Customer Service Department
Centro Solis
6850 Mendrisio
Tel. 091/646'16'65/646'81'36
Fax 091/646'03'62
For repairs in all other countries in which SOLIS products are sold, send the appliance to the customer service centre of the SOLIS branch indicated on the warranty card.
13.0 Useful tips for coffee
13.1 Optimum conditions for good coffee
Good coffee depends not only on the appliance but also on the water, the blend of coffee, the grinding, the temperature, etc. You should keep the following tips in mind:
Always use fresh coffee and dark roasts, such as the SOLIS products specially blended for use with espresso machines.
Fresh coffee should always be stored in a cool place. It can be deep frozen and may be used directly while still cold.
Always have coffee beans ground to espresso grade. If the result is still not satisfactory, check Point 12.4.
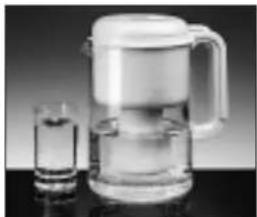
If your local water is very hard, use a filter such as the SOLIS AQUA-SELECT.
If you want to get consistently good coffee without having to clean grounds out of the filter holder all the time, try using SOLIS portions. They are practical, clean and always ready to use.
natural_image
Clear glass tea set with a side view of its glass (no text or symbols visible)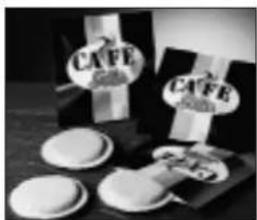
natural_image
Black-and-white photo of two CAFÉ coffee stations with circular filter covers and a tray of similar items (no visible text or symbols)14.0 Recommended accessories
To simplify the care and maintenance of your SOLIS CREMA, we recommend:
SOLIS Aqua-Select water filter: helps to reduce water hardness and so to avoid premature calcification.
SOLIS Solipol decalcifying agent: specially designed for easy decalcifying of espresso machines.
SOLIS storage box: specially designed to store opened packets of coffee and portions.
SOLIS grounds drawer: specially designed for knocking out the grounds from the filter holder.
CAFÉ SOLIS coffee blends: a variety of exclusive blends specially selected for espresso machines. They guarantee good coffee.
CAFÉ SOLIS portions: three blends - espresso, café crème and decaffeinated coffee. They come in practical portions specially made for filter holder espresso machines. They are practical, clean and ready for use at any time!
In Switzerland, these accessories are obtainable from specialist stores, supermarkets and department stores or directly from
SOLIS MAIL
6850 Mendrisio
Tel. 091/646'80'51
Fax 091/646'25'32
In all other countries in which SOLIS products are sold, these accessories can be obtained through the trade or directly from the SOLIS subsidiaries indicated on the warranty card.
15.0 Technical data
Voltage: 230 V / (USA: 115 V)
Watts: 1100 Watt
Water reservoir: 3 liters
Cable length: 1,1 m with plug 2 P + E
Weight: 7,5 kg
Dimensions: (H x W x D) 310 x 270 x 235 mm
Approbations: SEV and international safety approvals
00262