
OV1419 - Electric oven TRISTAR - Free user manual and instructions
Find the device manual for free OV1419 TRISTAR in PDF.
| Product type | Electric oven |
| Brand | TriStar |
| Model | OV1419 |
| Power supply | 220-240 V ~ 50 Hz |
| Power | 800 W |
| Dimensions (package) | 495 × 363 × 346 mm |
| Net weight | 5.5 kg |
| Oven capacity | Approximately 9 L |
| Cooking modes | Top, Bottom, Top and Bottom |
| Temperature setting | From 125 °C to 250 °C |
| Timer | Up to 60 minutes, auto shut-off |
| Included accessories | Wire rack, baking tray, tray handle |
| Number of rack positions | 4 positions |
| Indicator light | Yes, for heating elements |
| Use | Household use only |
| Care and cleaning | Clean with a soft cloth and mild detergent; do not use abrasive products |
| Safety | Auto shut-off function; use the handle for hot tray; do not wet the cord |
| Environmental protection | Recyclable: do not dispose of with household waste |
| Warranty | Standard (according to retailer) |
| Spare parts and repairability | Repairs by an approved center; cord replaceable by a professional |
Frequently Asked Questions - OV1419 TRISTAR
User questions about OV1419 TRISTAR
0 question about this device. Answer the ones you know or ask your own.
Ask a new question about this device
Download the instructions for your Electric oven in PDF format for free! Find your manual OV1419 - TRISTAR and take your electronic device back in hand. On this page are published all the documents necessary for the use of your device. OV1419 by TRISTAR.
USER MANUAL OV1419 TRISTAR
natural_image
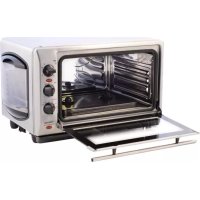
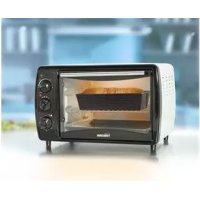
White rectangular oven with open lid and control knobs, placed on a wooden table with a potted plant nearby (no visible text or symbols on the device itself)OV-1419
800W
-
Verwarmingselement 2. Stand bakblik 3. Indicatielampje
-
Stand verwarming 5. Timer-knop 6. Elektriciteitssnoer en
-
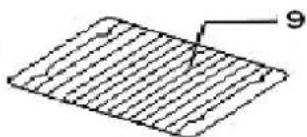
Deur 8. Handvat deur 9. Rooster
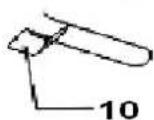
10.Bakblikhouder 11.Bakblik
stekker
CIRCUIT
natural_image
Illustration of a tray with radiating lines and a central object, no text or symbols presentnatural_image
Line drawing of a microwave oven with handle and control knobs (no text or symbols)natural_image
Line drawing of a microwave oven with a cylindrical lid and control knobs (no text or symbols)natural_image
Illustration of a microwave oven with extended blades and control knobs (no text or symbols)natural_image
Simple line drawing of two crossed wires on a base, no text or symbols presentnatural_image
Illustration of a tray with radiating lines and a central object, no text or symbols presentINDICATIONS D'UTILISATION
natural_image
Line drawing of a microwave oven with control knobs and a tray (no text or symbols)METHODE DE NETTOYAGE
natural_image
Line drawing of a microwave oven with a hand holding the top handle (no text or symbols)natural_image
Illustration of two pliers on a base with wires, no text or symbols present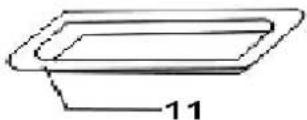
natural_image
Simple line drawing of a rectangular sheet with diagonal lines and a label '9' pointing to the top-right corner (no text or symbols on the sheet itself)1.Heizelement 2.Blechschiene
4. Hitzeregler
3.Kontrollanzeige
5.Zeitschaltuhr
- Stromkabel und
Netzstecker
natural_image
Illustration of a tray with a light bulb and radiating lines, no text or symbols presentBEDIENUNGSHINWEISE
natural_image
Black rectangular tray with a flat lid, isolated on white background (no text or symbols)natural_image
Hand holding a small object on a black surface, no visible text or symbolsnatural_image
Line drawing of a microwave oven with control knobs and a tray (no text or symbols)REINIGUNG

natural_image
Line drawing of a microwave oven with control knobs and a handle (no text or symbols)natural_image
Illustration of a microwave oven with a cylindrical lid and control knobs (no text or symbols)natural_image
Line drawing of a microwave oven with extended blades (no text or symbols)natural_image
Illustration of two crossed cables on a base, no text or symbols presentWe would particularly advise you to carefully read the operating instructions before attempting to operate the unit.
PARTS IDENTIFICATION
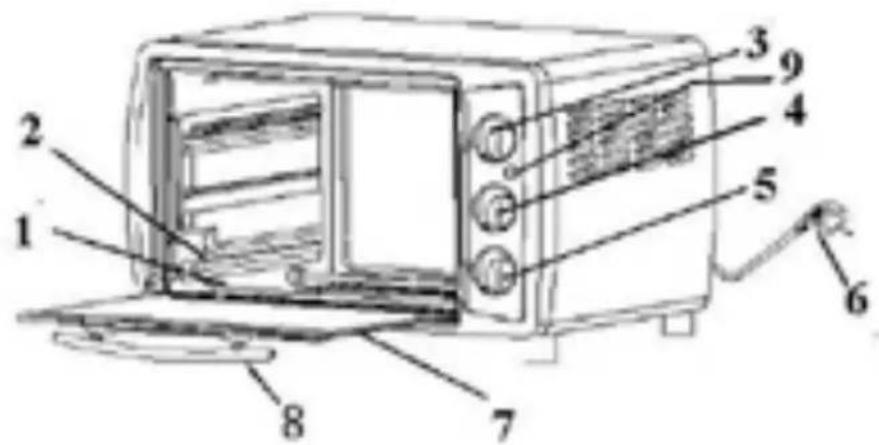

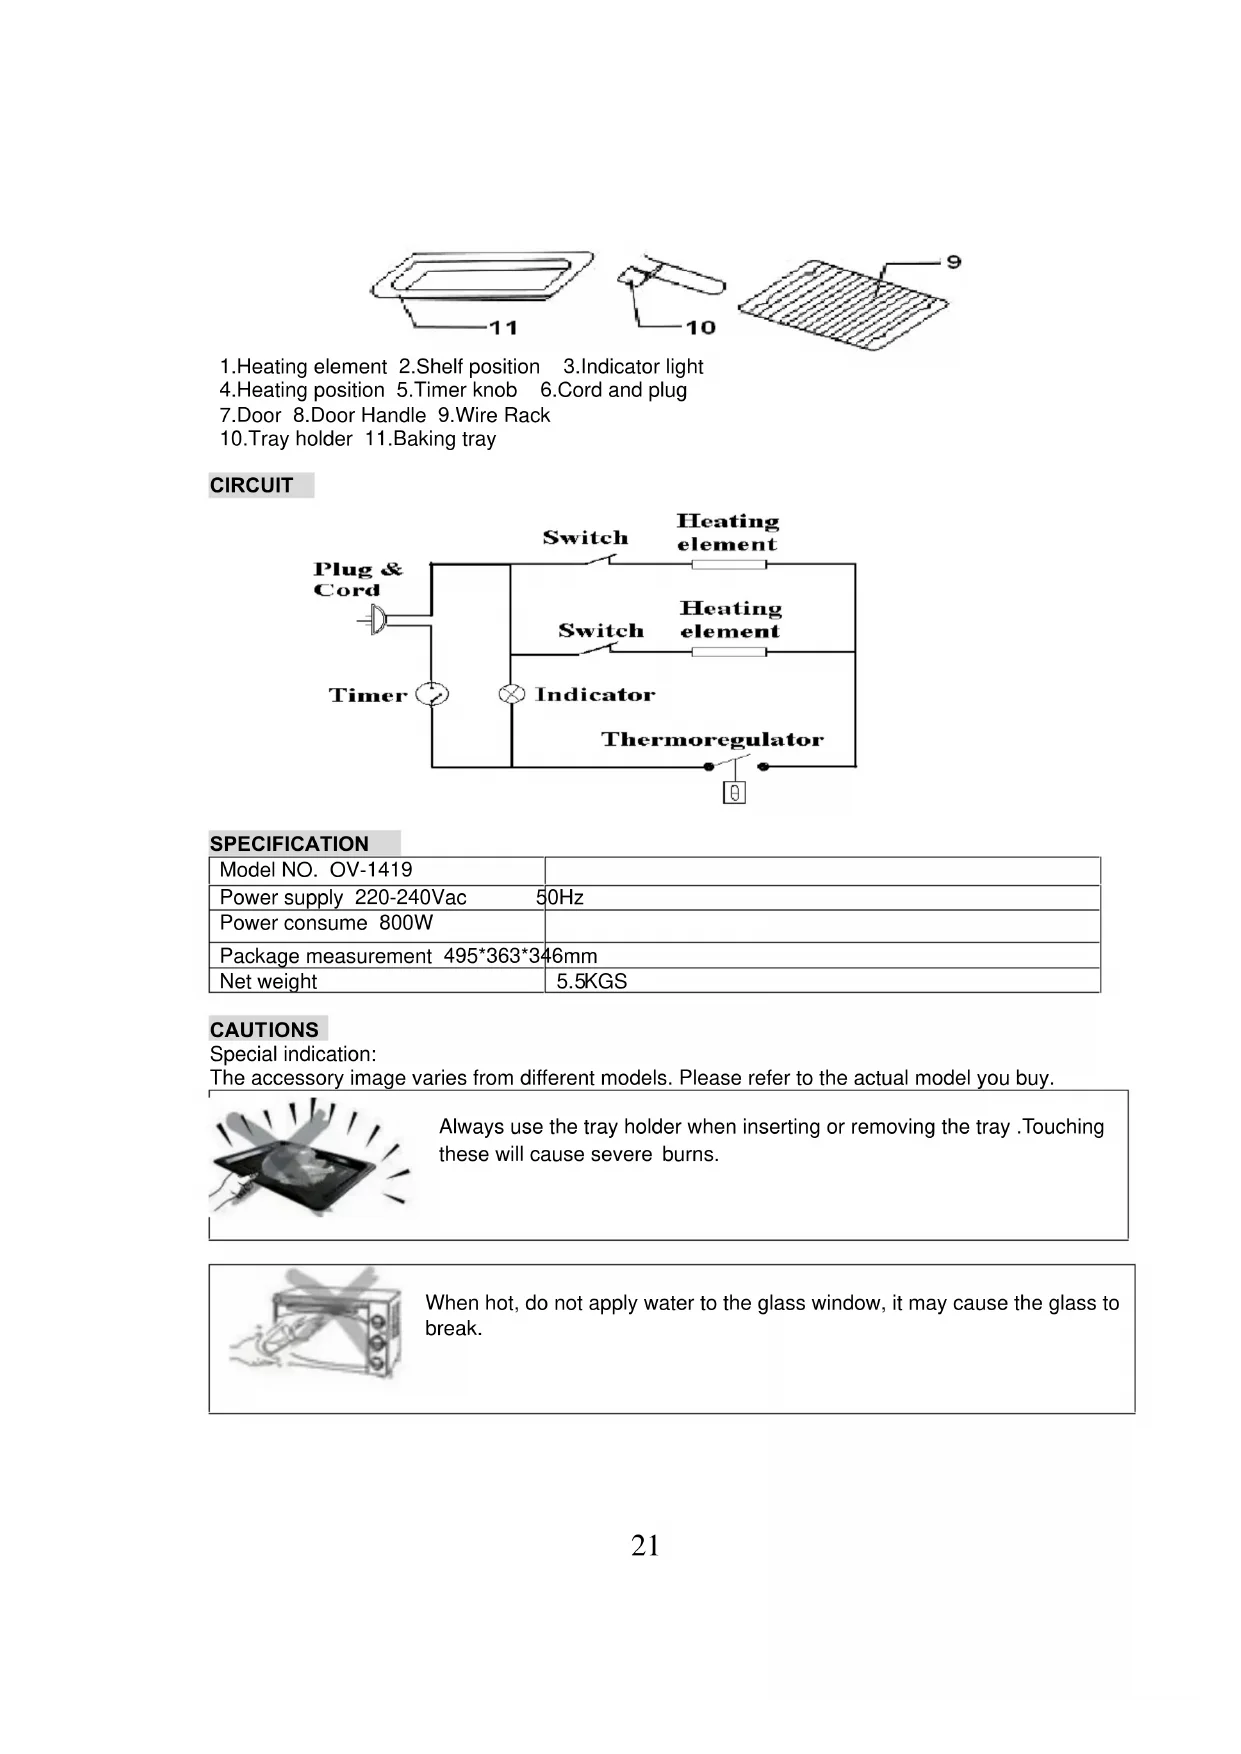
1.Heating element 2.Shelf position 3.Indicator light
4.Heating position 5.Timer knob 6.Cord and plug
7. Door 8. Door Handle 9. Wire Rack
10. Tray holder 11. Baking tray
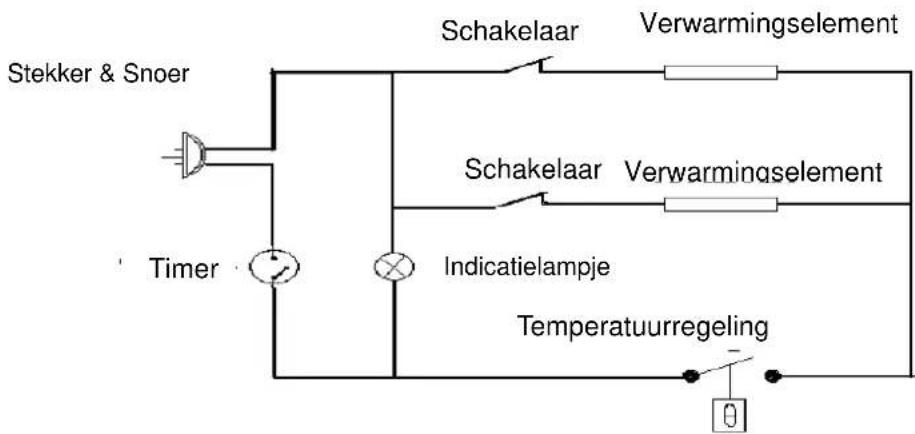
CIRCUIT

flowchart
graph TD
    A["Plug & Cord"] --> B["Switch"]
    B --> C["Heating element"]
    D["Timer"] --> E["Switch"]
    E --> F["Heating element"]
    G["Indicator"] --> H["Thermoregulator"]
    I["Switch"] --> J["Heating element"]
    K["Indicator"] --> L["Thermoregulator"]
SPECIFICATION
| Model NO. OV-1419 | |
| Power supply 220-240Vac 50Hz | |
| Power consume 800W | |
| Package measurement 495*363*346mm | |
| Net weight | 5.5KGS |
CAUTIONS
Special indication:
The accessory image varies from different models. Please refer to the actual model you buy.
natural_image
Illustration of a tray with a light bulb and radiating lines, no text or symbols presentAlways use the tray holder when inserting or removing the tray. Touching these will cause severe burns.
When hot, do not apply water to the glass window, it may cause the glass to break.
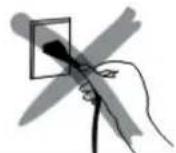
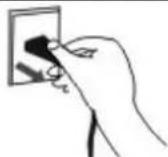
When unplugging the cord, always take hold of the plug itself. Never pull on the cord. Doing so could break the wires inside the cord.
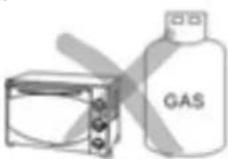
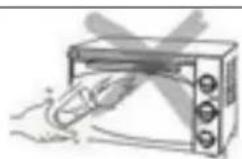
Do not position the unit close to a gas burner or other source of high temperature or do not direct an electric fan, etc, at the unit during USE. Doing so could prevent correct temperature control.
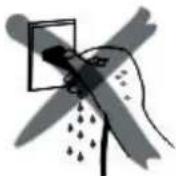
Do not wet the power cord nor handle the unit with wet hands. Always unplug the cord after use, or whenever the unit is to be left unattended. A malfunction while the plug is inserted into the outlet could cause a fire.
When cooking oil-splashing dishes such as roast chicken, it is recommended to put 2 sheets of aluminum foils on a tray in order to diminish oil splashing. Put one on a tray. Then oil will drip to a gap between foils.

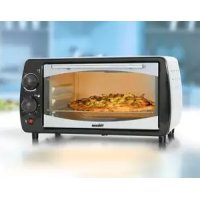
USE INDICTION
Special indication: the parts and accessory varies from different models. Please refer the image to the real item you buy.
Baking tray and wire rack
| Baking tray How to use tray holder | ||
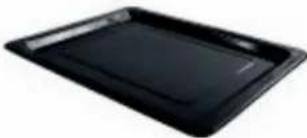 | Roast Chicken, Hamburg steak, Gratin, Sponge cake, almost all other oven-cooked foods | 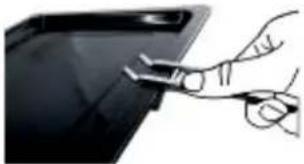 |
Wire rack 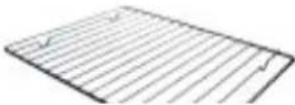 | Baked potatoes, Dry food | 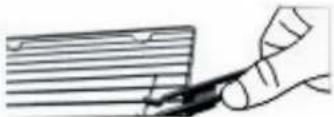 |
| Baking tray and Wire rack | ||
 | For food which will drip/boiled fish, etc | |
The trays are not perfectly square.
Note:
Be careful when removing pudding and other hot liquids.
Rack Support
| You can adjust the tray at 4 different positions according to the dishes you want to cook. For instance, when making macaroni gratin and you want to have the top part cooked the most, use the second or the second rack support. For roasting a chicken, use the fourth or the bottom rack support. |  |
METHOD OF CLEANING
 | Take off the plug and cool down before cleaning. | |
 | When cleaning, wash the interior and exterior surface, tray, grid, and tray holder with soft cotton (or sponge) with neutral cleaner. Then wash with clean water. Do not use hard brush or any others to wash, so as not to scrape the interior surface of the oven, and to protect the tray, the net and the tray holder. | |
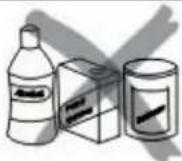 | Do not use the toxic and abrasive cleaners such as gasoline, polishing powder, solvent. | |
BAKING REFERENCE OF COMMON FOOD
| TYP OF FOOD TEMPERTURE SITE(SHELF) TIME | ||
| Bread 180 3 9-13 | ||
| Cake 180 2 25-35 | ||
| Fish 250 2 10-15 | ||
| Chicken/Duck 220-250 2 30-45 | ||
| Pancake 160 1 7-10 | ||
| Beef 250 2 8-15 | ||
| Egg/Peanut 125-150 2 6-10 | ||
| Hot Dog | 200 2 6-10 | |
| Hamburger | 240 2 10-14 | |
OPERATING INSTRUCTIONS
Before using the unit for the first time:
Heat the empty oven.
(1) Insert the tray and wire rack.
(2) Set the heater operating switch to "UPPER & LOWER", set the temperature control dial to "250°C" and heat the empty oven for about 10 minutes.
Note:
There may be some smoke and a burning smell at first use, but this is not a malfunction.
Temperature control dial:
Set the Temperature Control Dial for the dishes which you are going to cook.
Heat Operating Switch:
Select "upper" "Lower" or "Upper and Lower" according to the dishes you are going to cook. You can observe whether the heaters are working or not by observing the front Indicator light.
UPPER( ), LOWER( ), UPPER & LOWER( )
-
Set the arrow on the timer knob to the number which indicates the cooking time(minutes) according to the dishes you are going to cook.
-
Set the Timer by turning it clockwise.
The oven will turn off automatically at the end of the selected time and a bell will ring
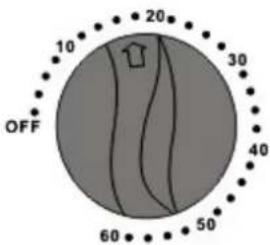
- When setting the Timer to less than 5 min., turn it to more than 6 min. and then back to the selected time.
- The oven can be turned off manually during cooking by turning the Timer counter-clockwise to the "0FF" position.
Note:
If the inside of the oven is dirty, cooking may take slightly longer than usual.
CAUTIONS
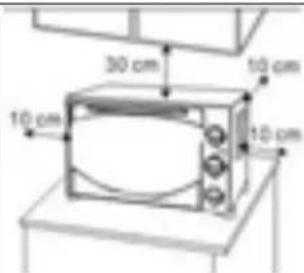
If the oven is positioned to close to a wall, the wall will be burned or stained. Be sure the curtain, etc., are not in contact with the body. Do not put anything between the bottom of the body and the surface on which it is set, an object so placed could be burned.
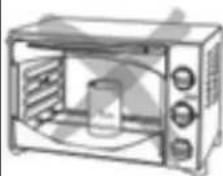
Do not put anything on the oven while using it, deformation, cracking, etc.
the heat could cause
natural_image
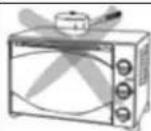
Line drawing of a microwave oven with a cylindrical container inside (no text or symbols)Any bottled or tinned food can not be heated directly would be broken out and scald the person.
as the bottle or tin

natural_image
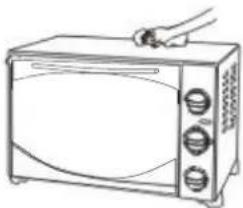
Line drawing of a microwave oven with extended blades (no text or symbols)Be careful! Not to bum yourself during use or immediately after use. The metal parts and glass window of the door become extremely hot during use. Be careful not to touch them when opening and closing the door.
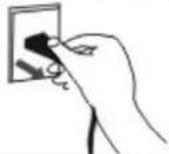
natural_image
Illustration of two hands using a tool to lift wires on a base (no text or symbols)AC power must be taken from a properly wired outlet. Insert the plu completely into the socket. if it is not, it could become abnormally hot. Do not use an electric light outlet. Never connect multiple plugs to the same outlet
MAINTENANCE
- Other than cleaning mentioned in this instruction manual, no additional maintenance or
serving of this appliance is required.
-
Repairs, when necessary, must be performed at an authorized service facility.
-
This appliance is intended for HOUSEHOLD USE ONLY and not for commercial or industrial use.
WARNING
If the supply cord or plug is damaged, the manufacturer or its service agent or a similarly qualified person in order to avoid a hazer must replace it. Check regularly for damages.
\\\\\*
natural_image
Illustration of a tray with light rays and a central object, no text or symbols presentnatural_image
Black metal grate with parallel slats (no text or symbols visible)natural_image
Line drawing of a microwave oven with three doors and a side rack (no text or symbols)natural_image
Line drawing of a microwave oven with control knobs and a handle (no text or symbols)natural_image
Line drawing of a microwave oven with three fans and a lid (no text or symbols)natural_image
Line drawing of a microwave oven with control knobs and a cylindrical container (no text or symbols)natural_image
Line drawing of a microwave oven with control knobs and a tray (no text or symbols)natural_image
Illustration of two wires clamped on a base, no text or symbols presentGuidelines for protection of the environment
This appliance should not be put into the domestic garbage at the end of its useful life, but must be disposed of at a central point for recycling of electric and electronic domestic appliances. This symbol on appliance, instruction manual and packaging puts your attention to this important issue. The materials used in this appliance can be recycled. By recycling used domestic appliances you contribute an important push to the protection of our environment. Ask your local authorities for information regarding the point of recollection..


Brand : TRISTAR
Model : OV1419
Category : Electric oven