CSU58 - Cd player/recorder MPMAN - Free user manual and instructions
Find the device manual for free CSU58 MPMAN in PDF.


User questions about CSU58 MPMAN
0 question about this device. Answer the ones you know or ask your own.
Ask a new question about this device
Download the instructions for your Cd player/recorder in PDF format for free! Find your manual CSU58 - MPMAN and take your electronic device back in hand. On this page are published all the documents necessary for the use of your device. CSU58 by MPMAN.
USER MANUAL CSU58 MPMAN
natural_image
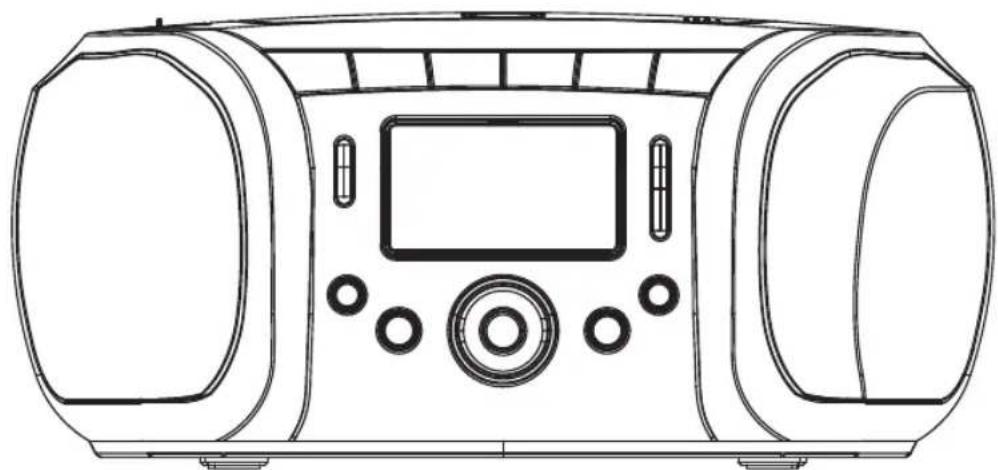
Line drawing of a portable electronic device with front panels, display screen, and control buttons (no text or symbols)CD/MP3/WMA/USB STEREO FM RADIO
WARNING
TO REDUCE THE RISK OF FIRE OR ELECTRIC SHOCK, DO NOT EXPOSE THIS APPLIANCE TO RAIN OR MOISTURE.
CAUTION
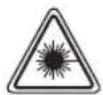
Use of controls or adjustments or performance of procedures other than those specified herein may result in hazardous radiation exposure.
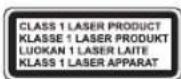
This Compact Disc player is classified as CLASS 1 LASER product.
CAUTION!
Invisible laser radiation when open and interlocks defeated. Avoid exposure to beam.
Covers - Do not remove any fixed covers as this may expose dangerous voltages.
Weather - It is advisable to unplug an external aerial during a thunderstorm.
Ventilation - The ventilation holes on the casing prevent your product from over heating. Do not block or cover these holes, especially with cloth or paper. It is recommended you eave a 10cm gap all around the unit.
Damage - Never use the product if it is damaged in any way. Always place the unit on a flat level surface avoiding anywhere which may be subject to strong vibration.
Batteries - Batteries are easily swallowed by young children. Do not allow young children to play with the unit or remote control. Dispose of used batteries in an environmentally friendly manner.
Temperature - Avoid extremes of temperature, either hot or cold, place your product well away from heat sources such as radiators or gas/electric fires. Don't use this apparatus in tropical climates.
Moisture - Do not allow your product to be exposed to rain, moisture or dust. If any liquid is spilt into this product it can cause serious damage. If you spill any liquid switch the unit off at the mains immediately. Contact your store immediately.
Accessibility - ensure that the mains plug is easily accessible.
Naked Flames - naked flames such as candles and night lights should not be placed on or near the unit.
■ USB Storage Device Data Protection
- Always insert the USB device in the correct direction. Failure to do so may result in damage to the USB device and this product.
- Do not remove the USB device whilst it is being accessed.
- Electrical interference and electrostatic discharges may cause the USB device to malfunction and suffer damage, resulting in data loss.
It is strongly recommended that any important data is backed up on a PC to protect against corruption, data loss or device malfunction. Please note that our company shall not accept any liability for damage or loss of stored data.
- The apparatus shall not be exposed to dripping or splashing. Do not install the equipment in a confined spaces, such as a book case or built-in cabinet.
THIS UNIT SHOULD NOT BE ADJUSTED OR REPAIRED BY ANYONE EXCEPT PROPERLY QUALIFIED SERVICE PERSONNEL.
POWER SUPPLY
natural_image
Technical line drawing of a device rear panel with ventilation grilles and buttons (no text or symbols)AC power operation
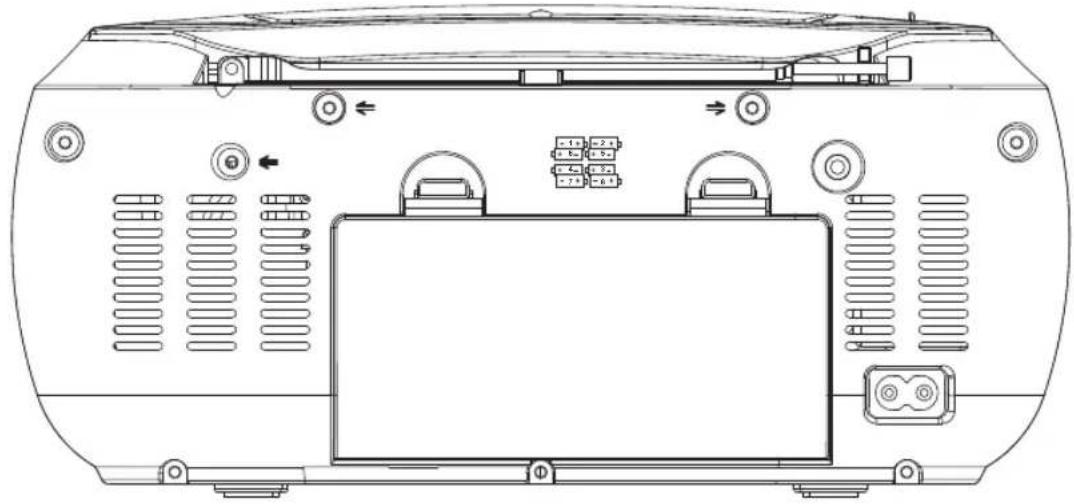
- Connect one end of the mains lead to the (AC \~IN) socket and the other end to an AC outlet.
To disconnect the product, unplug from the mains supply.
CAUTION:
WHEN INSTALLING BATTERIES
To prevent battery electrolyte leakage, which may result in injury and damage to the unit or other objects, observe the following precautions:
- All batteries must be installed with the proper polarity (see diagram in the compartment of the unit).
- Do not mix new with old or used batteries.
- Only use batteries of the same type and brand.
- Remove the batteries when they are not to be used for a long period time.
Battery power operation
- Open the battery compartment lid by pushing down on the tabs.
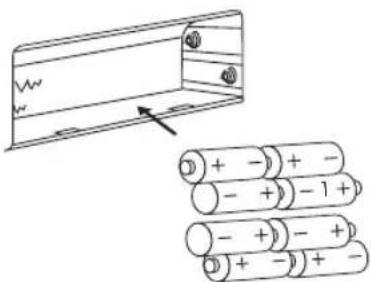
- Install 8 x "C" size batteries (no t supplied).
Refer to the polarity diagram in the battery compartment of the unit.
text_image
Diagram showing battery arrangement with positive and negative charges, including a magnified view of the battery structure.8 x "C" size batteries.
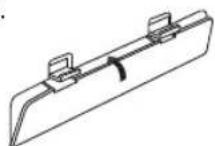
- Replace the lid.
GB-04
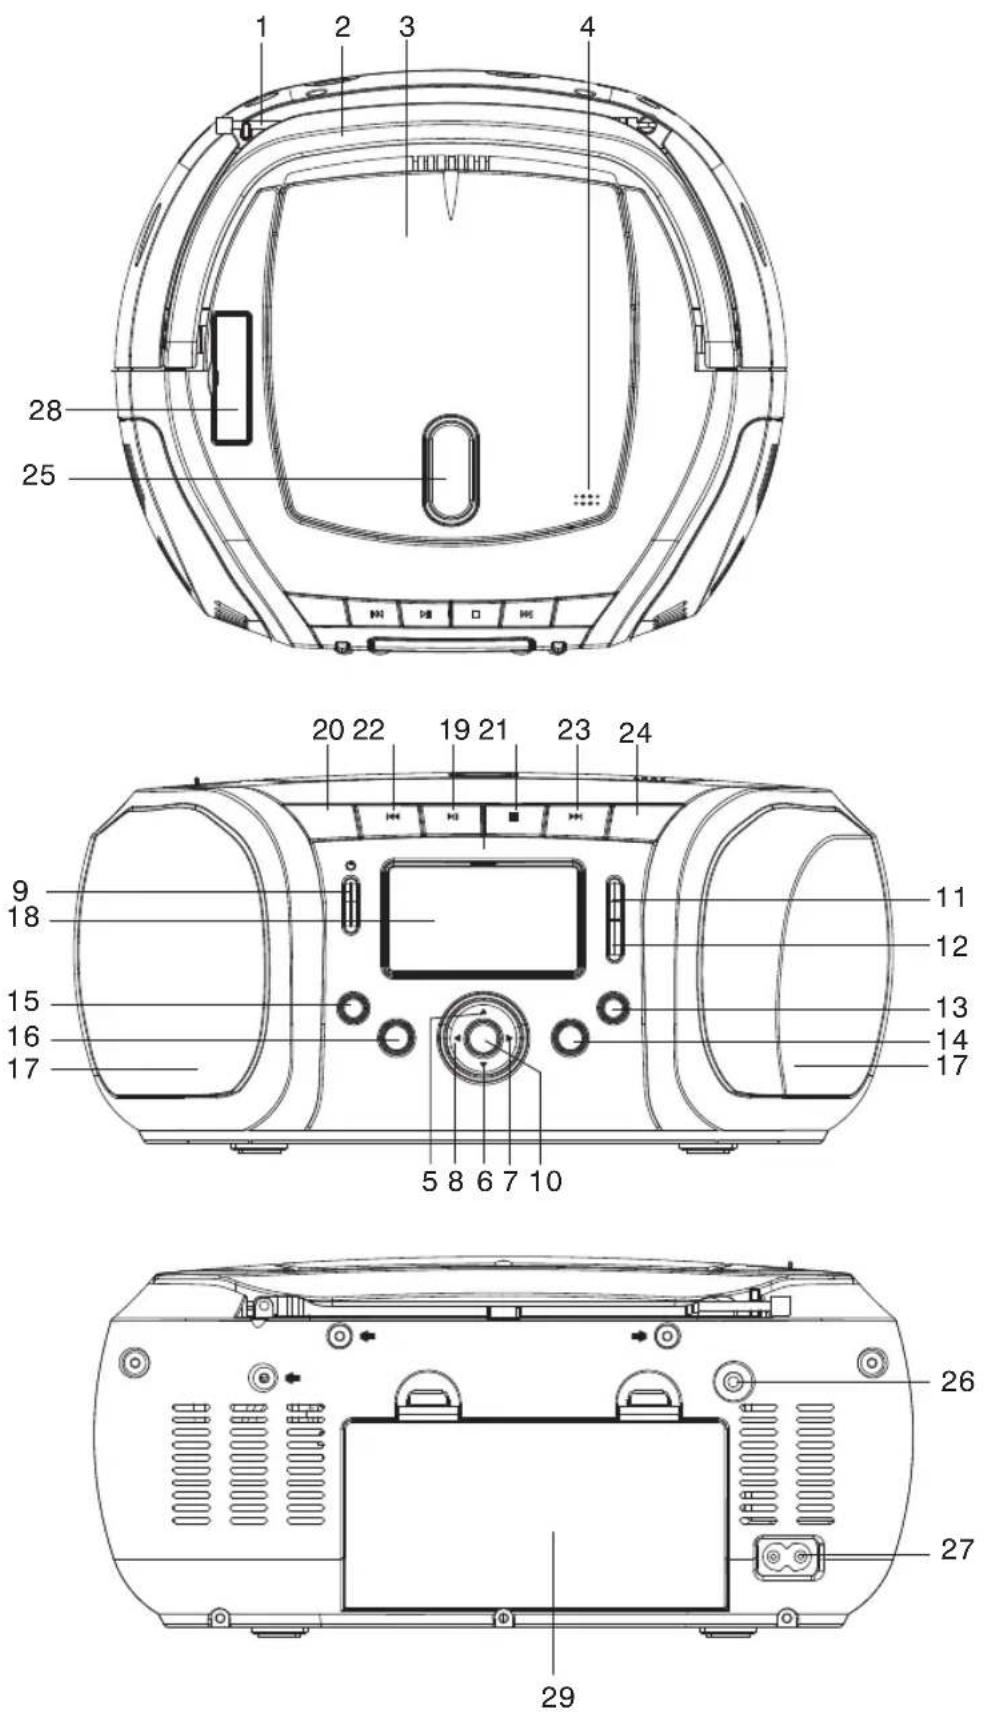
CONTROLS
- Telescopic aerial
- Handle
- Disc compartment
- CD open (PUSH OPEN)
- Volume control(▲)
- Volume control(▼)
- FOLDER+
- DISPLAY
- Power button(POWER)
- EQ button (EQ)
- RAND/PS-
- REPEAT/PS+
- MONO/ST
- SLEEP/12-24 HOUR
- CLK ADJ
-
ID3/FOLDER NAME
-
L/R SP
- LCD
- Play/Pause button (▶)
- FUNCTION
- SKIP-/TUN- (FB/BS ◀)
- Stop button ( ■ )
- SKIP+/TUN+ (FF/FS ▶)
- PROG
- CD Door lens
- Stereo headphones socket
- AC input socket(AC\~IN)
- USB socket (USB)
- Battery compartment
GENERAL OPERATION
- Connect the AC power.
- you press "CLK ADJ" button for 1 sec to select clock setting mode.
a) 12H/24H adjust: "◀" or "▶" button.
When the system is standby state, press "CLK ADJ" button then press "sleep/12-24 Hour" button to set 12-24 hour.
b) Hour adjust: "◀" or "▶" button.
c) Press "CLK ADJ" to save the hour setting.
d) Minute adjust: "◀◀" or "▶◀" button.
e) Time save: "CLK ADJ" button. - Press "POWER" button, The LCD will display the mode of last power off.
Press FUNCTION button to select CD or FM or USB mode. - Volume control
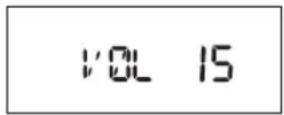
a) Press "VOL▼" to reduce the volume, the volume level will be shown in the LCD panel.
b) Holding down the button will result in continuous decrease of the volume.
c) Press "VOL ▲" will have an opposite result, it is similar to the case of pressing "VOL ▼". - EQ control
When you press the EQ button, the sound tone changes as below
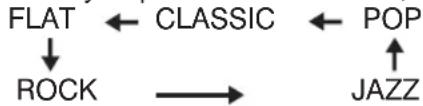
flowchart
graph TD
    FLAT --> ROCK
    ROCK --> CLASSIC
    CLASSIC --> POP
    POP --> JAZZ
Power off
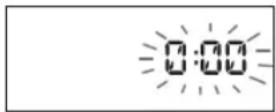
Power on (CD mode)
Electronic volume control display
- DISPLAY operation
When playing, press "DISPLAY" button to display clock.
Press the button once to show clock, and return normal play after 3 seconds.
In CD mode, press the DISPLAY button once to display clock, press it twice to display the remain track time for the whole disc and press it three times to return to current track time.
Three times
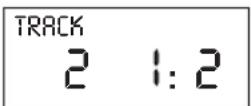
2R is the second track
For FM and USB mode, press DISPLAY button once to display clock and twice to return to current station frequency or track time display.
- "FOLDER+" button
In MP3/WMA mode, press "FOLDER+" button, ALBUM will jump forward.
- "ID3/FOLDER NAME" button
In MP3/WMA mode, Press "ID3/FOLDER NAME" button once to display the track name, Press twice to display Folder Name. Press three times to return to play-back time display mode.
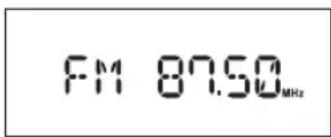
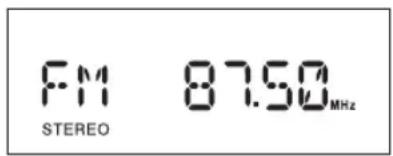
- Press "FUNCTION" button to FM mode, and the receiving tuning frequency will be shown.
Receiving tuning frequency
text_image
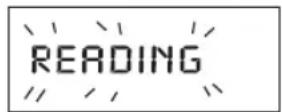
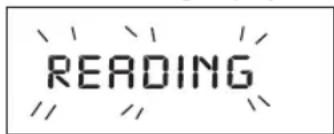
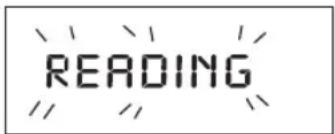
FM 87.50MHz10 Press "FUNCTION" key to set the CD mode, the TOC starts reading.
CD TOC reading display
text_image
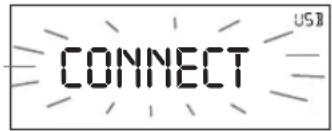
READING- Press FUNCTION button to set USB mode, The display will show CONNECT.
Insert USB to the unit, press PLAY button to USB playing, The system will play in USB mode.
Press "VOL+/VOL-" to adjust the volume.
Press "FB/BS ◀◀" or "FF/FS ▶▶" to choose a desired track. Each press will change the track number by ones. Hold down "FB/BS" or "FF/FS" during playing to continuous
change USB track position. During USB play, press "PLAY/PAUSE" button to pause playing. Press "stop" button to stop playing.
USB TOC reading display
text_image
CONNECT USB- Repeat Operation(USB/MP3)
Press "Repeat/PS+" button to select type before or during playing.
The sequence are: RPT-1 —RPT-folder —Repeat all.
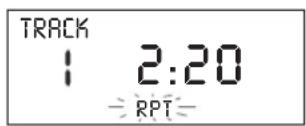
Press "Repeat/PS+" button once to repeat one, the display will show
" RPT" and the "RPT" will flash.
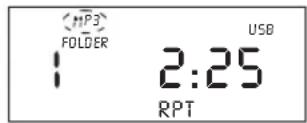
Press the button twice to repeat folder, the display will show "RPT FOLDER" (for USB/MP3-CD only).
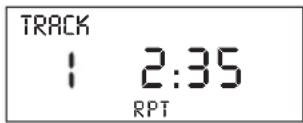
Press the button twice(for CD) and to repeat all.
The display will show "RPT" and the "RPT" will not flash.
Repeat Once
Repeat Folder (for MP3-CD&USB)
Repeat All
- Sleep operation
Press "sleep/12-24hour" button to count-down desired time during playing, sleep time step change by each pressing:

flowchart
graph LR
    A["10"] --> B["20"]
    B --> C["30"]
    C --> D["40"]
    D --> E["50"]
    E --> F["60"]
    F --> G["70"]
    G --> H["80"]
    H --> I["90"]
    I --> J["00"]
00 → cancel sleep function
Notes: when count-down time reach to zero, the system will automatically turn off.
1. FM FUNCTION
Power on press the FUNCTION button to select the FM mode.
1.1 Auto searching a station
During the tuner mode.
Press "FB/BS ◀◀" "dIF/FS "▶▶ key, and then release the button, fast scanning will start.
The frequency will continue to change and will automatically stop when a broadcast station is received.
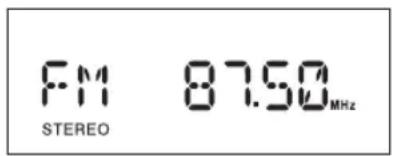
Stereo reception
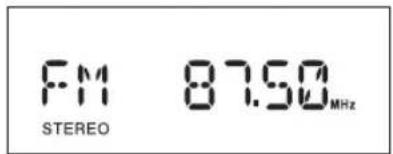
text_image
FM STEREO 87.50MHzNote: If the "FB/BS ◀◀" "FF/FS "▶▶ key is pressed during the auto searching, the searching will stop.
When the frequency display passes through the upper limit or the lower limit, it will automatically changes to the lower or the upper limit, respectively.
Stereo reception
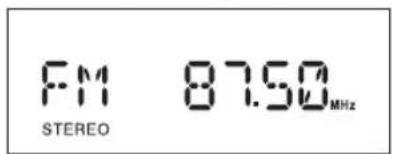
text_image
FM 87.50MHz STEREO1.2 Manual search a station to receive a weak broadcast signal
Press the "FB/BS ◀◀" "dFF/FS ►▶
button by one press at a time to adjust the frequency that you wish to receive.
1.3 Press MONO/ST button to change STEREO and
MONO mode, FM stereo broadcasting reception
"STEREO" display will light when a stereo
broadcasting station is received.
Stereo reception
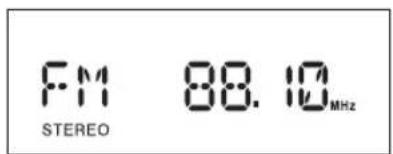
text_image
FM STEREO 88.10MHzNOTE:
For better reception - Extend the FM antenna and orientate it for the best reception.
If the unit picks up noise from other electrical appliances nearby, like a TV or fluorescent lights, move the unit away.
1.4 Presetting method
24 broadcast stations of FM band and 16 stations can be stored to the preset memory.
a) During tuner mode, by using the auto search or manual search methods to find a desired broadcasting station or any desired frequency.
b) Press PROG key to make the channel display 1 appear.
c) Press "REPEAT/PS+, RAND/PS-" key to choose the desired channel (e.g. channel 05)
d) Press PROG again, then the desired station is stored in channel 05.
e) Repeat steps (a) to (d) for storing the various broadcast stations to other channels or modifying the preset channel.
Search a desired station
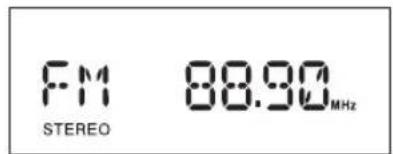
text_image
FM STEREO 88.90MHzMemory display
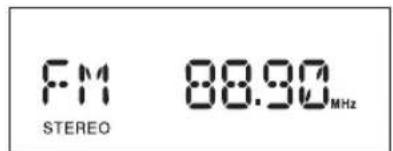
text_image
FM 88.90MHz STEREOChoose channel 1
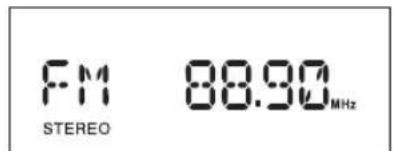
text_image
FM STEREO 88.90MHzChannel 1 presetting finish
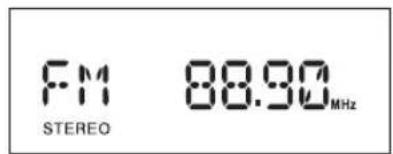
text_image
FM 88.90MHz STEREOf) To change the broadcast station of a certain channel to a different channel
Press the "REPEAT/PS+, RAND/PS-" key or the numerical key to call the broadcast station of the channel that you wish to change. (Example: channel 6)
Before change of channel
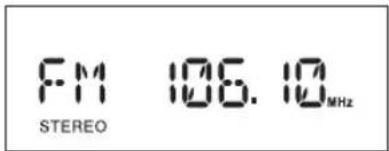
text_image
FM 106.10MHz STEREOPress PROG key to the presetting mode and the channel display "06"
Presetting mode
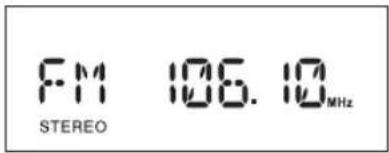
text_image
FM 106.10MHz STEREOPress "REPEAT/PS+, RAND/PS-" to change the channel (for example, channel 6 to channel 8)
After change of channel
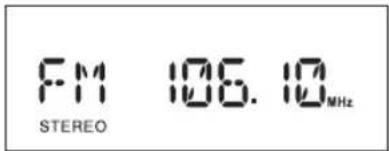
text_image
FM 106.10MHz STEREOPress the PROG once more, 106.1MHz is set to channel 8.
106.1MHz is stored in CH 8
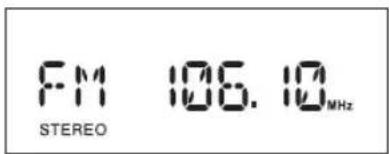
text_image
FM 106.10MHz STEREONote : The original memory of channel 6 will not be changed during above operations; also, press the PROG more, to according the sequence of memory number to memory.
2. CD FUNCTION
2.1 Power On if the display isn't CD mode please press FUNCTION button set the function to CD mode.
When the lid or tray is closed, reading TOC will start.
Reading TOC
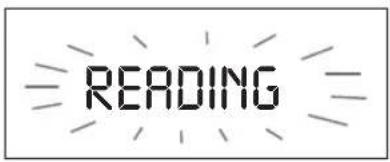
text_image
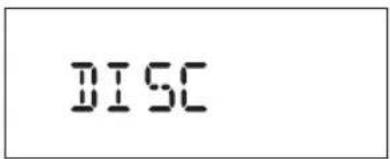
READINGIf there is no CD inside or can't read TOC, a "DISC" display will appear
When there is no disc
text_image
DISC2.2 Loading a disc
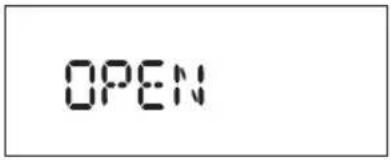
Lid open
Open the lid
text_image
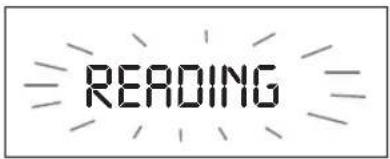
OPENPut a disc inside and then close the lid. After that, reading TOC will start.
Reading TOC
text_image
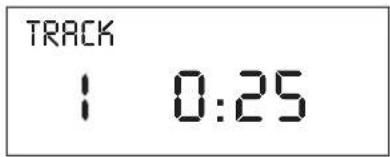
READINGAfter reading TOC
text_image
TRACK 1 0:252.3 To pause the playing
During the disc is playing press "PLAY/PAUSE▶" to pause playing.
One more press the "PLAY/PAUSE ▶" key to cancel the pause condition.
While paused
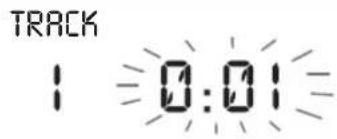
text_image
TRACK 1 0:012.4 To stop the disc playing
Press "STOP ■" key to stop playing.
Stop condition (TOC display)
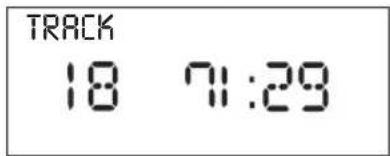
text_image
TRACK 18 01:292.5 To specify a track to play
If the CD is stopping press "FB/BS◀◀" or "FF/FS▶◀" to choose a desired track. (Example: The 3 ^rd track) Each press will change the track number by one. Then the "PLAY/PAUSE▶◀" key is pressed, the CD will start to play from track 3 the CD is playing, several seconds after "FB/BS◀◀" or "FF/FS▶◀" is released, the CD will start to play from track 3 or track 4.
Searching track 3
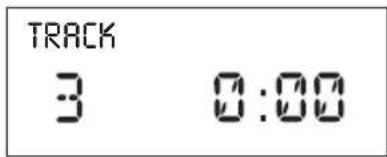
text_image
TRACK 3 0:00Playing track 3
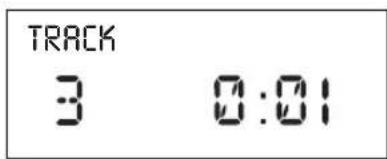
text_image
TRACK 3 0:01(During the CD playing holding down the button will result in fast forward search or fast backward search.)
2.6 Fast forward and Fast backward
Hold down the "FB/BS ◀◀" or "FF/FS ▶◀" button during playing.
When the button is held down, there will be a continuous change of CD track's position.
This change of position can be performed even during pause.
2.7 MEMORY MODE
a) In CD STOP "PROG Pkeysonce.
Program input mode
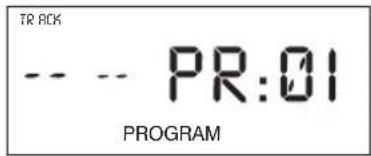
text_image
TR ACK -- -- PR:01 PROGRAMChoose track 4
b) Specify a track to play with "FB/BS ◀◀" or "FF/FS ▶◀".
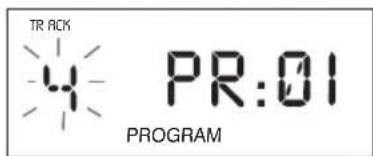
text_image
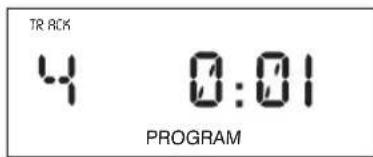
TR ACK 4 PR:01 PROGRAMProgram input complete
c) Press "PROG" once, track 4 is stored into the program 1 position. Step (a) to (c) can be used to store up to 32 tracks into the program or modified the existing program.
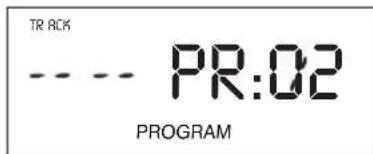
text_image
TR ACK ---- PR:02 PROGRAMd) Pressing "PLAY/PAUSE▶" key to play the program.
Play operation
e) Press "STOP■" when you wish to stop the play.
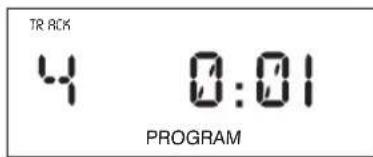
text_image
TR ACK 4 0:01 PROGRAMf) Cancel program
In CD STOP mode
- Press "STOP" button twice.
- Open the CD door.
- Press "STOP" button in memory mode. The program can be canceled by the ways.
g) 32 tracks can be registered.
Note : If the program already exists, press the "PROG" and then press the "PLAY/PAUSE▶II" key, the program play will start.
The program will be cleared when the tray is opened or when the lid is opened.
MP3/WMA3FUNCTION
3.1 Power On
Press FUNCTION button to CD mode.
When the lid or tray is closed, reading TOC will start.
If there is no disc inside or can't read TOC, a "DISC" display will appear
3.2 Loading a disc
Open the lid
Put a MP3/WMA disc inside and then close the lid. After that, reading TOC will start.
Reading TOC
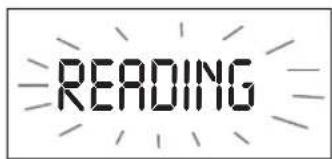
text_image
READINGWhen there is no disc
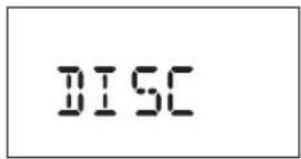
text_image
DISCLid open
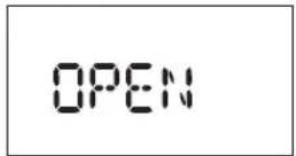
text_image
OPENReading TOC
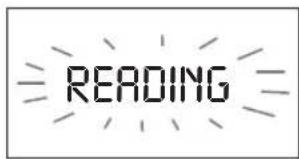
text_image
READINGAfter reading TOC
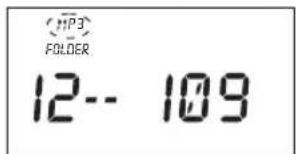
text_image
FOLDER 12-- 109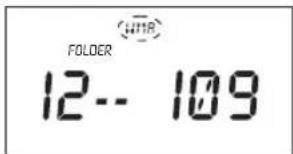
text_image
FOLDER 12-- 1093.3 To pause play
During play press "PLAY/PAUSE▶" to pause playing.
The playing time will flash.
MP3 While paused
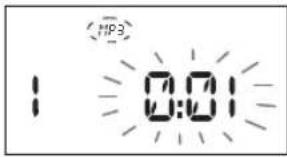
text_image
MP3 1 0:01WMA While paused
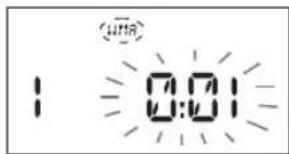
text_image
1 0:01Press the "PLAY/PAUSE ▶"
key to cancel the pause condition.
3.4 To stop the disc playing
Press "STOP ■" key.
Stop condition (TOC display)
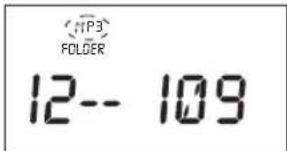
text_image
MP3 FOLDER 12-- 109Stop condition (TOC display)
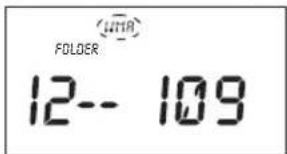
text_image
FOLDER 12-- 1093.5 To specify a track to play
1) Press " FOLDER " button, the album NO. will change.
Album No. changed
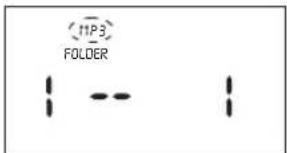
text_image
MIP3 FOLDERAlbum No. changed
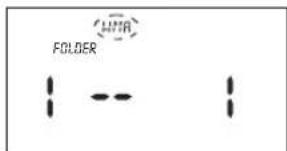
text_image
FOLDER LIRA2) Press "FB/BS" or "FF/FS" button to change the track NO.
Track No. changed
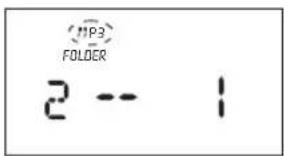
text_image
MP3 FOLDER 2 -- 1Track No. changed
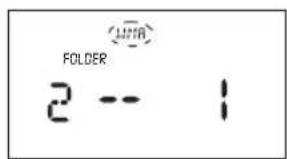
text_image
FOLDER 2 -- 14. Using headphones
When the headphones are plugged in, the speakers are automatically disconnected.
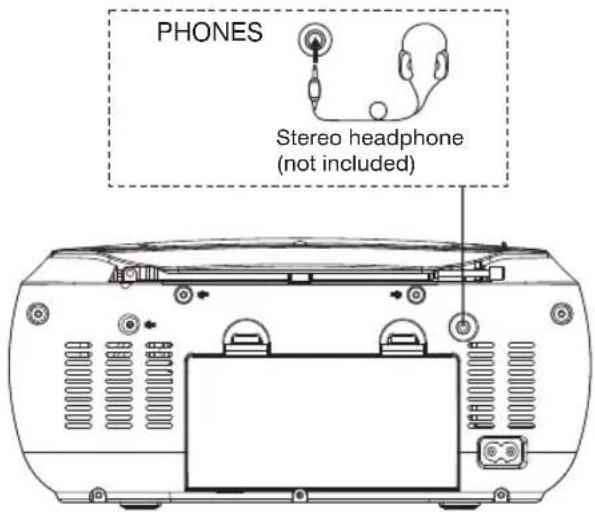
text_image
PHONES Stereo headphone (not included)- Do not apply paper or write anything on the surface of the disc.
- Do not use cleaners or antistatic sprays on discs, such as those used for phonograph recorder.
IMPORTANT NOTE:
If an abnormal display indication, audio or an operating problem occurs, please press the POWER button to OFF position, then disconnect the mains lead and all cables. Remove the batteries (see page 2). Wait at least 5 seconds, then reconnect all cables to correct position. Reconnect the mains lead and reinstall the batteries.
Compact discs
- Both 8cm and 12cm discs can be played in this unit.
NOTE: Place only one disc at a time in the CD compartment.
Discs bearing the logo as shown can be played in this unit.

or CD-R/CD-RW or MP3,WMA
- Always place the compact disc in the CD compartment with the label facing up.
Compact discs can be played on only one side.
- Fingerprints and dust should be carefully wiped off the disc's surface with a soft cloth.
Gently wipe in a straight motion from the inside to the outside of the disc.
- Discs should be returned to their case after use to avoid scratches which could cause the player to skip.
- Do not expose a disc to direct sunlight, high humidity, or high temperatures for extended periods of time to prevent warping the disc.
MAINTENANCE
Cleaning the unit
Clean the outside of the unit with a clean soft cloth, moistened with lukewarm water.
Do not use solvents such as benzene or thinner. These will permanently damage the units finish.
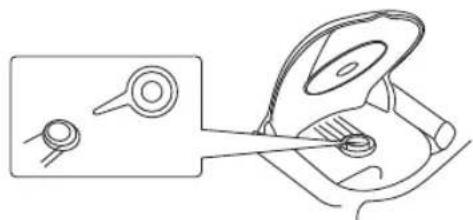
Cleaning the CD player lens
The lens should never be touched. If dust is on the leans, blow it off using a camera lens blower. (Please consult your dealer.)
Do not repair yourself.
Always contact a qualified service engineer.
natural_image
Line drawing of a mechanical assembly with two components and a tool, no text or symbols presentWarning
- Do not block the ventilation hole.
- Do not expose to rain or moisture.
SPECIFICATIONS
(Radio Section)
Tuning ranges : FM : 87.5-108.0MHz
(General)
Power output : 1.5W x 2 (CH)
Speaker : 77mm x 2 (8 ohms)
Terminals- Output : Headphones
Power source : AC: 230V/50Hz DC: 12V (8 x "C" size batteries)
Dimensions : 260 x 226x 120mm
(W) × (D) × (H)
weight (approx) : 1.9 kg (excluding batteries)
Maximum MP3/WMA card program
compatible memory size: 511 tracks
- Specifications subject to change without notice.
This is to certify that CSU58 is in conformity with:
EC Council directive 2004/108/EC
Applicable standards:
EN55013:2001+A1:2003+A2:2006
EN55020:2007
EN61000-3-2:2006+A1:2009+A2:2009
EN61000-3-3:2008
Directive 2006/95/EEC
Applicable Standards:
EN 60065:2002+A1:2006+A11:2008
For more information please visit our website
www.mpmaneurope.com
CE

text_image
mp man®MODE D'EMPLOI
CSU58
natural_image
Line drawing of a portable electronic device with front panels, display screen, and control buttons (no text or symbols)ADIO FM STÉRÉO CD/MP3/WMA
AVERTISSEMENT
POUR RÉDUIRE LES RISQUES D'INCENDIE OU D'ÉLECTROCUTION, NE PAS EXPOSER CET APPAREIL À LA PLUIE OU À L'HUMIDITÉ.
MISE EN GARDE
natural_image
Technical line drawing of a device rear panel with ventilation grilles and buttons (no text or symbols)text_image
Diagram showing a battery pack with w and w' labels and three batteries arranged in series, illustrating charge distribution.text_image
FM 87.50MHztext_image
FM 87.50MHz STEREORéception stéréo
text_image
FM 87.50MHz STEREOtext_image
TRACK 18 01:29text_image
(MP3 FOLDE R 1 - - 1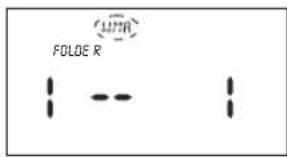
text_image
FOLDE R LUTRnatural_image
Line drawing of a medical procedure showing a magnifying glass over a surgical instrument (no text or symbols present)Directive 2006/95/EEC
Normes applicables:
EN 60065:2002+A1:2006+A11:2008
natural_image
Line drawing of a portable electronic device with front panels, display screen, and control buttons (no text or symbols)CD/MP3/WMA/USB STEREO FM RADIO
WARNUNG
natural_image
Technical line drawing of a device rear panel with ventilation grilles and buttons (no text or symbols)text_image
Diagram showing a battery pack with w and w' labels and three batteries arranged in series, illustrating charge distribution.Insert USB to the unit, press PLAY button to USB playing, The system will play in USB mode.
Press "VOL+/VOL-" to adjust the volume.
Press "FB/BS ◀◀" or "FF/FS ▶▶" to choose a desired track. Each press will change the track number by ones. Hold down "FB/BS" or "FF/FS" during playing to continuous change USB track position. During USB play, press "PLAY/PAUSE" button to pause playing. Press "stop" button to stop playing.
text_image
FM 87.50MHzCD TOC Leseanzeige
text_image
READINGtext_image
FM 87.50MHz STEREO"Stereoempfang
text_image
FM 87.50MHz STEREOtext_image
TR ACK --- PR:02 PROGRAMAbspielen