N9500GT1GDSF - Graphic card ECS - Free user manual and instructions
Find the device manual for free N9500GT1GDSF ECS in PDF.
Document temporarily unavailable
The manual is currently being transferred to our new server. It will be accessible again in a few hours. Thank you for your patience.
| Product Type | Graphics card |
| Brand | ECS |
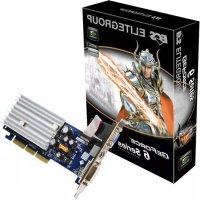
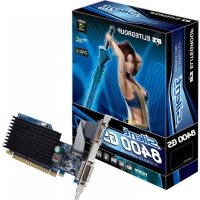
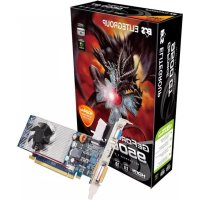
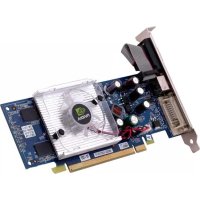
| Model | N9500GT1GDSF |
| Interface | PCI Express or AGP |
| Graphics Processor | NVIDIA GeForce 9500 GT |
| Video Memory | 1 GB DDR2 |
| Video Outputs | VGA, DVI, TV-out (depending on model) |
| Power Supply Required | System power supply 300 W minimum |
| Additional Power Connector | No (some models may have one) |
| Supported Operating Systems | Windows 2000/XP/2003/Vista |
| Approximate Dimensions | 17 × 10 × 2 cm |
| Approximate Weight | 200 g |
| Main Functions | 3D acceleration, multi-monitor output via nView, SLI support, temperature control |
| Included Software | NVIDIA ForceWare drivers, ECS VGA Installer utility, DirectX |
| Cleaning and Maintenance | Dust with a soft dry cloth. Do not use liquids. |
| Spare Parts and Repairability | No spare parts available. In case of failure, contact customer service. |
| General Information | Manual available in multiple languages. Check the ECS website for updates. |
Frequently Asked Questions - N9500GT1GDSF ECS
User questions about N9500GT1GDSF ECS
0 question about this device. Answer the ones you know or ask your own.
Ask a new question about this device
Download the instructions for your Graphic card in PDF format for free! Find your manual N9500GT1GDSF - ECS and take your electronic device back in hand. On this page are published all the documents necessary for the use of your device. N9500GT1GDSF by ECS.