OSKAR LITTLE TITANIUM - Humidifier STADLERFORM - Free user manual and instructions
Find the device manual for free OSKAR LITTLE TITANIUM STADLERFORM in PDF.
| Product type | Evaporative humidifier |
| Brand | STADLERFORM |
| Model | OSKAR LITTLE TITANIUM |
| Humidification capacity | up to 200 g/h |
| Weight | 2.5 kg |
| Tank capacity | 2.5 litres |
| Power supply | 220-240 V, 50/60 Hz |
| Functions | 2 speeds (normal/high), night mode (3 brightness levels) |
| Perfume tank | Yes, max capacity 2-3 drops |
| Ionic silver cube | Yes, effective for 1 year |
| Filter cartridge | Replacement recommended every 2 months |
| Cleaning | Every 2 weeks, descaling if necessary |
| Water shortage indicator | Red light |
| Safety distance | Minimum 3 m from a bathtub, shower or swimming pool |
| Warranty | 2 years |
| Compliance | CE, WEEE, RoHS |
| Use | Indoors only |
| Foot material | Zinc |
Frequently Asked Questions - OSKAR LITTLE TITANIUM STADLERFORM
User questions about OSKAR LITTLE TITANIUM STADLERFORM
0 question about this device. Answer the ones you know or ask your own.
Ask a new question about this device
Download the instructions for your Humidifier in PDF format for free! Find your manual OSKAR LITTLE TITANIUM - STADLERFORM and take your electronic device back in hand. On this page are published all the documents necessary for the use of your device. OSKAR LITTLE TITANIUM by STADLERFORM.
USER MANUAL OSKAR LITTLE TITANIUM STADLERFORM
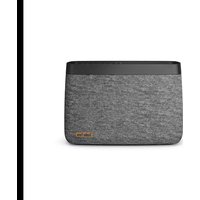
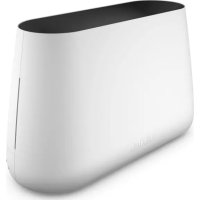
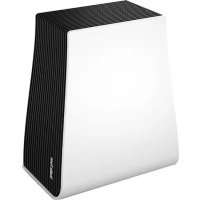
Congratulations! You have just acquired the exceptional Air Humidifier OSKAR little. It will give you great pleasure and improve the indoor air for you.
As with all domestic electrical appliances, particular care is needed with this model also, in order to avoid injury, fire damage or damage to the appliance. Please study these operating instructions carefully before using the appliance for the first time and follow the safety advice on the appliance itself.
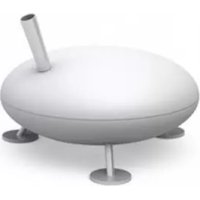
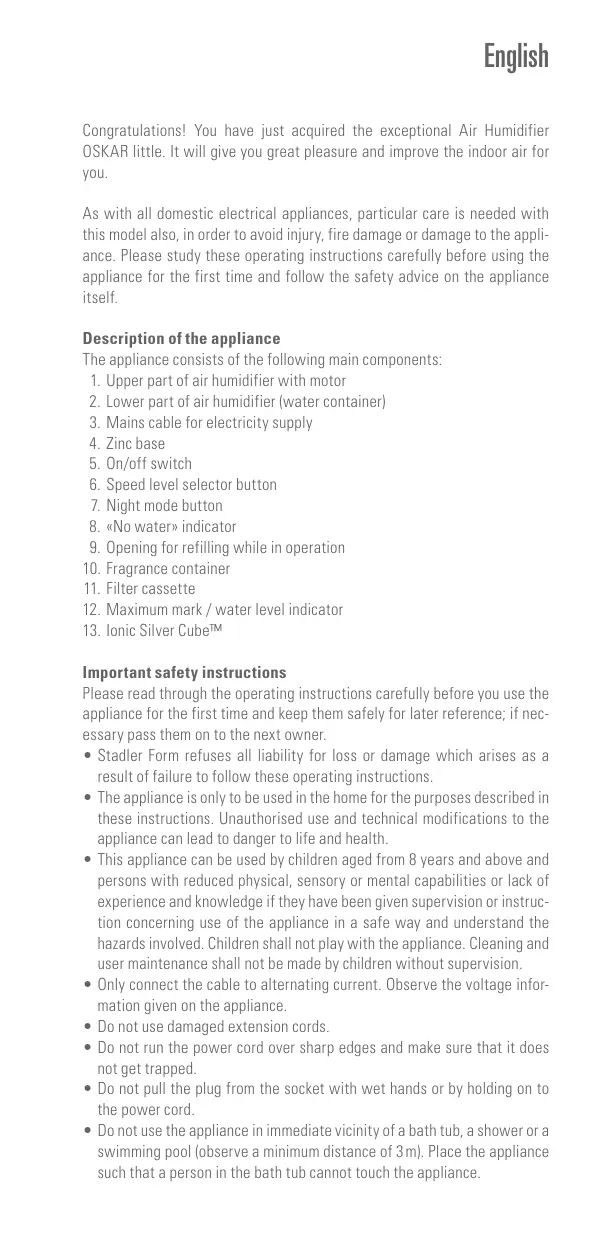
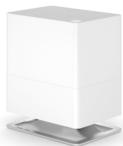
Description of the appliance
The appliance consists of the following main components:
- Upper part of air humidifier with motor
- Lower part of air humidifier (water container)
- Mains cable for electricity supply
- Zinc base
- On/off switch
- Speed level selector button
- Night mode button
- «No water» indicator
-
Opening for refilling while in operation
-
Fragrance container
- Filter cassette
- Maximum mark / water level indicator
- Ionic Silver CubeTM
Important safety instructions
Please read through the operating instructions carefully before you use the appliance for the first time and keep them safely for later reference; if necessary pass them on to the next owner.
- Stadler Form refuses all liability for loss or damage which arises as a result of failure to follow these operating instructions.
- The appliance is only to be used in the home for the purposes described in these instructions. Unauthorized use and technical modifications to the appliance can lead to danger to life and health.
- This appliance can be used by children aged from 8 years and above and persons with reduced physical, sensory or mental capabilities or lack of experience and knowledge if they have been given supervision or instruction concerning use of the appliance in a safe way and understand the hazards involved. Children shall not play with the appliance. Cleaning and user maintenance shall not be made by children without supervision.
- Only connect the cable to alternating current. Observe the voltage information given on the appliance.
- Do not use damaged extension cords.
- Do not run the power cord over sharp edges and make sure that it does not get trapped.
- Do not pull the plug from the socket with wet hands or by holding on to the power cord.
-
Do not use the appliance in immediate vicinity of a bath tub, a shower or a swimming pool (observe a minimum distance of 3m ). Place the appliance such that a person in the bath tub cannot touch the appliance.
-
Do not place the appliance near a heat source. Do not subject the power cord to direct heat (such as a heated hotplate, open flames, hot iron sole plates or heaters for example). Protect power cords from oil.
- See to it that the appliance is properly positioned to ensure a high stability during its operation and make sure that no one can trip over the power cord.
- The appliance is not splash-proof.
- For indoor use only.
- Do not store the appliance outdoors.
- Store the appliance in a dry place inaccessible to children (pack the appliance).
- If the power cord is damaged, it must be replaced by the manufacturer or a repair shop authorized by the manufacturer or by similarly qualified persons in order to avoid a hazard.
- Unplug the appliance before filling and cleaning.
Setting up / operation
- Place Oskar little on a flat surface in the desired area. Plug the mains cable (3) into a electric socket. Use the filling opening (9) to fill the lower part (2) with water up to the maximum mark (12), either at a water tap or with a watering can. When you have filled the lower part at the tap, carefully fit the upper part (1) to the lower part (2).
- Start the appliance by pressing the on/off switch (5). The blue LED should then light up. If a red pilot lamp (8 and 12) lights up however, this indicates either lack of water in the appliance or failure to seat the upper part correctly on the lower part.
- By pressing the speed level selector button (6) you can change the humidity output (a blue lamp for normal evaporation, two blue lamps for high evaporation).
-
If you find the lamps too bright (in a bedroom for example), you may reduce the light intensity by pressing the night mode key (7). You can choose between three different modes:
-
Normal mode (default mode)
- Dimmed mode (push once)
- Lights-out mode (push twice)
- By pushing the dimmer button once more, you can go back into normal mode.
If there is no water in the appliance, the red LEDs (8 and 12) light up in all modes (normal and night mode). The red light can not be dimmed.
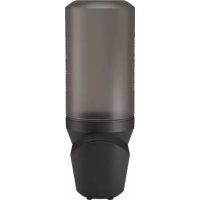
- You can use the Oskar little air humidifier to distribute fragrances in the room. Please be as economical as possible in the use of fragrances, because excessive quantities may lead to malfunctions and damage to the appliance. To use fragrances, remove the fragrance container (10) from the filling opening (9). Place no more than 2-3 drops of fragrance in the container and replace it in the space provided in the filling opening. If you wish to change the fragrance, you can wash out the fragrance container and fleece under running water.
- If you wish to top up with water during operation, you can open the filling opening (9) by pressing on it (Push to open). You can then refill the appliance using a water can or water bottle without having to switch it off. PLEASE NOTE: If you are operating the appliance with fragrances,
remove the fragrance container before refilling to prevent water getting into it. Should this nevertheless occur, it will be necessary to remove the water container (2) and rinse it. Fragrances should not be permitted to enter the water tank, since they might destroy the plastic.
Important information
Humidification with an evaporator takes time. This means that it usually takes more than 2-3 hours to reach the desired humidity. If you operate the humidifier in a very dry environment we recommend to operate it on speed level 2 to reach a maximum amount of humidity in a short time.
Cleaning and cassette replacement
Prior to any maintenance work and after each use, switch off the appliance and withdraw the mains cable from the socket.
Never immerse in water (risk of short circuit).
- External surfaces should only be wiped off with a damp cloth and then dried well.
- Every 2 weeks: To clean the inside, remove the filter cassette and descale the lower part if necessary. After descaling, thoroughly rinse the lower part and then dry it before putting the air humidifier into operation again.
- For hygienic and optimum operation of the air humidifier, the filter cassette should be replaced at least every two months. If the filter cassette remains in use for longer than this, on the one hand the humidity output may decline severely and on the other, the anti-bacterial action of the cassette can no longer be guaranteed. The filter cassette can be obtained from the dealer where you purchased your Oskar little.
Ionic Silver CubeTM
The ionic Silver Cube (13) prevents the growth of germs and bacteria in the humidifier due to the continuous release of silver ions. The use of the ionic Silver Cube leads to a hygienic room climate. The lifetime of the ionic Silver Cube is around one year. We therefore recommend that you replace the ionic Silver Cube at the beginning of every humidifying season. The ionic Silver Cube starts working as soon as it comes into contact with water, and also works when the unit is switched off.
Repairs
- Repairs to electrical appliances must only be carried out by a qualified electrical technician. If improper repairs are carried out, the warranty lapses and all liability is refused.
- Never operate the appliance if the adaptor or plug is damaged, after it has malfunctioned, if it has been dropped or has been damaged in any other way (cracks/breaks in the casing).
- Do not push any object into the appliance.
- If the appliance is beyond repair, make it unusable immediately by cutting through the cable and hand it in at the collection point provided for the purpose.
Disposal
The European directive 2012 / 19 / CE on Waste Electrical and Electronic Equipment (WEEE), requires that old household electrical appliances must
not be disposed in the normal unsorted municipal waste stream. Old appliances must be collected separately in order to optimize the recovery and recycling of the materials they contain and reduce the impact on human health and the environment. The crossed out "wheeled bin" symbol on the
product reminds you of your obligation, that when you dispose of the appliance it must be separately collected. Consumers should contact their local authority or retailer for information concerning the correct disposal of their old appliance.
Specifications
Humidity output up to 200g / h
Rated power 6W (Level I)
15W (Level II)
Dimensions 246 x 290 x 175 mm
(width x height x depth)
Weight 2.5kg
Tank capacity
2.5Liter
Complies with EU
regulations
CE/WEEE/RoHS
All rights for any technical modifications are reserved
Consummation 6W (Vitesse I)
15W (Vitesse II)
Dimensions 246 x 290 x 175 mm
This warranty covers defects of construction, production and material. All abrasion parts are excluded and also inappropriate usage or maintenance.
Garantie 2 ans
Thanks to all people involved in this project:
Del Xu for his engagement and for building cultural bridges, Lin Shouming for the engineering and Qin Huiyi for his CAD work, Mario Rothenbühler for the photos, Matti Walker for the small design, space saving ideas and graphic work.
Martin Stadler, CEO Stadler Form Aktiengesellschaft

Stempel Verkaufsstelle / Retailer's stamp / Cachet du point de vente / Timbro del rivenditore / Sello del establecimento de vente / Stempel verkoopadres / Butikkens stempe / Leima myyntikonttori / Forhandlerstempel / Återförsäljarens stämpel