MAMAS & PAPAS HIGHCHAIR - High chair MAMAS & PAPAS - Free user manual and instructions
Find the device manual for free MAMAS & PAPAS HIGHCHAIR MAMAS & PAPAS in PDF.
User questions about MAMAS & PAPAS HIGHCHAIR MAMAS & PAPAS
0 question about this device. Answer the ones you know or ask your own.
Ask a new question about this device
Download the instructions for your High chair in PDF format for free! Find your manual MAMAS & PAPAS HIGHCHAIR - MAMAS & PAPAS and take your electronic device back in hand. On this page are published all the documents necessary for the use of your device. MAMAS & PAPAS HIGHCHAIR by MAMAS & PAPAS.
USER MANUAL MAMAS & PAPAS HIGHCHAIR MAMAS & PAPAS
Thanks for choosing Nuna!
Nuna designs distinctive,smart and exciting products.
The Nuna high chair owes its character to a balanced combination of style and functionality. Thanks to the modular accessories and the assisted height adjustment, you can adapt the chair very easily to your and your child's needs in everyday life.
The Nuna chair, when fitted with all accessories, is a fully equipped high chair. By removing these accessories, it becomes a toddler chair and subsequently can be used for an older child.
Enjoy your high chair!

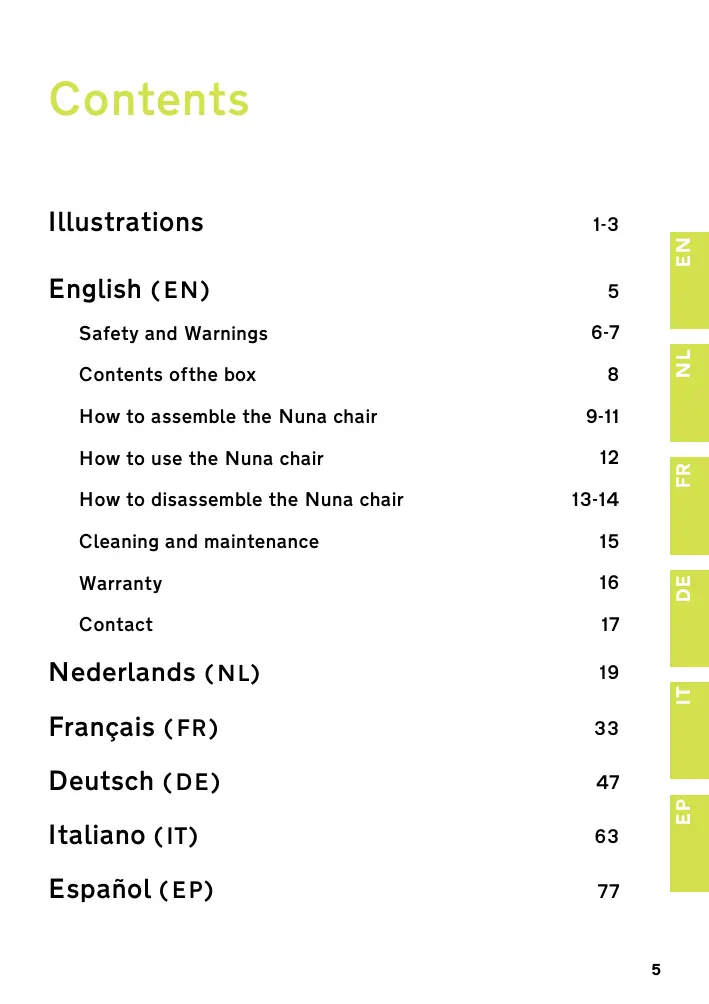
Contents
Illustrations 1-3
English (EN) 5
Safety andWarnings 6-7
Contents of the box 8
How to assemble the Nuna chair 9-11
How to use the Nuna chair 12
How to disassemble the Nuna chair 13-14
Cleaning and maintenance 15
Warranty 16
Contact 17
Nederlands (NL) 19
Français (FR) 33
Deutsch (DE) 47
Italiano (IT) 63
Espanol (EP) 77
Safety and recommendations
Please take note of the following before using the Nuna chair.
Safety is very important to us and you can be assured that our products comply with the relevant standards and that they have been tested by a number of independent testing panels and laboratories.

The Nuna high chair is a patented product and complies with the European High Chair Standard: EN 14988.
If you have any questions or comments regarding the Nuna high chair, we will be glad to hear them through our website nuna.eu
IMPORTANT! KEEP THIS MANUAL FOR FUTURE REFERENCE!
Read all instructions before assembly and use of the product.
The Nuna high chair can be used only when the child can sit upright unaided (around 6-7 months), and we recommend that you stop using it when your child weighs more 50kg (around 12 years).
This chair is designed to be used by children and not by adults.
Warnings
Failure to follow these warnings and instructions could result in serious injury or death.
To avoid any danger of suffocation, remove all plastic covers before using this item and destroy or keep them away from babies and children!
NEVER leave the child unattended!
The child should wear the harness restraint correctly fitted and adjusted!
DO NOT use the high chair unless all components have been fitted and adjusted!
DO NOT use the high chair if any parts are torn, broken or missing!
Never use the high chair in the vicinity of a strong source of heat (electrical or gas heater/fire...) or open fire!
Further warnings
The tray and safety bar alone DO NOT guarantee the restraint of your child.
DO NOT let a child play close to the high chair or climb on it.
Be sure to use the high chair always on a level, stable surface.
Keep the high chair away from steps, stairs, windows and walls.
Any weight attached to the high chair or on the tray will have a negative impact on the stability of the high chair and increase the risk of the high chair tipping over.
DO NOT adjust the height of the high chair while the child is sitting in it.
DO NOT use the high chair as a step stool.
! Be careful not to place small items, toxic substances, hot objects, electrical cables etc. near the high chair where the child can reach them, as they may cause choking, poisoning or other injuries.
The cushion is meant to be used in combination of the safety bar, the harness restraint or both eventually.
Use original Nuna parts and accessories only.
Contents of the Box
Nuna key
(Harness restraint removal tool)
Tray
Harness restraint 5 pts
Safety bar
Seat cushion
Seat (with flap and height adjustment lock on reverse side)
Footrest
Leg frame
Cushion Retainer
Tools Needed:
Nuna key to remove harness restraint
when desired (included in the box)
Check that you have all the parts for this product before assembling it.
Refer to the illustrations provided at the beginning of this manual to identify each part.
How to assemble the Nuna chair
Check that you have all the parts for this product before assembling it. The assembly should be performed only by adults.
Assemble Seat onto Leg Frame
Once the seat is attached to the legs of the chair, it is considered to be a permanent assembly. However, it is possible to reverse this assembly if the seat needs to be put into storage or shipped. We recommend this should not be a regular occurrence.
1 Place the leg frame on the floor facing you, as illustrated. (1)
2 Take the seat. Release the lock by pulling down the latch at the rear of the seat flap. Then pull the flap forward completely. (2)
3 Position the seat over the leg frame to line up the slots behind the seat flap with the white tracks on the leg frame, as illustrated. (3)
4 Once the seat is correctly positioned over the white tracks, keep the flap up and firmly push the seat downward until you hear a click. If the flap is not completely up you will not be able to push the seat down. Continue to push firmly on the sitting surface until the seat reaches its lowest position.
5 To lock the seat, lower the flap and listen for the click as the lock clicks back into position.
The seat is now permanently mounted to the legs and can be adjusted within the range between the highest and lowest positions.
Assemble Footrest onto Seat
1 Slide down the lock behind the flap and lift the flap completely. The seat automatically rises up to its highest position. (2)
2 Attach the footrest on one side of the flap and then flex the footrest to attach it on the other side. (4)
3 Lower the flap down into position. Listen for the click as the lock clicks back into position.
Assemble Seat Cushion onto Seat
First remove the tray, the safety bar and the harness restraint if necessary, then place the seat cushion onto the seat.
Assemble Harness Restraint onto Seat
WARNING When used as a high chair, the child should wear the harness restraint correctly fitted and adjusted. The chair complies with the high chair European standard (EN 14988) only when the harness is fitted.
1 Insert waist clips into the lower backrest holes (around the seat cushion, when cushion in use) and listen for a click. (5)
2 Insert shoulder harness clips into the upper backrest holes and listen for click. (5)
3 Insert the remaining crotch clip (through the seat cushion, when cushion in use) into the inner of two holes in the sitting surface of the seat and listen for a click. (5)
4 Check that the harness attachment is secure by pulling on each attachment point.
Assemble Safety Bar onto Seat
WARNING The Safety bar alone DOES NOT guarantee the restraint of your child!
1 Hook the ends of the safety bar into the holes in the backrest of the seat (through the seat cushion, when cushion in use). (6)
2 Click the front part of the safety bar into the outer of two holes in the sitting surface of the seat (through the seat cushion, when cushion in use). (7)
3 Check that the safety bar is secure by pulling up on the front of the safety bar.
Assemble Tray onto Safety Bar
WARNING The tray and the safety bar alone DO NOT guarantee the restraint of your child!
1 Position the tray over the safety bar. Insert the tabs at the back of the tray into the slots between the safety bar and the backrest of the seat, as illustrated. (8)
2 Push the tray down until the side clips fasten around the safety bar. (9)
3 Check that the tray is secure by pulling up on the front of the tray.
How to use the Nuna chair
Adjusting the Seat Height
WARNING DO NOT adjust the height of the chair while a child is in the seat!
1 Slide down the lock behind the flap and lift the flap completely. The seat automatically rises up to the highest position. (2)
2 To lower the seat, keep the flap lifted completely and push down firmly on the sitting surface of the seat until it reaches the desired position. (10)
3 Lower the flap down into position. Listen for the click as the lock clicks back into position. The seat position is now locked.
Adjust the Harness Restraint and Buckle
1 Don't forget to check and adjust the harness to fit your child snugly. (13)
2 To lock the harness, insert each clip into the buckle and listen for a click. (14, 15, 16)
3 To release the buckle, push on the Nuna button at the center and remove the two clips. (17)
How to disassemble the Nuna chair
Remove the Tray
1 Release the two clips on both sides under the tray. (9)
2 Gently lift the tray upwards so that it clears the safety bar and pull away from the back of the seat.
Remove the Safety Bar
1 Push the button on the front of the safety bar and pull the safety bar up to release it from the seat. (7)
2 Unhook the two ends from the backrest and remove. (6)
Remove the Harness Restraint
WARNING When used as a high chair, the child should wear the harness restraint correctly fitted and adjusted. The chair complies with the high chair European standard (EN 14988) only when the harness is fitted.
The harness can be removed for cleaning or when the chair is used for an older child.
Insert the Nuna key into each of the slots of the harness restraint at the back and underside of the seat to release the plastic clips. Pull on the belts to remove. (11)
Remove the Seat Cushion
To remove the seat cushion, first remove the tray, the safety bar and the harness restraint if necessary.
Remove the Footrest
1 Slide down the lock behind the flap and lift the flap completely. The seat automatically rises up to the highest position. (2)
2 Firmly flex one end of the footrest and unhook it from the flap. Unhook the other end and remove it. (4)
3 Remember to lower the flap and listen for the click as the lock clicks back into position.
Dismantling the Seat from the Leg Frame
Once the seat is attached to the legs of the chair, it is considered to be a permanent assembly. However, it is possible to reverse this assembly if the seat needs to be put into storage or shipped. We recommend this should not be a regular occurrence.
1 Slide down the lock behind the flap and lift the flap completely. The seat automatically rises up to the highest position. (2)
2 Gently pull forward the two clips on each side, as illustrated. (12)
3 Slide the seat up and remove from the legs. If the flap is not completely up, you will not be able to slide the seat upwards.
Cleaning and maintenance
You can clean the high chair and accessories with a damp cloth or a neutral detergent, but do not use abrasive detergents or solvents which could damage the material.
The anodised aluminium legs are maintenance free but will be damaged by impact or scratching.
Continued and extended exposure to sunlight can change the colour of many materials.
Inspect your high chair regularly in order to detect any damage.
Warrantyand service
The Nuna high chair is covered by a one year warranty. If this product shows a defect during the warranty period, please contact your retailer. If the retailer is unable to help you, they will make contact with the local Nuna distributor.
Please be aware that the model number and serial number located under the seat of the product will be required in the event of a warranty claim.
To register your product, please go to our website at nuna.eu
Terms of warranty
The warranty takes effect at the date of purchase of the product and is valid for one year. The warranty provides you with a right of repair but not a product exchange or return. The warranty will not be extended even if some repairs have been made. Nuna has the right to improve the design of the product without any obligation to update the products manufactured previously.
The warranty will not apply in the following circumstances:
- If you can not provide the sales receipt or proof of purchase of the product.
- If the defect results from normal wear.
- If the defect results from an accident.
- If the defect results from a failure to follow the instructions of assembly, use, care and maintenance provided in the instruction manual.
- If the defect results from overloading (maximum weight = 50kg).
If repairs have been carried out by a third party. - If the defect results from the use of accessories others than Nuna.
Where to find Nuna products?
If you are looking for Nuna retailers in your area, please consult our website: nuna.eu
Contact
We always look forward to improving our products and developing new ideas so please feel free to contact us to submit any comments or questions regarding the Nuna products.
nuna.eu
Thanks for choosing Nuna!