WN591 - USB wireless network card COMET LABS - Free user manual and instructions
Find the device manual for free WN591 COMET LABS in PDF.
| Product Type | Wireless USB Network Adapter |
| Brand | COMET LABS |
| Model | WN591 |
| Wireless Standards | IEEE 802.11b / 802.11g |
| Supported Data Rates | Up to 54 Mbps (802.11g), 11 Mbps (802.11b) |
| Frequency Bands | ISM 2.4 GHz |
| Operating Modes | Infrastructure (access point) and Ad-Hoc (peer-to-peer) |
| Security | WEP 64/128 bits |
| Supported Operating Systems | Windows 98SE / Me / 2000 / XP |
| Host Interface | USB |
| Package Contents | WN591 adapter, USB cable, installation CD with manual |
| Antenna Type | Internal |
| Power Supply | Via USB port |
| Power Consumption | Low (powered by USB) |
| Configuration Software | Configuration & Monitor utility provided |
| Maintenance | Clean with a dry cloth; do not use liquids |
| Operating Temperature | 0°C to 40°C (estimated) |
| Certifications | FCC Part 15, Class B |
| Country of Origin | Not specified (generally China) |
Frequently Asked Questions - WN591 COMET LABS
User questions about WN591 COMET LABS
0 question about this device. Answer the ones you know or ask your own.
Ask a new question about this device
Download the instructions for your USB wireless network card in PDF format for free! Find your manual WN591 - COMET LABS and take your electronic device back in hand. On this page are published all the documents necessary for the use of your device. WN591 by COMET LABS.
USER MANUAL WN591 COMET LABS
Wireless LAN Device Series
This device complies with Part 15 of the FCC Rules. Operation is subject to the following two conditions: (1) this device may not cause harmful interference, and (2) this device must accept any interference received, including interference that may cause undesired operation.
Warning: Changes or modifications to this unit not expressly approved by the party responsible for compliance could void the user authority to operate the equipment.
This device complies with Part 15 of the FCC Rules. Operation is subject to the following two conditions: (1) this device may not cause harmful interference, and (2) this device must accept any interference received, including interference that may cause undesired operation. The user's manual or instruction manual for an intentional or unintentional radiator shall caution the user that changes or modifications not expressly approved by the party responsible for compliance could void the user's authority to operate the equipment.
NOTE: This equipment has been tested and found to comply with the limits for a Class B digital device, pursuant to Part 15 of the FCC Rules. These limits are designed to provide reasonable protection against harmful interference in a residential installation. This equipment generates, uses and can radiate radio frequency energy and, if not installed and used in accordance with the instructions, may cause harmful interference to radio communications.
However, there is no guarantee that interference will not occur in a particular installation. If this equipment does cause harmful interference to radio or television reception, which can be determined by turning the equipment off and on, the user is encouraged to try to correct the interference by one or more of the following measures:
Reorient or relocate the receiving antenna.
- Increase the separation between the equipment and receiver.
- Connect the equipment into an outlet on a circuit different from that to which the receiver is needed.
Consult the dealer or an experienced radio/TV technician for help.
Changes or modifications not expressly approved by the party responsible for compliance could void the user's authority to operate the equipment.
The antenna(s) used for this transmitter must not be co-located or operating in conjunction with any other antenna or transmitter
Shielded interface cables must be used in order to comply with emission limits.
This EUT is incompliance with SAR for general population /uncontrolled exposure limits in ANSI/IEEE C95.1-1999 and had been tested in accordance with the measurement methods and procedures specified in OET Bulletin 65 Supplement C
This device and its antenna(s) must not be co-located or operating in conjunction with any other antenna or transmitter
CAUTION:
- To comply with FCC RF exposure compliance requirements, a separation distance of at least 20~cm must be maintained between the antenna of this device and all persons.
- This Transmitter must not be co-located or operating in conjunction with any other antenna or transmitter.
Contents
1 Introduction 4
1.1 Package Contents 4
1.2 System Requirements 4
2 Quick Installation 5
3 Installation Procedures Under MS Windows 6
3.1 Installing the Application and Drivers under Windows 98SE/Me/2000/XP .........6
3.2 Uninstall the Driver/Application 13
4 Configuration & Monitor Utility 17
4.1 Quick step-by-step start to connect site 17
4.2 System tray 20
4.3 Main dialog box of Utility 20
4.4 General 21
4.5 Setting 23
4.6 Security 24
4.7 Site Survey 25
4.8 Profile 26
4.9 Info 27
1 Introduction
This USB device is a Wireless LAN Adapter with a rate of 6,9,12,18,24,36,48 and 54 Mbps operating in the ISM band using Orthogonal Frequency Division Multiplexing (OFDM) transmission conforming the IEEE 802.11g standard. and a rate of 1,2,5.5,11Mbps operating in the ISM band using DSSS, confirming the IEEE802.11b standard. With this cards is currently provided drivers for Microsoft Windows® 98SE/Me/2000/XP.
1.1 Package Contents
Before you do anything, open your package and verify it includes:
- WN591 Mini USB Adapter
USB Cable - Setup Utility CD containing User's Manual
1.2 System Requirements
- Operating System: Microsoft Windows® 98SE/Me/2000/XP.
- Desktop/notebook PC with CD-ROM drive and USB interface.
2 Quick Installation
This section provides a quick step by step guide on how to install your Wireless LAN USB Adapter. Please follow the steps described below and refer to the appropriate sections for further details:
Power on the computer.
- Please make sure that you don't insert your WLAN USB adapter yet.
Install the drivers and application:
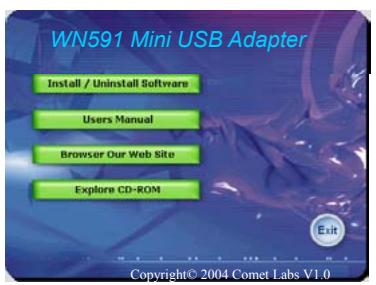
- Insert the given Installation CD into your CD-ROM drive.
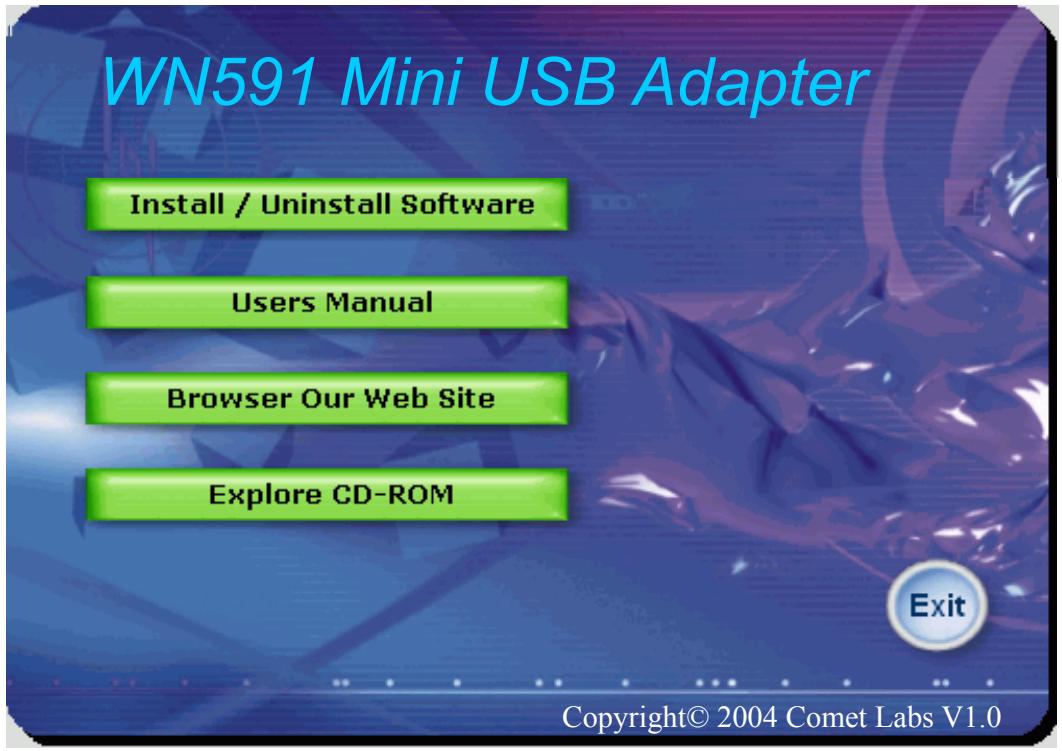
- Click "Install/Uninstall software" button to install.
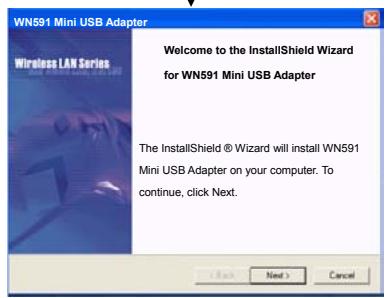
- Follow the installation instructions from the InstallShield Wizard by pressing the "Next" button.
- Choose the appropriate of installation, according to your needs (Application, Drivers)
- If you want to set the path of your choice, select "Browse" and then "Next".
- Then setup wizard will help you finalize the rest steps.
- Push the "OK" button, and then reboot system.
-
The installation will be completed after reboot.
-
Insert your WLAN USB adapter.
- The "Add New Hardware Wizard" automatically loads the Drivers.
- Refer to sections 3 for more details on the installation and configuration under Microsoft Windows® 98SE/Me/2000/XP respectively. Section 4 gives detailed instructions on how to use the Configuration Utility.

Yes, I am not my computer now.
No, I will replace my toilet.

2:31PM
3 Installation Procedures Under MS Windows
The procedures described in this section to install and configure the Wireless LAN USB Adapter under MS Windows 98SE/Me/2000/XP.
3.1 Installing the Application and Drivers under Windows 98SE/Me/2000/XP

Please do not plug your USB adapter until the Application setup has been completed. The setup procedure described below installs both the drivers and the Configuration & Monitor Utility.
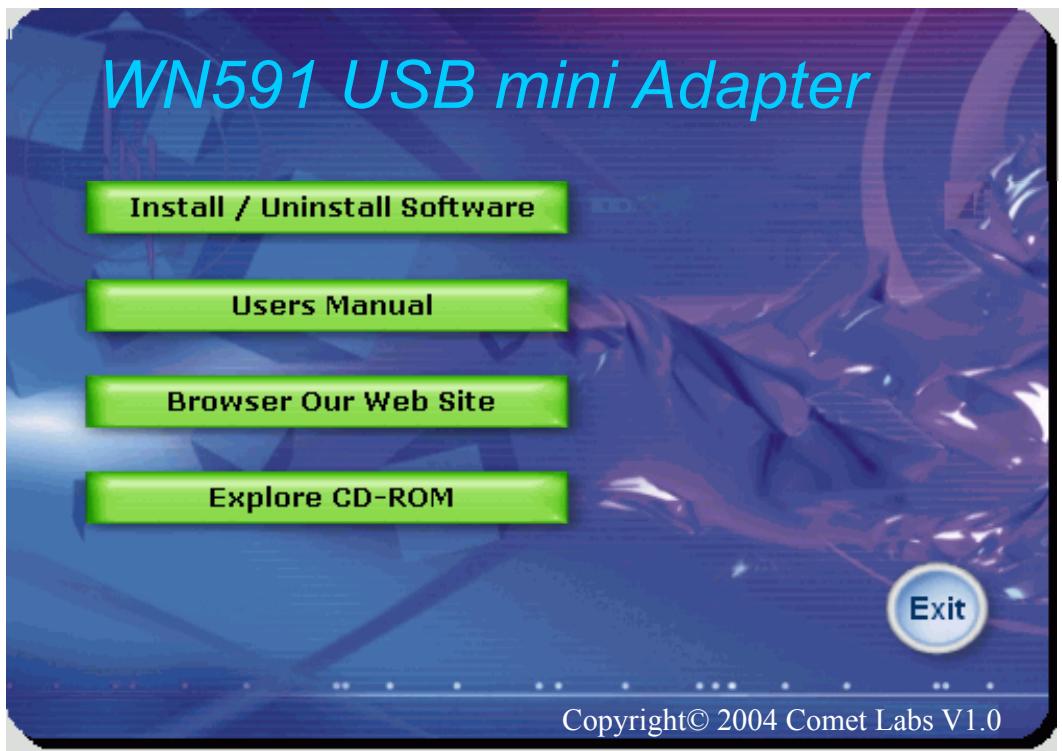
- Insert the Driver CD to your CD-ROM, the following window will pop up and Click "Install/Uninstall software" button to install. (If the following window doesn't pop up, click the Start button at the Taskbar and then select Run. Enter E:\autorun.exe if E is your CD-drive.)
- Follow the installation instructions from the InstallShield Wizard by pressing the "Next" button.
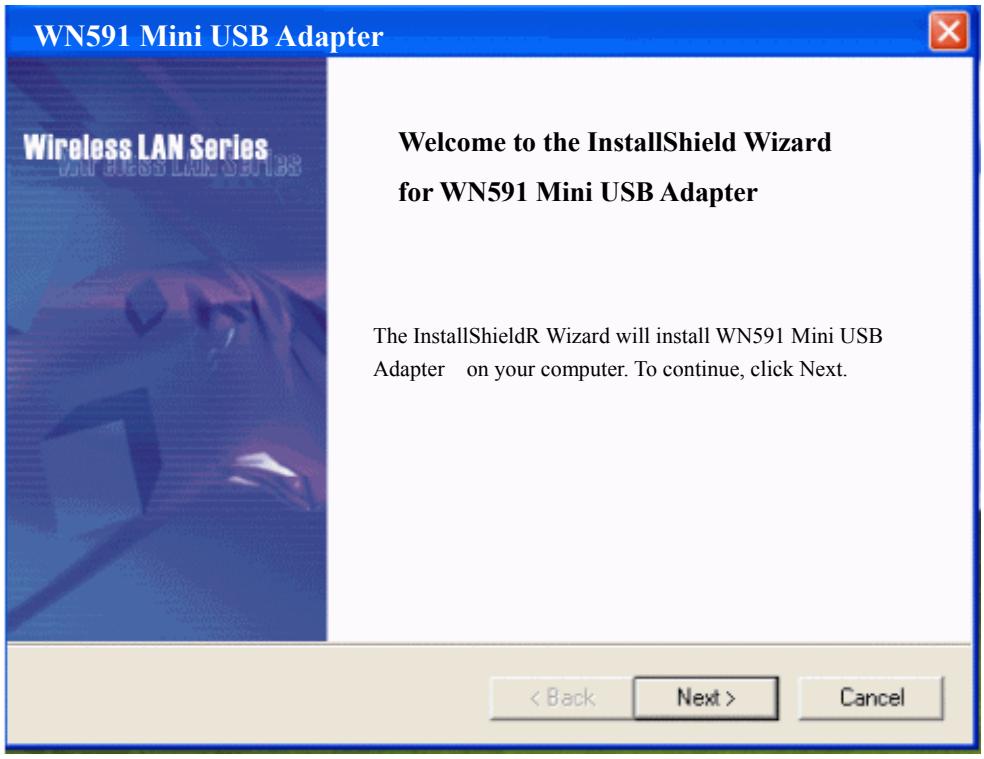
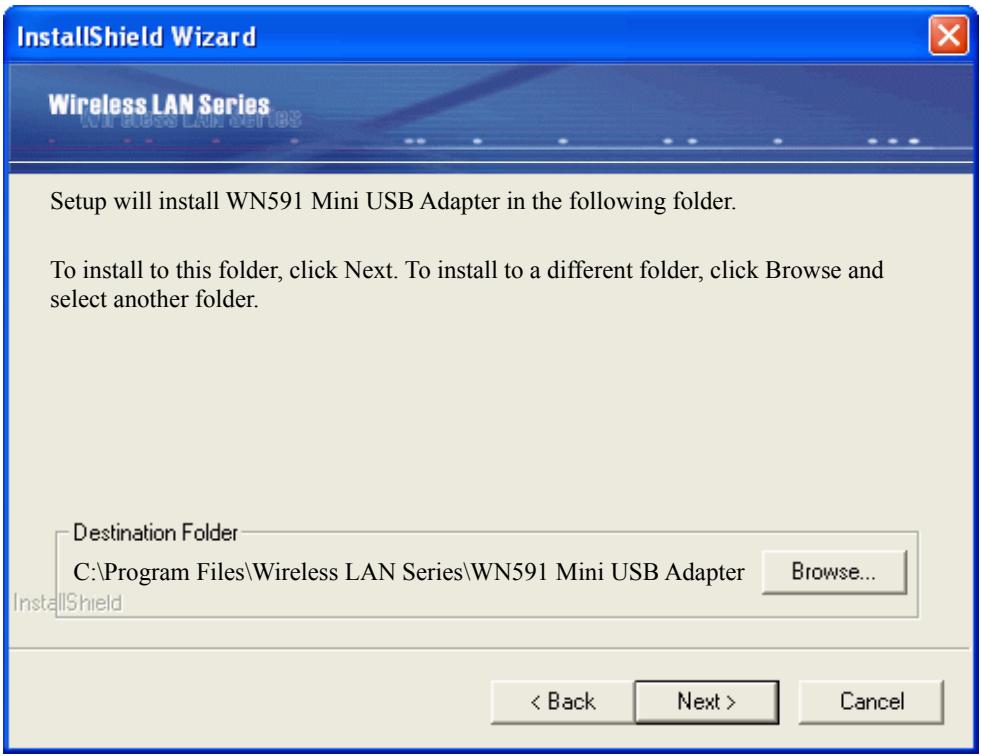
- The installer will install the needed files to a folder named "C:\Program Files\Wireless LAN Series\WN591 Mini USB Adapter". If you want to change this, Click"Browse" and select a folder. Click "Next" to continue.
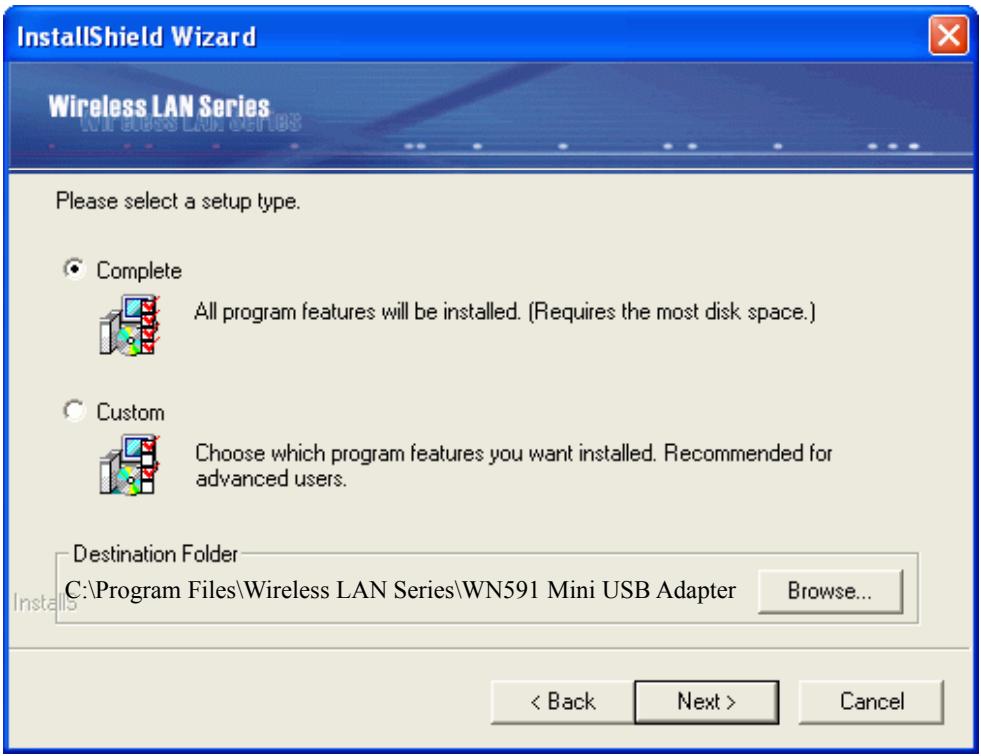
- Choose all program features will be installed. If you want to change this, Click "Custom", Choose which program features you want installed. Click "Next" to continue.
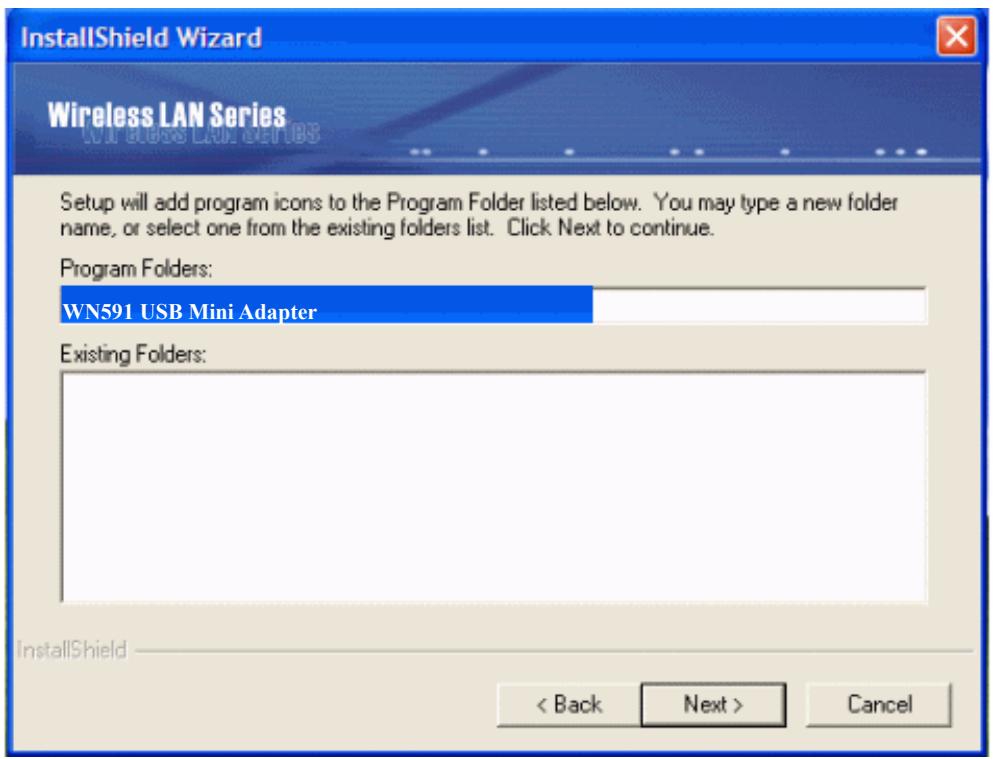
- The installer will create a program folder called WN591 Mini USB Adapter. If you want to change this, enter a name or select from the list below. Click "Next" to continue.
6. Start Setup.
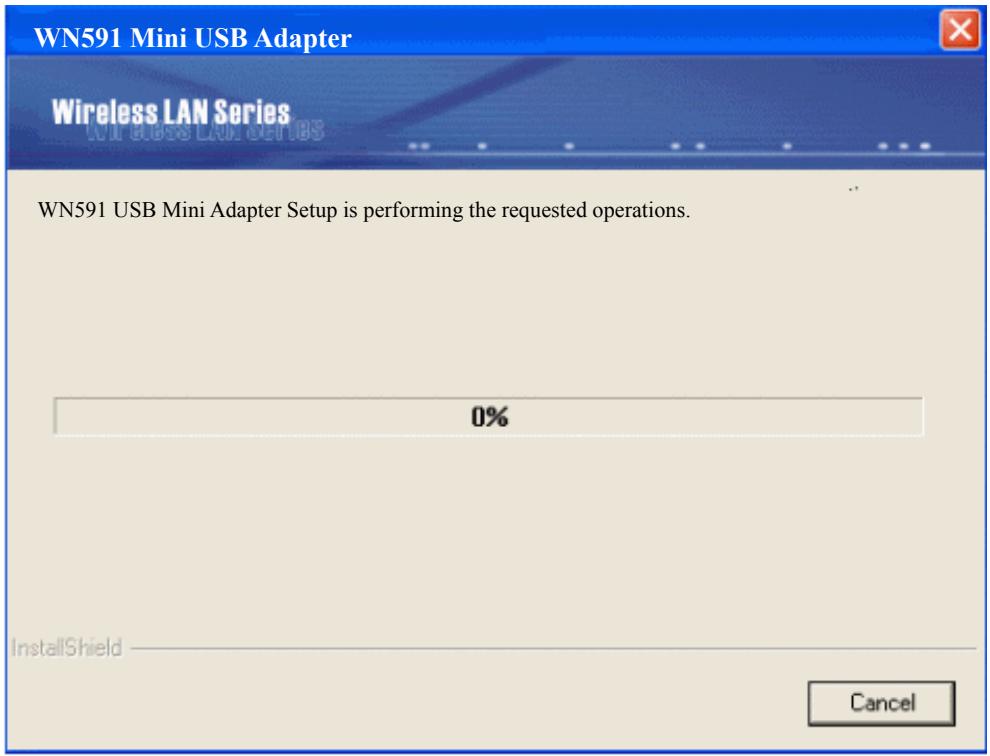
7. Click "OK" to complete the installation and restart the computer.
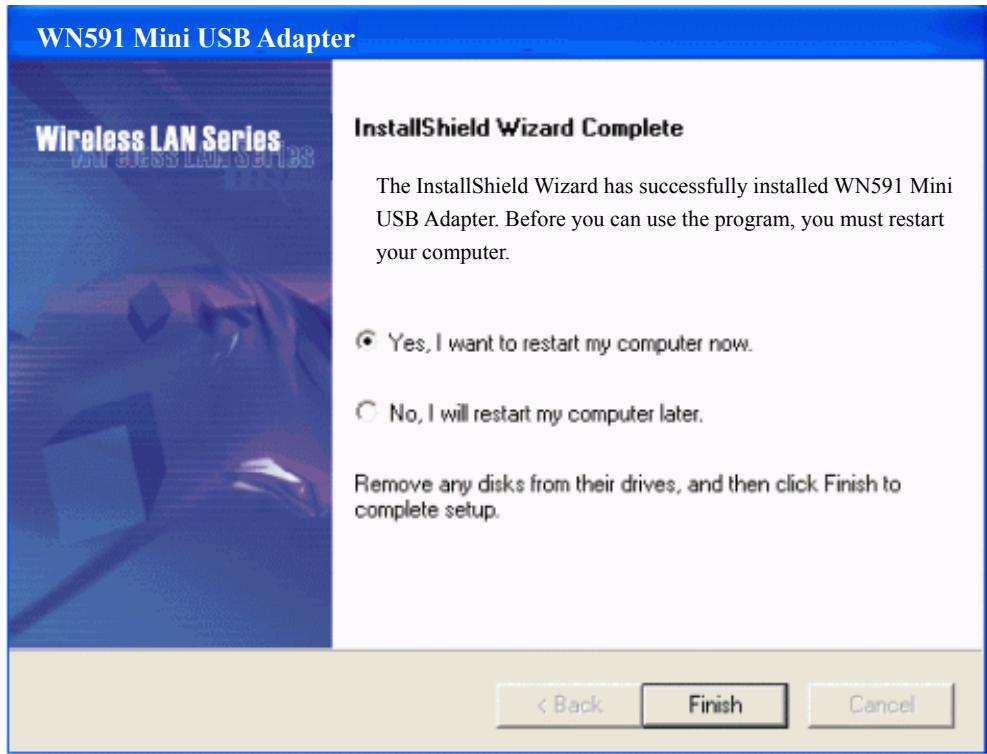
- After the computer restarts, plug WLAN USB Adapter connector into USB port on computer.
Under MS XP-
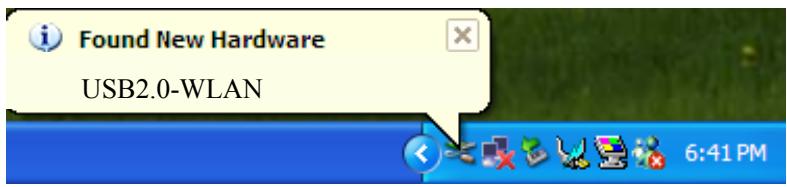
- After the computer restarts, plug WLAN USB Adapter connector into USB port on computer then Windows XP detects the device automatically, briefly showing a message "Found New Hardware" and starts collecting information for a device information database.
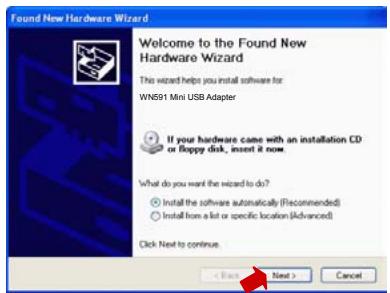
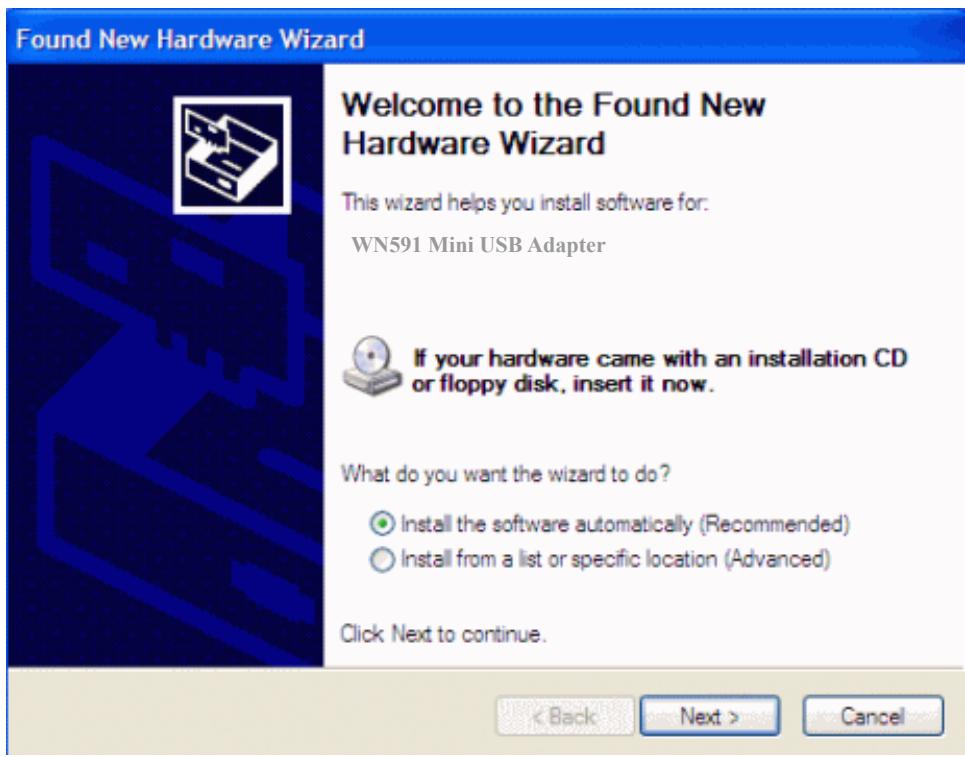
- When Windows XP is ready to configure the new hardware, it opens the Found New Hardware Wizard dialog box as shown; a dialog box appears asking what you want the wizard to do. Select "Install the software automatically (Recommended)" and Click "Next".
- Starting search the driver automatically.

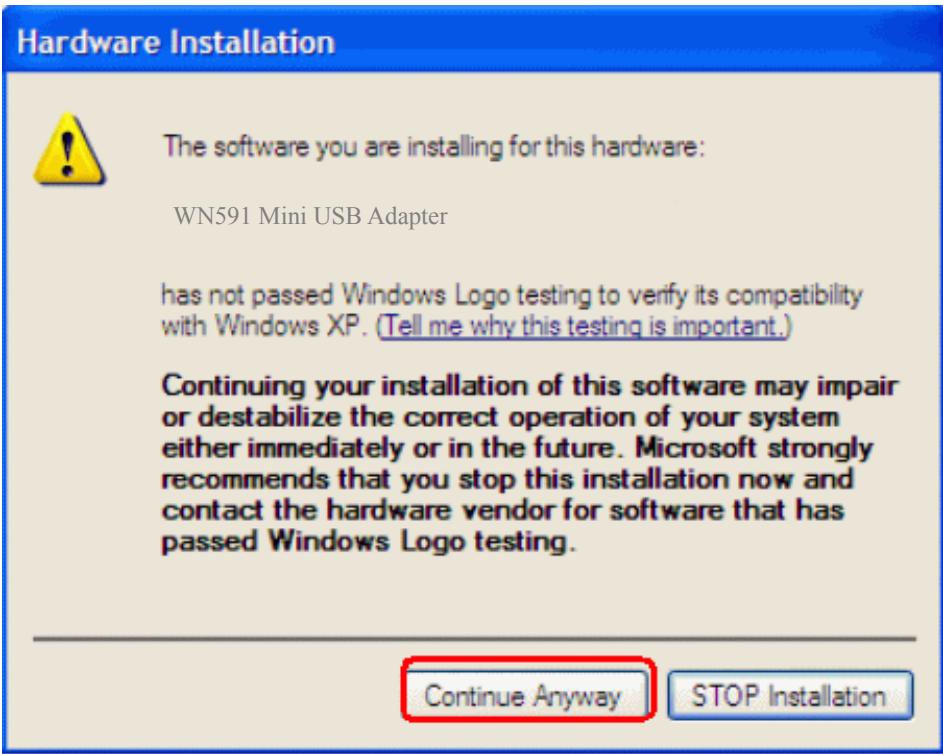
- Starting install driver automatically, Click "Continue Anyway"
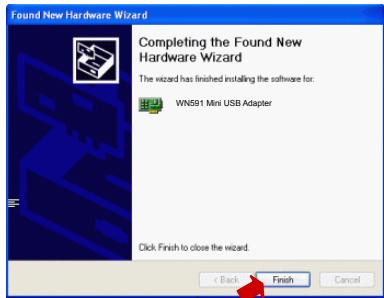
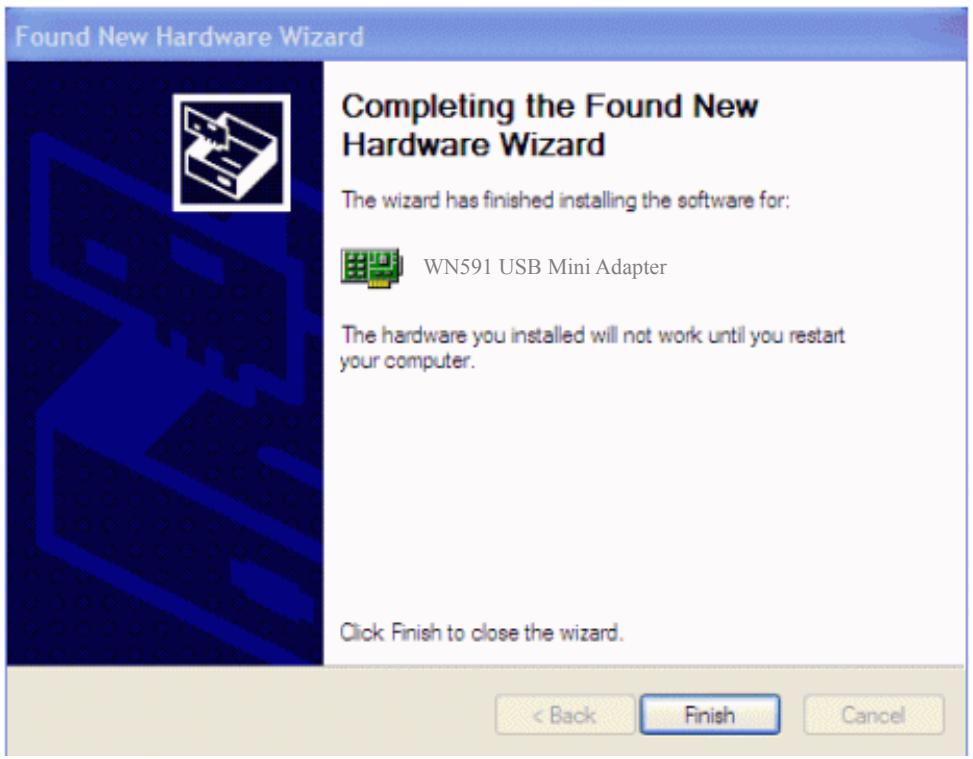
- Hardware installation finished, Click "Finish".
- You will find an icon in indicated "Wireless LAN USB Adapter" on your system tray.
You can double-click on it to configuration.

3.2 Uninstall the Driver/Application
There are three ways to uninstall the driver/application.
- Uninstall from windows "Control Panel"
- Uninstall from "Installation CD"
- Uninstall from windows "Start Menu"
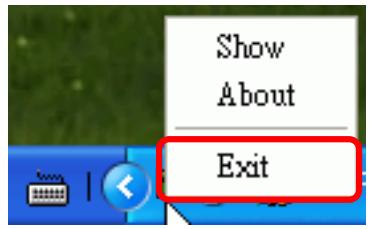
Note: It is recommended to "Exit" the "Configuration & Monitor Utility", when you uninstall. No matter what way you choose to uninstall.
Under MS Windows 2000/XP
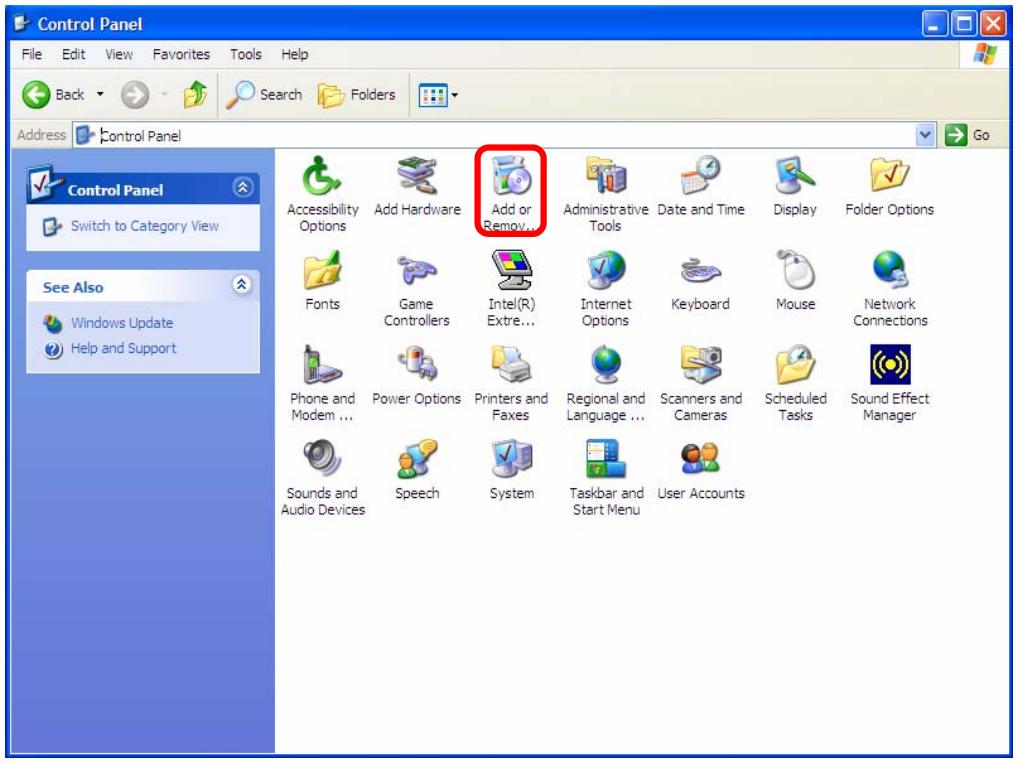
- Open "Control Panel".
- Double click "Add or Remove Programs".
- Choice the "Change or Remove Programs".
- Select the "WN591 Mini USB Adapter" from the list.
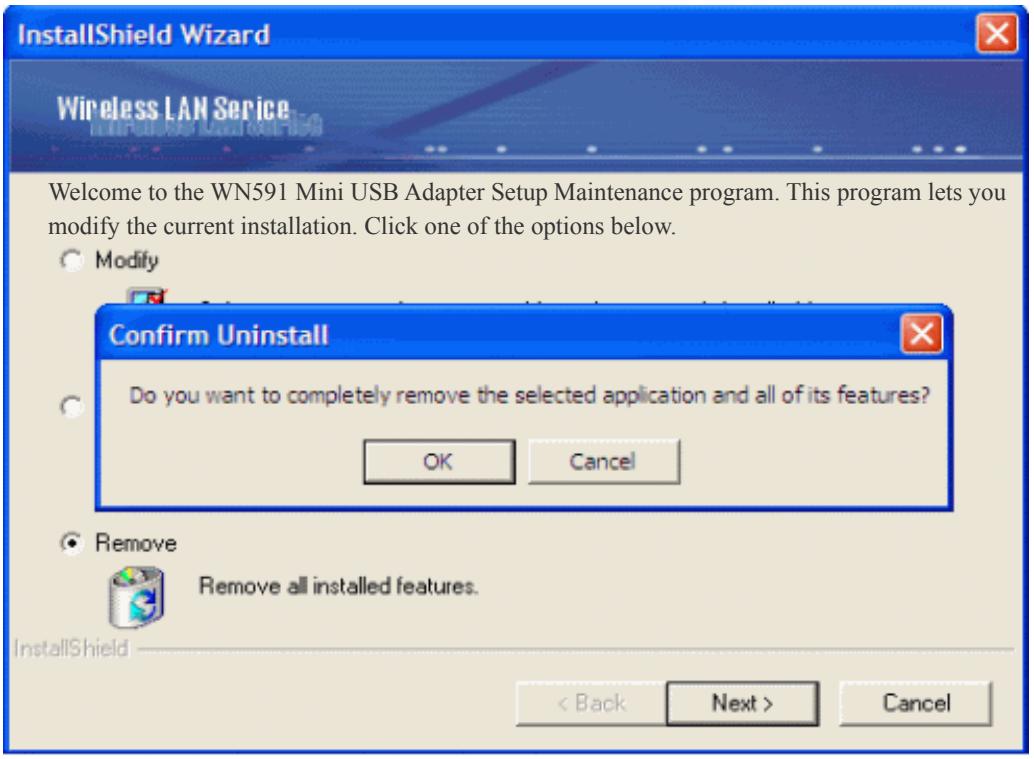
- Click the "Change/Remove" button.
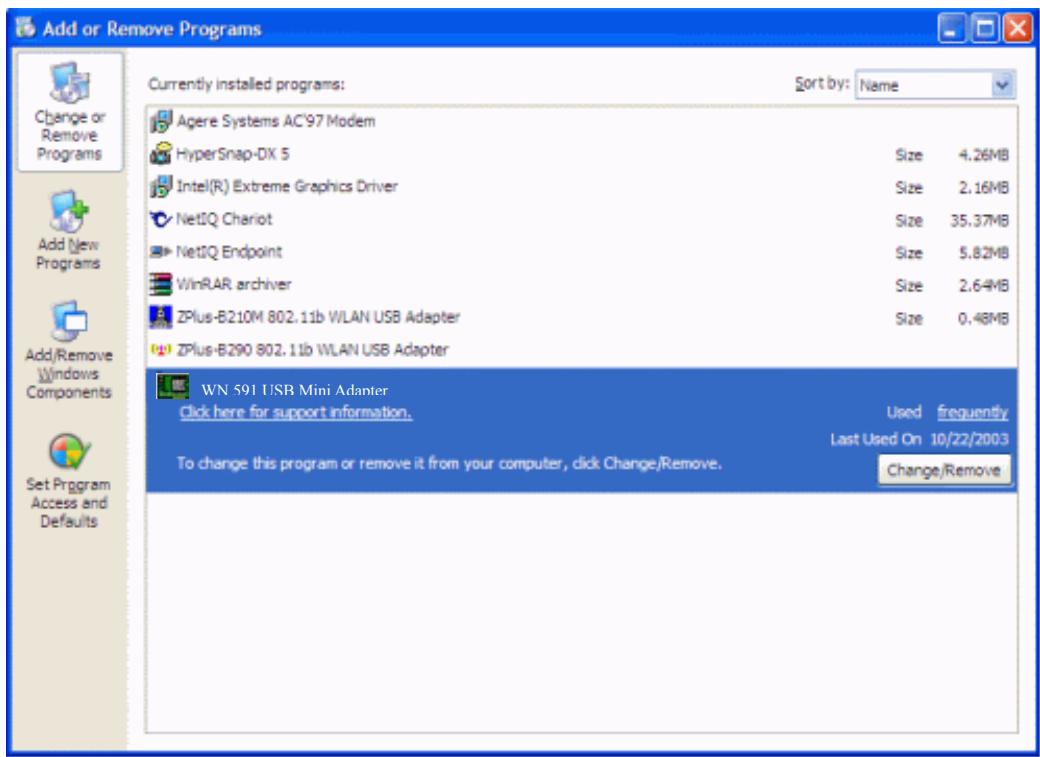
- Click the "Next" button, and then click "OK".
Uninstall from Installation CD
Insert the Installation CD to your CD-ROM, the following window will pop up and Click "Install/Uninstall software" button to uninstall.
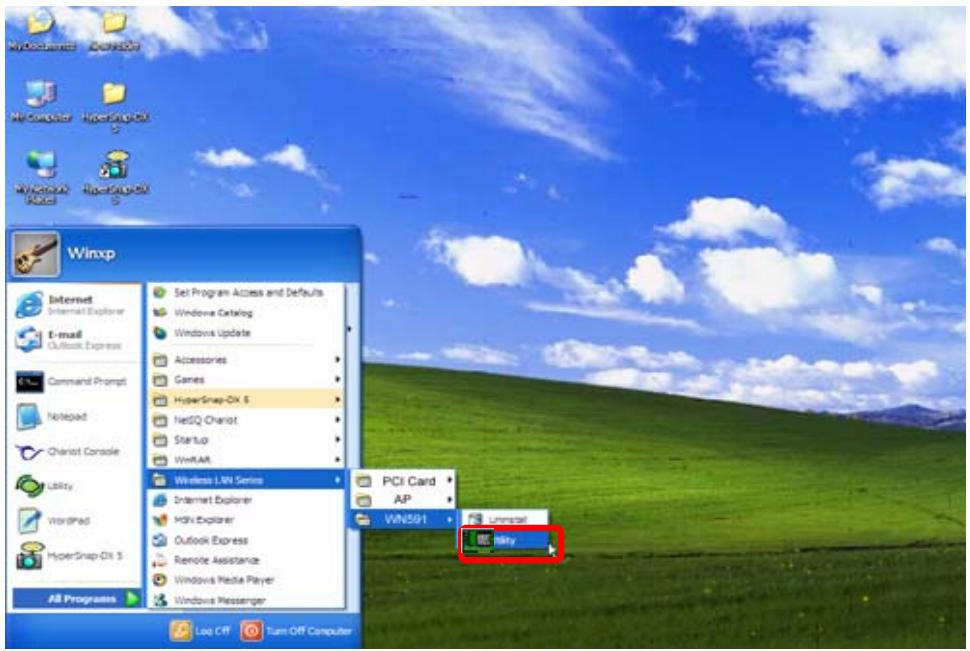
Uninstall from Windows Start Menu
Select "Start->All Program->Wireless LAN Series->WN591 Mini USB Adapter", Choose "Uninstall".
4 Configuration & Monitor Utility
The "Configuration & Monitor Utility" is a powerful application that helps you to configure the Wireless LAN Adapter and monitor the statistics of the communication. Unlike the standard method of configuring the card via the operating system utilities (e.g. Control Panel), this application permits the dynamic modification of the configuration parameters while the adapter is operating. It also offers some more configuration options. Offers the "Configuration & Monitor Utility" for Windows 98SE/Me/2000/XP.
Note : Please keep in mind that the Configuration & Monitor Utility can be used to change the above configuration parameters when the cards are active. When the cards are not in use, please use the Control Panel method.
4.1 Quick step-by-step start to connect site
- Double-click the icon on the system tray to open "Configuration & Monitor utility".
2:31PM
Note: Under Windows XP, Operating system will use "Windows Zero Configuration" to set your adapter. If you want to use our "Configuration & Monitor utility", you need to disable "Windows Zero Configuration", first. (See next section: How to disable "Windows Zero Configuration".)

- Click "Re-Scan" button to scan nearby available network. If it scan one of available network, you can double-click the "BSSID/IBSS" item to connect site.

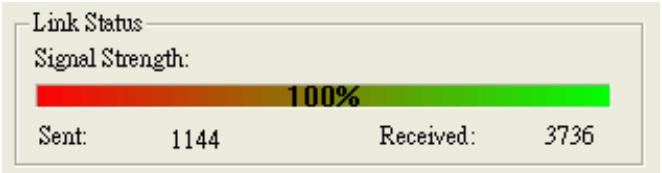
- If adapter connect successfully, you can get the information about Link Status of Signal Strength.
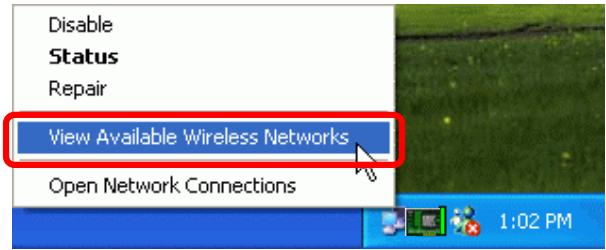
How to Disable "Windows Zero Configuration".
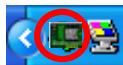
Step 1. Right click the Wireless Network Connection icon in notification area and select "View Available Wireless Network".
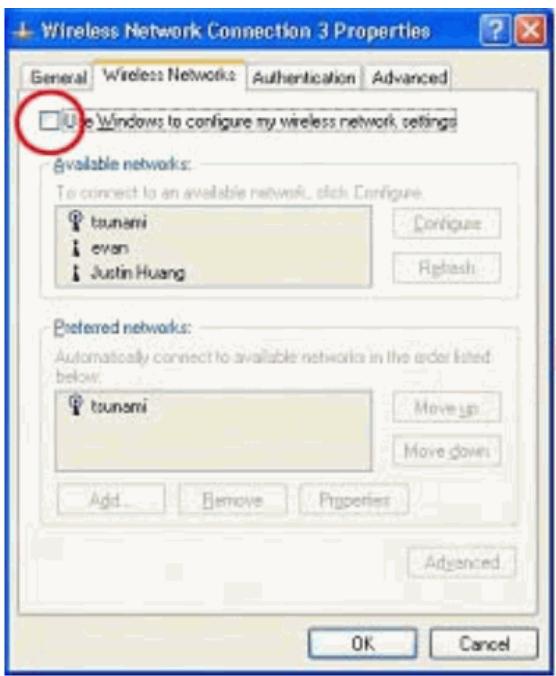
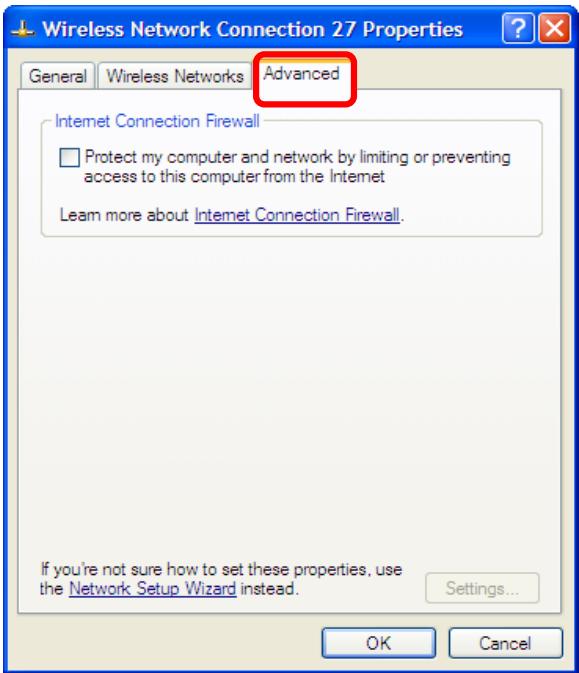
Step 2. Click "Advanced..." button.
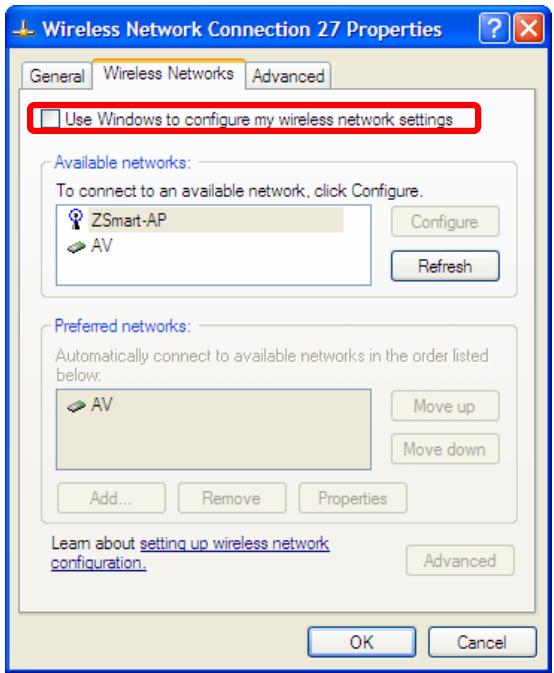
Step 3. Disable "Use Windows to configure my wireless network settings" and click "OK".
4.2 System tray
The "Configuration & Monitor Utility" appears as an icon on the system tray of Windows, when the adapter is running. You can open utility by double-clicking on this icon.

4.3 Main dialog box of Utility
You can survey the reachable assess points and the wireless LAN adapter. And get the information about the status of the communication (the SSID of the access point to which the adapter is associated, signal strength, and link quality).
This dialog box consists three items can help you to monitor and configure the Wireless LAN Adapter, the three items are "General", "Setting", "Security", "Site Survey", "Profile" and "Info".
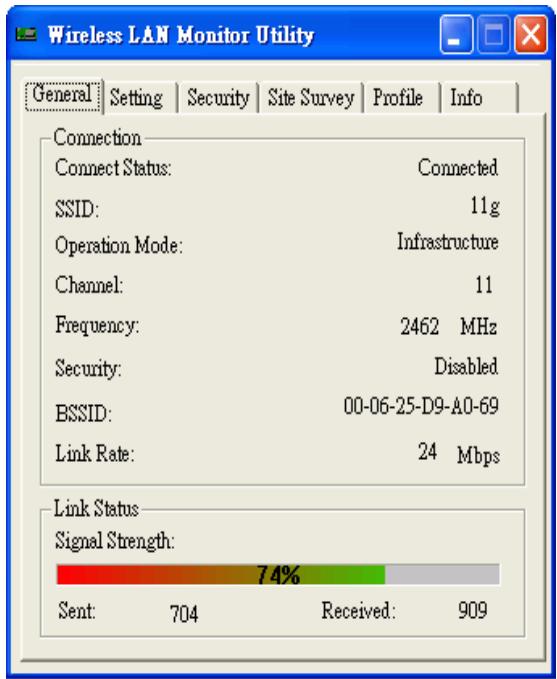
- General -About Connected to Connect Status, SSID, Operation Mode, Channel, Frequency, Security, BSSID, Link Rate and Link Status.
- Setting–About Operation Mode, SSID, Channel, Preamble Type, Power Save Mode, Fragmentation Threshold and RTS/CTS Threshold.
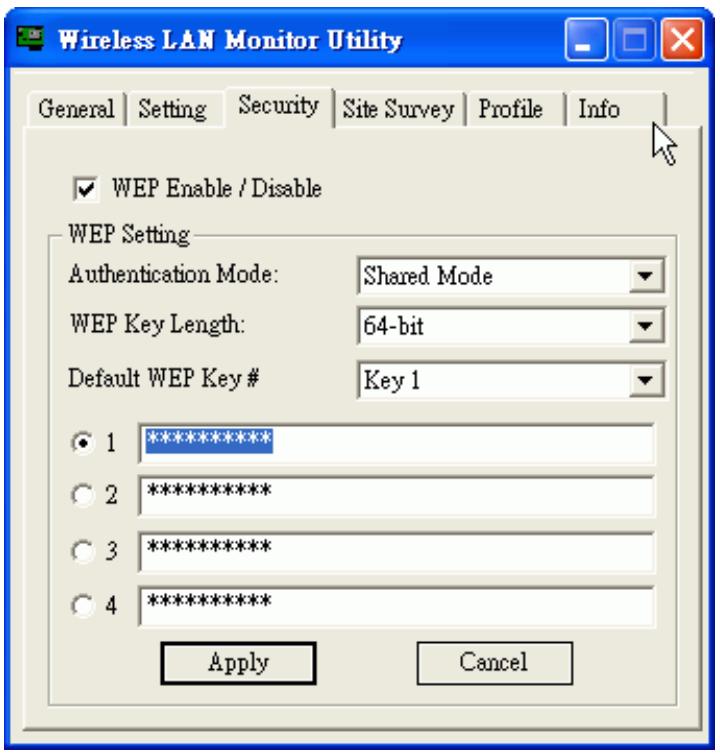
- Security-About Authentication Mode, WEP Key Length and Default WEP Key.
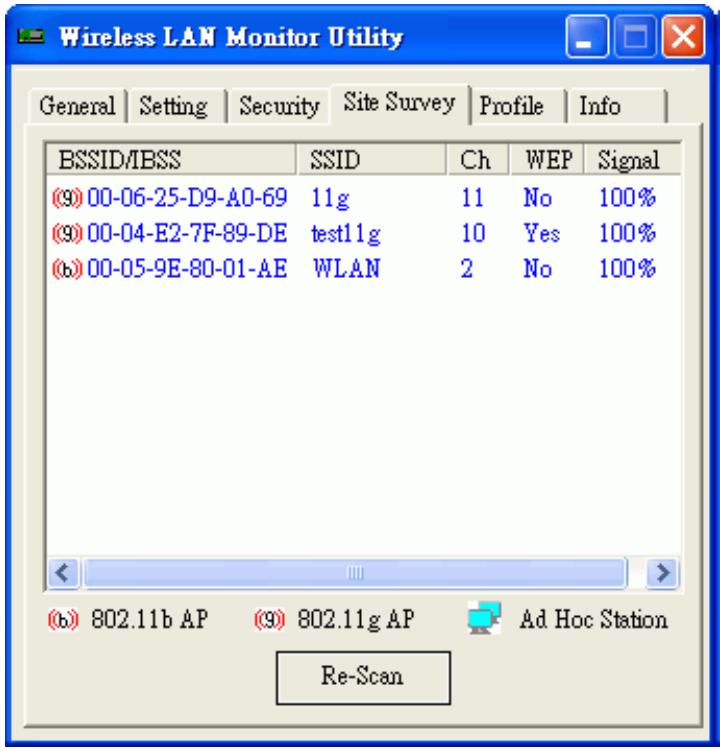
- Site Survey—About BSSID/IBSS, SSID, Ch, WEP and Signal.
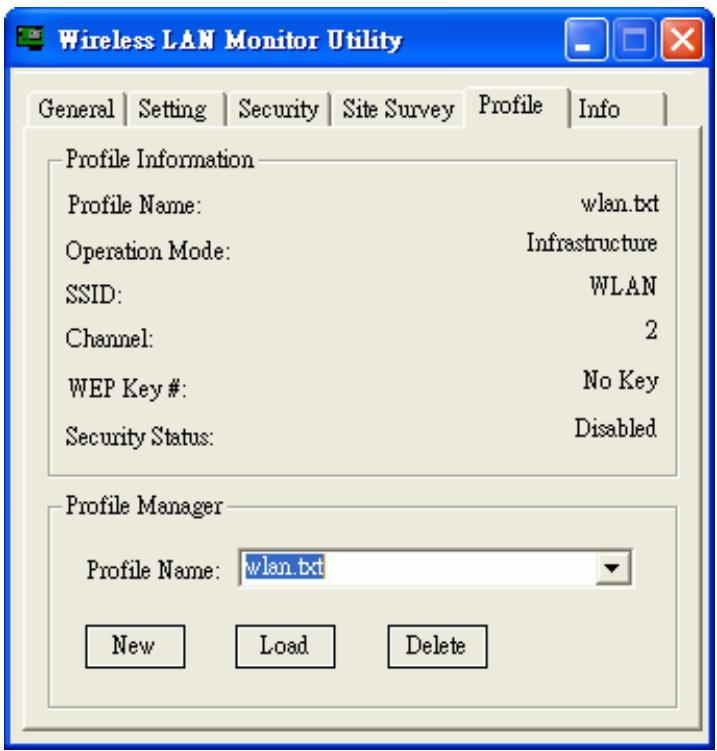
- Profiles – About Profile Information which include Profile Name, Operation Mode,SSID, Channel, WEP Key and Security Status.
- Info-About Device Name, Configuration Utility Version, Driver Version, MAC Address and Language Setting.
4.4 General
This dialog box consists nine items can help you to monitor and configure the Wireless LAN Adapter, the nine items are “Connect Status”, “SSID”, “Operation Mode”, “Channel”, “Frequency”, “Security”, “BSSID”, “Link Rate” and “Link Status”.
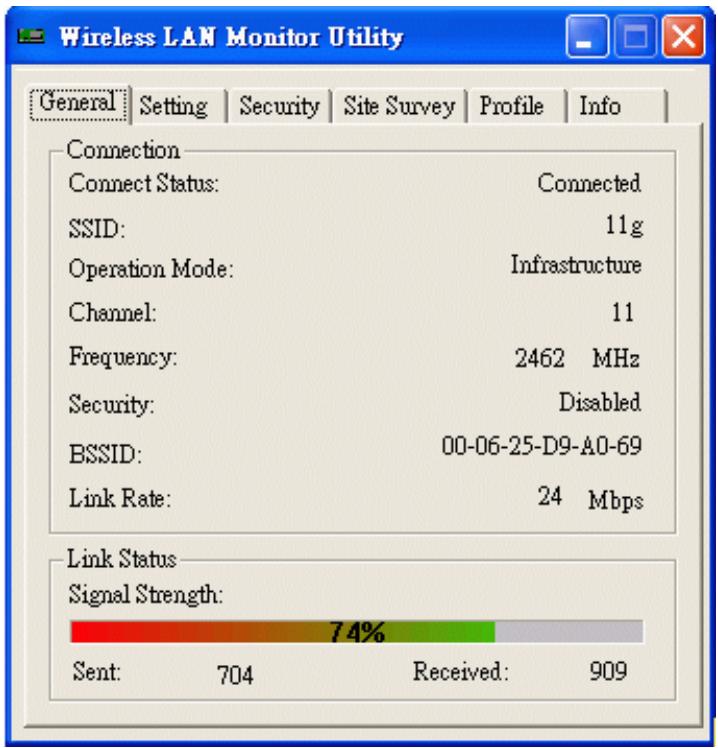
Connect Status: This displays connected or unconnected.
SSID: SSID is the group name that will be shared by every member of your wireless network. You will only be able to connect with an Access Point, which has the same SSID.
Operation Mode: The 802.11 standard supports two network topologies: Infrastructure and Ad Hoc mode.
Infrastructure - This mode of operation requires the presence of 802.11b and 802.11g Access Point. All communication is done via the Access Point, which relays packets to other wireless Clients in the BSS as well as to modes on a wired network such as Ethernet.
- Ad Hoc – This is the 802.11g peer-to-peer mode of operation. All communication is done from Client to Client without the use of an Access Point. 802.11 Ad Hoc networking uses the same SSID for establishing the wireless connection.
Channel/Frequency: There are 14 channels available. The channels differ from country to country. The detail information please see the next section.
As connect the access point, the Security, BSSID, Link Rate and Link Status will show on this dialog box.
4.5 Setting
Setting is a named set of operating parameters for your Wireless LAN USB Adapter. You can select the "Operation Mode" to be Infrastructure or Ad-Hoc. As you select Ad-Hoc, there are 14 channels available. The channels differ from country to country. Then you can select the Preamble Type, Power Save Mode, Fragmentation Threshold and RTS/CTS Threshold. Finally, press the "Apply" button.

4.6 Security
You can choose WEP function enable or disable. If you decide to use WEP function, you can choose the Authentication Mode, WEP Key Length and Default WEP Key. Please keep in mind that the WEP keys must be in HEX format. Finally, in order to take effect the changes you wish to make, press the "Apply" button at the button of the dialog box.
4.7 Site Survey
Click "Re-Scan" button to scan nearby available network. If it scan one of available network, you can double-click the "BSSID/IBSS" item to connect site.
4.8 Profile
You can have the "Profile Information" from this dialog box. It's "Profile Name", "Operation Mode", "SSID", "Channel", "WEP Key" and "Security Status".
Next time you can load the profile name directory.
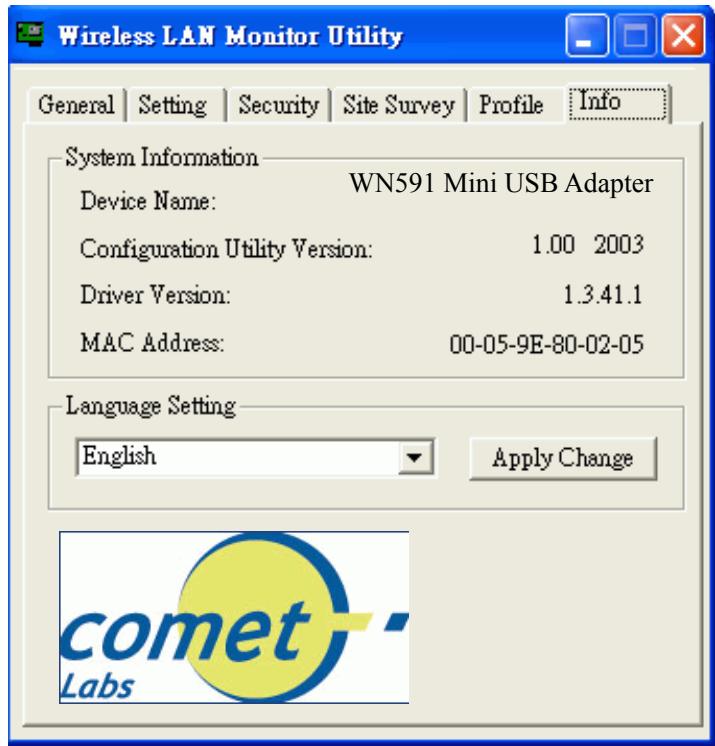
4.9 Info
You will see the System Information about "Device Name", "Configuration Utility Version", "Driver Version" and "MAC address" in this dialog box.
You can choose one of the below language list, then click” Apply Change” button.