
WUSBT-G - Wireless USB Adapter SMC - Free user manual and instructions
Find the device manual for free WUSBT-G SMC in PDF.



| Product Type | Wireless USB Adapter |
| Brand | SMC |
| Model | WUSBT-G (SMCWUSBT-G) |
| Wireless Standard | IEEE 802.11b/g |
| Maximum Data Rate | 108 Mbps (in Turbo mode) |
| Frequency Band | 2.4 GHz |
| Interface | USB 2.0 (compatible with USB 1.1) |
| Wireless Security | WEP 64/128 bits, WPA, WPA2 |
| Supported Operating Systems | Windows 98SE/Me/2000/XP |
| Minimum System Requirements | 300 MHz processor, 32 MB RAM, 10 MB hard disk, USB 2.0 port, CD-ROM drive |
| Dimensions (approx.) | 90 x 30 x 15 mm |
| Weight (approx.) | 20 g |
| Power Supply | Via USB port (5 V, 500 mA max) |
| Operating Temperature | 0 °C to 40 °C |
| Operating Humidity | 10 % to 90 % (non-condensing) |
| LED Indicators | 1 link LED: solid (valid connection), blinking (network search) |
| Package Contents | USB module, CD-ROM with drivers and utility, quick installation guide |
| Care and Cleaning | Disconnect the adapter, clean with a soft, dry cloth. Do not use chemical products. |
| Safety | Do not expose to water or excessive moisture. Use only in an indoor environment. |
| Warranty | Visit SMC website (www.smc.com) for registration and warranty details. |
Frequently Asked Questions - WUSBT-G SMC
User questions about WUSBT-G SMC
0 question about this device. Answer the ones you know or ask your own.
Ask a new question about this device
Download the instructions for your Wireless USB Adapter in PDF format for free! Find your manual WUSBT-G - SMC and take your electronic device back in hand. On this page are published all the documents necessary for the use of your device. WUSBT-G by SMC.
USER MANUAL WUSBT-G SMC
Wireless USB 2.0 Adapter
EZ Connect™ g Wireless USB 2.0 Adapter
Module USB 2.0 sans fil EZ Connect™ g
Adaptador inalámbrico USB 2.0 EZ Connect™ g
EZ Connect™ g tradlös USB 2.0-adapter
Adaptador USB 2.0 Sem Fios EZ Connect ™ g
Quick Installation Guide
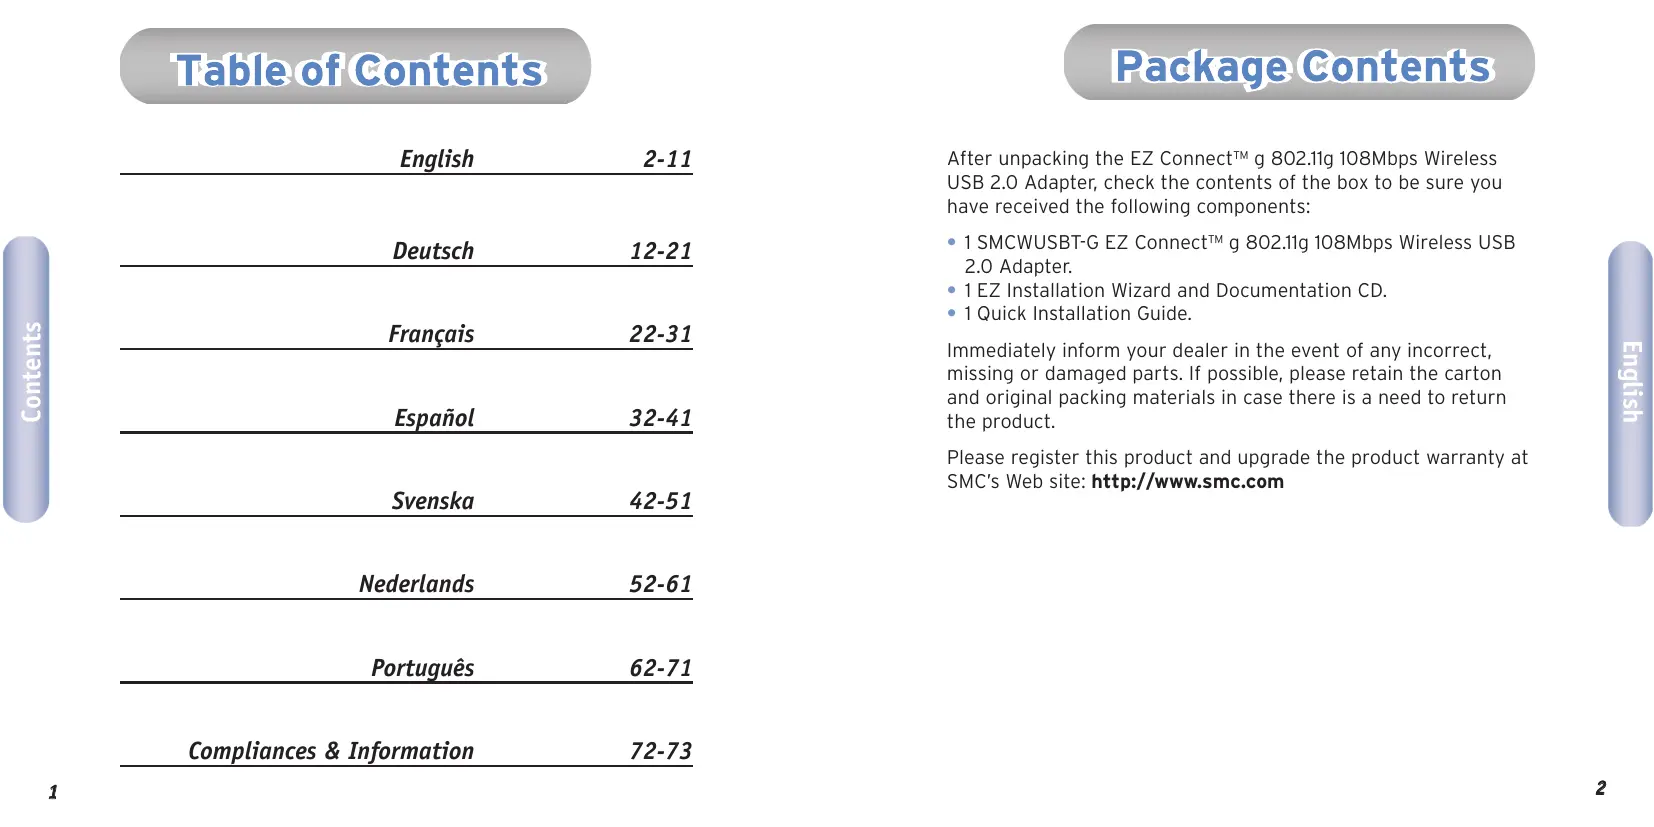
After unpacking the EZ Connect™ g 802.11g 108Mbps Wireless USB 2.0 Adapter, check the contents of the box to be sure you have received the following components:
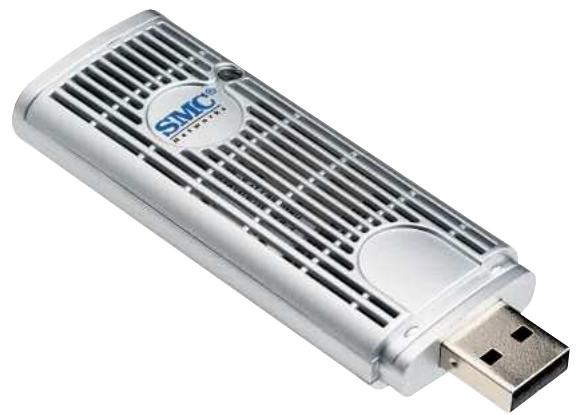
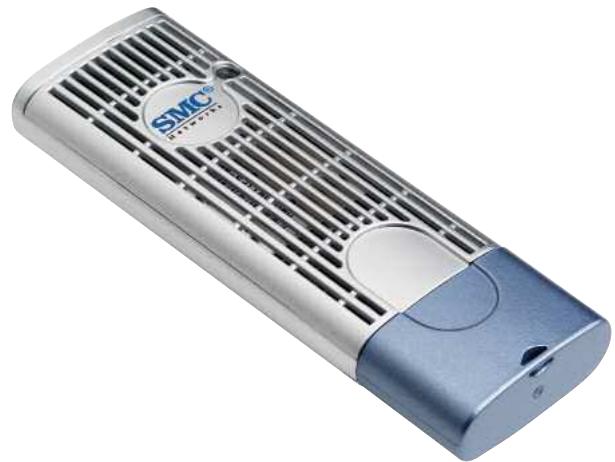
- 1 SMCWUSBT-G EZ Connect™ g 802.11g 108Mbps Wireless USB 2.0 Adapter.
1 EZ Installation Wizard and Documentation CD.
1 Quick Installation Guide.
Immediately inform your dealer in the event of any incorrect, missing or damaged parts. If possible, please retain the carton and original packing materials in case there is a need to return the product.
Please register this product and upgrade the product warranty at SMC's Web site: http://www.smc.com
System Requirements
To install and connect to the SMCWUSBT-G, you must have:
A PC running Windows 98SE/Me/2000/XP.
CD-ROM drive.
An available USB 2.0 port.
Minimum of 32MB RAM and 300 MHz CPU.
- Minimum of 10MB available hard disk space for utility and driver installation.
- Another IEEE 802.11b, or 802.11g compliant device installed on your network such as the Barricade™ g 802.11g 108Mbps Wireless Broadband Router (SMCWBR14T-G), or another wireless adapter, such as the EZ Connect™ g 802.11g 108Mbps Wireless PCI Card (SMCWCBT-G).
Hardware Description
SMC's EZ Connect™ g 802.11g 108Mbps Wireless USB 2.0 Adapter (SMCWUSBT-G) is a high speed IEEE 802.11g-compliant wireless network adapter that supports up to 108Mbps data rate, and seamlessly integrates with existing Ethernet networks to support applications such as mobile users or temporary conferences. This solution offers a high data rate and reliable wireless connectivity with considerable cost savings over wired LANs (which include long-term maintenance overhead for cabling). Just install enough wireless access points to cover your network area, plug wireless cards into your notebooks or computers, and start networking.
The EZ Connect™ g 802.11g 108Mbps Wireless USB 2.0 Adapter has two status LED indicators.
| LED | STATUS | DESCRIPTION |
| Link | On | Indicates a valid connection. |
| Flashing | Indicates the adapter is scanning for available networks. |
Applications
EZ Connect™ wireless products offer a fast, reliable, cost-effective networking solution for:
- Remote access to corporate network information E-mail, file transfer, and terminal emulation.
- Difficult-to-wire environments
- Historical or old buildings, asbestos installations, and open areas where wiring is difficult to employ.
- Frequently changing environments
- Retailers, manufacturers, and banks which frequently rearrange the workplace or change locations.
- Temporary LANs for special projects or peak periods
- Trade shows, exhibitions, and construction sites that need a temporary setup.
- Retailers, airline, and shipping companies that need additional workstations for peak periods.
- Auditors who require workgroups at customer sites.
- Access to databases for mobile workers
- Doctors, nurses, retailers, or white-collar workers who need access to databases while being mobile in a hospital, retail store, in an office, or on a campus.
- SOHO users
- SOHO (Small Office and Home Office) users who need easy and quick installation of a small computer network.
Software Installation
You are now ready to install the driver and the utility for the USB adapter. Thus, the following instructions will guide through overall the recommended installation procedures. In OS-specific situations, you should follow the on-screen instructions depending on your Operating system in order to proceed. (For the details, please read refer the user's manual.)
Follow these steps below to install the wireless adapter driver and utility.
STEP 1. Close all Windows and programs that are running on your PC or Laptop.
STEP 2. Insert the Utility CD into your CD-ROM drive and double click Setup.exe in the companion CD.
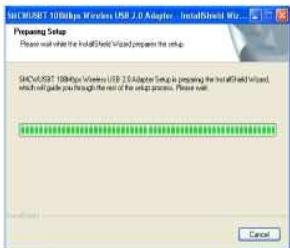
STEP 3. After you double click Setup.exe in the companion CD, a "Preparing Setup" window appears, and you may go to a next step when the processing bars end.
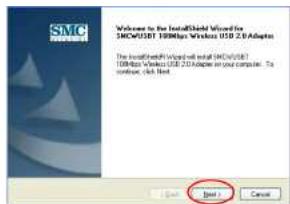
STEP 4. When the welcome screen appears, click "Next".
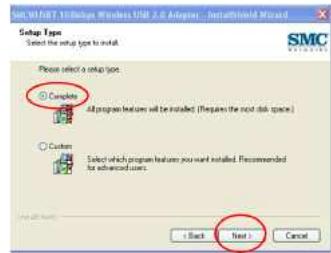
STEP 5. Please select "Complete" and click "Next".
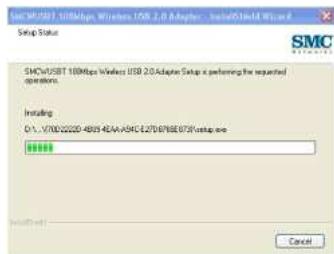
STEP 6. The installation process takes a few minutes, please wait until it has completed.
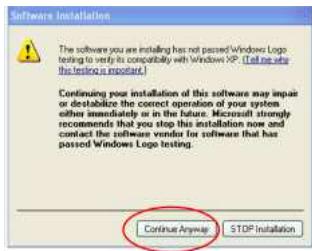
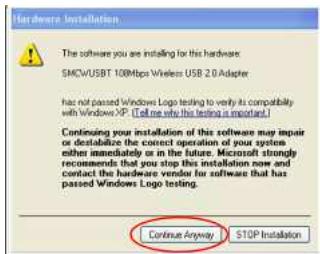
STEP 7. During installation, a warning window may pop up. Click "Continue Anyway" to continue the installation process.
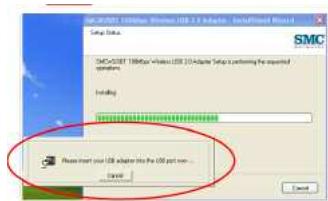
STEP 8. Plug in your wireless USB 2.0 adapter as indicated in the pop up window below.
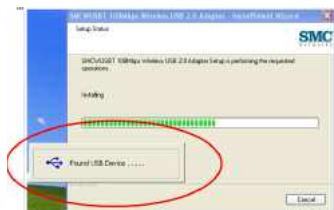
STEP 9. The USB device you inserted is found.
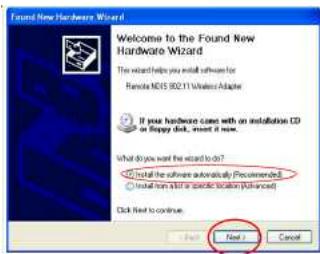
Step 10. The System will check for new hardware and meanwhile the "Found New Hardware Wizard" screen will appear: Choose "Install the software automatically (Recommended)" and then click "Next".
STEP 11. After clicking "Next" at the last step, you will see a window showing you:
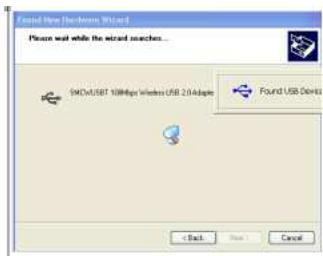
Please wait while the wizard searches.
STEP 11a. While the wizard is running, a "Hardware Installation" warning window may pop up: Click "Continue Anyway" to continue the installation process.
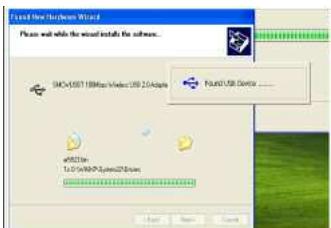
STEP 12. The wizard is installing the driver, this may take several minutes.
Packungsinhalt
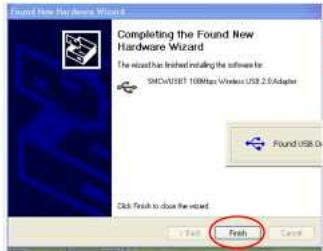
STEP 13. The adapter's driver installation is completed. Click "Finish" to complete the installation process.
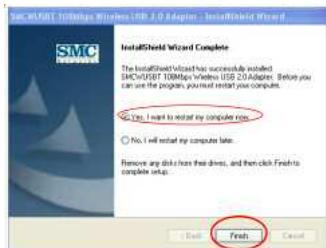
STEP 14. Finally, you will be asked to reboot your computer. It is recommended to restart your computer now, or you may restart it later.
STEP 15. To verify that you have successfully installed the driver and
utility, look for a logo indicating the wireless signal strength at a lower right side when your PC restarts.
