
DF87G - Digital photo frame VIEWSONIC - Free user manual and instructions
Find the device manual for free DF87G VIEWSONIC in PDF.
| Product type | Digital photo frame |
| Brand | ViewSonic |
| Model | DF87G |
| Display resolution | 800 x 480 pixels |
| Supported memory card formats | CF, SD, MMC, MS, MS Pro, MS Duo |
| Internal memory | 128 MB |
| Power supply | AC adapter (included) |
| Main functions | Photo display, slideshow with music, video playback, clock, calendar, alarm, file navigation, display settings, TV output, earphone jack, USB mass storage |
| Wall mountable | Yes (mounting holes on back) |
| AV output | Yes (for connection to a TV) |
| USB port | Yes (for PC connection) |
| Headphone jack | Yes (audio output) |
| Compatible operating systems | Windows 2000, XP (automatic recognition) |
| Care and cleaning | Use a soft, dry cloth. Do not use abrasive products. |
| Safety | Use only the supplied adapter. Do not expose to moisture. |
| Package contents | Photo frame, remote control, AC adapter, USB cable, quick installation guide |
Frequently Asked Questions - DF87G VIEWSONIC
User questions about DF87G VIEWSONIC
0 question about this device. Answer the ones you know or ask your own.
Ask a new question about this device
Download the instructions for your Digital photo frame in PDF format for free! Find your manual DF87G - VIEWSONIC and take your electronic device back in hand. On this page are published all the documents necessary for the use of your device. DF87G by VIEWSONIC.
USER MANUAL DF87G VIEWSONIC
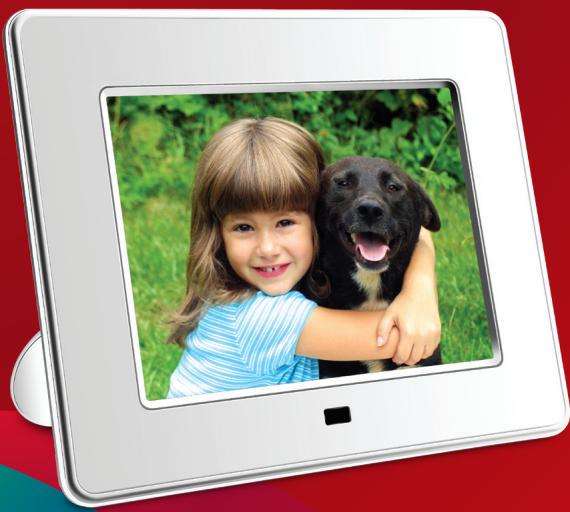
Start a Legacy of Lasting Memories
DF87G
Unpacking
Digital Photo Frame
Remote Control
- Power Adapter
Quick Guide
- USB Cable
Identifying the Parts

2
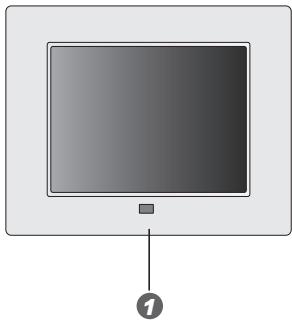

IR Sensor
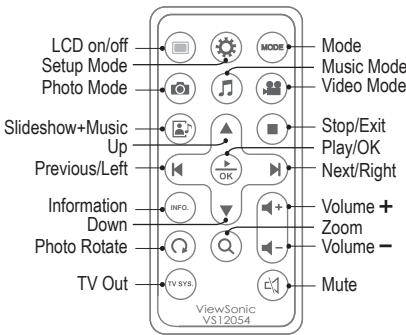
2 Mode button
Setup button
Previous button
Next button
- Stop/Exit button
念 Play/OK button
3 Power Switch
4 LED Indicator
5 Speakers
⑥ Wall-Mounting Slots
7 CF Card Slot
SD/MMC/MS/MS Pro/MS
Duo Card Slot
AV Out Jack
Audio Out Jack
USB Port
DC-IN Jack
13 Stand
Control Buttons

Getting Prepared
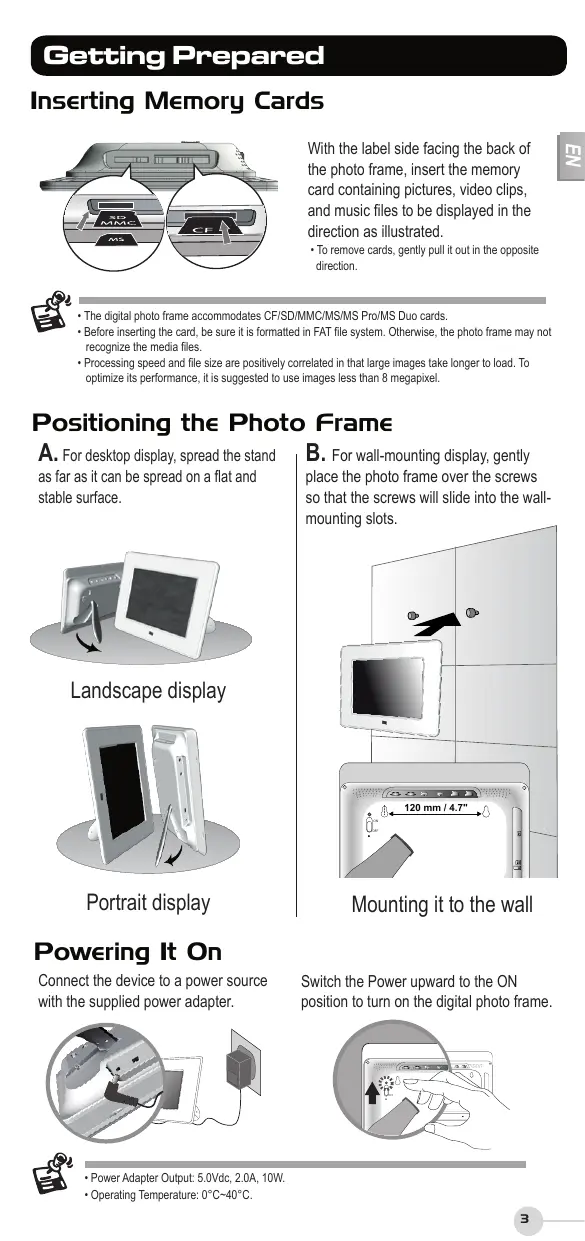
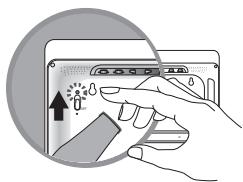
Inserting Memory Cards
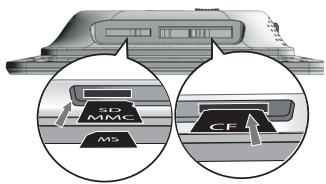
With the label side facing the back of the photo frame, insert the memory card containing pictures, video clips, and music files to be displayed in the direction as illustrated.
To remove cards, gently pull it out in the opposite direction.

- The digital photo frame accommodates CF/SD/MMC/MS/MS Pro/MS Duo cards.
- Before inserting the card, be sure it is formatted in FAT file system. Otherwise, the photo frame may not recognize the media files.
- Processing speed and file size are positively correlated in that large images take longer to load. To optimize its performance, it is suggested to use images less than 8 megapixel.
Positioning the Photo Frame
A. For desktop display, spread the stand as far as it can be spread on a flat and stable surface.

Landscape display
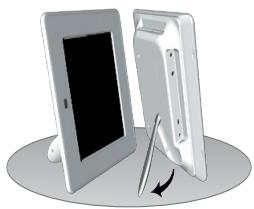
Portrait display
B. For wall-mounting display, gently place the photo frame over the screws so that the screws will slide into the wallmounting slots.
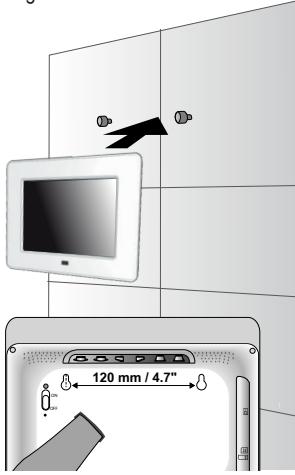
Mounting it to the wall
Powering It On
Connect the device to a power source with the supplied power adapter.
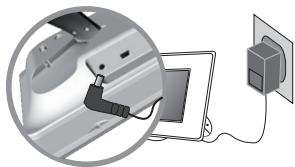
Switch the Power upward to the ON position to turn on the digital photo frame.
Operation
Use MODE to bring up the function bar.
Use 口 to move to the desired mode; press OK / to confirm.
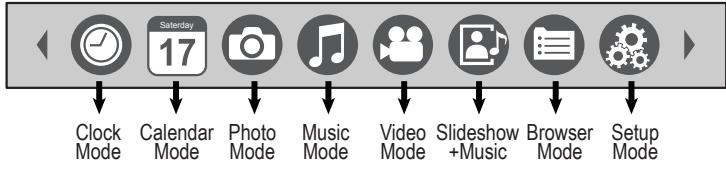

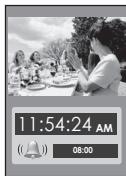
Clock Mode
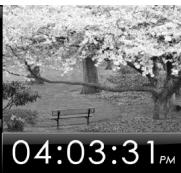
Display the current time
- If the alarm is activated, the alarm time will be displayed.
Sahurdy 17
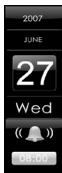
Calendar Mode
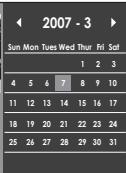
Display the monthly calendar
- Use ▲▼ ▷ ▼/◁▷ to move to the desired month.

Photo Mode
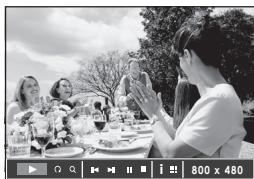
Display all photos as a slideshow
To enlarge the photo, press Q.
To rotate the photo clockwise, press
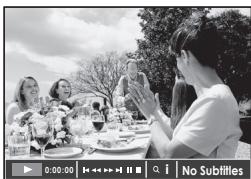
To apply various settings for the selected photo, press OK / A toolbar appears.
Use / to scroll through it; press OK / to confirm.
| Q | Rotate | rotate the photo clockwise (90°/180°/270°) |
| Q | Zoom | enlarge the photo to show the details |
| K | Previous | go back to previous photo |
| N | Next | advance to next photo |
| I | Play/Pause | pause or resume the slideshow |
| ■ | Stop | stop the slideshow |
| i | Photo Info | display photo information |
| iii | Thumbsals | display photos in thumbnail mode |
| 800x480 | Resolution | display photo resolution |
Play songs
- To adjust the volume, press + -
To mute the music, press
To apply various settings for the selected music, press OK / A toolbar appears. Use 山山山 to scroll through it; press OK to confirm.
| 0:00:00 | Elapsed Time | display the elapsed time |
| ← | Previous | go back to previous music |
| ← | F. Bwd | reverse the playback |
| → | F. Fwd | speed up the playback |
| → | Next | advance to next music |
| || | Play/Pause | pause or resume the playback |
| ■ | Stop | stop the playback |
| i | Music Info | display music information |
| ▲ | Normal | play all music once |
| C/D | Repeat One | repeat the currently selected music continuously |
| C/D | Repeat All | repeat all music continuously |

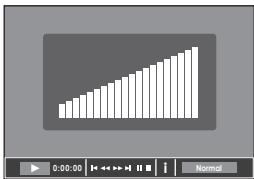
Video Mode
Play video files
To adjust the volume, press +
To mute the music, press
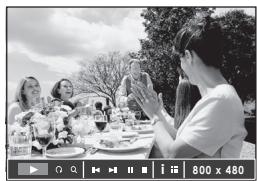
To apply various settings for the selected video file, press OK / A toolbar appears. Use <▶/ to scroll through it; press OK to confirm.
| 0:00:00 | Elapsed Time | display the elapsed time |
| ↓ | Previous | go back to previous video file |
| ← | F. Bwd | reverse the playback |
| → | F. Fwd | speed up the playback |
| → | Next | advance to next video file |
| || | Play/Pause | pause or resume the playback |
| ■ | Stop | stop the playback |
| Q | Zoom | enlarge the video to show the details |
| i | Video Info | display video file information |
Display your photos one by one, together with background music
To enlarge the photo, press Q.
To rotate the photo clockwise, press Q.
To adjust the volume, press + -
To mute the music, press
To apply various settings for the music, press OK / A toolbar appears.
Use / to scroll through it; press OK to confirm.

Browser Mode
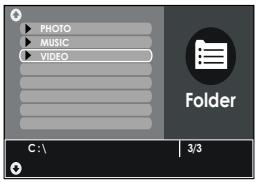
List out all of your media files
Use ▲/ to scroll through files; press OK / to play it back.

Setup Mode
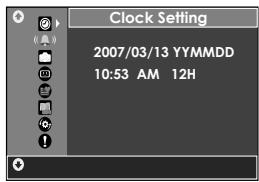
Use / < to scroll through the menu options; press OK/ to confirm.
| Clock Setting | yyyy/mm/dd | YYMMDD/MMDDYY/DDMMYY | |
| mm:ss | AM/PM 12H/24H | ||
| Alarm Setting | yyyy/mm/dd | ||
| mm:ss | |||
| Ring | 1/2 | ||
| Mode | Once/Daily/Off | ||
| Photo Setting | Interval | Fast, Medium, Slow | |
| Transition | select one to apply the slideshow effect | ||
| Display | Standard, Smart | ||
| Display Setting | Brightness, Contrast, Color | ||
| Startup Setting | Clock, Calendar, Photo, Music, Video, Slideshow with music, Browser | ||
| Language Setting | English, Français, Espanol, Português | ||
| Default Setting | TV System | NTSC, PAL | |
| Restore Default | |||
| Firmware Version | Display the currently firmware version | ||
Connecting to External Devices
Playing Back on TV
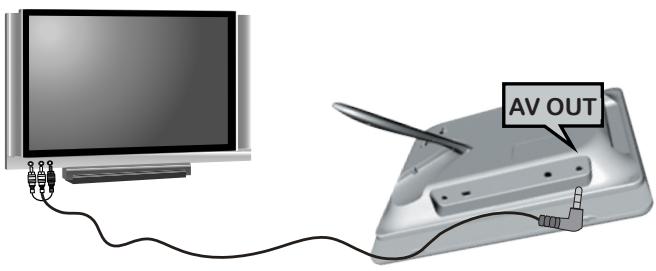
- Connect the black plug of the AV cable to the AV Out Jack of photo frame.
- Connect the other end (3-strip, audio & video connectors) to the corresponding TV Out ports of your TV.
- Power on the TV and the photo frame. Press to switch to the TV out mode.
Using Earphone
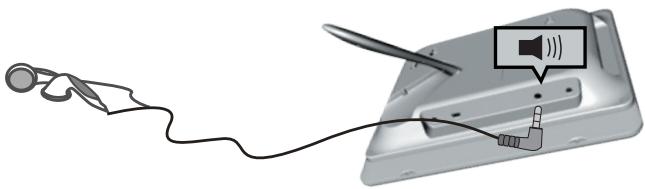
- Power on the photo frame.
- Insert the plug of the earphone into the Audio Out Jack of the photo frame.
Mass Storage
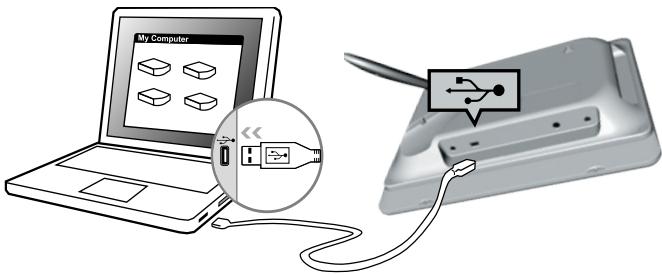
- Power on the photo frame.
- Connect the photo frame to your computer's USB port with the supplied USB cable.
-
The photo frame now functions as card reader.
-
Your photo frame comes with 128MB of built-in memory.
- When connected to a computer running Windows® 2000 or XP, the photo frame will be recognized instantly; no software installation is required.

Visualization vertical
- Unpacking
- Identifying the Parts
- Control Buttons
- Getting Prepared
- Inserting Memory Cards
- Positioning the Photo Frame
- Powering It On
- Operation
- Clock Mode
- Sahurdy 17
- Calendar Mode
- Photo Mode
- Play songs
- Video Mode
- Play video files
- Browser Mode
- Setup Mode
- Connecting to External Devices
- Playing Back on TV
- Using Earphone
- Mass Storage
Brand : VIEWSONIC
Model : DF87G
Category : Digital photo frame