
C07922 - 05-10 - Fireplace insert DEVILLE - Free user manual and instructions
Find the device manual for free C07922 - 05-10 DEVILLE in PDF.
User questions about C07922 - 05-10 DEVILLE
0 question about this device. Answer the ones you know or ask your own.
Ask a new question about this device
Download the instructions for your Fireplace insert in PDF format for free! Find your manual C07922 - 05-10 - DEVILLE and take your electronic device back in hand. On this page are published all the documents necessary for the use of your device. C07922 - 05-10 by DEVILLE.
USER MANUAL C07922 - 05-10 DEVILLE
4.1 - Environnement
4.2 - Optional equipment
4.3 - Electric connection of the blower
5- INSTALLATION REQUIREMENTS FOR THE APPLIANCE 15
5.1 - Definition of components included in the smoke evacuation system
5.2 Characteristics and size of the smoke flue to which the appliance must be connected
5.2.1 - Type of Smoke Flue
5.2.1.1 - New smoke flue
5.2.1.2 - Existing smoke flue
5.2.2 - Minimum Flue Section
5.2.3 - General Recommendations
5.3 - Type and characteristics of the pipe connecting the appliance to the smoke flue
5.4 - Draught requirements
5.5 – Ventilation of the area in which the appliance is to be installed
5.6 - Walls in the vicinity of the appliance
5.6.1 Installation advice
5.6.2 Building in dimensions - Protection of walls and casings made of combustible materials or which are affected by heat - Convection system
5.6.2.1 - Stove Layout
5.6.2.2 - Insert Layout
5.6.2.3 - Hot air distribution
5.7 - PRECONISATIONS ET EXAMPLES D'INSTALLATION
5.7.1 - Installation within a New fireplace to be Built
5.7.2 - Installation in an existing fireplace built with refractory materials and initially made to be an open hearth
5.8 - PREPARATION AND INSTALLATION OF THE APPLIANCE IN THE FIREPLACE
5.8.1 - General operations to be made
5.8.2 - setting up of the appliance
6 - USE REQUIREMENTS FOR THE APPLIANCE 19
6.1 - First lighting
6.2-Fuel
6.2.1 - Recommended fuels
6.2.2 - Forbidden fuels
6.3 - Use of the operation parts and equipment
6.4 - Use
6.4.1 - Lighting
6.4.2 - Working
6.4.3 - Ash removal
6.4.4 - Safety regulations
6.4.5 - Blower
7 - ADVICE ON CHIMNEY-SWEEPING AND STOVE AND SMOKE FLUE MAINTENANCE 20
7.1 - Sweeping
7.2 -Maintenance of the ventilation system
7.3 - usual cleaning
8 - GLOBAL TERMS OF WARRANTY 22
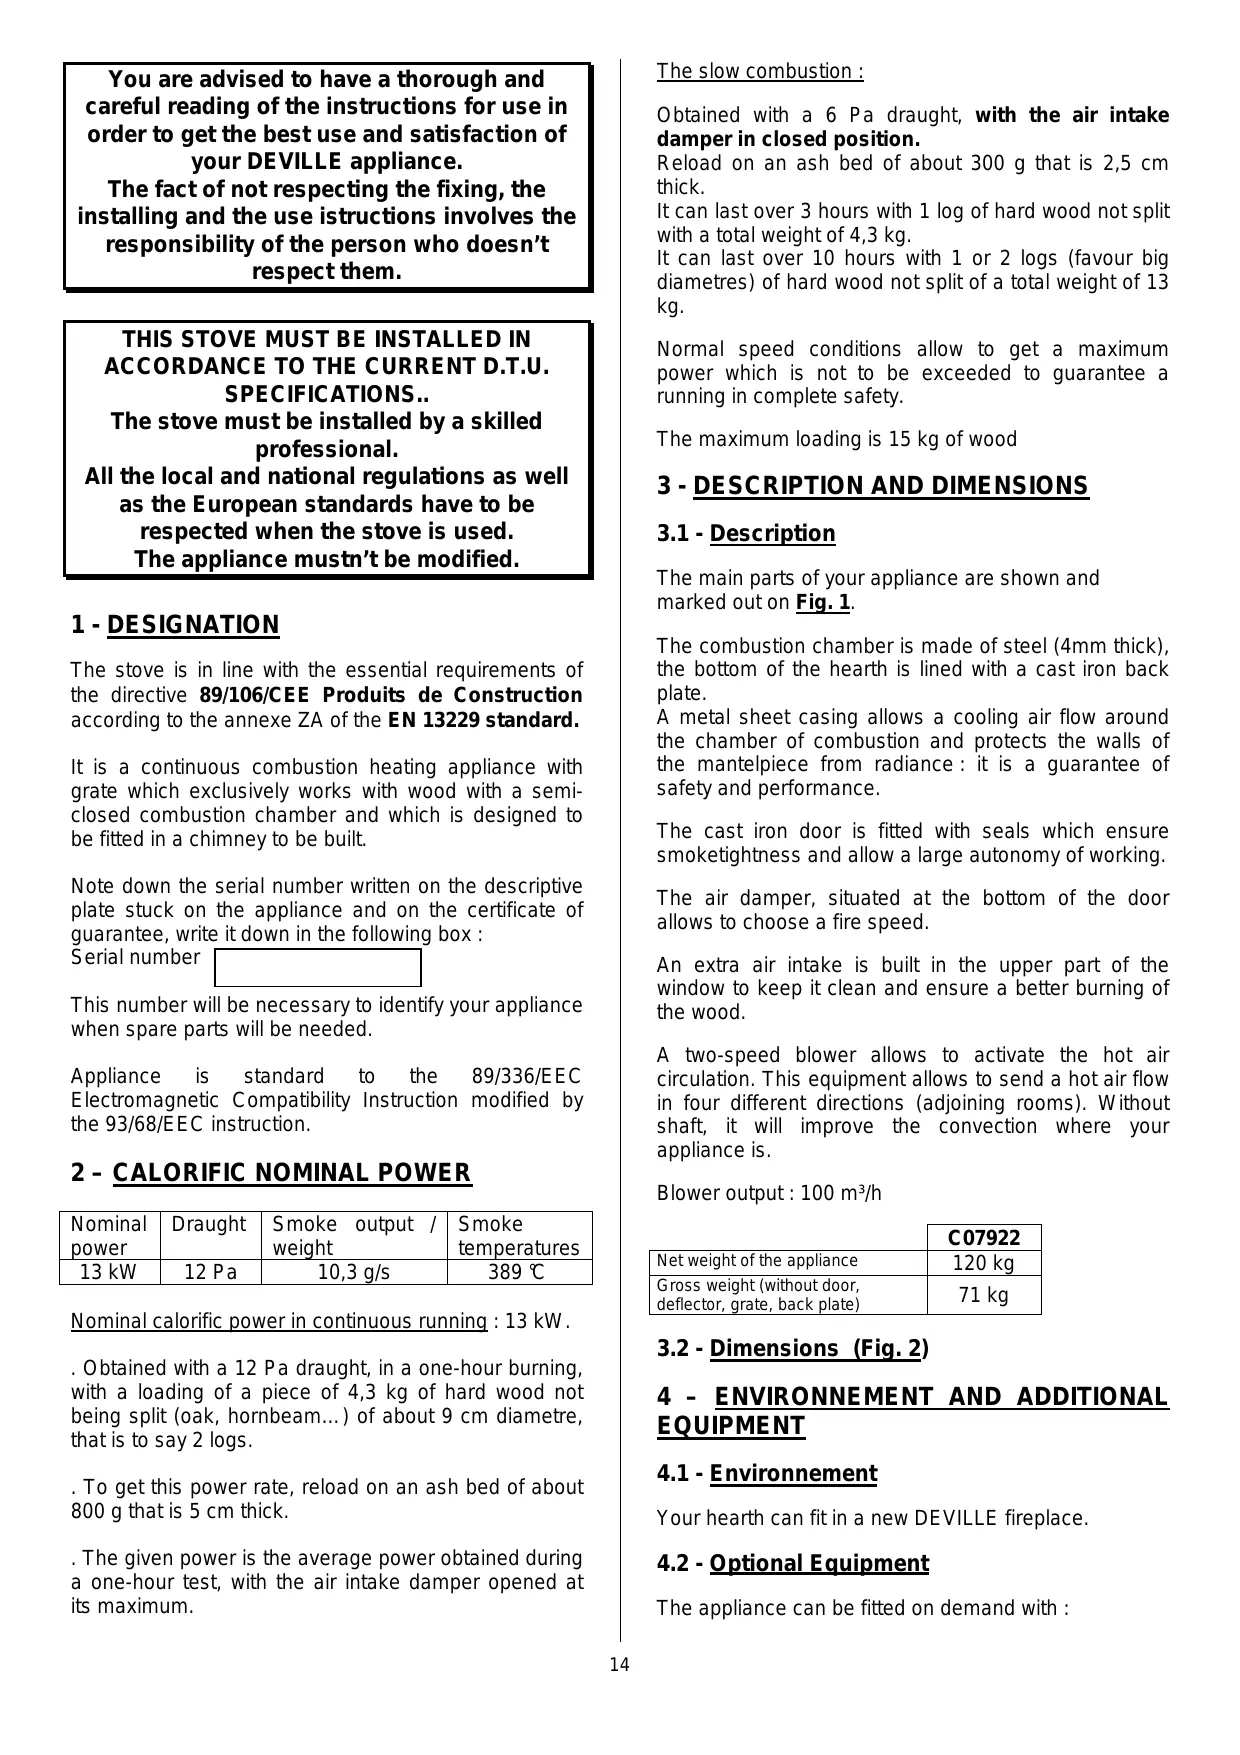
You are advised to have a thorough and careful reading of the instructions for use in order to get the best use and satisfaction of your DEVILLE appliance.
The fact of not respecting the fixing, the installing and the use instructions involves the responsibility of the person who doesn't respect them.
THIS STOVE MUST BE INSTALLED IN ACCORDANCE TO THE CURRENT D.T.U. SPECIFICATIONS..
The stove must be installed by a skilled professional.
All the local and national regulations as well as the European standards have to be respected when the stove is used. The appliance mustn't be modified.
1 - DESIGNATION
The stove is in line with the essential requirements of the directive 89/106/CEE Products de Construction according to the annexe ZA of the EN 13229 standard.
It is a continuous combustion heating appliance with grate which exclusively works with wood with a semiclosed combustion chamber and which is designed to be fitted in a chimney to be built.
Note down the serial number written on the descriptive plate stuck on the appliance and on the certificate of guarantee, write it down in the following box :
Serial number

This number will be necessary to identify your appliance when spare parts will be needed.
Appliance is standard to the 89/336/EEC Electromagnetic Compatibility Instruction modified by the 93/68/EEC instruction.
2 - CALORIFIC NOMINAL POWER
| Nominal power | Draught | Smoke output / weight | Smoke temperatures |
| 13 kW | 12 Pa | 10,3 g/s | 389 °C |
Nominal calorific power in continuous running: 13kW
. Obtained with a 12 Pa draught, in a one-hour burning, with a loading of a piece of 4,3kg of hard wood not being split (oak, hornbeam...) of about 9 cm diameter, that is to say 2 logs.
. To get this power rate, reload on an ash bed of about 800g that is 5 cm thick.
. The given power is the average power obtained during a one-hour test, with the air intake damper opened at its maximum.
The slow combustion :
Obtained with a 6 Pa draught, with the air intake damper in closed position.
Reload on an ash bed of about 300g that is 2,5 cm thick.
It can last over 3 hours with 1 log of hard wood not split with a total weight of 4,3kg .
It can last over 10 hours with 1 or 2 logs (favour big diametres) of hard wood not split of a total weight of 13 kg.
Normal speed conditions allow to get a maximum power which is not to be exceeded to guarantee a running in complete safety.
The maximum loading is 15kg of wood
3 - DESCRIPTION AND DIMENSIONS
3.1 - Description
The main parts of your appliance are shown and marked out on Fig. 1.
The combustion chamber is made of steel (4mm thick), the bottom of the hearth is lined with a cast iron back plate.
A metal sheet casing allows a cooling air flow around the chamber of combustion and protects the walls of the mantelpiece from radiance: it is a guarantee of safety and performance.
The cast iron door is fitted with seals which ensure smoketightness and allow a large autonomy of working.
The air damper, situated at the bottom of the door allows to choose a fire speed.
An extra air intake is built in the upper part of the window to keep it clean and ensure a better burning of the wood.
A two-speed blower allows to activate the hot air circulation. This equipment allows to send a hot air flow in four different directions (adjoining rooms). Without shaft, it will improve the convection where your appliance is.
Blower output: 100m^3 /h
| C07922 | |
| Net weight of the appliance | 120 kg |
| Gross weight (without door, deflector, grate, back plate) | 71 kg |
3.2 - Dimensions (Fig. 2)
4 - ENVIRONNEMENT AND ADDITIONAL EQUIPMENT
4.1 - Environnement
Your hearth can fit in a new DEVILLE fireplace.
4.2 - Optional Equipment
The appliance can be fitted on demand with :
-
Hot-air release vent 125 mm ref. C07006.EU02 allowing to supply heat in the adjoining rooms (Fig. 3).
-
This kit, provided as an optional equipment, has to be fixed before the installation of the appliance in the fireplace.
- To fix, refer to the instructions for use attached to the option.
A barbecue kit C07012.EA01 (Fig. 3).
4.3 - Electric connection of the blower
- The appliance is delivered with a 1.5 metre flexible cable which allows its connection to the mains. Its end is at the bottom of the left back part of your insert and you'll need to draw it (not too strongly) to get it. Remember to put on the fixed installation an omnipolar separation device with an opening distance of the contacts of at least 3mm : this device will ensure the insulation of the appliance from the mains. The installation will have to be in line with the NFC 15100, especially the connection to earth (green and yellow wire) will have to be done.
- The nominal power is the blower is 19W - 230V tension.
- It might be necessary to extract the vent or the insert from their places: in this case keep a cable long enough to do these operations without pulling too strongly on the cable.
5 - INSTALLATION REQUIREMENTS FOR THE APPLIANCE
The installation cannot be modified by the user.
We remind you hereafter of the prior recommendations to be respected, these will have to be added to the strict application of the whole DTU 24-2-2.
5.1 – Definition of components included in the smoke evacuation system(Fig. 4)
5.2 - Characteristics and size of the smoke flue to which the appliance must be connected
5.2.1 - Type of Smoke Flue
5.2.1.1 - New Smoke Flue
Use of the following materials:
- Fireclay flue blocks compliant with French Standard NF P 51-311
Concrete flue blocks compliant with NF P 51-321 - Composite metal pipes compliant with NF D 35-304 and NF D 35-303 or which have received "Avis Technique" approval (*) for this use
Fireclay bricks compliant with NF P 51-301 - Refractory bricks compliant with NF P 51-302
The use of certified insulating materials means that on-the-spot insulating work can be avoided, particularly where the chimney stack is concerned (minimum thermal resistance 0.43m^2kW ).
5.2.1.2 - Existing Smoke Flue
The installer is responsible for existing parts. He should check the condition of the flue and carry out any work required in order to ensure that it is in proper working order and compliant with the regulations in force.
He should sweep the flue and then check the following very thoroughly:
- Compatibility of the flue with the intended use;
- Stability
- That the flue is empty and smoke-tight (DTU 24-1, Appendix II).
If the flue is not compatible, make a casing using an approved method ("Avis Technique" certificates (^*) or install a new flue.
(*) French assessment and certification system
5.2.2 - Minimum flue section
| Réglementation | Working with Doors open | Working with Doors closed |
| Square or oblong flue blocks | Minimum section 4 dm2 | Minimum section 2,5 dm2 |
| Circular flues | Minimum diameter 200 mm | Minimum diameter 153 mm |
In all cases, the cross section of the pipe must be at least equal to that of the connecting nozzle on the appliance.
5.2.3 - General Recommendations
- A good flue will be built of materials with low heat conducting properties so that it stays hot.
-
Flue casing should be such as to limit the external surface temperature to the following :
-
50^ C in living areas
- 80^ in non-living or inaccessible areas
It should be completely smoke-tight, stable and have no rough spots.
- There should be no sudden changes in section (slope in relation to the vertical less than 45°).
It should extend at least 0,4m above the ridge of the roof and of adjacent roofs.
- Two appliances should not be connected to the same flue.
It should come out into the room containing the appliance at a height of at least 50~mm
- The interior face should be at least 16cm away from any wood or combustible materials.
- Flue blocks should be placed with the male part towards the bottom so as to avoid any leaks to the outside.
- The flue should include no more than two changes of direction, i.e. no more than one non-vertical section.
- If the flue is in masonry :
The bend angle should not exceed 45^ over a total flue height limited to 5m . For any greater height, this angle should not exceed 20^ .
- If it is an insulated metal flue :
The bend angle should not exceed 45^ with the height limited to 5m between the top and bottom of the bend. There is no limitation as to total flue height.
- Smoke-tightness, insulation, openings in walls or floors and sale fire distances should all strictly comply with the provisions of DTU 24-2-2.
5.3 - Type and characteristics of the pipe connecting the appliance to the smoke flue
- A connecting pipe must be installed between the appliance and the smoke flue outlet.
- The pipe should consist of an "Avis Technique" approved rigid or flexible multi-fuel tube designed to be used directly with a closed fireplace. It should be noted that the following are forbidden: aluminium, aluminium steel and galvanized steel;
- The following are approved: black plate (min. thickness 2 mm), enamelled plate (min. thickness 0,6 mm) and stainless steel (min. thickness 0,4 mm).
- The flue must be visible over its whole length through a grille or inspection flap and be able to be swept by mechanical means (Fig. 5). Any expansion should not adversely affect the smoke-tightness of the joins at either end or its mechanical performance or that of the smoke flue. Its design, and more especially the connection between it and the smoke flue, should be such as to prevent the accumulation of soot, particularly when it is being swept.
- Connections to the appliance and the flue should strictly comply with DTU 24.2.2 and with the specifications of the pipe; they should include all the recommended parts (end pieces and all other fittings).
5.3 - Draught conditions:
- Draught is measured on the connecting pipe at a point approximately 50~cm above the outlet on the appliance.
-
The following draught is required for proper working with the door closed :
-
6 Pa at reduced speed (0,6 mm WG)
-12 Pa at normal speed (1,2 mm WG)
As there is always some doubt as to any evaluation of the possible draught depending on flue characteristics, it is advisable to systematically install a damper.
- The damper ensures that the appliance works properly, even when the draught is considerable (high flue, piping). It should be readily visible and accessible (Fig. 6).
- The damper does not affect stove performance when the door is open.
5.5 - Ventilation of the local area in which the appliance is to be installed
- The appliance needs air in addition to the air required by the statutory air change rate. This is obligatory when the dwelling includes mechanical ventilation.
- The air intake should give directly to the outside or should be located in an area ventilated to the outside ; it should also be protected by a grille (see advised layout Fig. 7).
A:FAVOURABLE
Face in prevailing wind, favour the flow of fresh air and smokes:
B:UNFAVOURABLE
Face opposite prevailing wind.
- The air intake outlet should be located directly in the fireplace and come out as near as possible to the appliance. The user should be able to close it off when it comes out directly into the room.
-
The air intake section should be at least equal to one-quarter of the section of the smoke flue with a minimum of :
-
70~cm^2 for use with the door closed only
-
200cm^2 for use with the door open or closed (For certain appliances only : see user's manual).
-
It may be necessary to stop the extractor of the mechanical ventilation so as to avoid smoke coming back into the room when the door is opened.
5.6 - Walls in the vicinity of the appliance
5.6.1 - Installation advices
Remove all materials that are either combustible or affected by temperature from walls and inside elements (doors, walls and ceilings) near the chimney and the fireplace.
- The appliance should be encased in MO-rated incombustible materials.
- The floor should be of incombustible material from under the appliance to at least 400mm in front of the appliance.
-
If the mantelpiece is made of a combustible material (a wooden beam, for example), it must be protected by some sort of incombustible material, by a deflector or by the fascia (see DTU 24-2-2 and Fig. 14).
-
If the supporting wall is a light partition wall with combustible built-in insolation, it must be lined with incombustible material (10 cm cellular concrete with a 2 cm cavity across the whole with of the fireplace extending 5 to 10 cm each side).
5.6.2 Building-in Dimensions - Protection of Walls and Casing made of Combustible Materials or which are affected by Heat - Convection System
- To limit overheating of the casing walls to 65K ( K = ^ C above ambient temperature) and obtain the best performance from the appliance, the instructions below should be followed.
- Further, the minimum building-in dimensions shown ensure access to the control components, sufficient travel for the moving parts, plus access to and removal of any parts that need to be replaced.
- There are two possible layouts for the convection system:
5.6.2.1 - Stove Layout :
- This usually concerns the construction of a fireplace around the appliance.
The air to be heated can take two different paths (Fig. 8): - Circuit 1: incorporated into the appliance (double casing) with intake at the front d and exit via the hot air vents b.
- Circuit 2 : supported by the structure with intake via where the wood is stored f and between the fascia and the appliance c and exit via the extractor hood a.
In this case, proceed as follows (Fig. 10): - Open both hot air outlets cut out on the top of the double casing (A).
Install the front hot air outlet plug (B). - To protect the vertical walls (2 side walls, one rear, wall), insulate them using: Rock wool, conductivity inferior to 0,04 W/m°C, 30 mm thick, covered with aluminium foil exposed to the heat from the appliance.
- Floor protection : Stand the appliance on a base plate of high alumina cement, conductivity 2 W/m ℃, thickness 40 mm, 80 mm from the floor.
- Ensure the minimum embedding dimensions and put in the convection system, as shown in Figure 11 (casing to be built around the stove).
- Put up the insulated false ceiling (Fig. 17).
5.6.2.2 - Insert Layout
-
This usually concerns the installation of an appliance within an existing fireplace : the intake of air to be heated via the base or the wood store, and air exit through the extractor hood are not possible.
-
The air to be heated can take two different paths (Fig. 9):
- Circuit 1 : incorporated into the appliance (doublecasing) with intake at the front d and exit via the front e (the hot air outlet vents b above are closed off).
- Circuit 2 : supported by the structure with intake via the two sides c and exit via the front a .
In this case, proceed as follows (Fig. 10): - Make sure the front hot air outlet plug has been removed (C):
Hot air exit via the front.
- To protect the vertical walls (2 side walls, one rear wall), insulate them using:
. Rock wool, conductivity inferior to 0,04 ~W / m^ C, 30 mm thick, covered with aluminium foil exposed to the heat radiated by the appliance. - The floor should be made of brick or refractory concrete :
. Conductivity inferior to 0,1 W/m thickness 55 mm. - Ensure the minimum embedding dimensions shown in Fig. 12.
5.6.2.3 Hot air distribution :
A hot air distribution can be made in the adjoining rooms:
- Remove the precut shutters above the appliance use a 6 drill through the three marked holes ( 2 ) made for the purpose. Replace the shutters with the nozzles ( 125 ) of hot air release suggested as optional equipment (Fig. 3).
- Put in place the shutter plates on the double lining of the heating body.
- Provide a heat protection to the hot air release paths (16 cm at least between the hot air pipe and the combustible materials) and use hot air heat-insulating pipes. The chosen materials must have a good heat-resistance (MO reference).
CAUTION :
The hot air release pipes must not be in contact with the different parts of the smoke evacuation circuit and must not pass through the smoke pipe.
- Start from the appliance with pipes of the longest height possible to favour the flow by convection, limit horizontal pipes and bends.
-
Make sure there is a 'back' circuit of air coming from the rooms to be heated to the rooms where the appliance is set (if there isn't put one in place). Pay attention that the working of the hot-air circuit doesn't disrupt the ventilation device of the house.
-
It is important to make sure that during the working of the appliance the 'convection' air output enters the inlet port and goes out from all the outlet ports. If it is not the case, reduce the section of the working port until the other ports blow hot air: the use of adjusting ports allows to make this balance easy.
- The shutter plate mounted before the outlet port at the front can be adjusted in order to vary the outlet of the hot air port, yet it keeps a 'safety' air path of 10 ~mm : it avoids the overheating of the appliance when none of the four ports ( 125) are open.
NOTA : Once the fireplace is finished, the superficial temperature of the walls of the house against which the fireplace is put must not exceed 50^ on accessible parts (Fig. 13).
5.7 - Recommendations and installation examples
The appliance must be set up on a floor with a sufficient bearing capacity. If the existing construction does not comply with this prior requirement, appropriate measures must be taken to allow the floor to bear the appliance, such as setting up a load distribution plate.
5.7.1 - Installation within a New fireplace to be Built
- Fig 17 shows installation within a DEVILLE fireplace.
-
The connection method shown is the most common one:
-
Connection to a masonry flue connected to the ceiling by a special fixing device.
-
Other possibilities exist : see DTU 24-2-2.
-
A hot air outlet with a minimum section of 800~cm^2 should be installed at the front or sides, at least 300~mm from the ceiling, to expel the heat and reduce the inside temperature of the structure.
- A hot-air release vent can also be installed in the room behing the fireplace or upstairs on the room above see paragraph hot-air distribution.
5.7.2 - Installation in an existing fireplace built with refractory materials and initially made to be an open hearth
Connection with the chimney (see example Fig. 14):
- It is necessary to smoke-tight obstruct the base of the smoke flue ① . Any air coming in will hamper the good running of the appliance.
-
Make a seal ③ on the whole circumference of the steel collar ④. To do so :
-
Block with refractory mortar the collar ④.
- The upper part of the mortar crown ③ will be funnel-shaped.
-
Place the linking pipe ② in the sealed collar ④ so that is kept in high position.
-
The end of the pipe mustn't go beyond the collar ④ after the fitting with the nozzle of the appliance.
- The linking pipe will have a diameter at least equal to 180mm .
Connection with the appliance:
- Place the appliance in the hearth (see paragraph 5.8) and fit the pipe on the original nozzle of the appliance (Fig. 14).
- If the space is big enough, insert the pipe in the nozzle placing the hands between between the upper part of the appliance et the base of the collar ④.
- If there is not space enough above the appliance to place there the hands, the insertion of the pipe can be done easily in putting first in this piece of pipe at about ten centimetres from its base a broach which will allow to seize the the pipe to insert it on the noodle passing the hand from the inside of the appliance. This broach can stay there without hampering the working of the appliance (Fig. 15).
NOTA : The connecting pipe ② and the collar ④ will have to be made of stainless steel with a minimum thickness of 0,4 mm.
- The sketches 18 and 19, given as example, represent 2 cases of common installations:
- Fig.18: Existing pipe, lined.
Possibility of hot air release through the head and the existing hood.
- Fig.19:existing pipe,kept as it is.
. The design, condition or sizes of the chimney do not allow to a hot air release through the chimney head. The hot air goes out fully under the pediment and the beam.
. A wooden beam has then to be completely protected in that case.
The masonry collar has to be built the lowest possible.
The built-in fitting measures of the Fig. 12 have to be respected.
5.8 - Preparation and placing of the appliance in the hearth (Fig. 16)
5.8.1 - General Operation to be made
Lighten the heating body to make it easy its installation in the fireplace, to do so remove the polystyrene wedges holding the deflector, take of the deflector, the cast iron parts that are inside the appliance and the door (see paragraph 7.1 to dismount the deflector).
5.8.2 - Setting up of the appliance
Once the appliance installed in the fireplace, put back all the removed parts: to do so proceed in the reverse order of the dismounting.
NOTA : Before the switching on of the appliance, remove the stickers.
This ‘closed appliance’ is a real heating appliance :
High output.
- Slow speed running for a long period of time.
6.1 - First lighting
- After the building of the fireplace and the setting up of the appliance, a drying period of the materials used for the work has to be respected (2 to 3 weeks).
- After the first lighting (see paragraph 6.4.1), make a moderate fire in the first hours limiting the loading in the appliance (a log of 15 cm) with the air intake damper in an intermediate position (Fig. 20): progressive rise in temperature of all the elements of the fireplace and normal expansion of the appliance.
- During the first uses, a paint odor can come out from the appliance: ventilate the room to limit this inconvenience..
6.2 - Fuel
6.2.1 - Recommended fuel
Hard wood: oak, hornbeam, beech, chestnut tree, etc... in log of 50 cm long.
Maximum loading height: 20~cm
We recommend you to use very dry wood (20 % maximum humidity), that is a 2-year store under shelter after cutting, to get better outputs and to avoid the darking of the smoke flue and of the windows.
Avoid the use of conifers (pines, firs, spruces...) which ask for a more frequent cleaning of the appliance and the flue.
6.2.2 - Forbidden fuels
All fuels except wood are forbidden, especially coal and its by-products.
Fires with twigs, twinings, small boards, straw, cardboard are dangerous and banned.
The appliance must not be used as a waste incinerator.
6.3 - Use of the operation parts and equipment
Door handle: it must be handled thanks to the cold hand.
Air intake control lever : it must be handled thanks to the cold hand.
Cold hand: it is used to handle the pull knob of the air control, and the door knob. It is also used to pull out the ashtray.
Scaper : it is used to remove and to arrange the logs in the fireplace according to the combustion.
Do not burn your hands uselessly. Use the accessories.
LIGHTING DAMPER
The lighting position is obtained through moving the damper directly with the hand : this position can only be used when the appliance is ‘cold’ and in making the following operations (Fig. 20):
Operation n1:
Push the primary air adjustment damper to the right up to a stop which corresponds to the locking of the 'lighting position'.
Operation n2:
Lift the air intake damper.
Operation n3:
Maintain the damper in its high position and push it to the right: you are in 'lighting position'.
After the lighting, to come back to normal speed position, intermediate speed or slow speed, use the poker which can be hot to push the damper.
6.4 - Use
6.4.1 -Lighting
- Put the air intake damper in lighting position (Fig. 20).
- Place crumpled paper and small and very dry parts of wood (twigs) on the grate, then place branches of split wood of a bigger size ( 3 à 5 cm).
- Light the paper and shut the door (leave it slightly open to accelerate the lighting in avoiding any blowing back outside the appliance).
- When the loading of small parts of wood is well lit, open the door, load the appliance with the recommended fuel.
6.4.2 - Working
- The wanted speed is obtained in moving the different components (see Fig. 20) and in choosing a load corresponding to the needs.
- To get a slower speed for a longer period, load on a hardly glowing bed of embers.
- To get a rapid blaze, restart the fire with small parts of wood, load with logs, possibly maintaining the door slightly open for a few minutes to accelerate the blaze, keeping the appliance under surveillance, then close the door. This operation allows to accelerate the restart, especially if the wood is humid.
- Adjust the speed changes (going from a normal speed to a slower speed for example) before loadings in the embers'combustion stage, to let the appliance and the smokes' flue progressively change speed.
-
In order to avoid smoke blowing back and falling down of the ashes in the room when you reload, the opening of the door needs to take a few precautions:
-
Stop the ventilation in order to avoid vacuuming the ashes that might fall before the appliance
-
Open slightly the door, pause for a moment to start the draught corresponding to the running with a open door, then slowly open the door.
-
The continuous running with a slow speed, especially in milder weather (unfavourable draught) and with humid wood, leads to an incomplete burning which favour bistre and tar deposits :
Alternate slow speeds with some returns to normal speed running period.
Favour uses with small loads.
- After a running with a slow speed, the window can get dark because of a slight bistre. This deposit normally disappears in a higher speed pyrolysis running.
- The combustion chamber must be always closed except when reloading in order to avoid any excess of smoke.
6.4.3 - Ash removal
-
The air used for the combustion of wood comes from under the grate when the air intake damper is open. This air also ensures the cooling of the grate. It is therefore necessary to get optimal performances and to avoid damage of the grate under the the effect of overheating, it is also necessary to avoid its obstruction in proceeding in regular ash removal and the clearing of the ashes.
-
The scraper allows to make the ash removal of the grate (Fig. 1).
-
The ashtray- fixed under the grid - is easily removable by pulling it out thanks to the cold hand.
-
The level of the ashes must never reach the cast iron grate of the appliance.
6.4.4 - Safety regulations
- Never throw water to put the fire out.
- The window of the appliance is very hot : be careful you don't get burnt notably children.
- The appliance gives out important heat through radiation: don't put materials nor heat-sensitive objects within a distance inferior of 1,50 ~m to the window.
- Empty the content of the ash pan in a metallic or inflammable container kept for this use only. The ashes which look like cold can actually be very hot, even after some cooling time.
- Don't place easily inflammable materials in the environment of the appliance and in the place where you store wood.
Particularly, don't store wood under the appliance - In case of a chimney fire, put the air intake damper in a closed position.
6.4.5 - Blower
- Use (Fig. 21):
Choose a ventilation speed :
- Small speed, selector 12 in position I.
- Big speed, selector 12 in position II.
Let the appliance heat.
Choose the automatic running (A) or manual (M) with the selector 13.
- In M position: forced on and off of the vent. This position allows a immediate starting of the blower and asks for a manual stop.
- In A position : automatic working of the vent quand when the appliance is completely hot, generally in the hour that follows the lighting. Its running is stopped the appliance is cold, generally at the extinction of the fire.
To enjoy both the immediate starting and the automatic stop, use the M position at the lighting stage, then change to A position once the appliance is hot. It will stop automatically in that case.
7 - ADVICE ON CHIMNEY-SWEEPING AND STOVE AND SMOKE FLUE MAINTENANCE
7.1 - Sweeping:
The mechanical sweeping of the smoke flue is compulsory, it has to be made a few times a year and one sweeping has to done during the heating period. A certificate has to be established by the professional.
For sweepings, you'll need to :
-
Remove the deflector (Fig.23):
-
Dismantle the deflector ① by lifting it and drawing if forward.
- Let the back part of the du deflector ① go down and take it out.
-
To put the deflector back: proceed in the reverse way of the dismantling.
-
Check thoroughly the condition of the appliance paying special attention to smoke-tightness elements: seals and locking components, support parts (door, frame).
- Check the condition of the smoke flue and the connecting pipe : all the connections must show good mechanical holding and must have kept their smoke-tight features.
- Vacuum the inside of the hood to avoid any accumulation of dust; clear if necessary the hot air convection route..
If you detect any irregularities : have your appliance or your installation repaired by a professional.
7.2 - Cleaning , maintenance of the vent
- Dismantling of the blower (Fig.22):
Remove the 2 screws ① from the fixing of the blower.
Take out the blower in drawing the grate.
-Reassembling of the blower:
Proceed in the reverse way of the dismantling.
- Electric plan (Fig. 21)
7.3 - Usual cleaning
- Clean the window with a wet cloth and ash. If necessary use a specific cleaning product respecting the instructions for use: start the cleaning once the appliance is completely cold.
-
Clean regularly the secondary air intake part (Fig.24).
-
Vacuum ① dust and the particles stuck between the air guide and the window glass. If necessary slip a thin blade or a sheet of rigid cardboard ② between the air guide and the glass to make the cleaning easier (clearing of the particles).
These particles block the making of the secondary air flow which protects the widow from the direct contact with smokes and complete the the burning of the wood. - Scrape off with the end of a metallic object ② the inferior edge of the air intake part to remove the bistre which has settled there.
These operations have to be made as soon as the window glass is dirty and it is essential to wait for the complete extinction of the fire within the appliance to implement them.
If some local and distinct soot patches (Fig. 24) appear again and multiply, it is necessary to dismount the air guide to make a more complete cleaning (Fig. 25):
. Hang the door out and lay it down.
. Remove the 3 screws.
. Remove the air guide A and clean it.
. Reassemble the whole and check that the original window kit is respected.
This operation has to be performed by a skilled professional.
- Clean regularly the hot air releases grilles of the hood. They get filled in all the more easily as their meshing is thin: choose a suitable frequency of cleaning.
-
Check the efficiency of the latch of the door and if necessary make the following adjustments (Fig. 26):
-
Harden the closing of the door:
. Proceed successively through the loosening of the screw ① and the screwing down of ②
. Give the 2 screws a quarter turn and do it again if necessary.
NOTA : This operation increase the pressure on the smoke-tight seal of the door of the appliance.
- Loosen the closing of the door:
. Proceed successively through the loosening of the screw ② and the screwing down of ①
. Give the 2 screws a quarter turn and do it again if necessary.
NOTA : This operation decreases the pressure on the smoke-tight seal of the door of the appliance.
1. TERMS AND CONDITIONS
Apart from the legal warranty, particularly for latent defects, Deville guarantees to deliver the furniture in case of obvious defects or non-conformity to the ordered furniture.
Without prejudice to the provisions that are to be taken concerning the carrier, claims on delivery of furniture concerning the obvious defects or the non conformity, must be issued by the Buyer in writing a registered letter with confirmation of receipt to Deville company with in 5 days after noticing the defect. It is up to the Buyer to prove the reality of the noticed defects and irregularities. The Buyer must let Deville every opportunity of noticing any of those defects and irregularities in order to salve then.
The Buyer must also keep the non standard supplies at the disposal of Deville, according to the instructions of the latter. Prior to any return of supplies an agreement will be issued.
2. EXTEND
The warranty of Deville covers, except for any compensation or for damages, the free replacement or repairing of supplier the part acknowledged as being defected (except for wear and tear parts) by its services to the exclusion of the fees for the workplace, for the removal and for the shipping.
On enamelled equipments, appliances, crackles are never considered as a manufacturing defect. They are due to the difference of expansion of iron enamel or cast-iron enamel and don't alter the adherence.
Paid replacement parts are warranted for a six-month period from the invoicing date, any additional warranty agreed by a retailer from Deville doesn't commit Deville. Whenever claiming under a warranty, the guarantee with the stamp from the retailer Deville is strictly required. The above guarantee must be produced for any demand to repair the appliance under warranty, or a detachable slip or coupon of any such guarantee must, according to the own organisation of Deville, be returned to the latter within the required time. For lack of this, the date on the invoice issued by Deville can't be taken into account. The interventions under warranty can't have the effect of continuing the warranty.
3. WARRANTY PERIOD
The agreed warranty period assured by Deville is the longer of 2 years (5 year for the heating body / insert and stove) from the day of the purchase of the appliance, subject to the above terms and conditions are fact that the claims covered by the conditions are requested within the required time. The repairing, the replacement or the alteration of parts under the warranty period can neither have the effect of continuing the period of the latter, not get to any compensation for any fees, for late delivery, accidents or any such damages.
4. EXCLUSION
The warranty is unavailable for the following cases, without this list being exhaustive :
-
Fitting out, fitting out and assembling of appliances not due to Deville.
-
Consequently Deville can't be considered as responsible for damages or supplies, or accidents to persons due to local laws and regulations (for example the fact that there is no linking to the a earth ground connection, or a wrong drought of a fitting out).
Fair wear and tear of the supplies or abnormal use of the supplies including the case of industrial or trading use or a use of the supplies in different conditions from the ones it was built for. It is, for example, of non respect of the conditions described in the directions issued by Deville : display to outside conditions damaging the appliance ; such as excessive dampness or abnormal change of the electrical tension. Malfunction, damage or accident due to a shock, a drop, a carelessness, a failure of supervision or of service from the Buyer.
Any alteration, change or intervention made by a member of the staff or a company that is not approved by Deville, or manufactured with replacement parts that are not genuine or not approved by the manufacturer.
5. SPECIAL TERMS OF WARRANTY
These terms add and define the above general terms of warranty and come first to the former, refer to the enclosed leaf untitled : "special terms of sales Deville - warranty".
INHALT
Seite
1-BEZEICHNUNG 24
5- INSTALLATIONSBEDINGUNGEN 25
8-ALLGEMEINE GARANTIEBEDINGUGEN 33