
KH 1400 - Vacuum Cleaner LERVIA - Free user manual and instructions
Find the device manual for free KH 1400 LERVIA in PDF.
| Brand | LERVIA |
| Model | KH 1400 |
| Category | Compact vacuum cleaner |
| Use | Household use only |
| Suction power | Adjustable via switch on the handle |
| Included accessories | Floor brush, tube, flexible hose, baseboard nozzle, crevice tool |
| Features | Floor brush with switch for smooth surfaces/carpets, foldable crevice tool |
| Fill indicator | Red indicator light showing the bag is full |
| Filter type | Air inlet filter and exhaust filter |
| Filter replacement | Every 5 dust bag changes (replacement filters provided) |
| Tank capacity | Not specified (dust bag) |
| Cable length | Not specified (foot-operated cord rewind) |
| Weight | Not specified |
| Dimensions | Not specified |
| Power supply | Mains (voltage according to technical data on the device) |
| Maintenance | Clean the housing with a damp cloth, clean the filters regularly |
| Safety | Do not vacuum liquids, sharp objects, hot ashes; do not use without bag or filter; unplug before maintenance |
| Warranty | 36 months |
| Repairability | Entrust exclusively to an authorized service center; do not open yourself |
| Spare parts | Dust bags and replacement filters available |
Frequently Asked Questions - KH 1400 LERVIA
User questions about KH 1400 LERVIA
0 question about this device. Answer the ones you know or ask your own.
Ask a new question about this device
Download the instructions for your Vacuum Cleaner in PDF format for free! Find your manual KH 1400 - LERVIA and take your electronic device back in hand. On this page are published all the documents necessary for the use of your device. KH 1400 by LERVIA.
USER MANUAL KH 1400 LERVIA
© graphic design, photos and translations by ORFGEN · Essen / Germany
www.kompernass.com
Bedienungsanleitung 5-8
GB Operating instructions Page 9-12
F Mode d'emploi Page 13-16
Istruzioni per l'uso 17-20
E Instrucciones de service Pagina 21-24
P Instruções de service Págnina 25-28
NL Gebruiksaanwijzing
GR O△HΓEΣ ΛΕΙΟΥΡΙΑΣ Σελιδα 33-36
PL Instrukcja obstugi Strona 37-40
cz Pokyny k ovladani Strana 41-44
FIN Käytto- ja turvaohjeet Sivu 45 - 48
s Anvandar- och Sakerhetsanvisning Sidan 49-52
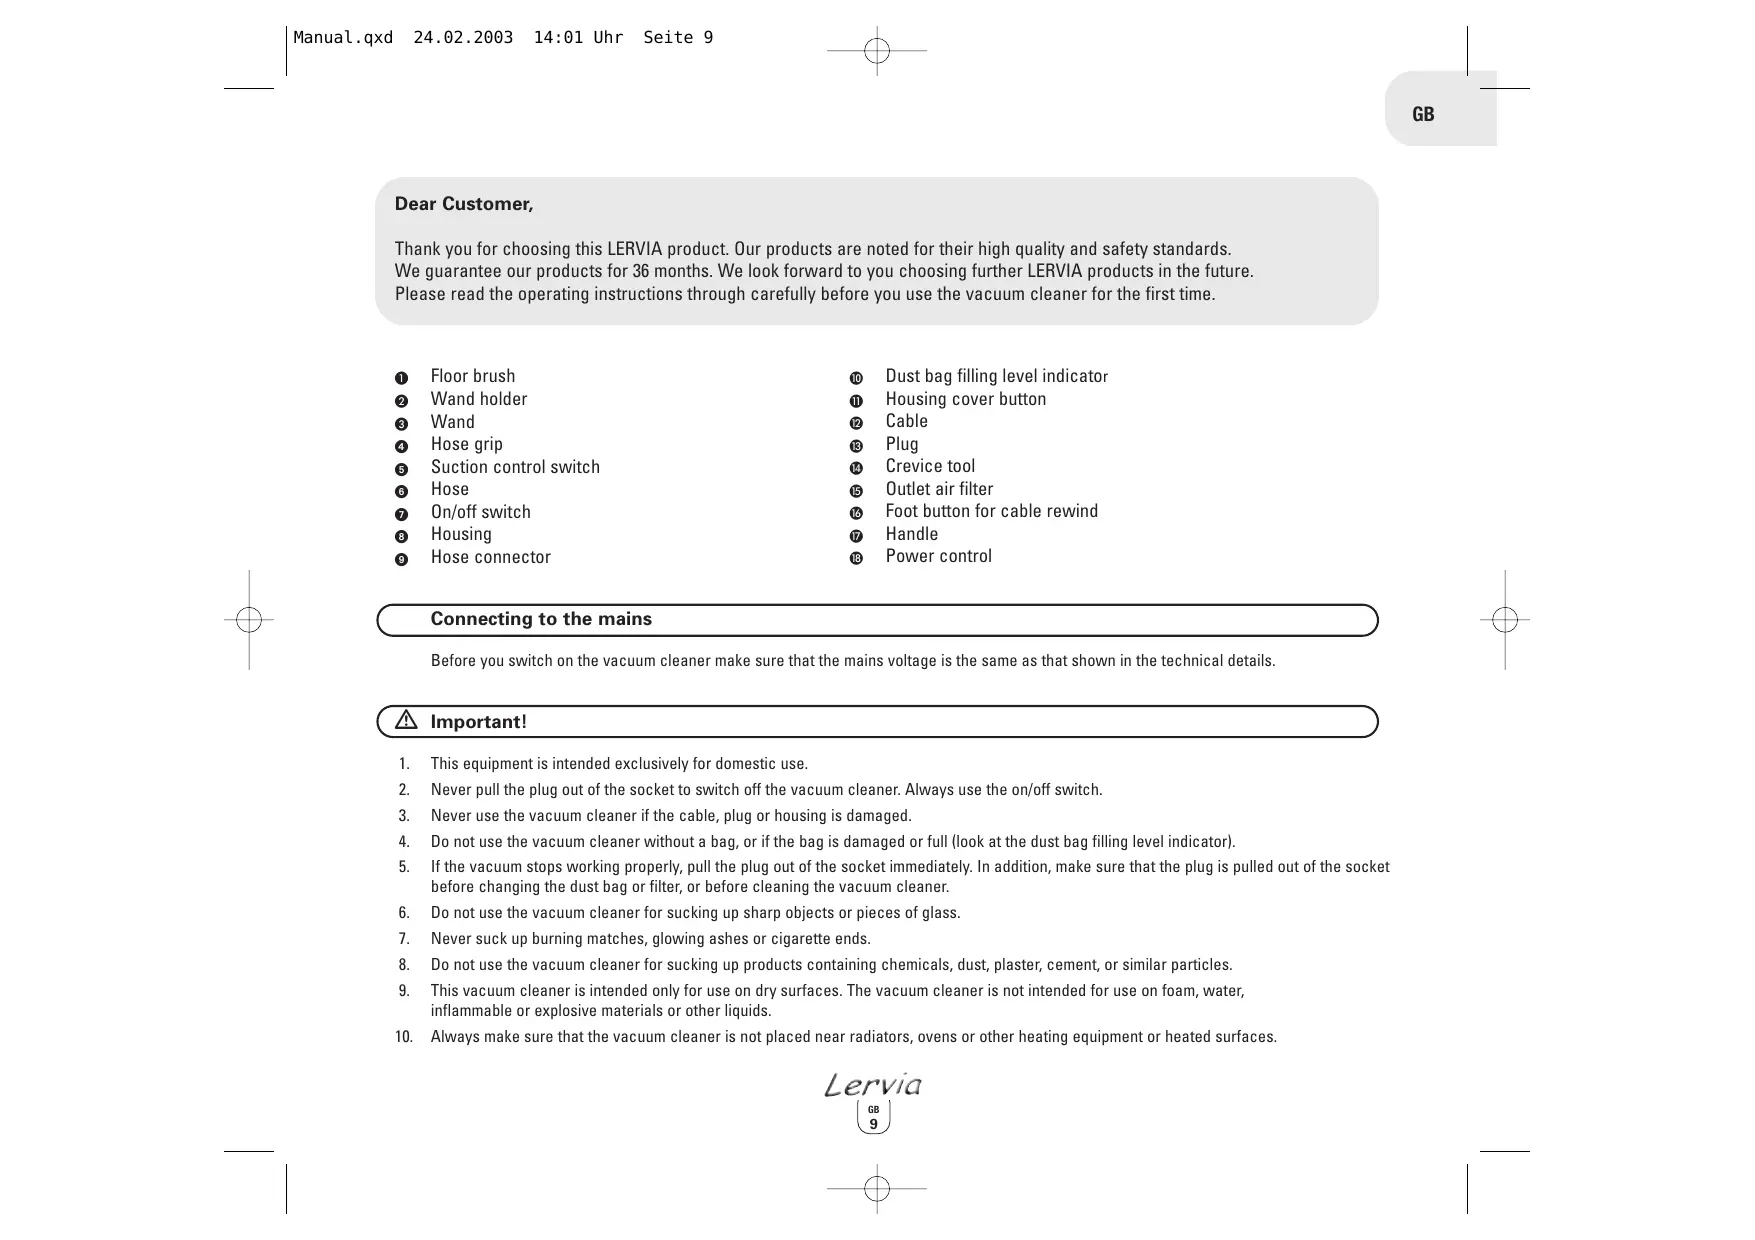
Thank you for choosing this LERVIA product. Our products are noted for their high quality and safety standards. We guarantee our products for 36 months. We look forward to you choosing further LERVIA products in the future. Please read the operating instructions through carefully before you use the vacuum cleaner for the first time.
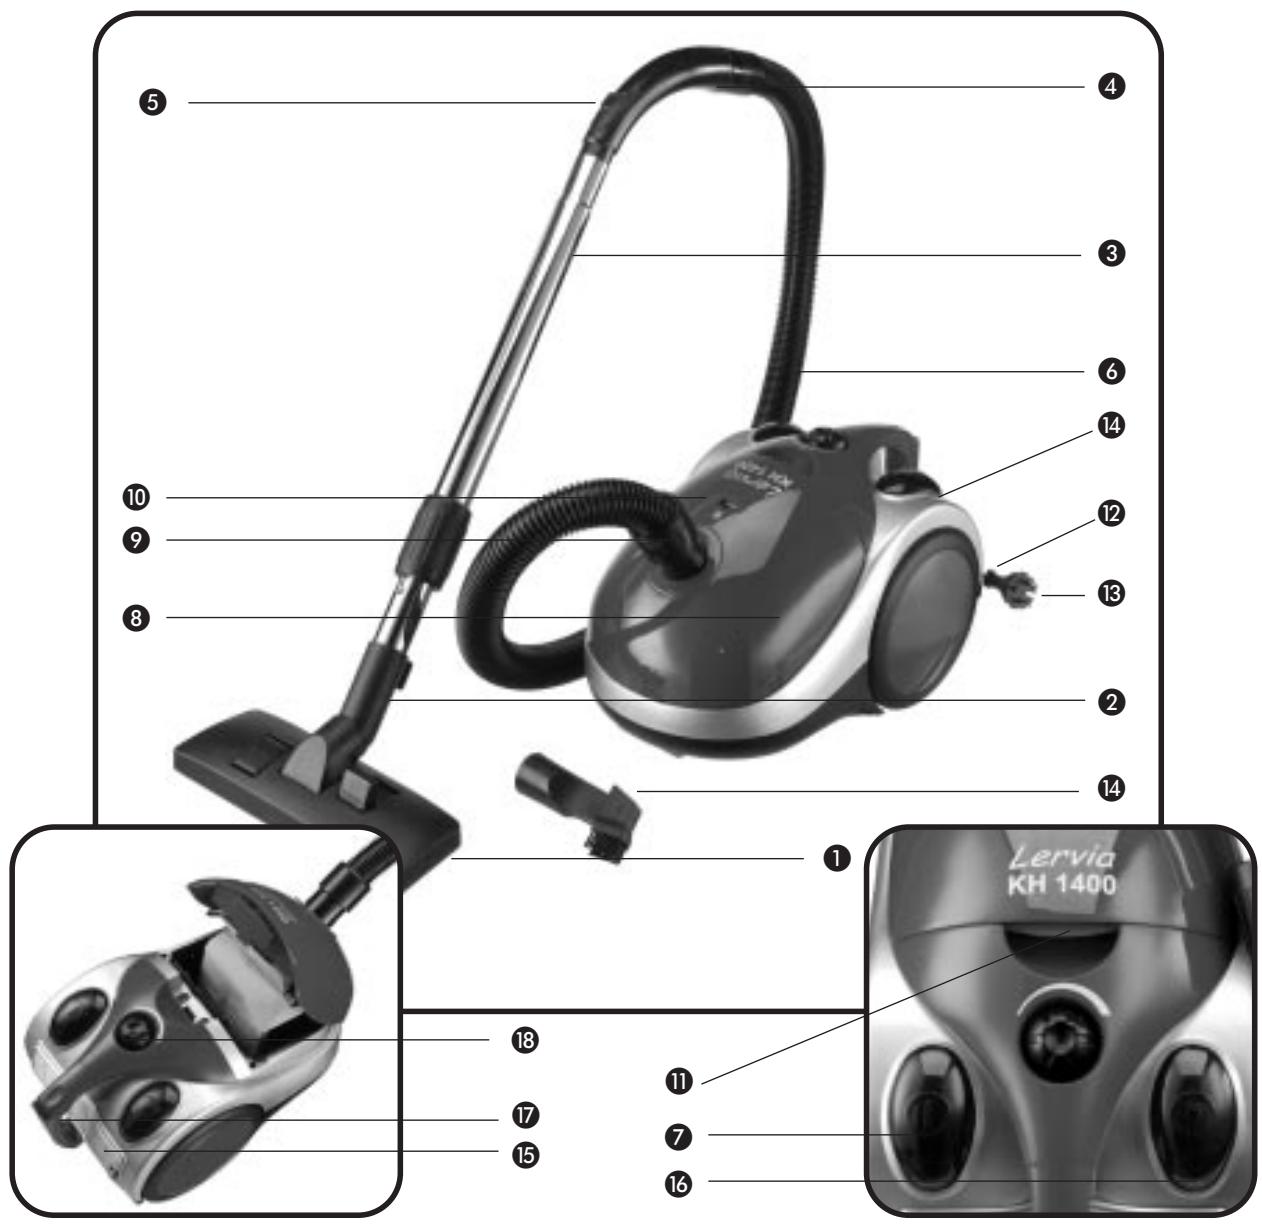
Floor brush
2 Wand holder
3 Wand
4 Hose grip
Suction control switch
6 Hose
On/off switch
Housing
9 Hose connector
Dust bag filling level indicator
Housing cover button
Cable
Plug
14 Crevice tool
15 Outlet air filter
16 Foot button for cable rewind
7 Handle
Power control
Connecting to the mains
Before you switch on the vacuum cleaner make sure that the mains voltage is the same as that shown in the technical details.
Important!
- This equipment is intended exclusively for domestic use.
- Never pull the plug out of the socket to switch off the vacuum cleaner. Always use the on/off switch.
- Never use the vacuum cleaner if the cable, plug or housing is damaged.
- Do not use the vacuum cleaner without a bag, or if the bag is damaged or full (look at the dust bag filling level indicator).
- If the vacuum stops working properly, pull the plug out of the socket immediately. In addition, make sure that the plug is pulled out of the socket before changing the dust bag or filter, or before cleaning the vacuum cleaner.
- Do not use the vacuum cleaner for sucking up sharp objects or pieces of glass.
- Never suck up burning matches, glowing ashes or cigarette ends.
- Do not use the vacuum cleaner for sucking up products containing chemicals, dust, plaster, cement, or similar particles.
- This vacuum cleaner is intended only for use on dry surfaces. The vacuum cleaner is not intended for use on foam, water, inflammable or explosive materials or other liquids.
-
Always make sure that the vacuum cleaner is not placed near radiators, ovens or other heating equipment or heated surfaces.
-
Always make sure that the ventilation slots are kept free from obstruction. Obstructed air circulation can lead to overheating and damage to the vacuum cleaner.
- Always make sure that the vacuum cleaner is only operated with the dust bag and the filter installed.
- The vacuum cleaner is not intended for use by children.
- If your vacuum cleaner is defective, please send it to the appropriate service centre or have it repaired at an electrical equipment repair workshop. Under no circumstances open the vacuum cleaner yourself. Work on your vacuum cleaner carried out by non-authorised service centres could endanger your health.
- Any rights under the guarantee are lost if these operating instructions are not followed. The guarantee does not cover wear parts or damage resulting from improper use (incorrect operation, water, dropping etc.), work on the vacuum cleaner carried out by third parties, or technical modifications to the vacuum cleaner. The performance of services under the guarantee does not extend or renew the 36 months guarantee period.
Before using for the first time
- Take the vacuum cleaner out of the packaging.
- Check that the dust bag is correctly fitted.
- Remove the packaging and check that the dust bag and safety filter are correctly fitted.
Operation
1 Place the vacuum cleaner in the horizontal position.
2 Attach the hose to the hose opening.
3 Connect the wand to the hose grip.
4. Various tools can attached to the other end of the wand, such as brushes, round nozzles or crevice tools.
5. Pull out sufficient mains cable.
6. Press the on/off switch to switch on the vacuum cleaner.
7. When required you can control the amount of suction using the suction control switch on the grip. You can control the power using the appropriate button on the vacuum cleaner itself. A low power setting is recommended for delicate surfaces e.g. curtains.
8. Press the on/off switch again to switch off the vacuum cleaner.
9. After use always pull the plug out of the mains socket.
10. Rewind the mains cable by actuating the foot button on the vacuum cleaner.
11. You can remove the hose for storing the vacuum cleaner. To take the hose out of the socket, press both buttons at the end of the hose.
12. With the vacuum cleaner in the horizontal position, you can attach the wand and the brush to the vacuum cleaner handle.
Advice on use
- Floor brush
Press the button to set the floor brush for use on floors and smooth or flat surfaces. This is for cleaning PVC, floor-boards, marble, sandstone, parquet etc. Place the button to its original position again when you wish to use the brush for carpets or soft surfaces.
- Nozzle on hose grip
Remove the wand and work just using the nozzle on the hose grip to vacuum curtains, lampshades, shelves or car seats etc.
It is particularly useful for cleaning soft materials.
- Crevice adapter (multi-purpose crevice nozzle)
Take the crevice adapter from the accessory holder (at the rear of the cleaner near the plug). Use this nozzle to reach places that are difficult to get into, such as curtain rails, recesses, corners and narrow openings. When using this tool you can simply swivel the front brushes in or out to adjust the way the crevice nozzle works to suit your cleaning task.
This tool can either be fitted to the nozzle on the hose grip or on the end of the wand.
Replacing the dust bag
- The red indicator lets you know when the dust bag is full and needs to be changed.
- Detach the hose by pressing the two buttons at its end.
- Press the (open/close) button to open the housing cover.
- Take the container with the dust bag out of the compartment.
- Remove the full dust bag from the holder.
- Place a new dust bag into the holder.
- Place the container with a correctly fitted dust bag back into the compartment.
- Close the housing cover.
- Always check that the dust bag is correctly installed before switching on the vacuum cleaner again.
Replacing the filter
Before you install a new filter, always switch off the vacuum cleaner and pull the plug out of the socket. We recommend that the filter is changed at least after every 5th dust bag. Two replacement filters are included with the vacuum cleaner.
-
Replacing the air inlet filter
-
Open the housing cover.
- Take out the filter with the old dust bag.
-
Insert the new filter.
-
Replacing the filter
-
Open the filter cover.
- Replace the filter.
- Close the cover and check that it is properly closed.
Care and cleaning
- Before you cleaning the vacuum cleaner, always switch it off and pull the plug out of the socket.
- To prevent electric shock do not clean the vacuum cleaner with water and never allow the vacuum cleaner to be in contact with water.
- Use a damp or dry cloth to clean the vacuum cleaner. Only clean the housing and the accessories.
- The filter for the ventilation air and the internal air filter should be cleaned regularly.
- Do not use any aggressive cleaning agents or solvents as these may attack the plastic.
Storing
- Rewind the mains cable fully by actuating the foot button on the vacuum cleaner.
- Place the vacuum cleaner in the vertical position.
STATEMENT OF CONFORMITY
We, Kompernaß Handelsgesellschaft mbH, Burgstr. 21, D-44867 Bochum, Germany, hereby declare that this product conforms with the following EC regulations:
EC low voltage regulations, Electromagnetic compatibility, Applicable harmonised standards.
Description / Model type:
LERVIA KH 1400 COMPACT VACUUM CLEANER
Bochum, 31.01.2003
Hans Kompernaß
- Managing Director -
Cher client,
KONFORMITETSDEKLARARTION
Vi, Kompernaß Handelsgesellschaft mbH, Burgstr. 21, D-44867 Bochum, Tyskland, förklarar hamed attenna produit
Brand : LERVIA
Model : KH 1400
Category : Vacuum Cleaner