MT 5910 - Electric mower GRUNDIG - Free user manual and instructions
Find the device manual for free MT 5910 GRUNDIG in PDF.
Download the instructions for your Electric mower in PDF format for free! Find your manual MT 5910 - GRUNDIG and take your electronic device back in hand. On this page are published all the documents necessary for the use of your device. MT 5910 by GRUNDIG.
USER MANUAL MT 5910 GRUNDIG
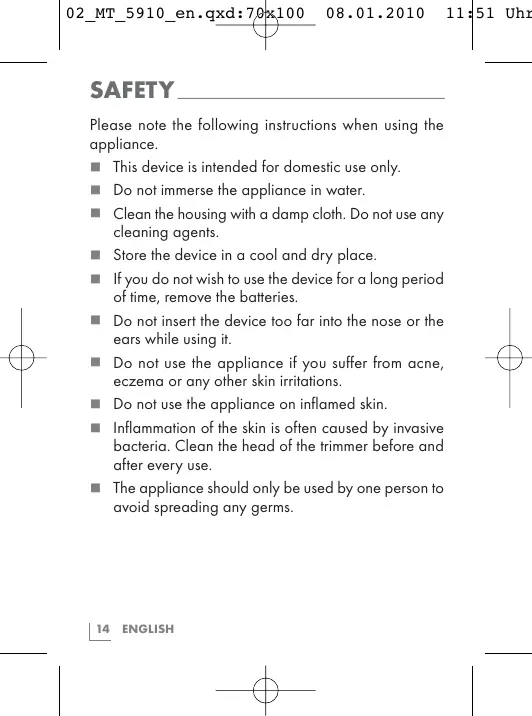
Please note the following instructions when using the appliance.
This device is intended for domestic use only.
Do not immerse the appliance in water.
Clean the housing with a damp cloth. Do not use any cleaning agents.
Store the device in a cool and dry place.
If you do not wish to use the device for a long period of time, remove the batteries.
Do not insert the device too far into the nose or the ears while using it.
- Do not use the appliance if you suffer from acne, eczema or any other skin irritations.
Do not use the appliance on inflamed skin.
Inflammation of the skin is often caused by invasive bacteria. Clean the head of the trimmer before and after every use.
The appliance should only be used by one person to avoid spreading any germs.
SAFETY
- Keep the appliance out of the reach of children.
Never use the device if it is visibly damaged. - Do not open the device under any circumstances. No warranty claims are accepted for damage caused by improper handling.
OVERVIEW
Dear customer,
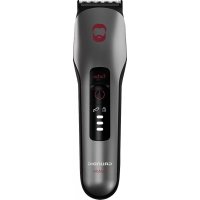
Congratulations on the purchase of your MT 5910 multihair trimmer. Read the following user notes carefully to ensure you can enjoy your quality product from Grundig for many years to come.
Special features
- Easy and gentle removal of all nose and ear hair.
- Trims beards, neck hair and sideburns conveniently.
- 2 additional adjustable comb attachments for lengths of 2 to 16mm .
- Washable attachments.
OVERVIEW
User elements
See the illustration on page 2.
A Detachable protective cap.
B Attachment for trimming nose and ear hair.
C Switch for turning on and off.
D Detachable housing for inserting the batteries supplied (2 x 1.5 V AAA/LR 03).
Exchangeable trimmer attachment for sideburns, beards and neck hair.
Comb attachment for lengths of 2 to 8mm
Comb attachment for lengths of 10 to 16mm
POWER SUPPLY
The device operates with the batteries supplied 2 × 1.5V AAA/LR 03.
Inserting the batteries
1 Remove the battery housing D.
2 Insert the supplied batteries into the housing. Observe the polarity indicated in the housing.
3 Replace the housing and press it down until it catches.
Notes
Do not expose the batteries to extreme heat, caused for example by direct sunlight, heaters or fire.
Remove the batteries when they are flat or when you know that the device will not be used for a long period of time. The manufacturer accepts no liability for damage caused by leaking batteries.
Environmental note
Batteries, including those which contain no heavy metal, should not be disposed of with household waste. Always dispose of used batteries in accordance with local environmental regulations.
USE
Trimming nose or ear hair
1 Remove the protective cap A.
2 Press the button to switch on the appliance.
3 Carefully insert the device with the trimmer attachment into the nose or ear.
Note
Do not insert the device too far into the nose or the ears during use.
4 Press the button to switch off the appliance after use.
Trimming sideburns,beards and neck hair
1 Remove the trimmer attachment B by turning the blade head to the right slightly, until it clicks.
2 Put on the exchangeable trimmer attachment E and turn to the left slightly, until it catches.
3 Press the switch to switch on the appliance.
Note
If the trimmer is blocked by thick hair while you are using it, turn it off.
USE
4 For individual trimming, also use the adjustable plugin in combs F and G.
- F: can be adjusted to 2, 4, 6 or 8 mm.
- G: can be adjusted to 10, 12, 14 or 16 mm.
5 Place the plug-in combs F and G on the trimmer attachment E.
6 Press the button to switch off the appliance after use.
Cleaning and care
1 After use, remove the housing for the trimmer blades or by turning the housing anti-clockwise and taking it off.
Note
You can clean the attachments B, E, F and G under running water. Before putting the parts back on, make sure that they are completely dry.
2 After cleaning and drying, replace the attachments B or E by turning the housing clockwise and making sure that it firmly engages in the position marked.
3 Replace the protective cap A.
USE
Notes
Only clean the housing of the device with a damp cloth. Do not use any cleaning agents or other fluids.
Remove the batteries when you do not wish to use the device for a long period of time.
Always store the device in a cool and dry place.
INFORMATION
Environmental note
This product has been made from high-quality parts and materials which can be re-used and recycled.

Therefore, do not dispose of the product along with normal household waste at the end of its service life. Take it to a collection point for the recycling of electrical and electronic equip
ment. The symbol on the product, in the operating manual or on the packaging indicates that recycling is possible.
Please find out about collection points operated by your local authority.
Help protect the environment by recycling used products.
Technical data
This product conforms to the European directives

2004/108/EC and 2006/95/EC.
Power supply
Batteries: 2 × 1.5 V AAA/LR 03
Technical and design modifications reserved.