
MeetUp - Webcam LOGITECH - Free user manual and instructions
Find the device manual for free MeetUp LOGITECH in PDF.


| Product Type | Conference Webcam |
| Brand | Logitech |
| Model | MeetUp |
| Dimensions (L x H x D) | 104.5 x 400 x 112 mm |
| Weight | 1.06 kg |
| Power Supply | USB-C (bus or power adapter) |
| Video Resolution | Ultra HD 4K (3840 x 2160) at 30 fps |
| Field of View | 120° (diagonal) |
| Microphone | 6-element array with 1.5 m range |
| Speaker | Built-in, 85 dB SPL |
| Connectivity | USB-C, Bluetooth (for remote control) |
| Key Features | 5x digital zoom, auto focus, brightness correction, noise filter |
| Compatibility | Windows, macOS, Chrome OS, video conferencing systems |
| Maintenance and Cleaning | Use a soft, dry cloth; do not use abrasive products |
| Security | Integrated Kensington lock |
| Spare Parts and Repairability | Remote control and cables available as options; device not user-serviceable |
| General Information | Designed for small to medium meeting rooms; ideal viewing angle for tables of 2 to 6 people |
Frequently Asked Questions - MeetUp LOGITECH
User questions about MeetUp LOGITECH
0 question about this device. Answer the ones you know or ask your own.
Ask a new question about this device
Download the instructions for your Webcam in PDF format for free! Find your manual MeetUp - LOGITECH and take your electronic device back in hand. On this page are published all the documents necessary for the use of your device. MeetUp by LOGITECH.
USER MANUAL MeetUp LOGITECH
logitech®
English 3
Français .....10
Español .....17
Português ..... 24
WHAT'S IN THE BOX
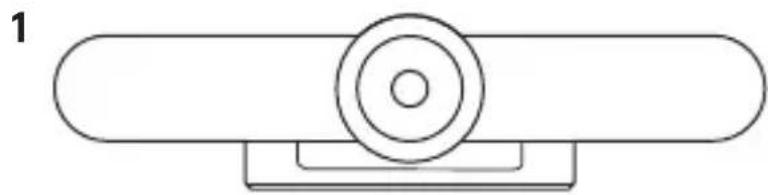



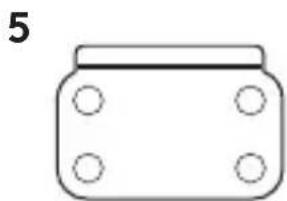
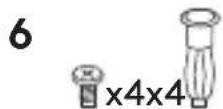

- MeetUp camera and speakerphone unit
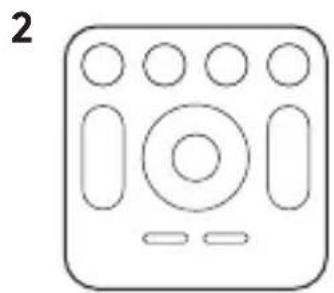
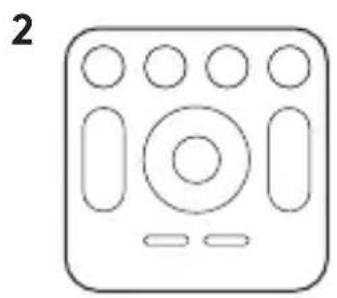
- Remote control
- 5m USB cable
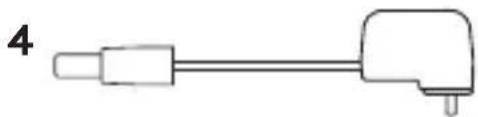
- Power adapter
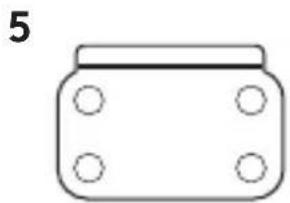
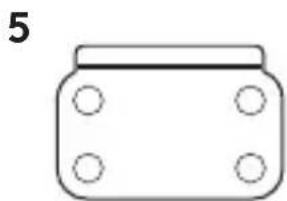
- Wall mounting bracket
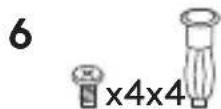
- Wall mounting hardware
- Documentation
English
WHAT'S WHAT
CAMERA SPEAKERPHONE

- Security slot
- Remote control pairing
- USB
- Power
- Optional expansion microphone
REMOTE
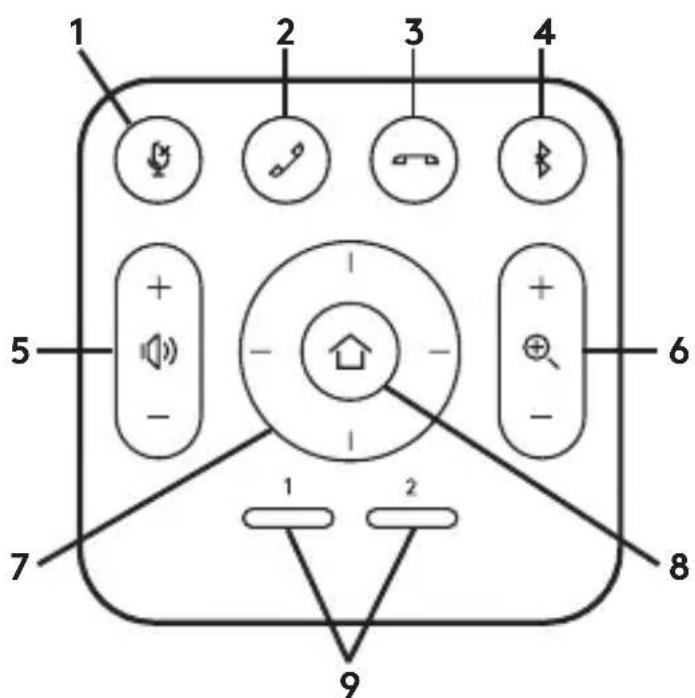
- Microphone mute
- Call answer
- Call end
- Bluetooth® pairing
- Volume up/down
- Zoom in/out
- Camera pan/tilt
- Camera home
- Camera preset
* Please note that not all applications support call answer and end buttons.
Thanks for buying MeetUp. We think you'll find the extra wide field of view will help everyone feel included in the meeting, enhancing communication.
PLACEMENT
We recommend placing the camera as close to eye level as possible. Best results typically come from mounting below the monitor.
- Place on a table or shelf near the monitor.
- Connect the cables.
- Mount on the wall:
a. Attach bracket to the wall. Please use the appropriate type of screws for your wall type.

b. Attach the camera to the bracket.
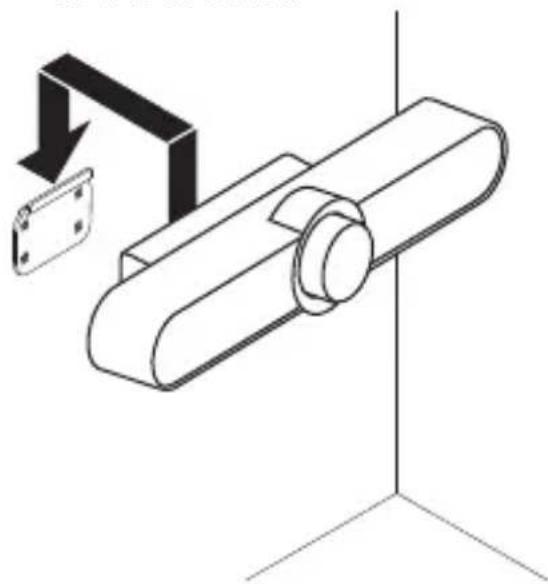
- Mount to the TV: An optional TV mount bracket is available on Logitech.com.
CONNECTION
Connecting MeetUp is the same whether you plan on using a dedicated computer in the room, or your team members bring a laptop to the room to run the meeting.
- Plug MeetUp into power.
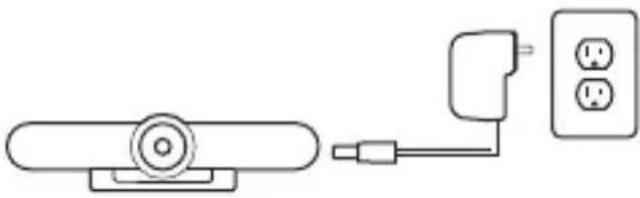
- Connect the USB cable from MeetUp to the computer.

- Connect the TV to the computer.

Diagram of all connections:
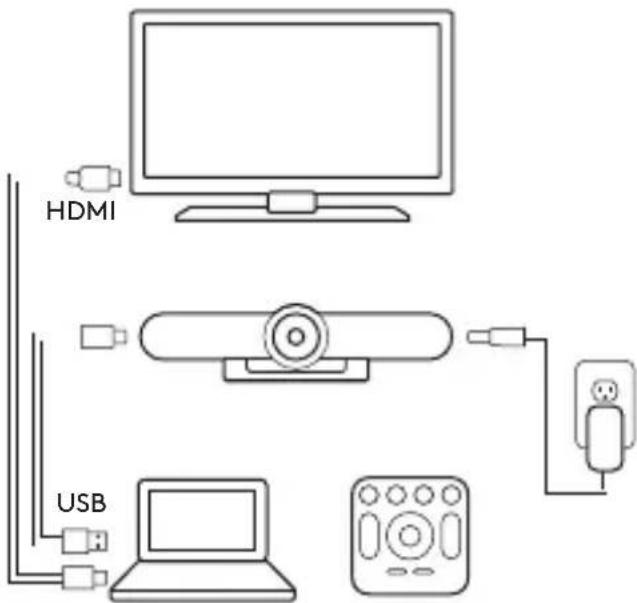
MAKE MEETUP THE DEFAULT DEVICE
Ensure that MeetUp is chosen as the camera, speaker and microphone in your video conferencing applications. Please consult the application documentation for further instructions on how to do this.
NOTE REGARDING 4K VIDEO
The USB 2.0 cable included with MeetUp supports FullHD video (up to 1080p). If you plan on using 4k video, please use a USB 3.0 cable (not included).
STARTING A VIDEO CALL
After installing MeetUp and ensuring it is the default device in your video conferencing application, simply start the application in the normal manner and enjoy the benefits of improved audio and video.
PAIRING MEETUP TO A BLUETOOTH DEVICE
You can use MeetUp for audio calls when paired to a Bluetooth device.
To pair your Bluetooth device to MeetUp, follow these simple steps:
- Press and hold the Bluetooth button on the remote control until you see a flashing blue light near the camera lens.
- Place your mobile device in Bluetooth pairing mode and select "Logitech MeetUp".
You are now ready to use MeetUp for audio calls.
Pressing the Bluetooth button on the remote after pairing will disconnect the Bluetooth device (it will still be "paired" but not "connected").
Pressing it again will reconnect the last paired device in range.
PAIRING THE REMOTE CONTROL TO THE CAMERA
Your camera and remote control are paired at the factory. However, if you need to pair a remote to the camera (such as when replacing a lost remote) do the following:
- Press and hold button on the back of the camera until LED flashes blue.
- Press and hold the Bluetooth button on the remote for 10 seconds to place it in pairing mode.
- Once the remote and camera are paired the LED will stop flashing.
- If the pairing fails, the LEDs will keep flashing. Start from step 2 and repeat.
FOR MORE INFORMATION
You can find additional information on MeetUp including:
- FAQs
- Software to enable functions in various applications
- How to order replacement parts
- And more at www.Logitech.com/MeetUp
BOX CONTENTS
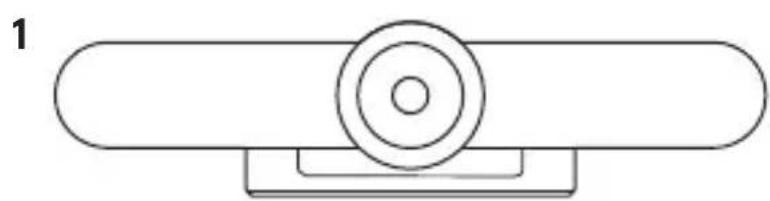

![graph LR A["Port 1"] --> B["Port 2"] B --> C["Port 3"]](/content/2026/06/1321941/images/74bcd81be68714f3de490840679531994e3a4d211e16621a356e3303c073d422.jpg)




![graph LR A[" "] --> B[" "] style A fill:#fff,stroke:#000 style B fill:#fff,stroke:#000 note right of A: 3](/content/2026/06/1321941/images/39a2b504078cb346bf5ab3c9f3d6ff42b469b58ca53d0419bf3b33cceab2d37c.jpg)


© 2017 Logitech. Logitech, Logi and other Logitech marks are owned by Logitech and may be registered. All other trademarks are the property of their respective owners. Logitech assumes no responsibility for any errors that may appear in this manual. Information contained herein is subject to change without notice.


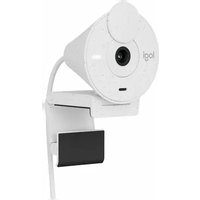
Brand : LOGITECH
Model : MeetUp
Category : Webcam