
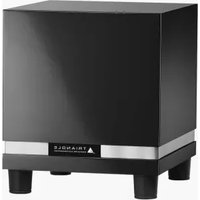
Thetis 280 - Subwoofer TRIANGLE - Free user manual and instructions
Find the device manual for free Thetis 280 TRIANGLE in PDF.


| Product type | Active subwoofer |
| Brand | Triangle |
| Model | Thetis 280 |
| Dimensions (W x H x D) | 400 x 430 x 450 mm |
| Weight | 23 kg |
| Power supply | 220-240 V AC, 50/60 Hz |
| Built-in amplification | 300 W RMS |
| Speaker driver | 1 x 280 mm (11 inches) paper cone |
| Frequency response | 30 Hz - 120 Hz |
| Crossover frequency | Variable from 40 Hz to 120 Hz |
| Phase | Switchable 0°/180° |
| Inputs | RCA line (L/R), high-level input (binding posts) |
| Outputs | Filtered line output (RCA) |
| Features | Auto/on switching, volume control |
| Maintenance and cleaning | Dust with a dry cloth; do not use solvents |
| Safety | Do not expose to moisture; unplug before cleaning |
| Spare parts and repairability | Accessible fuse; speaker replaceable by a professional |
Frequently Asked Questions - Thetis 280 TRIANGLE
User questions about Thetis 280 TRIANGLE
0 question about this device. Answer the ones you know or ask your own.
Ask a new question about this device
Download the instructions for your Subwoofer in PDF format for free! Find your manual Thetis 280 - TRIANGLE and take your electronic device back in hand. On this page are published all the documents necessary for the use of your device. Thetis 280 by TRIANGLE.
USER MANUAL Thetis 280 TRIANGLE
MANUFACTURE ELECTROACOUSTIQUE
THETIS

Mode d'emploi & Garantie Owner's manual & Warranty
www.trianglehifi.com
support.trianglehifi.com
SUPPORT & FAQ

facebook.com/triangle.electroacoustique

twitter.com/trianglehifi
SOMMAIRE / SUMMARY
Garantie / Warranty 4
User Manual - English 17
- Unpacking 18
- Installation precautions 18
- Connecting 20
- Powering ON 22
- Troubleshooting 24
Informations techniques / Technicals informations 26
GARANTIE / WARRANTY
Thanks for buying a TRIANGLE Product.
We want you to enjoy your purchase to the fullest. The first step is an easy registration of your products. By doing this, you will benefit from helpful tips, products support, special offers and 2 years warranty.
1- Online registration
Register your product easily online at the following address :
http://register.trianglehifi.com/
2- Warranty card
You can also register your product and validate your warranty by filing the warranty card and sending it to :
TRIANGLE DISTRIBUTION FRANCE
41 Rue Borie
33300 Bordeaux FRANCE
Note on the warranty
Your TRIANGLE subwoofer is warranted for 2 years. This warranty takes effect from the date of purchase and covers any manufacturing defect or damage your subwoofer could suffer as a result of these same defects. This warranty is granted solely to the first owner of the product, and is not transmittable in the case of resale. To validate your warranty, you will need to register online or mail the warranty coupon to TRIANGLE. Please note, this warranty is voided if any fault arises from ill-treatment or careless handling of the product.
The following are not guaranteed :
- A burned voice-coil caused by overloading the driver
- Any fault occurring from professional usage (public sound systems, PA systems, etc.)
- Any fault resulting from storage in areas of high humidity
- A pierced or torn membrane
- A torn suspension
- Any fault resulting from a mechanical shock (ex if dropped or handley roughly)
- Any fault arising from servicing by anyone other than an authorized TRIANGLE service technician
- Damaged cabinets due to mishandling

Open the box and remove all staples, then take out the subwoofer.
If you notice any defects on any elements when unpacking, contact your dealer.
Before disposing the packaging, check that nothing is left inside.
INSTALLATION PRECAUTIONS
Before installing
Before connecting your installation, make sure all equipment is swiched off. Make sure the switch is OFF before removing or connecting cables. Do not connect the power supply cable before completing all connections.
Moving the unit
Always disconnect the power supply cable and the cables between any other audio components when moving the unit. This is in order to prevent any short-circuiting or damage on plugs and connection cables.
Before switching the unit on
Check once again that all connections are correct and that volume buttons are at the minimum.
Places to avoid
Avoid placing your enclosure near damp aeras or areas exposed to excessive sunlight and install it in a cool place.
Recycling
Your product contains valuable materials which can be recovered or recycled.
Leave it at local point.

Descriptif
1 - Power plug
2 - ON / OFF
3 - Voltage switch
4 - Auto ON / OFF
5 - Phase inversion button 0-180°
6 - Frequency cutoff knob
7 - Volume
8 - Low level inputs
9 - Low level input without filtering
10 - Hight level output (left)
11 - Hight level output (right)
12 - Hight level input (left)
13 - Hight level input (right)

Connections
Before connecting your installation, make sure all equipment is switched off. If you have any doubts about connecting your installation, we recommend you to contact your authorized dealer.
Connection to a multi-channel audio-video amplifier
Use the SUBWOOFER output of the amplifier (RCA connectors) and connect it to one of the two inputs (R or L) Line-IN (low level) or to the LFE on your subwoofer.
When connected to one of the line-IN inputs, the frequency cut-off will be adjusted directly on the subwoofer (Crossover).
When connected to the Subwoofers LFE input, the setting of the crossover frequencies should be regulated in the dedicated menu on your AV amplifier (see the user manual of your device).

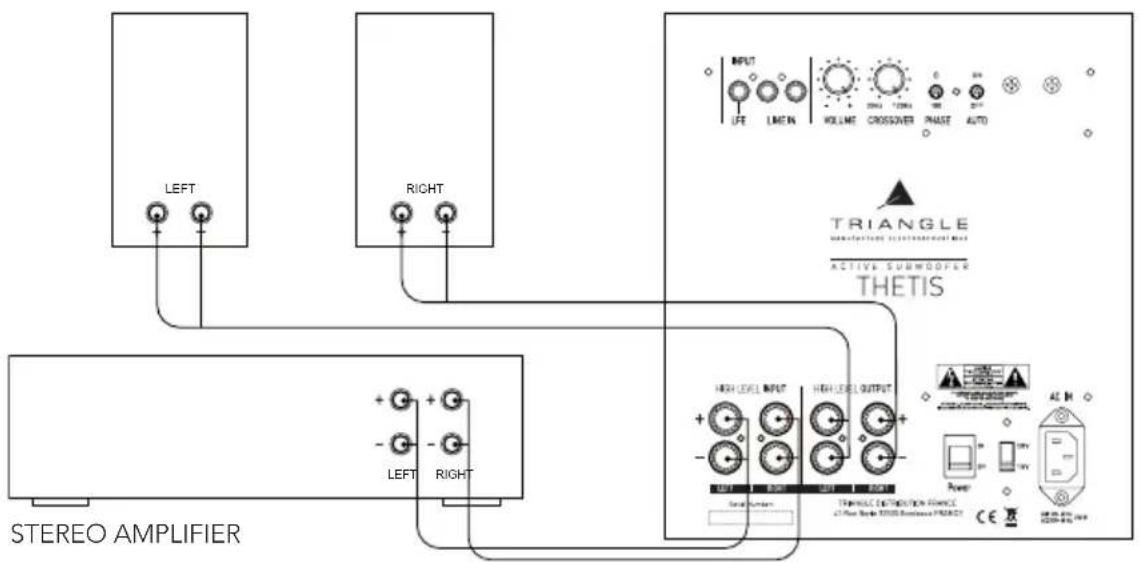
Connection with stereo amplifier
You can use :
- either a PRE-OUT (R+L) output on your preamplifier or on your integrated stereo amplifier (see the owner's manual of your equipment) and connect it to the Low-pass inputs on the enclosure (R+L),
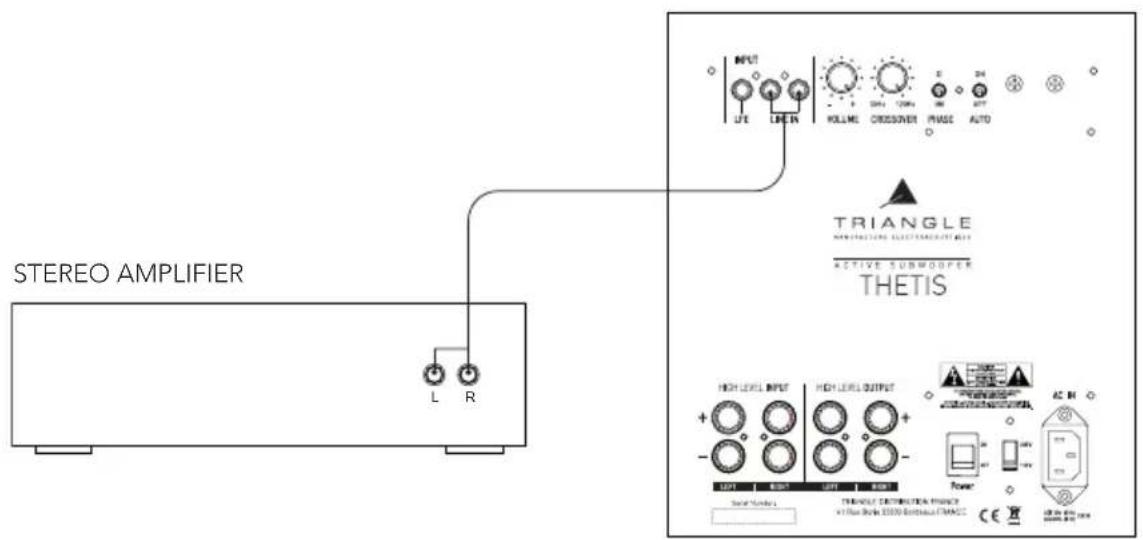
- or use the high level inputs of the subwoofer enabling direct connection to the loudspeaker outputs of your stereo amplifier. To do so, use high-quality hi-fi cables. When connecting, it is essential to the coherence of the end result, to respect the polarity. Connect the red + terminal of the subwoofer to the + terminal on your amplifier, similarly, the black - terminal of the subwoofer to the - terminal on your amplifier.
Powering ON
Powering ON should be carried out as follows :
- Check once again that all connections are correct and that the volume button of your amplifier is at minimum.
- Connect the power plug (after checking that your power supply voltage corresponds to the one on the equipment 230V or 120V).
- Place the Auto selector switch to ON to activate the automatic powering ON, or OFF to deactivate the automatic powering and use the remote control to switch the subwoofer ON. When using this function, the subwoofer will automatically go into standby mode if it does not receive any signal.
- Switch the ON /OFF switch to ON.
- Adjust the volume, frequency and phase buttons (see Settings).
Note : Cut off the power supply of the subwoofer by using the power switch when it is not in use for several days.
Positionning and settings
Position your subwoofer in the forward listening zone (if possible between the two main speakers) for a better sound resolution.
This subwoofer can be used with any type of loudspeakers.
The ideal setting should correspond to a realistic reproduction of the bass and be adjusted the best possible with your main loudspeakers. You should not «feel» the subwoofer, the bass should seem to come from the main speakers.
The phase inversion switch can be used to reach the best result possible. This switch is used to inverse the phase of the sound signals coming from the subwoofer. Depending on the placement of the subwoofer in the room in relation to the main speakers, inverting the subwoofer phase can lead to a better coherence of the system's global response in the bass frequencies.
We recommend you to carry out various tests until finding the setting which suits you the best. Use a recording you know well and study the result according to your taste and expectations.
Using the subwoofer's internal filtering
The frequency is tuned to the main speakers by using the «CROSSOVER» potentiometer. The adjustment is made in the frequency range between 30Hz and 120Hz.
Carry out tests by first positioning the setting switch between 30Hz and 80Hz with large delete size main speakers and between 80 and 120Hz for small delete size speakers.
To make activate this function, connect the subwoofer via the «Line-IN" input.
Using the A/V amplifier's filtering
You can use your A/V amplifier (if it allows) to filter the bass frequencies of the subwoofer. Position the volume button at 3/4. Make the settings on your A/V amplifier (see the owner's manual of your equipment at the section setting subwoofer mode and crossover frequency).
Use the LFE input (yellow RCA input) on your subwoofer. In this way, the signal no longer passes through the subwoofer's internal filter, but directly to the amplifier.
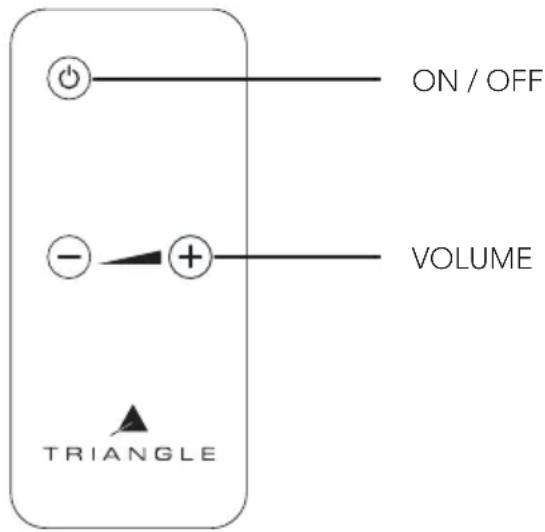
Using of remote control
With the remote control, you can turn on or turn off the subwoofer and control volume. The subwoofer is equipped with a LED power meter, and it is possible to adjust the volume in 9 different steps. When you are using remote control, you must aim at the receiver placed on the front panel of subwoofer.
CAUTION
Never open the subwoofer due to risk of electrical shock.
Check well that your power supply voltage corresponds to the one on the product (230V or 120V) A wrong voltage can break the product.
Troubleshooting
If the equipment fails to operate correctly, check the points below. If the problem continues, a malfunction may be possible. Disconnect the power supply immediately and contact your dealer.
| OBSERVATION CAUSE SOLUTION | ||
| The subwoofer is not working | There is no power supply to the subwoofer | Check these points by order:- if the AUTO switch is on ON or OFF- if the power supply cable is connected- if the power plug is working |
| No sound is coming from the subwoofer | There is no input signal to your subwoofer | Check these points by order:- if the subwoofer is correctly connected to the amplifier- if the A/V or stereo amplifier is switched on- if your A/V or stereo amplifier has a working source of music (CD,DVD,etc.)- if the signal sent by the A/V amplifier is not too weak or if the subwoofer function is not on NO (see your owner's manual) |
| the level of the sound is weak, although the subwoofer volume is at maximum | Incorrect adjustment of the A/V amplifier | Check the subwoofer setting at the A/V amplifier (see your owner's manual) |
| the subwoofer shuts off at loud peaks | The sound level of the subwoofer is too high and the integrated electronic protection sets in | Lower the sound level (on the A/V amplifier or directly on the subwoofer) |
For any further informatin concerning your system, please consult our website :
http://trianglehifi.com/
GAMME THETIS / THETIS RANGE
| Spécifications TechniquesTechnical Specifications | THETIS 320 THETIS 280 | |
| Diamètre du haut-parleur (cm)Driver diameter (inch) | 2510 | 218.3 |
| Bande passanteBandwidth | 25 - 120 Hz 35 - 120 Hz | |
| Fréquence de coupure filtreCrossover cutoff frequency | 30/120 Hz 30/120 Hz | |
| Puissance amplificateur RMSRMS amplifier output (W Rms) | 250 150 | |
| Phase 0-180° 0-180° | ||
| EntréesInput | LFEL&R high and low level | LFE L&R high and low level |
| SortiesOutput | High Level High Level | |
| Dimensions(mm; inch) | 360x320x32014.17x 12.59x 12.59 | 320x280x28012.59x 11.02x 11.02 |
| Poids de l'enceinte (Kg)Net Weight (lbs) | 14.431.74 | 8.218.07 |
| Poids avec packaging (Kg)Gross Weight (lbs) | 1635.27 | 10.523.14 |
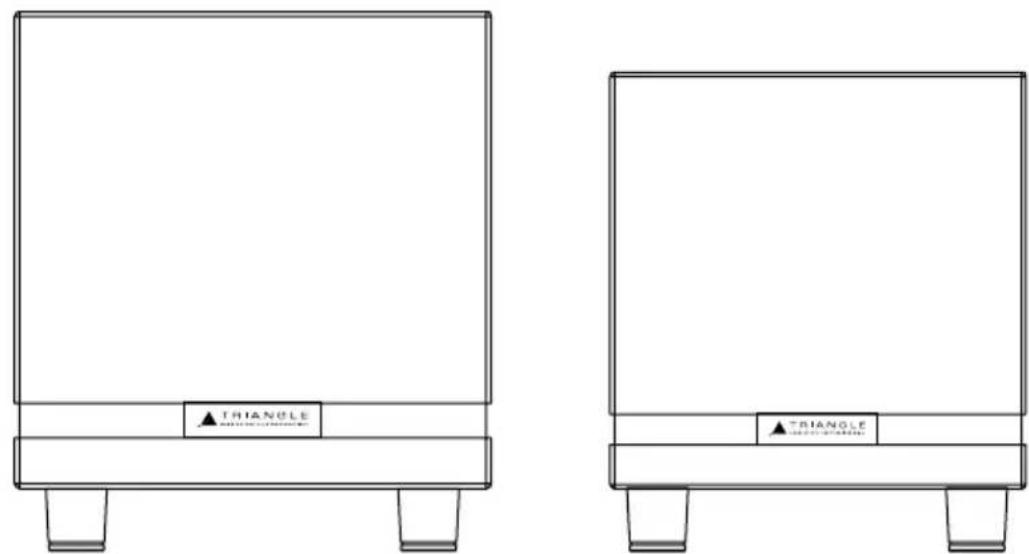
THETIS 320 THETIS 280

TRIANGLE
MANUFACTURE ELECTROACOUSTIQUE
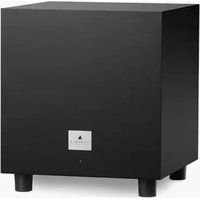
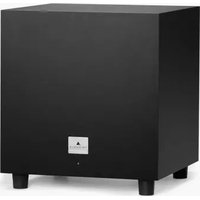
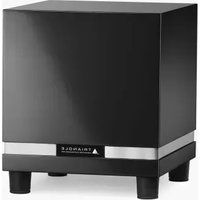

- MANUFACTURE ELECTROACOUSTIQUE
- THETIS
- WWW.TRIANGLEHIFI.COM
- SUPPORT.TRIANGLEHIFI.COM
- SOMMAIRE / SUMMARY
- GARANTIE / WARRANTY 4
- USER MANUAL - ENGLISH 17
- INFORMATIONS TECHNIQUES / TECHNICALS INFORMATIONS 26
- GARANTIE / WARRANTY
- THANKS FOR BUYING A TRIANGLE PRODUCT
- ONLINE REGISTRATION
- WARRANTY CARD
- TRIANGLE DISTRIBUTION FRANCE
- NOTE ON THE WARRANTY
- THE FOLLOWING ARE NOT GUARANTEED
- INSTALLATION PRECAUTIONS
- BEFORE INSTALLING
- MOVING THE UNIT
- BEFORE SWITCHING THE UNIT ON
- PLACES TO AVOID
- RECYCLING
- DESCRIPTIF
- CONNECTIONS
- CONNECTION TO A MULTI-CHANNEL AUDIO-VIDEO AMPLIFIER
- CONNECTION WITH STEREO AMPLIFIER
- POWERING ON
- POSITIONNING AND SETTINGS
- USING THE SUBWOOFER'S INTERNAL FILTERING
- USING THE A/V AMPLIFIER'S FILTERING
- USING OF REMOTE CONTROL
- CAUTION
- TROUBLESHOOTING
- GAMME THETIS / THETIS RANGE
- TRIANGLE
Brand : TRIANGLE
Model : Thetis 280
Category : Subwoofer