IP8151P - Security Camera Vivotek - Free user manual and instructions
Find the device manual for free IP8151P Vivotek in PDF.

User questions about IP8151P Vivotek
0 question about this device. Answer the ones you know or ask your own.
Ask a new question about this device
Download the instructions for your Security Camera in PDF format for free! Find your manual IP8151P - Vivotek and take your electronic device back in hand. On this page are published all the documents necessary for the use of your device. IP8151P by Vivotek.
USER MANUAL IP8151P Vivotek
Quick Installation Guide
English | 集中 | 集中 | 日本語 | Français | Españo | Deutsch | Português | Italiane | Tirikçe | Polski | Pycoseli | Česay | Svenska | 24 y 3
IP8151(P)
Network Camera
Supreme Night Visibility · Full Frame Rate · 1.3MP
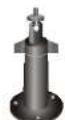
natural_image
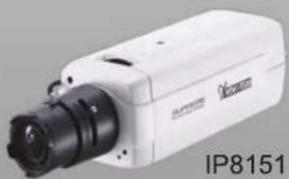
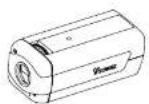
White industrial camera with black lens and label 'IP8151' (no other text or symbols visible)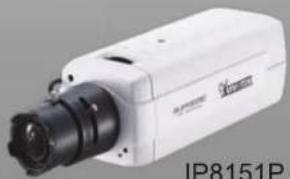
natural_image
White industrial camera with black lens and control lens, labeled IP8151P (no other text or symbols visible)IP8151P
P-iris WDR Enhanced
SUPREME
A NEW DEFINITION OF AD

VIVOTEK

Warning Before Installation
Power off the Network Camera as soon as smoke or unusual odors are detected.
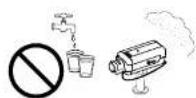
Keep the Network Camera away from water. If the Network Camera becomes wet, power off immediately.

Contact your distributor in the event of occurrence.

Contact your distributor in the event of occurrence.
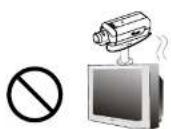
Do not place the Network Camera around heat sources, such as a television or oven.
Refer to your user's manual for the operating temperature.

- Keep the Network Camera away from direct sunlight.
Do not place the Network Camera in high humidity environments.

English
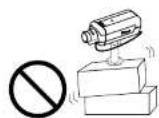
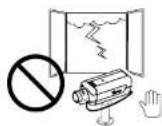
Do not place the Network Camera on unsteady surfaces. Do not touch the Network Camera during a lightning storm.
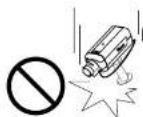
Do not disassemble the Network Camera. Do not drop the Network Camera.

Do not insert sharp or tiny objects into the Network Camera.


Package Contents
IP8151 / IP8151P
Power Adapter

Camera Stand
CS-mount Lens

Quick Installation Guide
Software CD

Warranty Card
L-type Hex Key Wrench


Physical Description
Front Panel

text_image
Light Sensor Lens Built-in MicrophoneBack Panel

text_image
Audio Out Status LED Microphone In External/Internal MIC Switch Ethernet 10/100 RJ45 Socket Recessed Reset Button BNC Video Out SD/SDHC Card Slot NTSC/PAL Switch Power Cord Socket General I/O Terminal Block Focus Assist Button (IP8151P only) DC-iris Control Cable Socket (IP8151) P-iris Control Cable Socket (IP8151P)Lens

EN-4

Mounting the Lens to the Camera
- Mount the lens by turning it clockwise onto the camera mount until it stops. If necessary, turn the lens counterclockwise slowly until it gets the best attitude.
- Connect the DC-iris control cable to the socket. (IP8151) Connect the P-iris control cable to the socket. (IP8151P)


For further setup, please refer to the lens' instruction manual inside the lens package.

Network Deployment
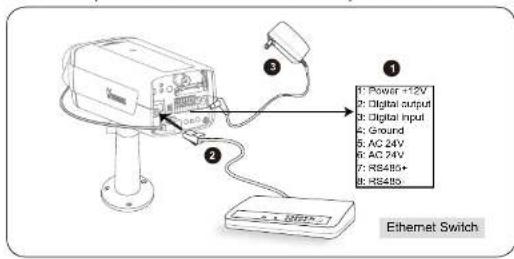
General Connection (without PoE)
- If you have external devices such as sensors and alarms, connect them to the general I/O terminal block.
- Connect the camera to a switch via Ethernet cable.
- Connect the power cable from the Network Camera to a power outlet.
text_image
1 2 3 4 5 6 7 8 9 Power +12V Digital output Digital input Ground AC 24V AC 24V RS485+ RS485- Ethernet SwitchEN - 5

Power over Ethernet (PoE)
When using a PoE-enabled switch
The Network Camera is PoE-compliant, allowing transmission of power and data via a single Ethernet cable. Follow the below illustration to connect the Network Camera to a PoE-enabled switch via Ethernet cable.

text_image
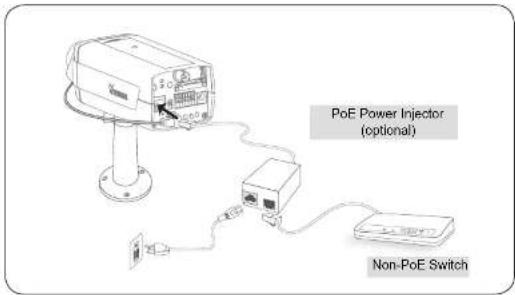
PoE SwitchWhen using a non-PoE switch
Use a PoE power injector (optional) to connect between the Network Camera and a non-PoE switch.
text_image
PoE Power Injector (optional) Non-PoE SwitchEN-6

Assigning an IP Address
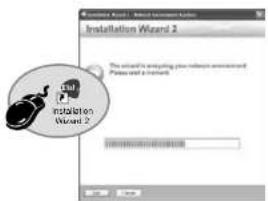
- Install "Installation Wizard 2" from the Software Utility directory on the software CD.
- The program will conduct an analysis of your network environment. After your network is analyzed, please click on the "Next" button to continue the program.
text_image
Installation Wizard 2 This email is requesting your submission announcement Parks and a trainbox.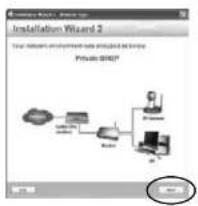
text_image
Installation Wizard 2 Your network environment will be installed by this Private ORDER? OK- The program will search for VIVOTEK Video Receivers, Video Servers, and Network Cameras on the same LAN.
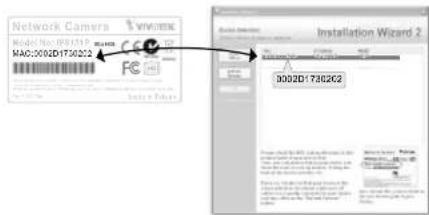
- After searching, the main installer window will pop up. Click on the MAC that matches the one labeled on the bottom of your device to connect to the Network Camera via Internet Explorer.
text_image
Network Camera MAC:002D17302C2 File Path Installation Wizard 2 3002D17302C2EN-7


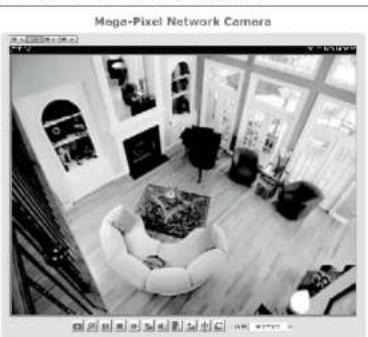
Ready to Use
- Access the Network Camera from the LAN.
- Retrieve live video through a web browser or recording software.

natural_image
Interior view of a Mega-Pixel Network Camera showing living room with sofa, armrests, and large windows (no visible text or symbols)- Unscrew the zoom controller to adjust the zoom factor. Upon completion, tighten the zoom controller.
- Unscrew the focus controller to adjust the focus range. Upon completion, tighten the focus controller.

For further setup, please refer to the user's manual on the software CD.

Fine-tune the Camera Focus
Please follow the steps below to fine-tune the camera focus:
- Use the supplied L-type hex key wrench to loosen the ring screw; the adjustment ring will become rotatable.
- Rotate the adjustment ring to fine-tune the distance between the sensor and the lens; the IR-cut filter and image sensor will move forwards or backwards as the illustration shown below.
- When finished, tighten the ring screw to fix the adjustment ring.

text_image
C 2 CS 1 for C-mount lens for CS-mount lens IR-cut filter and image sensor

text_image
VIVOTEK WWW.VIVOTEK.COM P/N: 62501701G Ver.1.1 Copyright ©2011 VIVOTEK INC. All rights reserved. ©F. No.192, Lien-Cheng Rs., Chung-Hs, Taipei County, Taiwan | T: +886 2 82455282 | F: +886 2 82455532 | E: sales@vivotek.com
VIVOTEK
www.vivatel.com


6F, No.192, Lion-Chang Rd., Chung-Ho, Taipei County, Taiwan | T: +885 2 82455282 | F: +885 2 82455532 | E: sales@vivotek.com